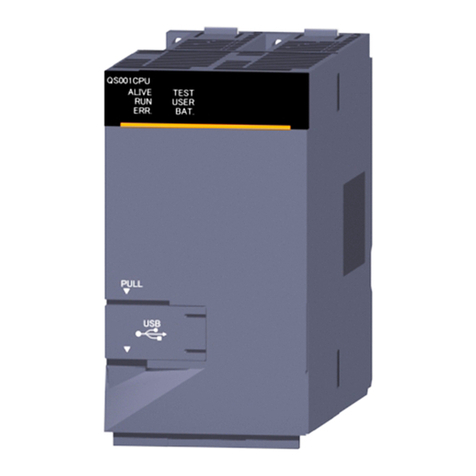
Mitsubishi Electric MELSEC-F FX1N-422-BD User manual
Other Mitsubishi Electric Controllers manuals
Mitsubishi Electric
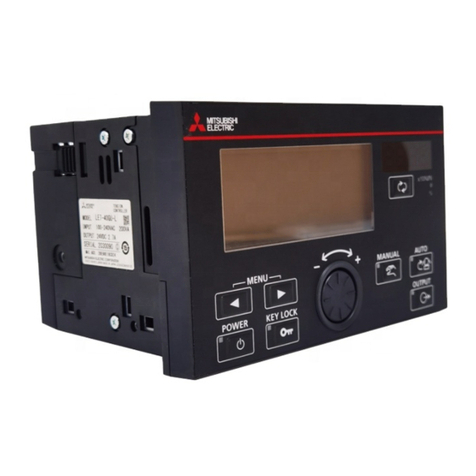
Mitsubishi Electric LE7-40GU User manual
Mitsubishi Electric
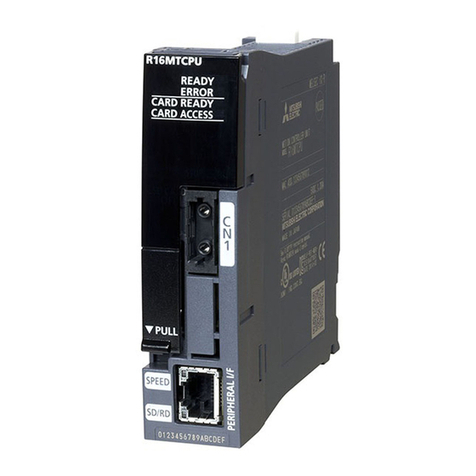
Mitsubishi Electric MELSEC iQ-R16MTCPU Owner's manual

Mitsubishi Electric
Mitsubishi Electric CR800-R Series User manual

Mitsubishi Electric
Mitsubishi Electric FX2N-8AD User manual
Mitsubishi Electric
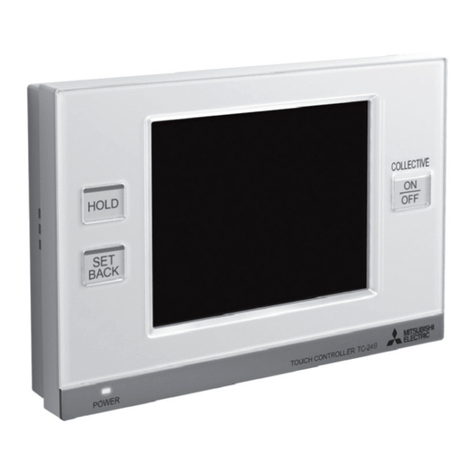
Mitsubishi Electric TC-24B User manual
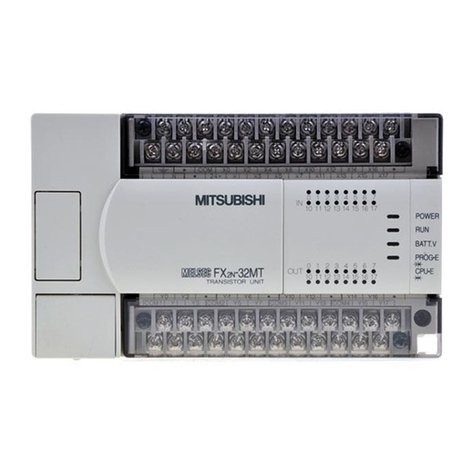
Mitsubishi Electric
Mitsubishi Electric MELSEC FX Series User manual

Mitsubishi Electric
Mitsubishi Electric QE82LG User manual
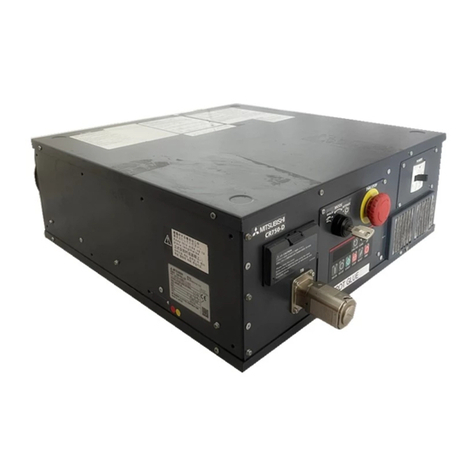
Mitsubishi Electric
Mitsubishi Electric CR800 Series User manual
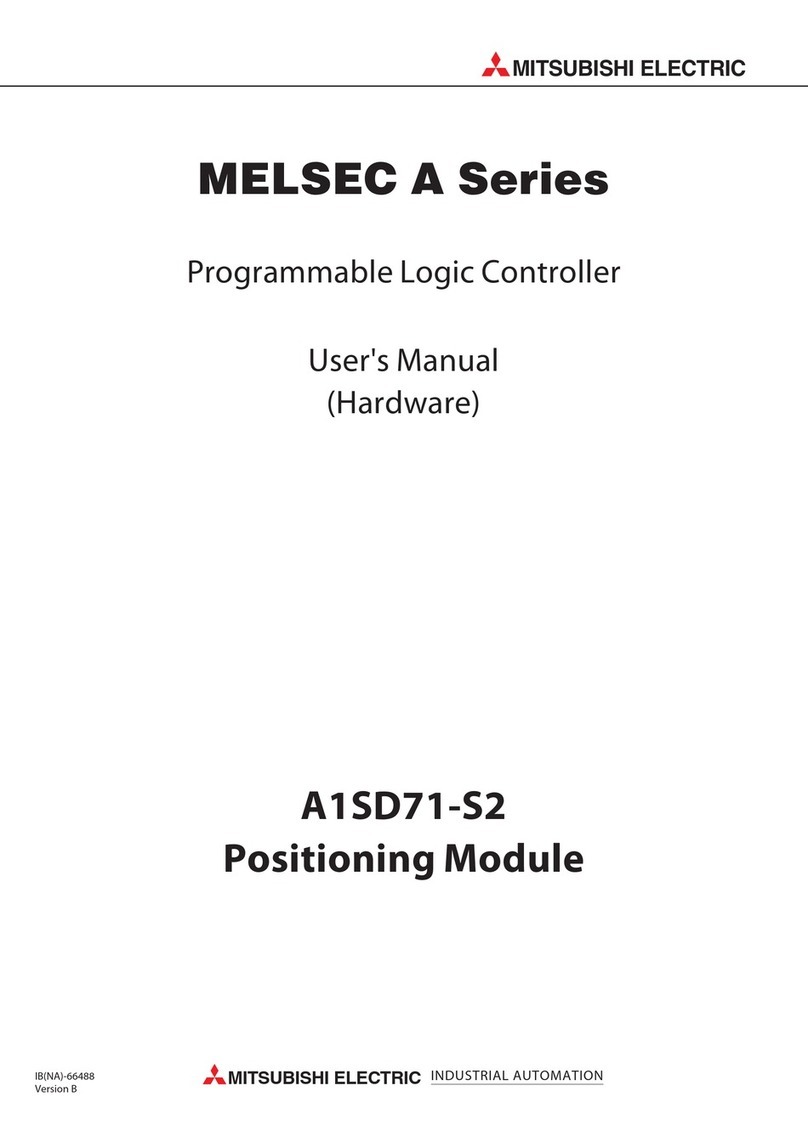
Mitsubishi Electric
Mitsubishi Electric MELSEC A1SD71-S2 User manual
Mitsubishi Electric
Mitsubishi Electric FX Series Installation guide

Mitsubishi Electric
Mitsubishi Electric RD77MS2 User manual
Mitsubishi Electric
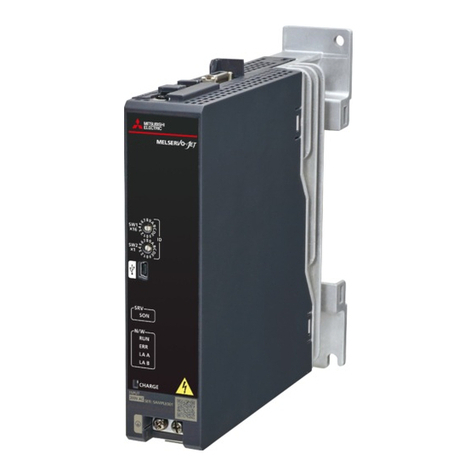
Mitsubishi Electric MELSERVO-JET MR-JET-G-N1 Series User manual
Mitsubishi Electric
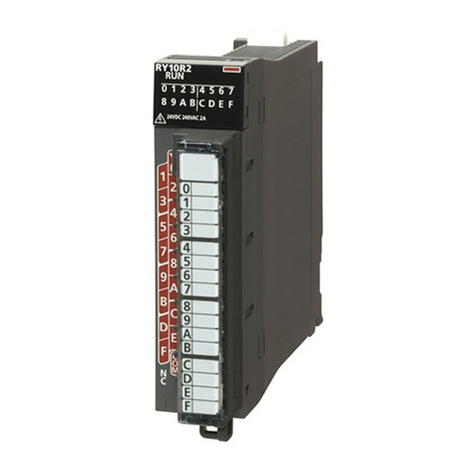
Mitsubishi Electric MELSEC iQ-R Series User manual

Mitsubishi Electric
Mitsubishi Electric MELSEC iQ-F FX5-4LC User manual

Mitsubishi Electric
Mitsubishi Electric MELSEC-Q/L Owner's manual
Mitsubishi Electric
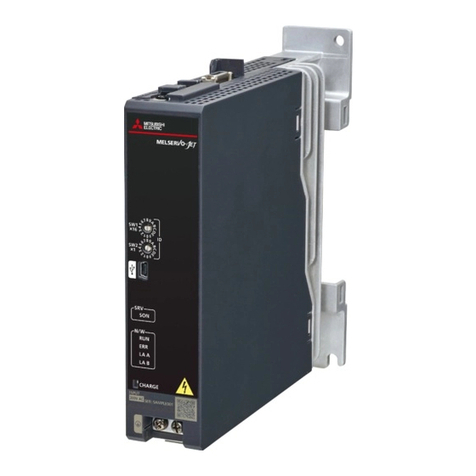
Mitsubishi Electric MELSERVO-JET MR-JET User manual

Mitsubishi Electric
Mitsubishi Electric MELSEC iQ-R Series Owner's manual
Mitsubishi Electric
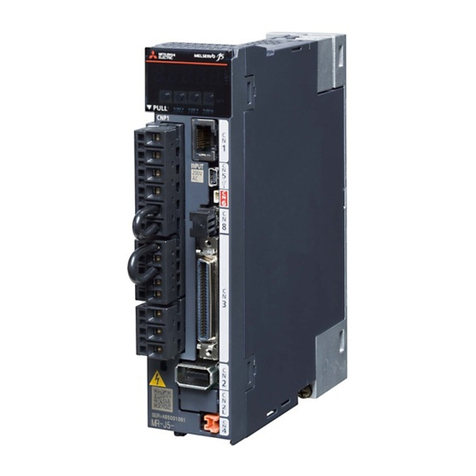
Mitsubishi Electric MELSERVO-J5 MR-J5-G Series User manual
Mitsubishi Electric
Mitsubishi Electric MELSERVO-J5 MR-J5-G Series User manual

Mitsubishi Electric
Mitsubishi Electric MELSERVO J5 Series User manual
Popular Controllers manuals by other brands

Digiplex
Digiplex DGP-848 Programming guide

YASKAWA
YASKAWA SGM series user manual

Sinope
Sinope Calypso RM3500ZB installation guide

Isimet
Isimet DLA Series Style 2 Installation, Operations, Start-up and Maintenance Instructions

LSIS
LSIS sv-ip5a user manual

Airflow
Airflow Uno hab Installation and operating instructions

