1. Mark the cut-out of 92mm diameter allowing
a 25mm space around the full circumference
of the hole
2. Cut out the 92mm diameter hole in the work
surface. Mounting board thickness must
be a minimum of 10mm and maximum of
50mm (fig.1)
Ensure there is sufficient space of 480mm
under the installed surface for the unit
when it retracts to closed position
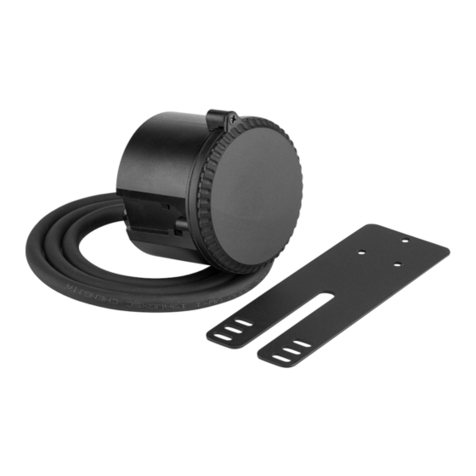
3. The lock ring and rubber washer are
supplied with this product, if these are
attached to the socket mounting collar,
remove by rotating in an anti-clockwise
direction prior to lowering the unit into its
final location (fig 2)
4. Insert socket into the prepared hole
5. Pass the 13A plug (fitted) and attached cable
through the rubber washer and locking
ring. Align the rubber washer flat sides with
the flat sides of the threaded base and
push up fully to the underside of the
mounting surface
6. Turn the locking ring clockwise to tighten,
ensuring the rubber washer is compressed
tightly on the underside of surface and grips
the surface securely (fig.3)
7. Insert the 13A plug into a suitable
13A socket
8. Test for correct operation
• Ensure the mains supply is switched off and the circuit fuses are removed or circuit breakers
switched off
• To keep the finish of this product, periodically wipe over with a dry soft cloth
• Before installation/maintenance, ensure the mains supply is switched off and the circuit fuses are
removed or circuit breakers switched off
• This product must be installed in accordance with the latest edition of the IEE Wiring Regulations
and current Building Regulations. If in any doubt, consult a qualified electrician
• 230V 50Hz
• Do no overload this accessory or subject it to conditions outside its rating
• Please recycle
• For indoor use only
• 220-240V ~50-60Hz
• 13A
• IP54 (When fully closed only)
• Cut-out diameter 92mm
• Minimum mounting thickness 10mm
• Maximum mounting thickness 50mm
• Minimum void below the mounting
surface 480mm
USB charger specification
• Output voltage: 5V DC
• Output current: max. 2100mA
• Individual switch for power on/off
• LED indicator for power on
• 1 x 13A 2G pop up socket with dual USB charger and speaker system
• 1 x fixing pack
• 1 x installation guide
INSTALLATION
MAINTENANCE
SAFETY
SPECIFICATION
CONTENTS
PLEASE READ THESE BEFORE COMMENCING INSTALLATION
• This is a Class I product and must be earthed
• These instructions should be read carefully and retained after installation for further reference
and maintenance
Miniature audio speaker specification
• Output power: Max. 2W
• Sensitivity: L/R 380MV
• SNR: >80db
• Speaker frequency range: 280Hz-16KHz
• Audio connector: Bluetooth
How to connect to Bluetooth
1. Switch on the power, the bluetooth signal
indicator will start flashing
2. Open your mobile device and turn on the
bluetooth function, connect the device named
“SPEAKER”
3. Press ‘connect to the device’, once connected,
you will hear a “bip” sound and the bluetooth
signal indicator will flash a different colour
4. Once connected, you can start to play
your music
Audio connector
Bluetooth signal
indicator
Volume & ON/OFF
Power indicator
mm29Ø
mm52
mm52
1
2
3
SK005_INSTRUCTIONS.indd 2 09/10/2014 15:08
