manuals.online logo
Brands
  1. Home
  2. •
  3. Brands
  4. •
  5. Mocka
  6. •
  7. LCD Drawer
  8. •
  9. Mocka Brooklyn Drawers User manual

Mocka Brooklyn Drawers User manual

Hardware Supplied
x8
B
A
x30
CD
EF G H
x8
x16
x30
x46
x40 x16
12 mm
L + R L + R
bolt
locking nut
dowel long screw
small screw hole cap
*
x1
washer
Z
Wall
Screw
r/washer
screw
x1
Y
wall
anchor
x1
X
Safety
Strap
Wall Strap
WWARNING: Any furniture that is not anchored to a wall has the
potential to tip over in certain circumstances, i.e. if a child
attempts to climb up on the furniture or in the event of an
earthquake. Accordingly, we recommend that all furniture is
anchored to a wall. We supply a free safety wall anchor with all
furniture sold and we recommend these are used to prevent
your product tipping. The fixing device provided should fit most
wall types, but please note that different wall materials may
require different fixing devices from those supplied.
Phillips & Flathead screwdrivers required
Once assembly is complete, please DO NOT drag the product
(lift only to move). Dragging may damage this product.
Brooklyn Drawers
1
mocka.co.nz | mocka.com.au
Assembly Instructions
Thank you for your purchase.
Please follow the instructions below for correct assembly.
12
Screw in bolts (A) and insert dowels (C) into holes in panel [2]. Slot
together with panel [3] as shown. Place locking nuts (B) into
corresponding holes and tighten with a screwdriver
Screw in bolts (A) and insert dowels (C) into holes in panel [2]. Slot
together with panel [4] as shown. Place locking nuts (B) into holes in
panel [4] and tighten with a screwdriver.
Bx2
A
x2
C
B
B
A
C
3
2
A
C
A
x2
C
B
x2
4
A
2C
C
AB
B
Brooklyn Drawers
2
mocka.co.nz | mocka.com.au
Assembly Instructions
12
Screw in bolts (A) and insert dowels (C) into holes in panel [2]. Slot
together with panel [3] as shown. Place locking nuts (B) into
corresponding holes and tighten with a screwdriver
Screw in bolts (A) and insert dowels (C) into holes in panel [2]. Slot
together with panel [4] as shown. Place locking nuts (B) into holes in
panel [4] and tighten with a screwdriver.
Bx2
A
x2
C
B
B
A
C
3
2
A
C
A
x2
C
B
x2
4
A
2C
C
AB
B
34
Screw in 2x bolts (A) and insert 2x dowels (C) into holes in panel [5].
Slot together with the rest of the structure as shown. Place 2x locking
nuts (B) into holes in the panels and tighten with screwdriver.
Screw in 2x bolts (A) and insert 2x dowels (C) into holes in panel [6]. Slot
together with the rest of the structure as shown. Place 2x locking nuts (B)
into holes in the panel and tighten with a screwdriver.
A
A
C
C
A
x2
C
B
x2
5
A
A
C
C
6
A
x2
C
B
B
Bx2
B
B
Brooklyn Drawers
3
mocka.co.nz | mocka.com.au
Assembly Instructions
56
Slot back panel [7] into grooves on the back of the unit. Ensure the
panel is aligned and slides down into place.
Screw 6x bolts (A) and insert 6x dowels (C) into holes in panel [1]. Slot
together with top panels [3], [5] and [6] as shown. Place 6x locking nuts
(B) into corresponding holes and tighten with a screwdriver.
1
AC
A
C
A
C
A
C
B
B
7
B
Bx6
B
B
Brooklyn Drawers
Assembly Instructions
4
mocka.co.nz | mocka.com.au
Jolt Wardrobe
ASSEMBLY INSTRUCTIONS
5
mocka.co.nz | mocka.com.au
56
Slot back panel [7] into grooves on the back of the unit. Ensure the
panel is aligned and slides down into place.
Screw 6x bolts (A) and insert 6x dowels (C) into holes in panel [1]. Slot
together with top panels [3], [5] and [6] as shown. Place 6x locking nuts
(B) into corresponding holes and tighten with a screwdriver.
1
AC
A
C
A
C
A
C
B
B
7
B
Bx6
B
B
78
Screw 4x bolts (A) into front panel [8]. Fit panels [9] and [10] over the
bolts as shown, ensuring grooves in panels face inwards. Secure using
4x locking nuts (B) and tighten with a screwdriver.
Slot panel [11] down into grooves in the side and front panels. Insert 2x
dowels (C) into the ends of both support pieces [12] and peg into holes
in front panel [8].
Drawers (x4)
9
10
8
11
12
12
Cx2
Cx2
BB
B
AA
AA
A
x4
B
x4
Drawers (x4)
Brooklyn Drawers
Assembly Instructions
5
mocka.co.nz | mocka.com.au
910
Insert 2x dowels (C) into the other end of each support piece [12].
Place back panel [13] into position on dowels and fasten into place
using 4x screws (D).
Finally, attach rail hardware (G) to both left and right side of the drawer
using screws (E). Repeat Steps 7 to 10 until all four drawers are fully
assembled.
E
G
E
D
13
D
D
D
Cx2
Cx2
x4
D
E
12
12
Drawers (x4) Drawers (x4)
Brooklyn Drawers
Assembly Instructions
6
mocka.co.nz | mocka.com.au
910
Insert 2x dowels (C) into the other end of each support piece [12].
Place back panel [13] into position on dowels and fasten into place
using 4x screws (D).
Finally, attach rail hardware (G) to both left and right side of the drawer
using screws (E). Repeat Steps 7 to 10 until all four drawers are fully
assembled.
E
G
E
D
13
D
D
D
Cx2
Cx2
x4
D
E
12
12
Drawers (x4) Drawers (x4)
11
12
Attach 8x slide rails (F) inside the cabinet as shown using 3x small
screws (E) in each rail. Fasten all screws with a screwdriver.
Slide all four completed drawers into place on the rails in the cabinet unit.
Ensure they easily slide open and closed.
F
F
F
F
E
E
E
E
E
E
E
E
E
EE
E
E
E
E
E
x8
E
Brooklyn Drawers
Assembly Instructions
7
mocka.co.nz | mocka.com.au
13 14
Attach 1x safety strap (W) to the top of the back side of the unit using
1x r/washer screw (Y). Tighten with a screwdriver.
Once assembled lift furniture into place, do not drag. Use a drill to
create a small hole lining up with the top of the safety strap (W).Fasten
to wall using 1x wall anchor (X), 1x washer (Z) and 1x wall screw. Ensure
unit is balanced and steady before use. You’re done, enjoy!
Wall Mount
Y
Y
W
W
X
Z
wall
anchor
wall
screw
Washer
Strap
Brooklyn Drawers
Assembly Instructions
8
mocka.co.nz | mocka.com.au

Other Mocka LCD Drawer manuals

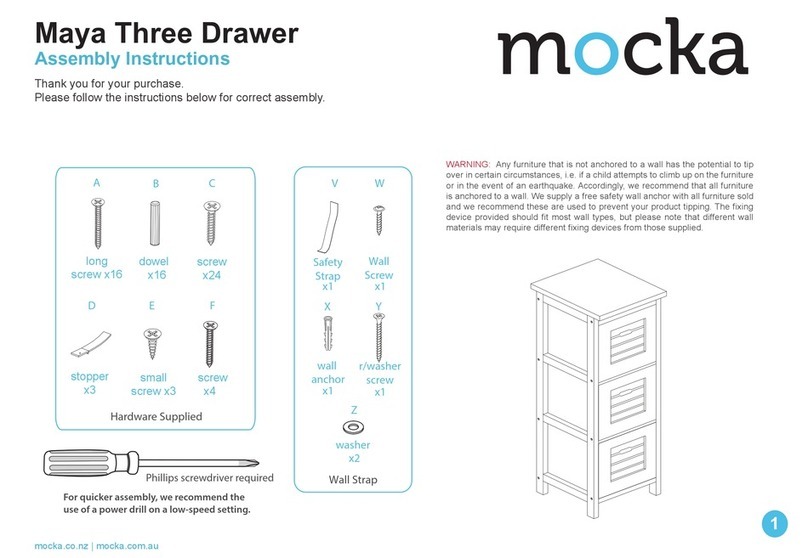
Mocka Maya Three Drawer User manual

Mocka

Mocka Maya Three Drawer User manual

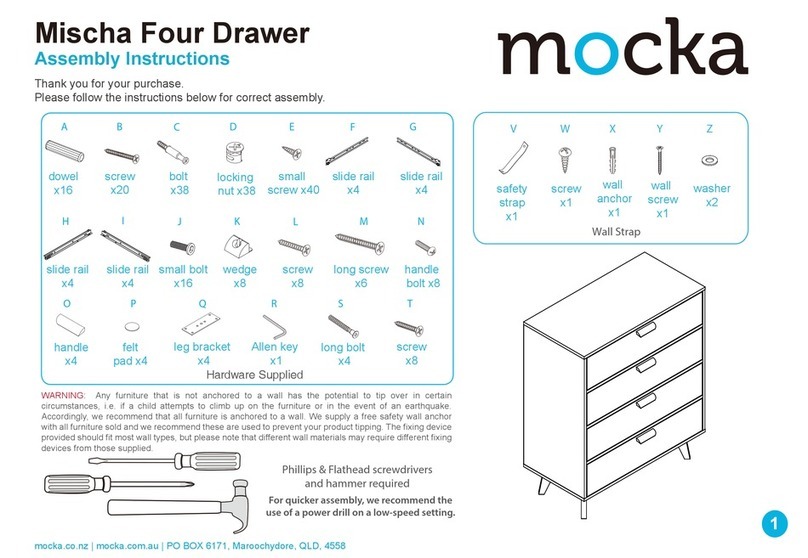
Mocka Mischa User manual

Mocka

Mocka Mischa User manual

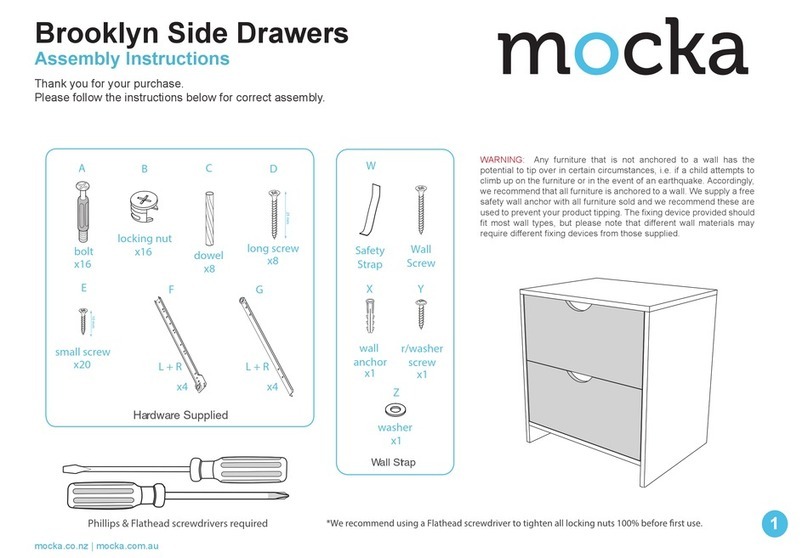
Mocka Brooklyn Side Drawers User manual

Mocka

Mocka Brooklyn Side Drawers User manual

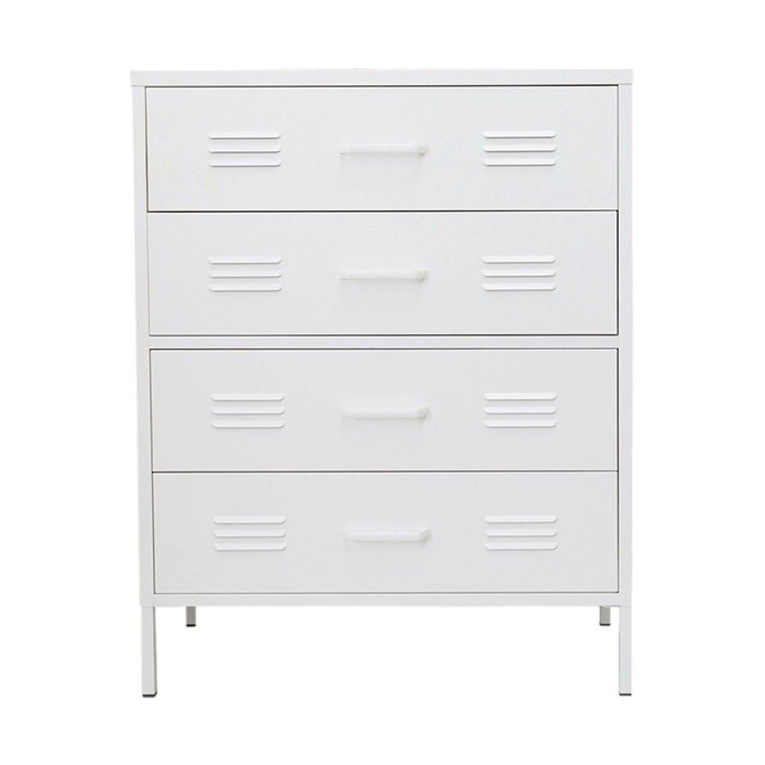
Mocka Axel Locka 4 Drawer User manual

Mocka

Mocka Axel Locka 4 Drawer User manual

Popular LCD Drawer manuals by other brands

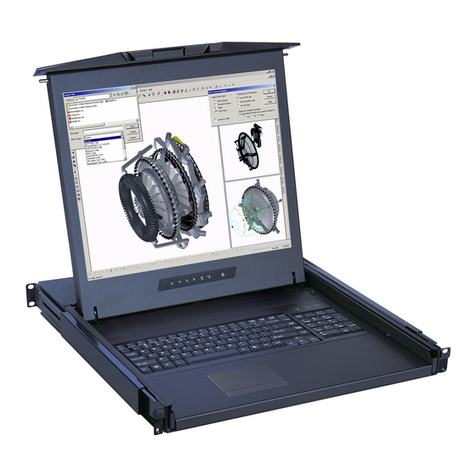
CyberView RP-HW119 user manual

CyberView

CyberView RP-HW119 user manual

CyberView SP-117 user manual

CyberView

CyberView SP-117 user manual

NetView NVP115 user manual

NetView

NetView NVP115 user manual

I-Tech NVP1015 user manual

I-Tech

I-Tech NVP1015 user manual

CyberView L120 user manual

CyberView

CyberView L120 user manual

I-Tech ELD115m Specifications

I-Tech

I-Tech ELD115m Specifications

Tripp Lite 0SU52091 user guide

Tripp Lite

Tripp Lite 0SU52091 user guide

CyberView F1417 user manual

CyberView

CyberView F1417 user manual

CyberView X117 user manual

CyberView

CyberView X117 user manual

I-Tech NVP2D Series user manual

I-Tech

I-Tech NVP2D Series user manual

Knape&Vogt SDS-KD-28-FNW installation instructions

Knape&Vogt

Knape&Vogt SDS-KD-28-FNW installation instructions

SLS QTVDVD owner's manual

SLS

SLS QTVDVD owner's manual

Nova LCD1U15-06 user manual

Nova

Nova LCD1U15-06 user manual

APW Wyott SPTU-30 Installation and operating instructions

APW Wyott

APW Wyott SPTU-30 Installation and operating instructions

CyberResearch GFA 1510A user manual

CyberResearch

CyberResearch GFA 1510A user manual

Quikserv QSP-713E Service manual

Quikserv

Quikserv QSP-713E Service manual

Raritan T1700-LED Quick setup guide

Raritan

Raritan T1700-LED Quick setup guide

Acnodes RPH1190 user manual

Acnodes

Acnodes RPH1190 user manual

manuals.online logo
manuals.online logoBrands
  • About & Mission
  • Contact us
  • Privacy Policy
  • Terms and Conditions

Copyright 2025 Manuals.Online. All Rights Reserved.