manuals.online logo
Brands
  1. Home
  2. •
  3. Brands
  4. •
  5. Mocka
  6. •
  7. LCD Drawer
  8. •
  9. Mocka Brooklyn Side Drawers User manual

Mocka Brooklyn Side Drawers User manual

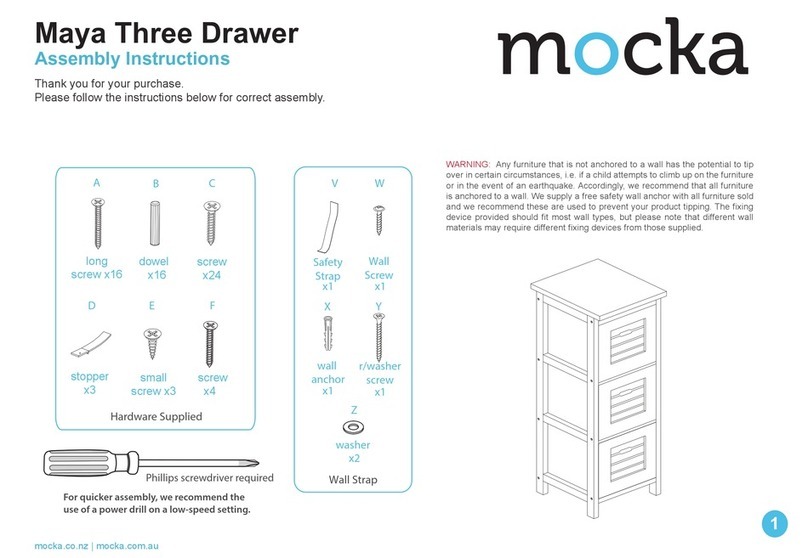
Hardware Supplied
x4
B
A
x16
CD
EF G
x4
x8
x16
x8
x20
10 mm
L + R L + R
bolt
locking nut
dowel long screw
small screw
25 mm
x1
washer
Z
Wall
Screw
r/washer
screw
x1
Y
wall
anchor
x1
X
Safety
Strap
W
Wall Strap
WARNING: Any furniture that is not anchored to a wall has the
potential to tip over in certain circumstances, i.e. if a child attempts to
climb up on the furniture or in the event of an earthquake. Accordingly,
we recommend that all furniture is anchored to a wall. We supply a free
safety wall anchor with all furniture sold and we recommend these are
used to prevent your product tipping. The fixing device provided should
fit most wall types, but please note that different wall materials may
require different fixing devices from those supplied.
Phillips & Flathead screwdrivers required
Brooklyn Side Drawers
1
mocka.co.nz | mocka.com.au
Assembly Instructions
Thank you for your purchase.
Please follow the instructions below for correct assembly.
12
To begin assembly, attach 2x slide rails (F) in place on each of the
panels [1] and [2] as shown using 2x small screws (E) in each rail
bracket. Fasten all screws with a screwdriver.
Screw in bolts (A) and insert dowels (C) into holes in panels [1] and [2].
Slot together with panel [3] as shown. Place 4x locking nuts (B) into
holes in panel [3] and tighten with a screwdriver.
A
x4
C
E
x8
E
A
3
A
A
A
E
E
F
2
1
E
E
E
F
F
F
E
E
EE
EE
C
1
2
B
B
C
CC
x4
B
Brooklyn Side Drawers
2
mocka.co.nz | mocka.com.au
Assembly Instructions
12
To begin assembly, attach 2x slide rails (F) in place on each of the
panels [1] and [2] as shown using 2x small screws (E) in each rail
bracket. Fasten all screws with a screwdriver.
Screw in bolts (A) and insert dowels (C) into holes in panels [1] and [2].
Slot together with panel [3] as shown. Place 4x locking nuts (B) into
holes in panel [3] and tighten with a screwdriver.
A
x4
C
E
x8
E
A
3
A
A
A
E
F
2
1
E
E
F
F
F
E
E
E
E
C
1
2
B
B
C
CC
x4
B
34
Slide back panel [4] down into place along the grooves in side and
base panels as shown.
Screw in 4x bolts (A) and insert 4x dowels (C) into holes in top panel [5].
Slot together with the rest of the structure. Place 4x locking nuts into the
side panels and tighten with a screwdriver.
4
AC
A
CB
B
B
B
AC
A
C
5
Bx4
x4
C
A
Brooklyn Side Drawers
3
mocka.co.nz | mocka.com.au
Assembly Instructions
56
To assemble the drawers, first attach side panels [6] and [7] to back
panel [8] using 4x long screws (D) in the holes provided and tighten
with a screwdriver.
Slide the base panel [9] into place in the grooves in the side and back
panels. Screw 4x bolts (A) into the front panel [10] and attach to the side
panes using 4x locking nuts (B). Tighten with a screwdriver.
Drawers (x2) Drawers (x2)
D
x4
D
D
D
6
7
8
9
B
B
B
B
A
A
A
10
Bx4
A
x4
Brooklyn Side Drawers
Assembly Instructions
4
mocka.co.nz | mocka.com.au
Jolt Wardrobe
ASSEMBLY INSTRUCTIONS
5
mocka.co.nz | mocka.com.au
56
To assemble the drawers, first attach side panels [6] and [7] to back
panel [8] using 4x long screws (D) in the holes provided and tighten
with a screwdriver.
Slide the base panel [9] into place in the grooves in the side and back
panels. Screw 4x bolts (A) into the front panel [10] and attach to the side
panes using 4x locking nuts (B). Tighten with a screwdriver.
Drawers (x2) Drawers (x2)
D
x4
D
D
D
6
7
8
9
B
B
B
B
A
A
A
10
Bx4
A
x4
78
Attach 2x rail components (G) to both left and right sides of the drawer
using 4x screws (E).
Check all screws are securely fastened. Repeat Steps 5 to 8 to
assemble the second drawer.
Drawers (x2) Drawers (x2)
G
E
E
G
E
Brooklyn Side Drawers
Assembly Instructions
5
mocka.co.nz | mocka.com.au
910
Slide both completed drawers into place on the rails in the cabinet as
shown.
Ensure all drawers easily slide open and closed.
Brooklyn Side Drawers
Assembly Instructions
6
mocka.co.nz | mocka.com.au
910
Slide both completed drawers into place on the rails in the cabinet as
shown.
Ensure all drawers easily slide open and closed.
11
12
Attach safety strap (W) to the top of the back side of the unit using
screw (Y). Tighten with a screwdriver.
Once assembled lift furniture into place, do not drag. Use a drill to create
a small hole lining up with the top of the safety strap (W). Fasten to wall
using wall anchor (X), washer (Z) and a wall screw. Ensure unit is
balanced and steady before use. You’re done, enjoy!
Wall Strap
Y
W
r/washer
screw
W
X
Z
W
x1
wall
anchor
wall
screw
Washer
Strap
Brooklyn Side Drawers
Assembly Instructions
7
mocka.co.nz | mocka.com.au

Other Mocka LCD Drawer manuals

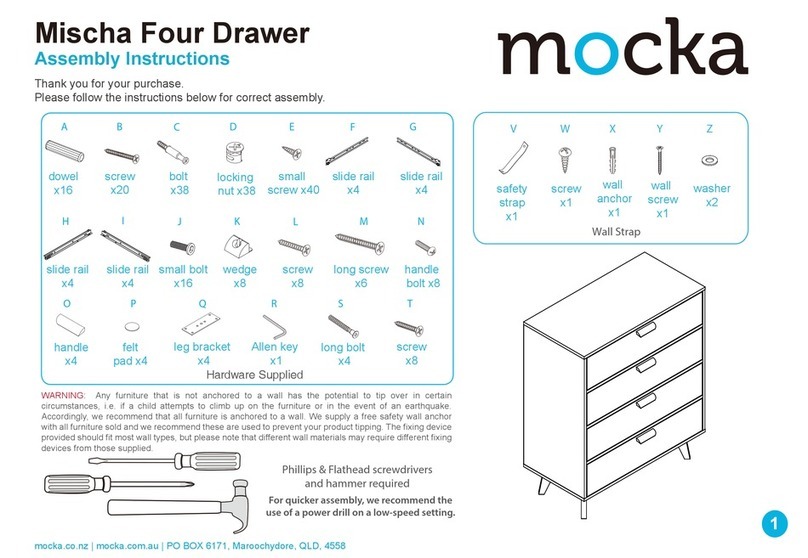
Mocka Maya Three Drawer User manual

Mocka

Mocka Maya Three Drawer User manual

Mocka Mischa User manual

Mocka

Mocka Mischa User manual

Mocka Axel Locka 4 Drawer User manual

Mocka

Mocka Axel Locka 4 Drawer User manual

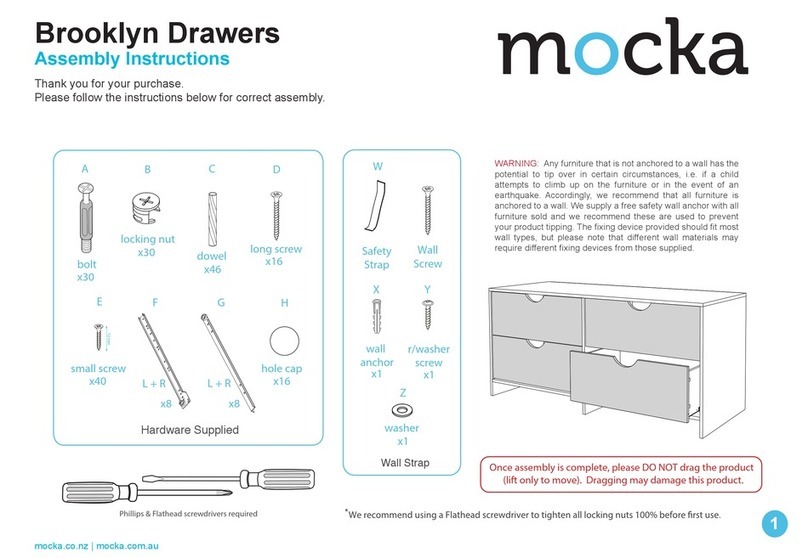
Mocka Brooklyn Drawers User manual

Mocka

Mocka Brooklyn Drawers User manual

Popular LCD Drawer manuals by other brands

Electrolux E6WHPED3 Installation instruction

Electrolux

Electrolux E6WHPED3 Installation instruction

Prepac CH-6600 Assembly instructions

Prepac

Prepac CH-6600 Assembly instructions

KinAn HT17 Series user manual

KinAn

KinAn HT17 Series user manual

Avenview RKM Series RKM-PS2 user guide

Avenview

Avenview RKM Series RKM-PS2 user guide

Ergotron StyleView SV32 PHD Assembly instructions

Ergotron

Ergotron StyleView SV32 PHD Assembly instructions

IPGARD SDVN-4Q-P user manual

IPGARD

IPGARD SDVN-4Q-P user manual

StarTech.com RKCONS1708K quick start guide

StarTech.com

StarTech.com RKCONS1708K quick start guide

Vivo DESK-AC03B instruction manual

Vivo

Vivo DESK-AC03B instruction manual

Seconique Furniture Nordic 3 Drawer Chest Aassembly Instructions

Seconique Furniture

Seconique Furniture Nordic 3 Drawer Chest Aassembly Instructions

Norco KVM-1501WS user manual

Norco

Norco KVM-1501WS user manual

LevelOne KVM-0217 user manual

LevelOne

LevelOne KVM-0217 user manual

ATEN CL3800 user manual

ATEN

ATEN CL3800 user manual

Raritan T1700 Quick installation and setup guide

Raritan

Raritan T1700 Quick installation and setup guide

Minicom SmartRack Quick installation guide

Minicom

Minicom SmartRack Quick installation guide

Viking VDUI5240 Install, Use, & Care Guide

Viking

Viking VDUI5240 Install, Use, & Care Guide

Synergy Global Technology NOVA MIL1U17-01 user manual

Synergy Global Technology

Synergy Global Technology NOVA MIL1U17-01 user manual

U-Line 3060DWR user guide

U-Line

U-Line 3060DWR user guide

Server Racks Australia LKD-15X user manual

Server Racks Australia

Server Racks Australia LKD-15X user manual

manuals.online logo
manuals.online logoBrands
  • About & Mission
  • Contact us
  • Privacy Policy
  • Terms and Conditions

Copyright 2025 Manuals.Online. All Rights Reserved.