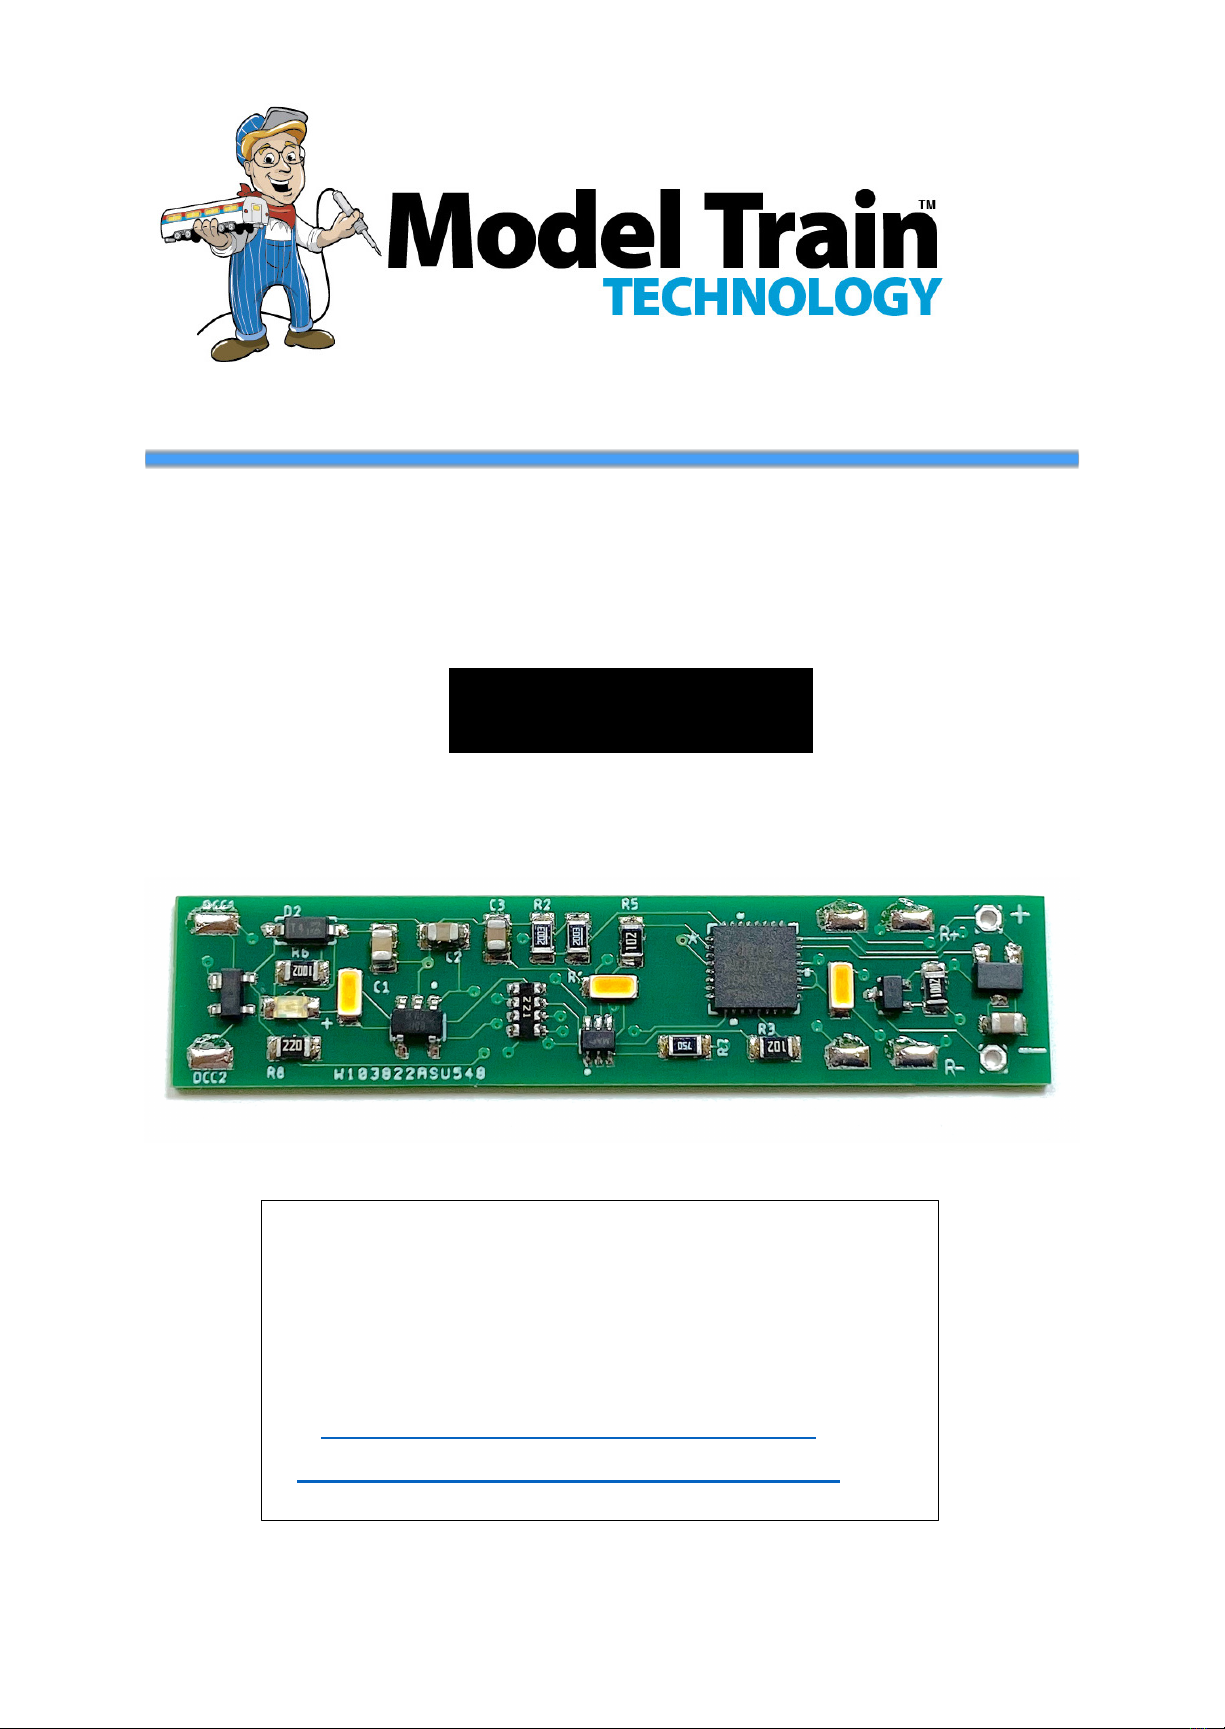
Model Train Technology CABOOSE II Series User manual

January 2021
1
CABOOSE CAR LIGHTING with DCC DECODER
OPERATIONS MANUAL
- SERIES II -
Version 1.7
Model Train Technology LLC
10524 Moss park Rd. Ste. 204-256
Orlando, Florida 32832
407-242-5436
www.ModelTrainTechnology.com
Version 1.1

January 2021
2
The Caboose LED light boards (with DCC Decoder) has 3 built-in LEDs
and two pads (AUX) to connect two additional LEDs that are typically
used for red end-of-car lighting. The Decoder has a Microprocessor
(MCU) and the board behaves like an engine decoder (NMRA Multi-
Function Decoder) using the function keys and speed control for
brightness adjustments and address setting. Typical current draw @
50% brightness (recommended) is ~10-30ma. All LED light boards have
capacitors and circuitry to reduce flicker and to maximize keeping the
system alive.
As per NMRA standards, the board default address is 3.
You can set the address to anything that your DCC system supports
(short and long addresses).
RESET
If you get lost, stuck, can’t remember your board’s address or just want
to start over then follow these steps. You don’t need to do this with a
new board it’s already ready to go:
1. Connect you board to you DCC main power supply. Make sure you
are not connected to the programming lines. This works with the
main track power.
2. As part of our ongoing inventive spirit, we recently we began
including a solid-state (non-mechanical) magnetic sensor on the
board instead of a push button switch. This allows you to use a small
magnet to trigger the reset from the OUTSIDE of the car once the
board is installed. Now, you don’t have to take the car apart in the
rare case that you need to perform a reset.

January 2021
3
3. That is what that funny looking refrigerator magnet is for! Simply
hold the magnet above the board about 2” max for 5-8 seconds.
Once the light blinks once, move the magnet away to let the board
complete it’s reset cycle (4 flashes confirm it is done).
4. The lights will come on momentarily, turn off for about 5 seconds
and then flash when the reset is complete. After the lights go out,
wait about 2 seconds. The board address will be reset to Address 3
and the default brightness values will be reset to ~40%.
OPERATIONS:
FUNCTION KEYS F0-F4
F0 Turn on the lights to the default brightness. If this is a new board,
or you performed a RESET, the brightness will be 50%
F1 Force the brightness of the Main Lights to 100% regardless of the
default setting. This has no effect on the AUX lights.

January 2021
4
F2 This is the momentary push button (HORN) and is used for two
operations:
o PUSH ONCE to SAVE the default brightness for the MAIN LEDs
and AUX LEDS.
o PRESS and HOLD for 10 seconds to set the DECODER BOARD
ADDRESS while the car is on the main track. This is a cool
feature we added that avoids having to move the car to a
programming track! (see below)
F3 Turns ON/OFF the AUX lights
F4 ACTIVATE the speed throttle to adjust the brightness of the lights.
If you move the speed control very fast there might be a slight
delay in the LED response/adjustment. Fooling around you might
spin up and down quickly for example. Once you stop though, the
board will catch up.
F5 Activates the Ramp Up/Down Fade function for the main lights.
Instead of instant on/off, the LEDs will dim up and down.
F6 Activates the flashing mode of the Rear LEDs. In some cases when
you turn flashing off, the Red LED may stay off even though F3 is on.
This is an artifact of the flashing mode. Simply cycle F3 OFF and then
ON to restore the RED on. F7 has to be Off.
F7 Activates the flickering mode of the Rear LEDs. F4 and F6 have to
be Off.
F8 Activates the flickering mode of the MAIN LEDs. F4 has to be OFF

January 2021
5
SAVING THE BRIGHTNESS LEVELS:
F2 works in conjunction with F4 (which activates the SPEED THROTTLE)
to set the brightness of either or both the main LED’s and the Read End
lights.
The way it works: Press F2 ONCE to save the displayed LED brightness.
NOTE: NCE DCC – USE the HORN button instead of F2. The HORN
button is configured as a momentary switch while the #2 button on the
controller is a toggle – On and Off. Otherwise, if you accidentally press
the HORN without another function key ON, the board will immediately
enter Address Programming mode. If this happens, just remove the
track power for 10 seconds and the board will resume normal mode
and all your settings are retained.
FURTHER: NCE DCC. - Set CV61 = 1. This is necessary to synchronize
the pulsing count so that when you press the horn it doesn’t
immediately enter address programming mode. See Chart.
Step-by-step:
Set your DCC Throttle to match the address of the board just as you
would to select an engine decoder. (remember, default is 3). Turn ON
the light(s) you want to control/ adjust. You can set the MAIN lights
and the AUX light bright separately OR together. If they are BOTH on
when you press F2 (SAVE), the SAME brightness will be saved for both.
If you want different light levels for the MAIN and AUX lights, then
SAVE one first, and then turn it off, then turn on the other, adjust its
brightness and then press F2 to save the setting for that light.

January 2021
6
SET THE DECODER BOARD ADDRESS (without the
programming track!)
Using this method, you can set the light board to an any address
between 1 and 2048. (the range of switch addresses)
Turn OFF both F0 and F3 lights. The board will not enter programming
mode if either is ON.
PRESS AND HOLD F2 (NCE: HORN, not F2) for 10 seconds to put the
board in ADDRESS PROGRAMMING MODE.
IF YOU HAVE AN NCE SYSTEM or other system where F2 is NOT
momentary, use the HORN function key – which is Momentary,
otherwise the board will enter programming immediately.
(This can be done anywhere on the layout but the power to the track
must be ON. This will NOT affect any Multifunction Decoder (Engine)
on the layout.
After roughly 8 seconds the board lights will blink (~ 1 time a second).
This tells you that the board is ready to accept a new address.
For this to work you must have the throttle set to the CURRENT board
address and you are able to control the lights On/Off from the throttle.
If not, either reset the board back to Address 3 or set your DCC throttle
to the assigned board address.
Using the SWITCH function on your throttle, select the new address you
want to program – then press either CLOSED or THROWN. The lights
will go out indicating the new address has been saved. Using your
throttle, EXIT switch mode and set the throttle (Loco) number of the

January 2021
7
new address you just programmed. Then use F0 and F3 to test for
correct operations – the lights go on!
• This process has no effect on any engine decoder (Multifunction)
on the layout.
• This will NOT reprogram any of your switches (UNLESS you
simultaneously put your Accessory Decoder into programming
mode – We’re not sure why anyone would do that?)
• If you use an address that is already assigned to a SWITCH – don't
worry! When you press CLOSED/THROWN you will hear that
switch operate but only for that one instance of programming this
decoder. Thereafter the decoder knows it’s not a switch and will
ignore any switch commands and likewise, your switch will ignore
commands sent to this board. Pretty clever!
To ABORT this Address Setting mode, simply rock the car off the rails so
that power is interrupted for 2-3 seconds, then roll the car back on the
track.
THE OLD FASHION WAY (CLASSIC DECODER ADDRESS
PROGRAMMING
This LED Light Board can be programmed using any standard NMRA
DCC compliant system. We can’t give you every combination of steps
here because of the wide variety of manufacturers since each has its
own specifications and limits. For example, NMRA extended addressing
can go to 10,000+ but the Digitrax® throttle only allows up to 9983.

January 2021
8
As you would with your engine decoder, hook up the light board (or put
the car with it installed on the programming track) and program as you
normally would. CV8: is RESET. This is a good thing to remember.
When in “native” DCC programming mode this LED Light Board will
both Short and Long addresses. Just bear in mind not to set it to an
address that your DCC system and hand controller do not support.
From time to time we stumble across occasional strange behavior in
mixed system environments. For the most reliable (and we think)
simple operation, use the built-in in address programming mode (not
programming tracks) and work your addressed to be organized within
the 2044 address limit.
PERFORMANCE and INSTALLATION
The Caboose LED Light Boards are designed to operate visually best at
about 50% brightness. On my layout I run at about 30%. That is, the
best visual effect for the train cars is 30-50%. The circuit will still
protect the LEDs if you operate at 100%. However, if you decide to
build a really long train all with lighted cars the cumulative effect of the
current drain will affect other action (engines) on the layout. For
planning purposes, 10-30ma (milliamp) or less per car is about average.
We design the board so you could run the lights brighter but for both
appearance and current drain it’s better to run at half or less rated
capacity.
The N Scale Caboose board will safely operate at HO voltages up to
about 16V. It should NOT be operated at G scale voltages of 18-20v.
We have other boards that are designed for O and G scale.

January 2021
9
For all other cars that are not pre-configured with electrical pickups, we
recommend our “floating” brass strips. A single 1mm or 2mm piece of
brass is wrapped around each axle of the truck at either end of the car.
Then, a 36AWG stranded wire (supplied) is soldered to the brass and
connects to the DCC1 and DCC2 on the board. The reason we call this
“floating” is that it is NOT fastened to the truck. This allows it to shift
with the movement of the axle and doesn’t bind the wheel. ALL the
other types we tried required you to fasten their metal contact to the
truck with a screw or by glue. This tends to put extra pressure on the
wheel or axle and causes it to pinch inside the truck wheel holder. It
also adds friction that cause the car not to roll freely.
The width of the board is 11.5mm. It’s perfectly ok to sand down the
edge of the board up to a total of about 1mm. Use your good
judgement on this. The underside of the board is ground (GND), and

January 2021
10
you can see that it starts a little bit away from the edge of the board. I
know it’s hard to see but wiggle the board under a light to see the
reflective difference. Consider up the edge of the GND a safe zone for
filing and sanding. I use a piece of 100 grit paper on a flat surface and
slide the edge of the board over it. The PCB material is fairly soft so
don’t go overboard!
That’s it! Have fun and please send us feedback or special requests.
Text or call: 407-242-5436

January 2021
11
CV
Behavior
Comments
47
Saved Default Brightness for
Main LEDS
Use F0 On, F4 On to activate "Speed" control and
F2 to save. Valid value 1-127
48
Saved Default Brightness for
REAR LEDS
Use F3 On, F4 On to activate "Speed" control and
F2 to save. Valid value 1-127
49
Fade speed interval
Set via CV only
50
RESERVED
51
F3-sync
Makes AUX pads follow MAINS only. Off=0,
On = any non-zero number
52
AUTO-ON
Set to “1”, ALWAYS turn on at Power Up
regardless of F0 setting. NCE® needs this set to =1
53
Auto-On for AUX pads
0=Off, 1=0n, 2-Flicker, 3-blink
54
Fade On/Off
Sets default 0=Off, 1=0n
55
Always ON (MAIN)
Light is on regardless of DCC commands.
56
Always ON (AUX)
Light is on regardless of DCC commands.
61
Set for NCE DCC
Adjust the F2 delay for address programming.
7
READ ONLY - Software
Version
FYI - in case we need to know which board you
have.
CONFIGURATION VARIABLES (CV) CHART

January 2021
12
Programming on the Main (DCC)
Almost all DCC systems have a way to send “write only” commands to decoders.
This is called Ops Mode for Digitrax and Programming on the Main in NCE – speak.
This provides a way to set the MTT Light board CV’s without moving the car to a
programming track.
ANY TIME you write CV’s directly you will need to reboot the board so it can read
the new settings. Simply rocking the car off its wheels for 5-10 seconds will do
this. The time difference is based on which board you have and how many
SuperCaps™ are installed. Turn the lights on and then rock the car (or remove it
from the track) and wait until all the LEDs are completely off, count to 3 and then
replace the car on the track.
When would you need this? If you set CV55 an CV56 to have the lights always
on, the only way to regain control using DCC is to the CV’s back to zero (0), then
reboot the board as just described.
CV Direct Programming (programming track)
The MTT LED light boards can read and write CV’s directly using your DCC
programming track. To make this work properly you must do two things:
1. CV’s 52,53, 55 and 56 must be set to zero. These are all “auto-on”
features meant to override some aspects of DCC signaling – and thus
they confuse the CV read/write function.
2. Have the car off the track for 20 seconds to allow the SuperCaps™ to
completely discharge.
If on the first attempt to read a CV while on the programming mode/track, just try
again. Once in a while there might a very small residual in the capacitors. The
first read will usually clear this.

January 2021
13
BOARD VERSION: 8.5 to 8.7
LED Caboose Light Board Installation Guide
Connect DCC1 and DCC2 to
the rail pick ups of your
train car.
Notes:
Feel free to paint over the Blue board mounted LED with black paint. You will not harm the board or
its functions.
You can connect ONE extra 3.2V LED to the MAINs via the PAD provided.
The two solder pads at the RESET end of the board will support two 1.8-3.3v LEDs.
To RESET the board, hold the jewel magnet over the RESET Magnet sensor for ~3 seconds until the
lights come on, then off, then will blink when finished.
There are two Solder HOLES for our SuperCap™ board. See SuperCap™ instructions for more
information.
Magnet
RESET
DCC
Connect
MAIN LED
PAD for Cupola
AUX LED
REAR LED

January 2021
14
SuperCap™ Installation
Solder the pins onto the
SuperCap first – caps facing UP.
Try to make the pins straight
but perfect isn’t necessary.
Keep the ”foot” on the pin
while doing this.
Stack the caboose board on
top and solder the pins on the
top. Using this method the
polarity will be matched
properly. Solder one pin first,
check the alignment, and then
solder the second pin.
Slide off the plastic feet and
clip the pin on the bottom of
the SuperCap board and on the
top of the caboose board.

January 2021
15
The SuperCap™ board is designed to work ONLY with Series II LED
Lightboard from Model Train Technology. (Caboose Board v3.1a and
later) They will not work directly attached to DCC or to any other
decoder system.
Most so called “keep alive” after-market products interfere with the
proper operation of DCC CV read and write operations. By
integrating the SuperCap™ technology into our board design the CV
functions of DCC will still work.
When you move a car with our light board and SuperCap attached to
a programming track, wait approximately 20 seconds before reading
or writing CV’s. This allows the board circuitry to fully discharge the
capacitors. The capacitors recharge once the car is set back on the
track and the lights are turned on.
DO NOT CONNECT SUPERCAPS™ BOARD TO DCC

January 2021
16
Version 1.7
Copyright© 2021 Model Train Technology LLC
Model Train Technology LLC
10524 Moss park Rd. Ste. 204-256
Orlando, Florida 32832
407-242-5436
www.ModelTrainTechnology.com
Version 1.1
Copyright© 2019 Model Train Technology
LLC
Other Model Train Technology Lighting Equipment manuals
Popular Lighting Equipment manuals by other brands

Daniamant
Daniamant RL1 Installation and maintenance instructions

Kudux
Kudux Hot Mix 15R user manual

Perel
Perel LEDA7001NW-BM user manual

Blue Thumb
Blue Thumb IllumiGlow PB2897 installation instructions

Satco
Satco NUVO 67-136 Installation and safety instructions

Unipro
Unipro 811050 Mounting and Using Instructions

Secom
Secom ECODUT Installation and assembly instructions

Chauvet
Chauvet SlimPAR QUAD 12 IRC Quick reference guide

Lightolier
Lightolier PowerArc CANOPY FIXTURE Instructions for installation

Equinox Systems
Equinox Systems PIXELpoint Batten user manual

PrintIn3D DigiTech
PrintIn3D DigiTech PrintInCuring user manual

EuroLite
EuroLite LED MAT-Bar 4X64 RGB DMX Flower Effect user manual