manuals.online logo
Brands
  1. Home
  2. •
  3. Brands
  4. •
  5. modway
  6. •
  7. Indoor Furnishing
  8. •
  9. modway 6275 User manual

modway 6275 User manual

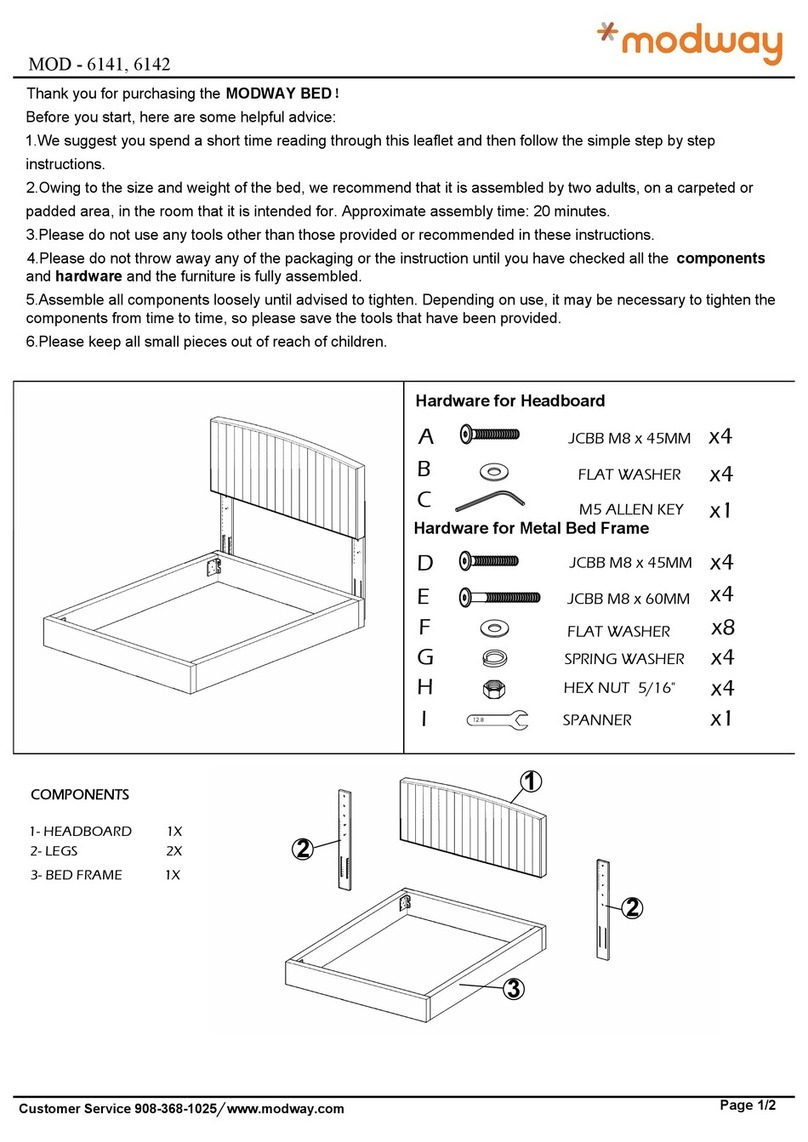
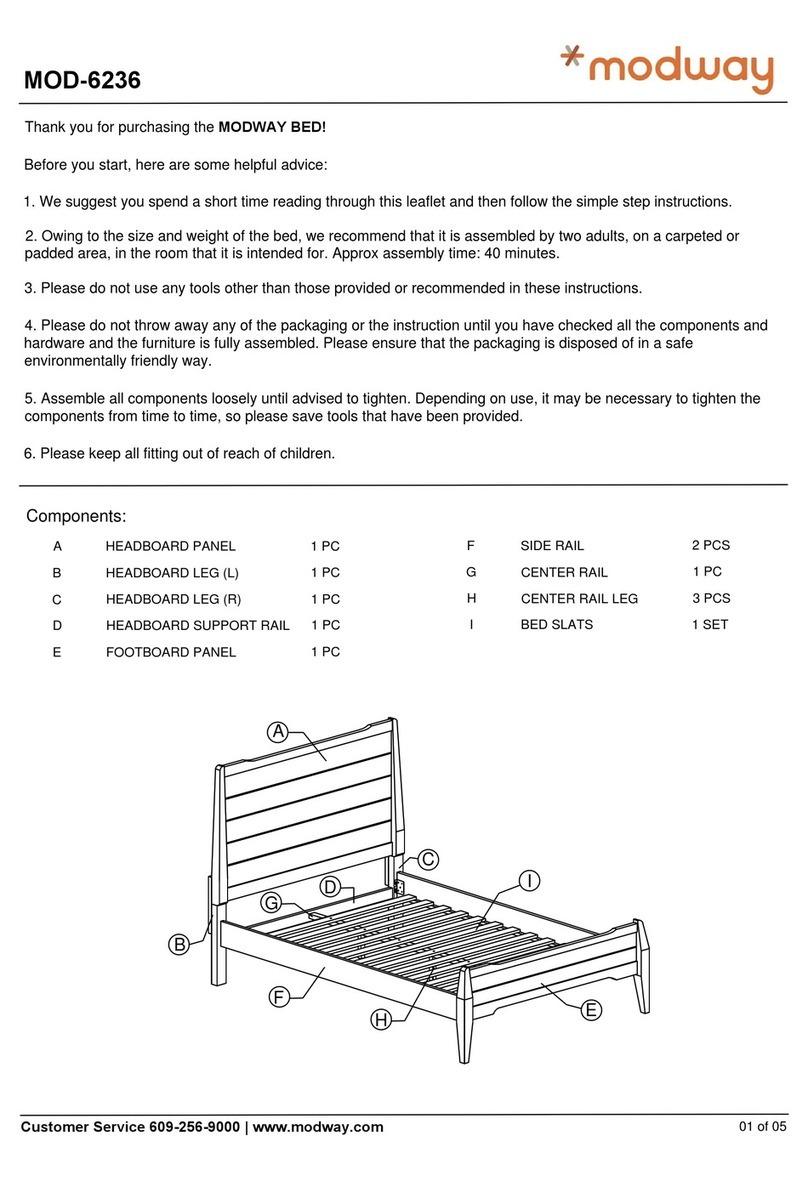
Thank you for purchasing the MODWAY BED!
Before you start, here are some helpful advice:
1. We suggest you spend a short time reading through this leaflet and then follow the simple step instructions.
3. Please do not use any tools other than those provided or recommended in these instructions.
4. Please do not throw away any of the packaging or the instruction until you have checked all the components and
hardware and the furniture is fully assembled. Please ensure that the packaging is disposed of in a safe
environmentally friendly way.
5. Assemble all components loosely until advised to tighten. Depending on use, it may be necessary to tighten the
components from time to time, so please save tools that have been provided.
6. Please keep all fitting out of reach of children.
Hardware:
1WOOD SCREW M4 x 20mm 2 PCS
2WOOD SCREW M4 x 25mm 12 PCS
3
4JCBB BOLT M8 x 30mm 4 PCS
5
M8 SPRING WASHER
4 PCS
6
M8 FLAT WASHER
4 PCS
Component:
A. HEADBOARD
C. SIDE RAIL (L/R)
D. CENTER RAIL
E. CENTER RAIL LEG
F. CENTER RAIL SUPPORT
G. BED SLAT
H. BED LEG
01 of 05
MOD - 6275
x 1
x 2
x 1
x 3
x 2
x 26
x 4
B. FOOTBOARD x 1 G
D
E
F
A
B
C
H
BED SLAT CENTER FITTER
7 26 PCS
WOOD SCREW M3.5 x 16mm 8 PCS
BED SLAT CENTER FITTER
813 PCS
M5 ALLEN KEY (BALL SHAPE)
91 PC
2. Owing to the size and weight of the bed, we recommend that it is assembled by two adults, on a carpeted or
padded area, in the room that it is intended for. Approximate assembly time: 35 minutes.
STEP 1
02 of 05
STEP 2
2.1 Fasten Center Rail Leg (E) to Center Rail (D) attach by screwing the protruding nut
into the corresponding holes.
A
B
D
E
2. WOOD SCREW M4 x 25mm x 12pcs
MOD - 6275
H
5649
2
STEP 1.1
STEP 1.2
4. JCBB BOLT M8 x 30mm x 4pcs 5. M8 FLAT WASHER x 4pcs
6. M8 SPRING WASHER x 4pcs 9. M5 ALLEN KEY (BALL SHAPE) x 1pcs
Screw Driver
1.1 Insert and secure the Bed Leg (H) to the Headboard (A) and Footboard (B) using hardware
parts Wood Screw (2), Bolt (4), Flat Washer (5), Spring Washer (6) and Allen Key (9).
STEP 3
03 of 05
STEP 4
A
C
4.1 Attach the Side Rails (C) to the Headboard (A) & Footboard (B) using hardware part
Allen Key (9).
3.1 Loosen the pre-inserted bolt on the Headboard (A) & Footboard (B) using hardware part
Allen Key (9).
9
A
B
CA
B
MOD - 6275
9
9. M5 ALLEN KEY (BALL SHAPE) x 1pcs
STEP 5
STEP 6
04 of 05
3. WOOD SCREW M3.5 x 16mm x 8pcs
1. WOOD SCREW M4 x 20mm x 2pcs
D
A
F
C
3
x 2
D
A
x 2
1
6.1 Locate Center Rail (D) into the corresponding brackets inside of Headboard (A) and
footboard (B) using hardware parts Wood Screw (1) .
5.1 Locate Center Rail (D) into the corresponding brackets inside of Headboard (A) and
Footboard (B).
5.2 Insert and secure the Center Rail Support (F) to the Center Rail (D) & Side Rail (C) using
hardware parts Wood Screw (3).
A
Screw Driver
Screw Driver
A
B
F
D
C
B
D
MOD - 6275
05 of 05
STEP 7
Assembly is complete. The bed is ready to use now!
NOTE: Hardware may loosen over time. Periodically check that all connections are tight.
STEP 8
8.1 Carefully position the assembled bed to the desired location by four adults.
7.1 Insert the Slats (G) into the end slat cap (7) & (8) and fix it to the corresponding holes
on the Side Rail (C) .
7. BED SLAT SIDE FITTER x 26pcs 8. BED SLAT CENTER FITTER x 13pcs
Palm
Palm
G
7
G
G
8
STEP 7.2
STEP7.1
87
G
7
G
MOD - 6275
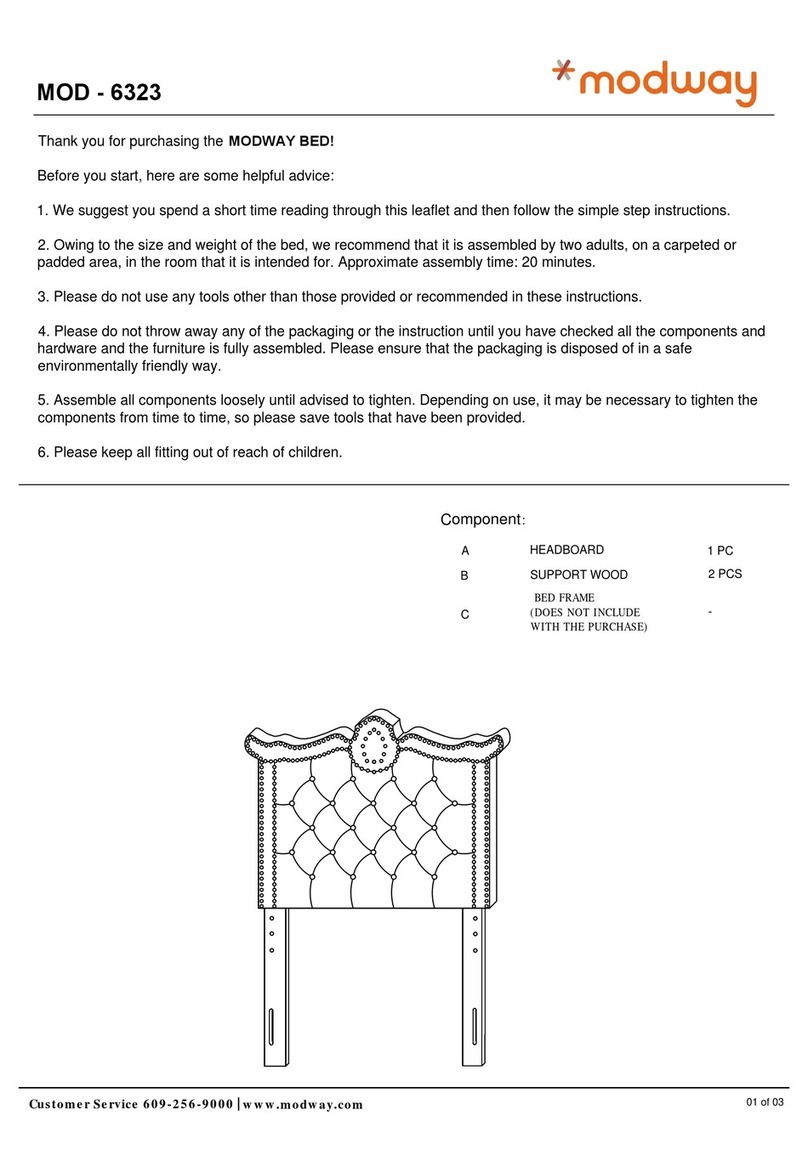
Thank you for purchasing the MODWAY BED!
Before you start, here are some helpful advice:
1. We suggest you spend a short time reading through this leaflet and then follow the simple step instructions.
2. Owing to the size and weight of the bed, we recommend that it is assembled by two adults, on a carpeted or
padded area, in the room that it is intended for. Approximate assembly time: 20 minutes.
3. Please do not use any tools other than those provided or recommended in these instructions.
4. Please do not throw away any of the packaging or the instruction until you have checked all the components and
hardware and the furniture is fully assembled. Please ensure that the packaging is disposed of in a safe
environmentally friendly way.
5. Assemble all components loosely until advised to tighten. Depending on use, it may be necessary to tighten the
components from time to time, so please save tools that have been provided.
6. Please keep all fitting out of reach of children.
Component:
MOD-6277
01 of 03
Customer Service 609-256-9000 www.modway.com
HEADBOARD
SUPPORT WOOD
BED FRAME
(DOES NOT INCLUDE
WITH THE PURCHASE)
1 PC
2 PCS
A
B
C-
02 of 03
Customer Service 609-256-9000 www.modway.com
STEP 1
1.1 Open the zip at the headboard backing and take out all the parts.
1.2 Align pre-drilled support stand holes over the pre-drilled headboard holes according to your
desired headboard height
1.3 Secure each support stand by using 2x JCBB Bolt (1) and 2x M8 Flat Washer (2).
Tighten with supplied Allen Key (3).
Repeat the same procedure to secure the other side.
JCBB BOLT M8 x 60mm
M8 FLAT WASHER
M5 ALLEN KEY
JCBB BOLT M6 x 60mm
4 PCS
4 PCS
1 PC
JCBB BOLT M6 x 35mm
M6 FLAT WASHER
M6 SPRING WASHER
M6 HEX NUT
M4 ALLEN KEY
4 PCS
4 PCS
8 PCS
4 PCS
4 PCS
1 PC
HARDWARE BED FRAME
HARDWARE HEADBOARD
4
5
6
7
8
9
1
2
3
Note: Hardware may loosen over time.
Periodically check that all connections are tight.
A
B3
1
2
MOD-6277
03 of 03
Customer Service 609-256-9000 www.modway.com
STEP 2
2.1 Line up the bed frame board's
pre-drilled holes to match those of
the headboard.
2.2 Secure the headboard to the
bed frame by using 2x bolt (4) for
the thicker bed frame, and 2x bolt
(5) for the thinner bed frame. Before
inserting each bolt, place a spring
washer (7) and flat washer (6) on
each bolt. Then fit a flat washer (6)
on the screw as it protrudes through
the other side of the bed frame.
2.3 Place a Hex Nut (8) after the
flat washer (6) at the end of each
screw. Then tighten by using the
Allen key (9).
2.4 Repeat the same procedure for
each screw and each side of the
bed frame.
B8
STEP 3
6
6
7
4
9
C
MOD-6277

Other modway Indoor Furnishing manuals
modway EEI-3424-NAT User manual

modway

modway EEI-3424-NAT User manual

modway MOD-5492 User manual

modway

modway MOD-5492 User manual

modway EEI-1211 User manual

modway

modway EEI-1211 User manual

modway EEI-2544 User manual

modway

modway EEI-2544 User manual

modway EEI-1325 User manual

modway

modway EEI-1325 User manual

modway MOD-7072 User manual

modway

modway MOD-7072 User manual

modway EEI-2122 User manual

modway

modway EEI-2122 User manual

modway EEI-3348 User manual

modway

modway EEI-3348 User manual

modway EEI-4656 User manual

modway

modway EEI-4656 User manual

modway Origin EEI-2995 User manual

modway

modway Origin EEI-2995 User manual

modway EEI-2709 User manual

modway

modway EEI-2709 User manual

modway Empress EEI-1012 User manual

modway

modway Empress EEI-1012 User manual

modway Nexus EEI-6284 User manual

modway

modway Nexus EEI-6284 User manual

modway EEI-4264 User manual

modway

modway EEI-4264 User manual

modway EEI-3749-CAP User manual

modway

modway EEI-3749-CAP User manual

modway EEI-2284 User manual

modway

modway EEI-2284 User manual

modway Transmit EEI-2528 User manual

modway

modway Transmit EEI-2528 User manual

modway Amistad EEI-6341 User manual

modway

modway Amistad EEI-6341 User manual

modway EEI-2155 User manual

modway

modway EEI-2155 User manual

modway EEI-5150 User manual

modway

modway EEI-5150 User manual

modway EEI-6057 User manual

modway

modway EEI-6057 User manual

modway EEI-5027 User manual

modway

modway EEI-5027 User manual

modway TABLE EEI-2638 User manual

modway

modway TABLE EEI-2638 User manual

modway EEI-2772 User manual

modway

modway EEI-2772 User manual

Popular Indoor Furnishing manuals by other brands

Regency LWMS3015 Assembly instructions

Regency

Regency LWMS3015 Assembly instructions

Furniture of America CM7751C Assembly instructions

Furniture of America

Furniture of America CM7751C Assembly instructions

Safavieh Furniture Estella CNS5731 manual

Safavieh Furniture

Safavieh Furniture Estella CNS5731 manual

PLACES OF STYLE Ovalfuss Assembly instruction

PLACES OF STYLE

PLACES OF STYLE Ovalfuss Assembly instruction

Trasman 1138 Bo1 Assembly manual

Trasman

Trasman 1138 Bo1 Assembly manual

Costway JV10856 manual

Costway

Costway JV10856 manual
moss DESIGN Caisson Credenza Assembly instructions

moss DESIGN

moss DESIGN Caisson Credenza Assembly instructions

Aquaglide FULL DECK 15.0 owner's manual

Aquaglide

Aquaglide FULL DECK 15.0 owner's manual

AREBOS AR-HE-SW30 user manual

AREBOS

AREBOS AR-HE-SW30 user manual

Till-Hilft Fulda 87005.330 Assembly instructions

Till-Hilft

Till-Hilft Fulda 87005.330 Assembly instructions

Twoey Outside 2010 quick start guide

Twoey Outside

Twoey Outside 2010 quick start guide

Hettich Easys 200 operating instructions

Hettich

Hettich Easys 200 operating instructions

The bedboss RELAX 404 Series owner's manual

The bedboss

The bedboss RELAX 404 Series owner's manual

Oeseder Möbelindustrie Bern 991 720 Assembly instructions

Oeseder Möbelindustrie

Oeseder Möbelindustrie Bern 991 720 Assembly instructions

Costway HW68469 user manual

Costway

Costway HW68469 user manual

Next ALIX A27743 Assembly instructions

Next

Next ALIX A27743 Assembly instructions

BROSA Hans Assembly guide

BROSA

BROSA Hans Assembly guide

Prodigg MINIKA PBA015T-FUR installation manual

Prodigg

Prodigg MINIKA PBA015T-FUR installation manual

manuals.online logo
manuals.online logoBrands
  • About & Mission
  • Contact us
  • Privacy Policy
  • Terms and Conditions

Copyright 2025 Manuals.Online. All Rights Reserved.