K1
K1
K1 K1
Grooves
A FEW TIPS
BEFORE YOU START
geotextile membrane to the inside
edges, and fold the excess underneath
your Keyhole Garden.
Lastly, place the 4 caps on each of the
4 corners.
Wood is a living material that continues to evolve even after it is cut.
doesn’t dry evenly, and this can sometimes result in a few cracks. These
To protect the wood from outdoor moisture, insects, and fungus, we strongly recommend applying a natural
For your Keyhole Garden’s permanent home, choose a spot that gets plenty of sun during the day, is
Garden to stop little voles making it their home.
to the inside, making sure it covers around 8 inches of the inner walls. This geotextile membrane will allow
excess water to drain while retaining the organic matter.
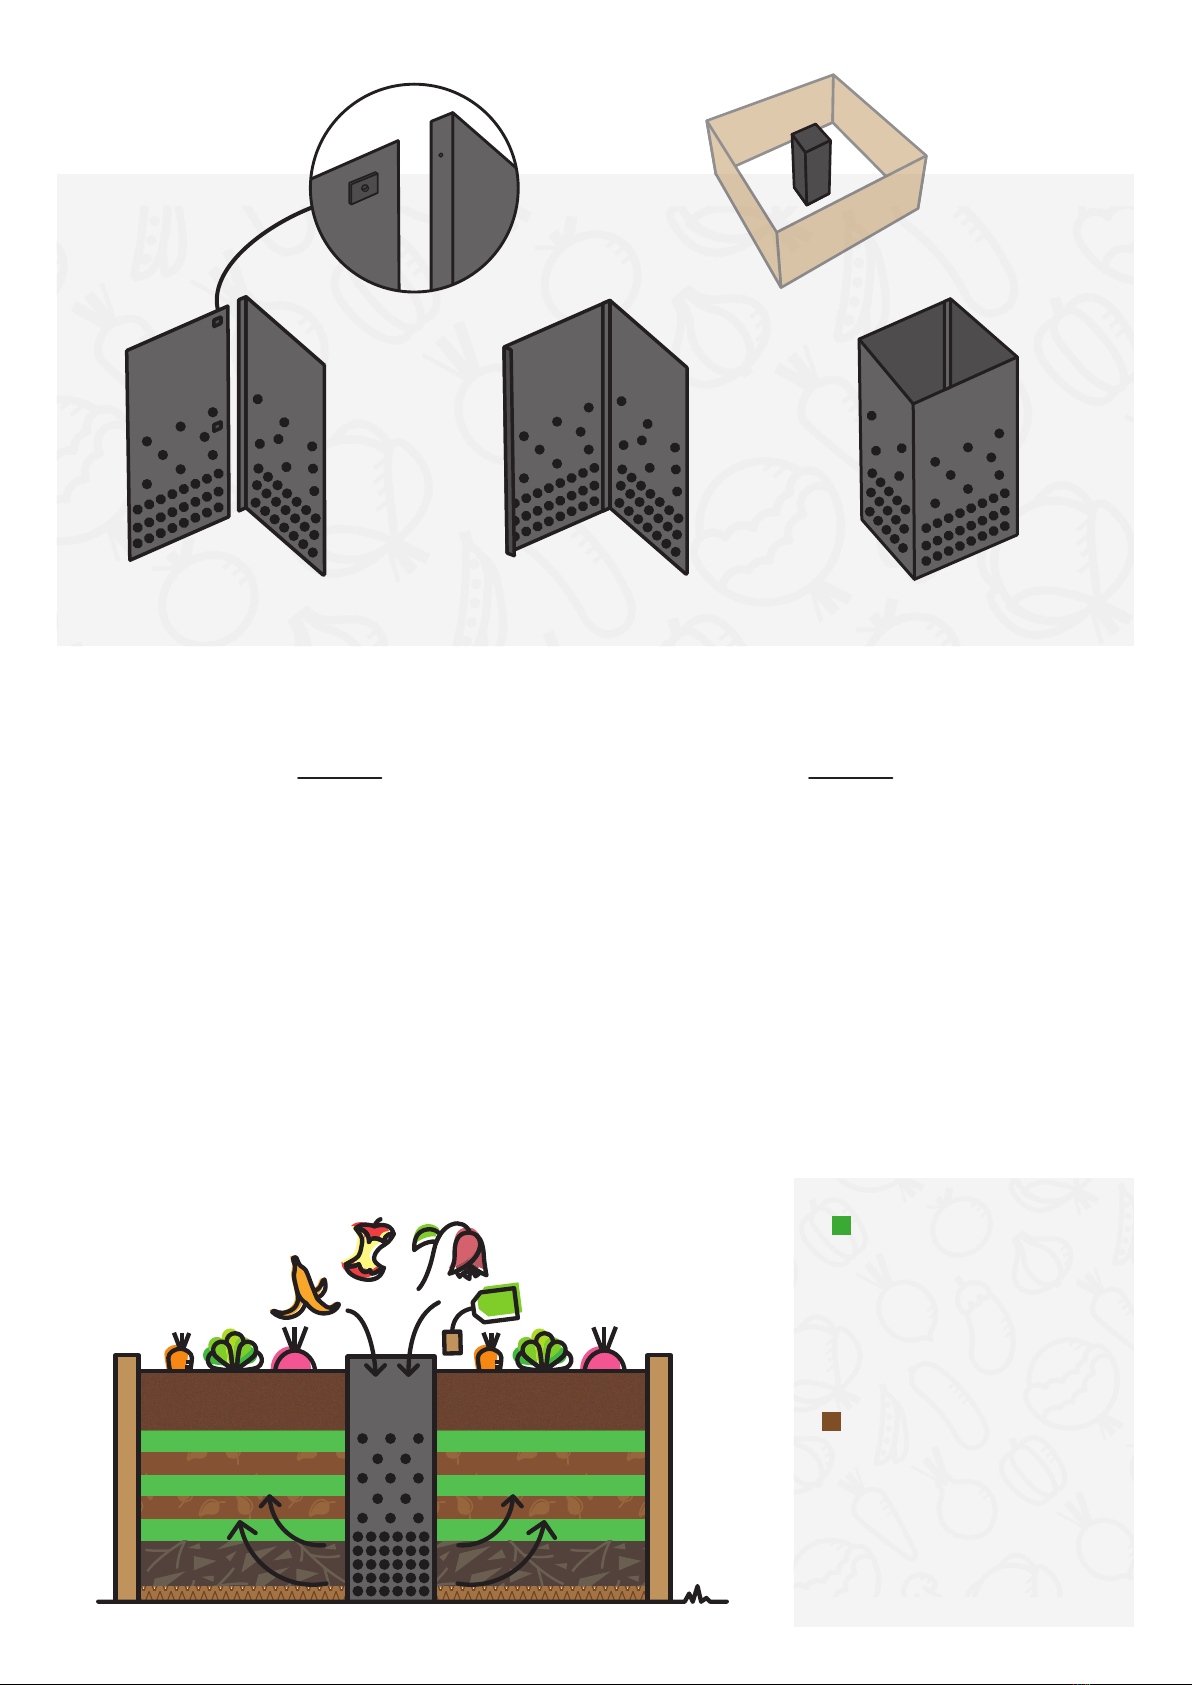
Once you have chosen the right spot, you are ready to assemble your Keyhole Garden, following the
instructions in the diagram below:
• To assemble the base of your Keyhole
Garden, place 4
K1
boards on the
with the tongues facing up, and
insert the boards into the corners as
shown in the diagram.
• Next, add the other boards and
K2
boards, to
complete your Keyhole Garden
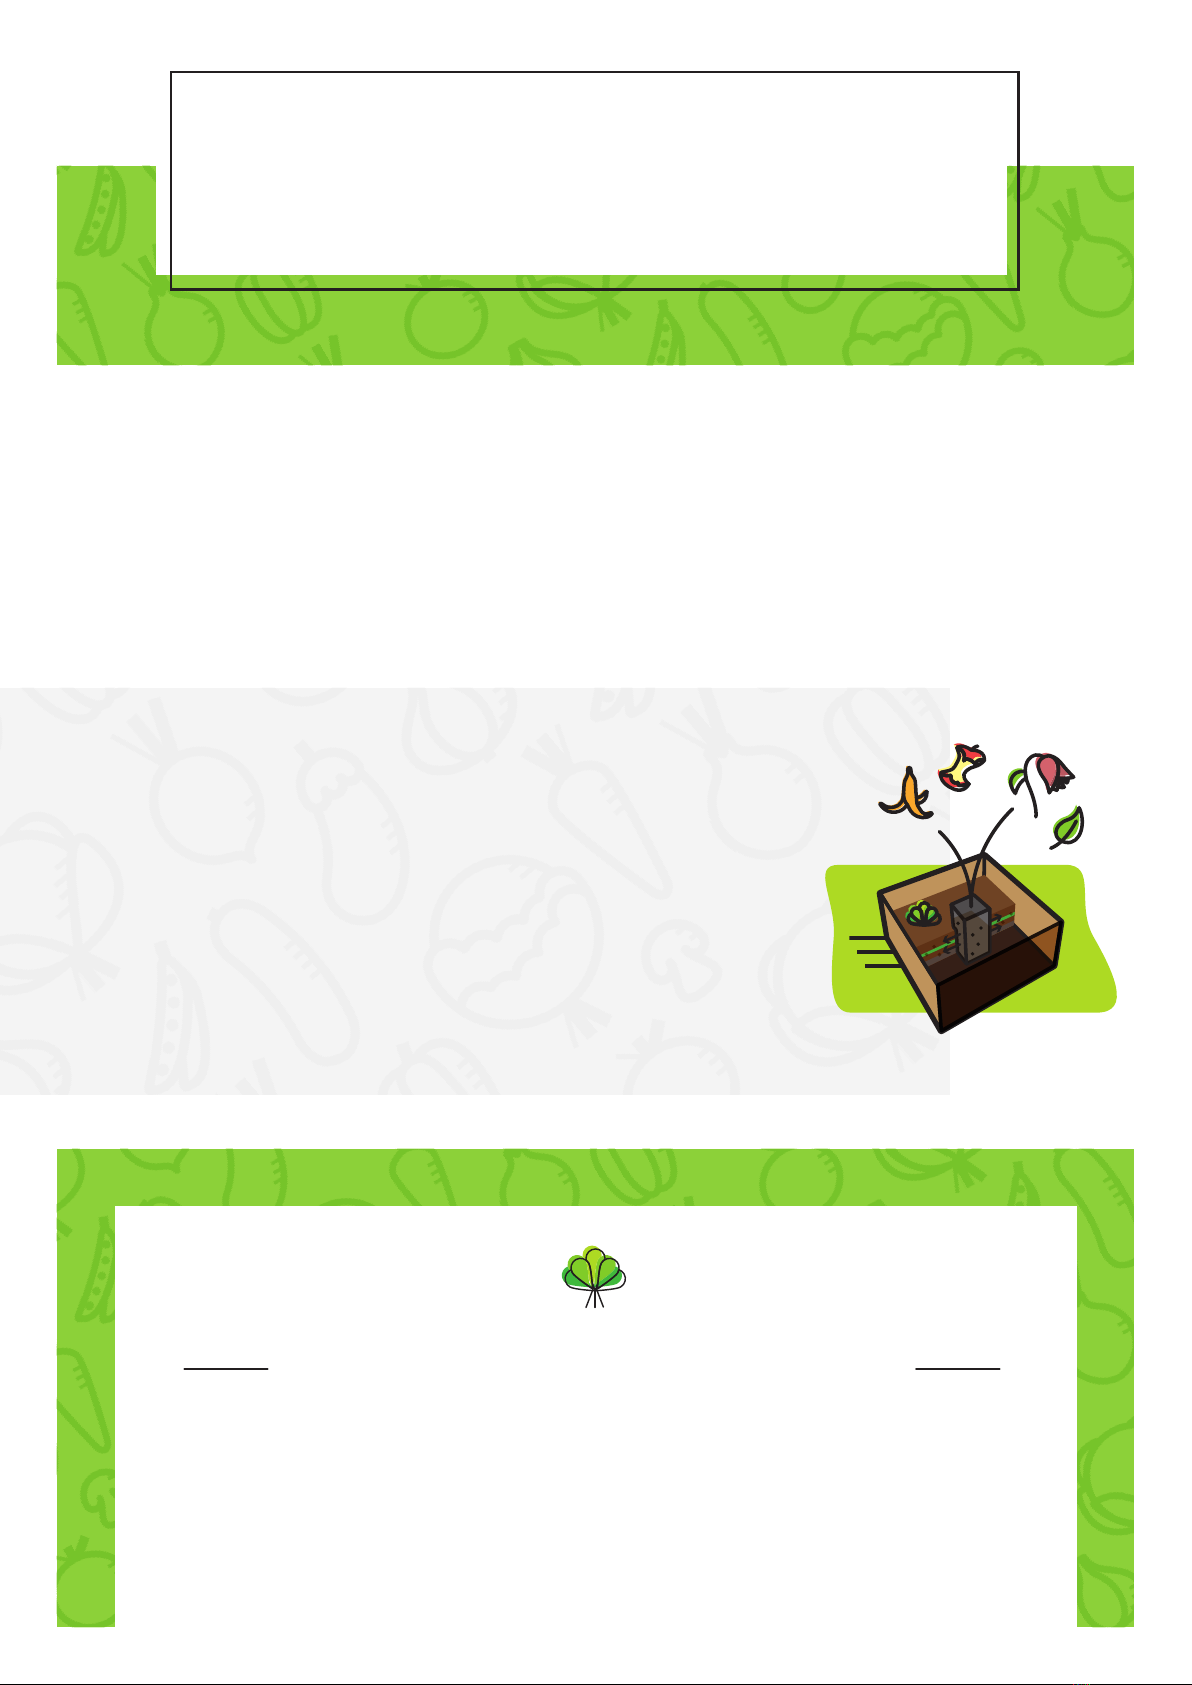
Assemble your composter and position it
in the middle for an optimal distribution
of nutrients, of close to the edges if you
want it to be easy to access.
ASSEMBLING YOUR
Keyhole Garden
1
2
3
Tongue