Monitor 24hr home protection system User manual

Checklist
Have a quick check to see that you have each of
the following in your monitor box:
If any items are missing please call 0845 071 1007.
7 Simple Steps
Follow the 7 simple steps to getting started and
you’ll have your monitor home protection system
up and running in no time.
The system has been designed for easy
self-installation and all the sensors are
preprogrammed. It normally takes less than an
hour to install the whole system.
Quick Start Guide
• 1 control panel (with phone cable and
power supply transformer connected)
• 2 PIR motion sensors
• 1 smoke detector
• 1 remote control key chain
• Screws and wall plugs for fixing
•2monitor window stickers
• 5 wallet cards for you to give to your
nominated contacts
• User guide and customer information
1. Connect the battery
2. Fit the control panel
3. Install the motion sensors
4. Install the smoke detector
5. Set the clock
6. Register and setup your system online
7. Test the system
version 2.1
Welcome to monitor
Installing your new 24hr. home protection system is quick and easy. The only tools you’ll
need are an electric drill, a 5mm drill bit and a selection of screwdrivers.
Way better
than a guard
dog.
24hr. wireless intruder & fire alert system
35297 Monitor Quick Start Guide 16/1/07 11:20 Page 1

Step One – Connect the battery
1. Open the Control Panel cover by pressing down
on the tab on the top of the panel.
2. Open the rear panel by using the flat end of a
small screwdriver. Slide the tip of the screwdriver
into the small slot of the smaller tab.
Very gently, turn the screwdriver a 1/4 turn to
the right. Take care not to damage the panel.
3. Open the panel to the back section where the
circuit board is exposed.
4. Connect the red cable to the positive (+)
connector terminal on the circuit board.
At this time the panel may say, “Hello, system
is ok. Use numbered keys to enter 4-digit ID.”
Disregard the message at this time.
Ignore any beeps from the control panel until
the installation is complete. If the siren sounds
during the installation process, close the panel
cover and type 1234 to stop it.
Step Two – Fit the Control Panel
1. Choose a location close to the door you
usually use to come and go from your home,
ensuring it’s close to a phone line and an
electric socket. Fix the control panel with at
least two screws.
2. Take care not to trap the white cable on the
right side as you close the control panel. You
will hear it click when it is securely closed.
3. Plug the power supply transformer into the
electrical socket. If the lights on the control
panel illuminate, ignore them at this stage.
4. You must connect your system to your
telephone socket using the cable attached to
the control panel. If you have a telephone in the
room you have installed your control panel, you
must plug your telephone into the adaptor.
Note: If you have a telephone connection for
satellite or Sky TV connected to the telephone
socket where your control panel is installed,
you may require an adaptor to allow both the
control panel and satellite or Sky TV to be
connected to the same socket.
If you have broadband, you may have to
connect the system into an ADSL filter.
35297 Monitor Quick Start Guide 16/1/07 11:20 Page 2

Step Three – Install Motion Sensors
The motion sensors must be installed at a
height between 1.5m and 2.4m (5 and 8ft). The
recommended height is 2.3m (71/2ft). They can be
installed on a flat wall or in the corner of the room.
To be most effective, motion sensors should be
placed in the most vulnerable areas and key entry
points (such as the hall or living areas). Each
sensor is labelled ‘Sensor 1’ or ‘Sensor 2’.
1. Remove the back plate of the motion sensor,
this is the mounting bracket. Use a Philips
screwdriver or your drill to punch out the
appropriate holes at the bottom of the
mounting bracket (see illustration).
2. If you are installing the sensor on a flat wall
punch out the two centre holes at the bottom of
the mounting bracket to ensure the sensor faces
down. If you prefer corner mounting, punch out
the holes at each side. Remember that each
sensor must face downwards, so you must only
punch out holes at the bottom of the mounting
bracket.
3. After the holes have been punched or drilled,
clean off any rough edges. If the heads of the
screws do not fit flush inside the holes, the
sensor will not snap back into the bracket after
it has been mounted on the wall.
4. Secure the mounting bracket to the wall using
the screws and wall plugs provided.
This graph shows the side view coverage area for
the motion sensor’s lens.
Note: Avoid positioning your sensors to
face windows and glass doors or any heat
sources and areas where temperatures
may change suddenly. These sensors are
for indoor use only.
Note: The motion sensors are designed for
use with average sized pets. The sensors
should be located so that the pet cannot get
within 2m of the sensor. If you experience
false alarms from your pets, refer to the
bypassing section of the User Guide or keep
the pet away from the rooms where your
motion sensors are located.
35297 Monitor Quick Start Guide 16/1/07 11:20 Page 3

Step Four – Install the Smoke Detector
Selecting a suitable location is critical to the
operation of the smoke detector. The major threat
from fire occurs at night when everyone is asleep.
A smoke detector is best located between the
bedroom areas and the rest of the home.
Locations to avoid - do not install smoke
detectors in the following areas:
• kitchens, garages, near heating boilers or
heating appliances
•on the ceiling in rooms next to kitchens
•damp or very humid areas or next to bathrooms
with showers. Always locate detectors at least
1.5 metres away from bathrooms
•cold, very hot, dusty or dirty areas
•near fresh air inlets or excessively draughty
areas, such as near heating/air conditioning
vents, fans, and fresh air intakes that can drive
smoke away from smoke detectors
•in dead air spaces at the top of peaked ceilings
or in corners where walls and ceiling meet
•near fluorescent light fixtures. Locate smoke
detectors at least 3 metres away from these
fixtures
RECOMMENDED DETECTOR PLACEMENT
1. Remove the dust cover and install the batteries
taking care that they are correctly inserted,
match the ‘+’ on the battery with the ‘+’ marked
on the detector. Both batteries must face the
same way.
2. If you choose to locate the smoke detector on a
wall, place it between 10 and 30cm below the
ceiling. Place the mounting base on the wall or
ceiling at the desired location and mark the
mounting holes using a pencil.
3. Secure the mounting base to the wall or ceiling
using the screws and wall plugs provided.
4. Attach the detector to the mounting base by
lining up the alignment tab with the arrow on
the mounting base, then put the detector on
the base and turn it clockwise about 2 cm. The
detector should click into place.
If you require more information about installing
and testing your smoke detector, refer to the
user guide.
IMPORTANT: You must install the batteries
(provided) before installing the smoke
detector. You will be unable to connect the
detector to the mounting base without the
batteries installed.
35297 Monitor Quick Start Guide 16/1/07 11:20 Page 4

Step Five – Set the Clock
1. Open the front cover of the control panel, the panel
will say “Use numbered keys to enter ID”, enter
1234. This is the default Master Access Code.
2. The panel will say ‘Please select from start
menu”.
3. Press Clock Set and change the time using the
Hours and Minutes buttons.
4. Press DONE when complete.
You have now completed the installation of the
equipment. Now your system must be registered
online. If you don’t have access to the Internet, we
can set up your details over the telephone, it only
takes a few minutes. Call us on 0845 071 1007.
Step Six – Register and Set up
Your System
Your alarm system will not function properly unless
you complete the online registration process.
You must write down your Registration Key shown on
your Control Panel and your account number shown
on your Acceptance Letter and the address label on
the outer box in which your system was delivered.
1. Log on to the Internet and go to
www.myhomemonitor.co.uk
2. You will need a pen to write down the User ID
number that will be given to you during the
online registration process, please ensure that
it is the same User ID number shown on your
control panel (call customer service on 0845
071 1007 if this number does not match).
3. Click on the ‘”My monitor system” menu option
and ‘Register your panel’ button and follow the
online instructions.
Step Seven – Test the System
1 ‘Arm your system’ test
Press the ‘Motion Sensors’ Arm button on the
control panel. The control panel will say “Motions
on” and the system will provide 45 seconds to
enable you to leave the premises.
The ‘Doors and Windows’ option is not used unless
you have purchased additional door or window
sensors, these are available from our website at
www.myhomemonitor.co.uk.
You can arm the system by pressing the remote
control keychain. To arm doors and windows, press
once. To arm motion sensors, press twice.
The control panel will confirm each setting.
2 ‘Disarm your system’ test
Press the Disarm button on the control panel. The
control panel will say “Please enter your access
code”. Enter the default Master Access Code 1234
Note: The User ID number is used
whenever logging on to the website. You
will be prompted to select a password; this
can be a memorable number, word or a
combination of both.
Note: When movement is detected by a
sensor, it will go into Sleep Mode for 3
minutes to save battery power. Once this
time has expired, the sensor will resume
normal operation. Therefore, when testing
your motion sensors you will need to ensure
that the sensor has resumed normal
operation before activating.
35297 Monitor Quick Start Guide 16/1/07 11:20 Page 5

and the system will confirm when disarmed. The
keypad has five buttons to enter your code. You
need to press the 1/2 button twice and 3/4 button
twice to enter 1234.
You can amend the Access Code to any 4 digit
number you wish. (See the ‘Changing your Master
Access Code’ section at the end of this guide).
You can also disarm the system using the remote
control key chain. Press the once and the
control panel will say “System Disarmed”.
3 ‘Sensor signal strength’ test
a. Open the control panel cover and the system
will say “Use numbered keys to enter ID”, type
1234. The system says “Select from start
menu” and press the TEST button. The control
panel responds with “Sensor test, press again
to change or DONE to select”.
b. Press DONE and the panel will prompt you to
trip each sensor, one at a time. The control
panel will return to any sensor you’ve not yet
tripped and tested, so don’t worry about tripping
them in the order that you installed them.
All items need to have a status of 7 to 8 beeps for
successful operation. If a sensor fails the signal
strength test, repeat the test and if it fails again
you may need to reposition the sensor so that it
can communicate successfully with the control
panel. See the user guide for more information.
4 Full test of system and alarm monitoring service
Now you are ready for the final part of the testing
process. You should perform a full system test by
tripping both of your motion sensors while the
system is armed. The smoke detector does not
need to be tripped as long as it passed the signal
strength test. When performing a full system test,
be prepared for the siren to sound as it is very loud.
a. Arm your system and wait for the exit delay
beeps to finish. Wait in another room if possible
for at least three minutes away from the motion
sensor’s field of vision.
b. Trigger both your motion sensors by moving in
front of them. You will hear beeps from the
control panel as in normal operation your
system has a 20 second entry delay to allow you
time to disarm it, so the alarm won’t sound
until at least 20 seconds has expired.
c. With the alarm sounding, wait at least 30 seconds
before disarming. The siren will be very loud. If it
is disarmed within 30 seconds it is considered ‘an
alarm on entry’ and the monitoring centre will not
notify you or your nominated contacts.
d. Disarm your system by typing 1234 (or the
number you changed it to) and the monitoring
centre will call you very shortly. If you have
correctly installed the system and set up your
online account, you will be contacted by the
monitoring centre to inform you that the
monitor system has been activated. You’ll be
contacted on the numbers you have chosen and
will be able to respond to the alert and cancel
the notification process.
e. When you answer the phone call, our
automated operator (Sally) will ask you to enter
your Password followed by the hash (#) key.
This is the Password you selected when you set
up your online account.
System Status light
The System Status light will illuminate to indicate
that action is required. Press the button and the
panel will announce the fault or sensor activated.
After you have acted on the notification, press the
disarm button to turn the System Status light off.
You may get a low battery warning just after
installation while the back up battery is
recharging, this is normal. Refer to the user
guide for more problem solving advice.
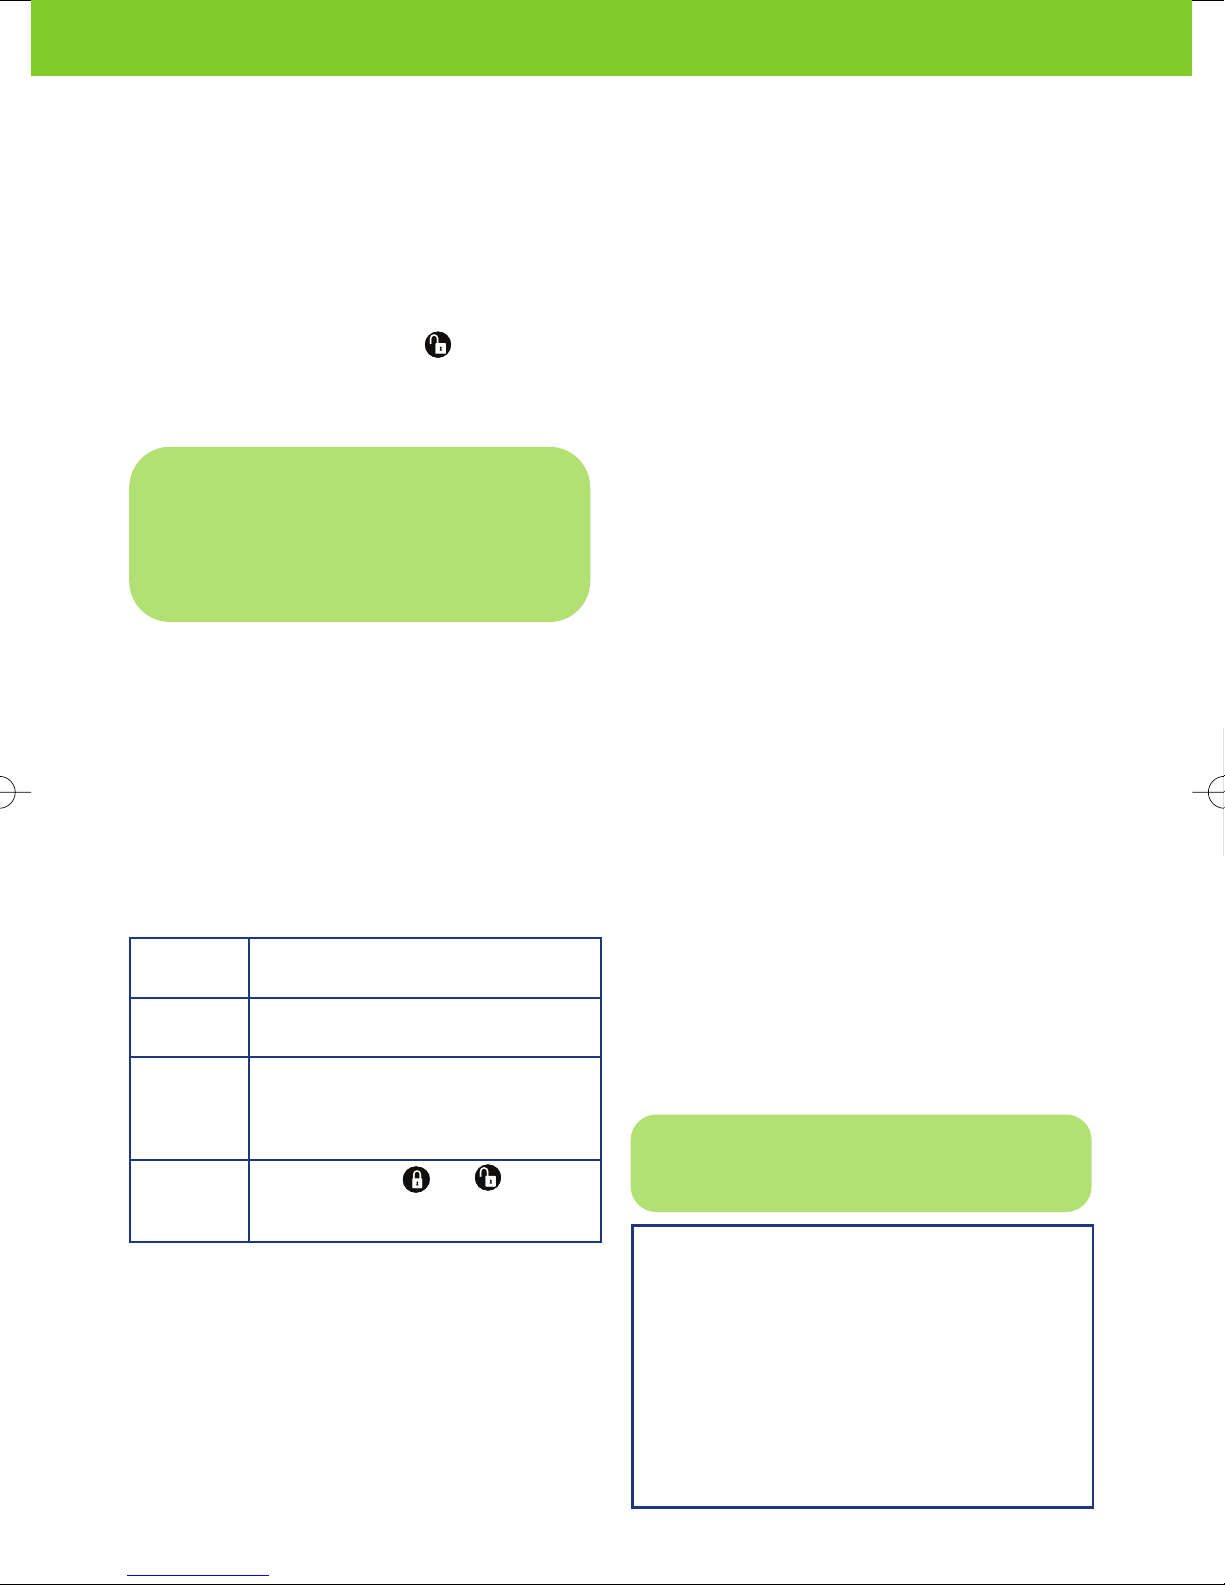
SENSOR HOW TO TRIP SENSOR DURING
SIGNAL STRENGTH TEST
Motion Avoid the sensor’s field of vision for 3
Sensor minutes, then walk towards or across it
Smoke Remove the smoke detector from the
Detector mounting bracket and count the
number of beeps. Fit the detector
back onto the mounting bracket
Remote Press and hold and
Control simultaneously for 3 seconds
Keychain
Note: You must spell out your Password
followed by the # key. eg. for ‘apple’ enter
‘27753#’.
IMPORTANT: You must test the signal
strength of all your sensors as follows. This
process takes a few minutes and is
important to ensure the wireless sensors
can communicate successfully with the
control panel.
35297 Monitor Quick Start Guide 16/1/07 11:20 Page 6

Monitoring Centre Notification
When contacted by the monitoring centre, you
need to respond using your Password, you then
have two options.
To acknowledge and cancel - press 1.
This stops the monitoring centre from contacting
your next nominated contact or number. You do
this when you intend to act on the notification, or
if you are confident it is a false alarm (e.g. the
alarm was triggered as you entered the premises
or you are testing the system). Remember that if
you do not respond to the first alert, the
monitoring centre will call the next nominated
contact you have chosen.
To acknowledge, cancel and disable all notification
- press 3.
If you would like to stop the automated service
from calling you for a period of time, you can
select to disable the notification service from 1 to
12 hours. The alarm system will continue to
operate, but your notification service will be
cancelled for the period you have selected.
Important Things to Remember
Remote access dial in facility
If you forget to arm your system before leaving
home, you can dial in and activate the control
panel by telephone. See the User Guide for more
information.
Changing your Master Access Code
The default Master Access Code required for
disarming your system is 1234. We recommend
that you change this code to something that only
you and your family will know.
1. To change this code, open the front cover, the
panel will say “use numbered keys to enter ID”
2. Enter code 1234. The panel will say “Please
select from start menu”.
3. Select ADD, then press ACCESS CODE once.
The panel says “Master Code” , press done.
4.Type in the new four digit code that you wish to
use to disarm your system. The system will
confirm your new Master Access Code.
You may wish to write your new Master Access
Code in the important things to remember
section, please ensure this booklet is kept in a
safe place.
You can assign additional Access Codes for
people who you want to disarm the system.
Follow the instructions above and press the
Access Code button until you find the option
required or refer to the user guide for more
information.
Control Panel Beeps
Panel beeps are used to indicate key presses and
system problems, such as a low battery warning.
You can disable panel beeps for four hours by
pressing the System Status button followed by the
Disarm button. Trouble beeps will continue four
hours later, until the problem is resolved.
Pressing the System Status button will tell you
what the problem is. If you need help to cancel the
panel beeps or reduce the volume, please call us
on 0845 071 1007
For further help and advice about your
monitor 24hr. wireless intruder & fire alert
system or to purchase
additional sensors, visit
www.myhomemonitor.co.uk
My 6 digit User ID number provided when I first
registered my system on the website
The default Master Access Code
(This is required for disarming your system).
This code should be changed to a number that
you and your family can remember
Default Master Access Code is 1234
My Master Access Code
35297 Monitor Quick Start Guide 16/1/07 11:20 Page 7

SUPPORT
monitor Customer Service
Scottish and Southern Energy
Ty Meridian, Malthouse Avenue
Cardiff Gate Business Park
Cardiff, CF23 8AU
support@myhomemonitor.co.uk
0845 071 1007
www.myhomemonitor.co.uk 24hr. wireless intruder & fire alert system
Enjoy your retirement Fido
Optional extras for even tighter security
We offer a full range of accessories for your monitor system.
To find out more, visit www.myhomemonitor.co.uk
or call our Customer Services Team on 0845 071 1007.
35297 Monitor Quick Start Guide 16/1/07 11:20 Page 8
This manual suits for next models
1
Table of contents
Other Monitor Security System manuals