1. Read these instructions.
2. Keep these instructions in a safe place.
3. Heed all warnings.
4. Follow all instructions carefully.
5. Do not use this product near water.
6. Clean only with a dry and soft cloth.
7. Do not block any ventilation openings.
8. Install in accordance with the manufacturer’s instructions.
9. Do not install near any heat sources such as radiators, heat registers, stoves, or any other
apparatus, including amplifiers, that produces heat.
10. Do not defeat the safety purpose of the polarized or grounding-type plug. A polarized plug has
two blades with one wider than the other. A grounding type plug has two blades and a third
grounding prong. The wide blade or the third prong are provided for your safety. If the provided
plug does not fit into your outlet, consult an electrician for replacement of the obsolete outlet.
11. Protect the power cord from being walked on or pinched particularly at plugs, convenience
receptacles, and the point where they exit from the apparatus.
12. Only use attachments/accessories specified by the manufacturer.
13. Use only with the cart, stand, tripod, bracket, or table specified by the manufacturer, or sold with
the unit. When a cart is used, use caution when moving the cart/monitor combination to avoid
injury from tipping over.
14. Unplug this product during lightning storms or when unused for long periods of time.
15. Refer all servicing to qualified service personnel only. Servicing is required when the apparatus
has been damaged in any way, such as power-supply cord or plug is damaged, liquid has been
spilled or objects have fallen into the apparatus, the apparatus has been exposed to rain or
moisture, does not operate normally, or has been dropped.
16. Do not expose this product to dripping or splashing of any liquid.
No Light
Green Light
Flashing Green Light
Power O
Normal Working Status
No Signal Input
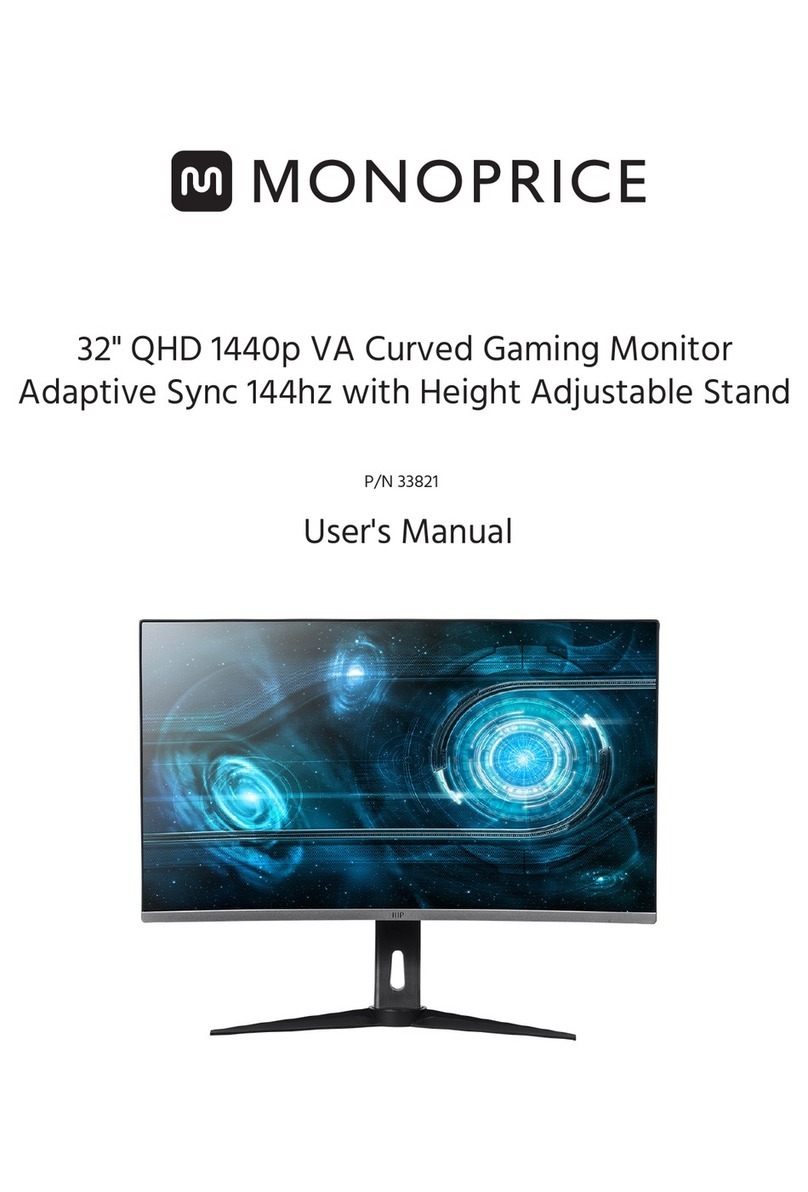
Please verify that your monitor equipment includes the following:
24V 5.0A
Please consult the back label.
4 5
Five Axis Rocker Button
OK Key
Direction Key
Shortcut
Button
Important Safety Instructions Basic Instructions
Package Contents
Input Voltage
Power Indicator Light
Keys Function
Monitor Stand User Manual Power Cord
Power Adapter DisplayPort Cable
a. Press and hold the "OK Key" for 6 seconds to turn on and o.
b. When the display is powered on, press the "OK Key" to wake up the main menu for one second.
c. Select "direction key" to select the items to be adjusted up and down in the main menu.
After selecting the items, press the "OK Key" to adjust. Press the "OK Key" again to save and
return to the previous menu.
Indicator Mode
Nudge the "OK Key" to touch up, down, left, and right to control the focus moving up, down, left,
and right. In the progress bar, the left and right keys are to decrease and increase values
respectively.
a. "OK key" touch right: "OK key" touch to the right, call up the signal source selection shortcut
menu, select the signal source with the cursor, select and press "OK key".
b. "OK key" touch left: "OK key" touch left, call up the display mode shortcut menu, select the
display mode with the cursor, select and press "OK key".
c. "OK key" touch up: "OK key" touch up to call up the Gameplus timer shortcut. Select the desired
timing length and press "OK key". To exit, repeat the "OK key" up.
d. "OK key" touch down: "OK key" touch down to call up Gameplus sight shortcut. Select the
desired sight and press OK. To exit, repeat the "OK key" up.
