manuals.online logo
Brands
  1. Home
  2. •
  3. Brands
  4. •
  5. Montessori Furniture
  6. •
  7. Indoor Furnishing
  8. •
  9. Montessori Furniture Climbing complex Home User manual

Montessori Furniture Climbing complex Home User manual

7 - 750*50*20 Up big base right
1 pc
8 - 700*50*20 Up small base left
1 pc
9 - 700*50*20 Up small base right
1 pc
10 - 900*50*20 Vertical base
1 шт.
11 - 900*50*20 Vertical base
1 шт.
12 - 900*50*20 Ladder with 2 steps
side left
1 pc
1 - 960*50*20 Down back base
1 pc 1 pc
3 - 900*50*20 Vertical base
1 pc
4 - 880*50*20 Side base
1 pc
5 - 880*50*20 Side base
2 pcs
6 - 750*50*20 Up big base left
1 pc
13 - 900*50*20 Ladder with 2 steps
side right
1 pc
14 - 886*25*25 Long nog
14 pcs
15 - 862*25*25 Nog
3 pcs
16 - 386*25*25 Short nog
2 pcs
17 - Plywood rope ladder
1 pc
18 - Rope ladder
1 pc
19 - 154*138*12
Down connector left
2 pcs
20 - 154*138*12
Down connector right
2 pcs
21 - 264*138*12
Up connector left
2 pcs
22 - 264*138*12
Up connector right
2 pcs
23 - 220*130*12
Up connector
1 pc
24 - 366*180*12
Right chimney
1 pc
25 - 366*180*12
Left chimney
1 pc
a - Flat head 60 mm screw
3 pcs - 1 pc spare
b - Flat head 40 mm screw
52 pcs - 5 pcs spare
c - Flat head 20 mm screw
22 pcs - 2 pcs spare
d - Flat head 17 mm
dull nut
22 pcs - 2 pcs spare
e - Dowel 32 mm
14 pcs - 1 pc spare
f - 4mm hex key
2 pcs
ASSEMBLY DETAILS
2 - 900*50*20 Vertical base
Climbing complex "Home"
Pic. 2
Assemble Down back base (1) with Down connector left (19) and Down connector
right (20) using screws c, nuts d and both hex keys f as shown in the Pic. 1.
Pic. 1
Insert the dowels e into Side bases (4 and 5). Assemble Down connector left (19)
and Vertical base (3) using screws c, nuts d and both hex keys f Attach Down
connector left (19), Vertical base (3) and Side base (4) with screw b, using hex
key f. Attach Down conector right (20), Vertical base (2) and Side base (5) with
screw b, using hex key f. Attach Down conector right (20), Vertical base (2)
and Long nog (14) with screw b, using hex key f. Assemble Vertical base (2)
and 4 Long nogs (14) with screws b, using hex key f. See Pic. 2.
f
1
20
14
14
14
14
e
14
1
2
19
Pic. 4
Insert the dowels e into Up small base right (9) and Up big base right (7) and connect
them together. Assemble Up connector left (21) and Up big base right (7), Up
connector right (22) and Up small base right (9) with screws c, nuts d and both hex
keys f as shown in the Pic. 3.
Pic. 3
Assemble Up connector (23) with Up big base right (7) and Up small base right (9)
with screws c, nuts d and both hex keys f as shown in the Pic. 4.
9
7
f
9
22
9
7
22
21
d
d
22
23
21
dd
9
7
f
d
23
9
7
Pic. 6
Insert the dowels e into Side bases (4 and 5). Assemble Up connector left (21) and
Vertical base (3) using screw c, nut d and both hex keys f. Connect Up connector
left (21), Vertical base (3) and Side base (4) with screw b, using hex key f. Connect
Up connector right (22), Vertical base (2) with Side base (5) and Long nog (14) with
screws b, using hex key f. See Pic. 5.
Pic. 5
Attach Up connector right (22), Up small base right (9) and Long nog (14) with
screw b, using hex key f. Connect Up small base right (9) and Long nog (14) with
screw b, using hex key f. Assemble Up small base right (9), Right chimney (24)
and 2 Nogs (15) using screws b and hex key f. Connect Right chimney (24) and
Nog (15) using screw b and hex key f. Attach Up connector (23), Up small base
right (9) and Long nog (14) with screw b, using hex key f. See Pic. 6.
14
14
14
14
14
14
14
9
22
5
2
5
5
22
Pic. 8
Assemble Up connector left (21), Up big base right (7) and Long nog (14) using
screw b with hex key f. Connect Up big base right (7) and 3 Long nogs (14) with
screws b, using hex key f. Assemble Up connector (23), Up big base right (7) and
Long nog (14) using screw b with hex key f. See Pic. 7.
Pic. 7
Insert the dowels e into Plywood rope ladder (17). Assemble Plywood rope
ladder (17) and Vertical bases (10 and 11) using screws a and hex key f. See Pic. 8.
1
5
14
14
14
14
14
5
14
15
4
4
24
3
14
14
14
14
14
23
7
7
21
3
14
21
4
a
a
10
17
11
f
a
17
Pic. 10
Assemble Plywood rope ladder (17) with Down connector left (19) and Down
connector right (20) using screws c, nuts d and both hex keys f as shown in the Pic. 9.
Pic. 9
Assemble Down connector right (20) with Vertical base (11) using screw c, nut d
and both hex keys f . Attach Plywood rope ladder (17) with Vertical base (11)
using screws c, nuts d and both hex keys f . See Pic. 10.
dd
dd
cc
cc
20
19
17
11
19
17
d
d
10
20
19
20
Pic. 12
Insert the dowels e into Up small base left (8) and Up big base left (6) and connect
them together as shown in the Pic. 11.
Pic. 11
Assemble Plywood rope ladder (17), Up small base left (8) and Up big base left (6)
with screws c, nuts d and both hex keys f as shown in the Pic. 12.
6
8
8
6
dd
19
6
8
10
f
d
Pic. 14
Assemble Up connector left (21) and Up small base left (8) with screw c, nut d and
both hex keys f . Connect Up connector right (22) with Up big base left (6) and Vertical
base (11) with screws c, nuts d and both hex keys f as shown in the Pic. 13.
Pic. 13
Connect Down connector left (19) and Vertical base (10) with Side base (5) and Long
nog (14) using screws b and hex key f. Assemble Plywood rope ladder (17), Vertical
base (10) and Long nogs (14) with screws b using hex key f. Attach Up connector
left (21), Vertical base (10) with Side base (5) and Long nogs (14) using screws b
and hex key f. Connect Plywood rope ladder (17), Up small base left (8), Left
chimney (25) with Long nogs (14) and Nogs (15) with screws a, b using hex key f.
See Pic. 14.
17
21
f
21
8
22
11
6
10
a
19
5
14
14
14
14
15
17
4
4
10
21
5
17
8
Pic. 16
Assemble Down connector right (20), Vertical base (11) with Side base (4) using
screw b and hex key f. Assemble Up connector right (22), Vertical base (11) with
Side base (4) using screw b and hex key f. Attach Up connector right (22), Up big
base left (6) with Nog (14) using screw b and hex key f. Connect Plywood rope
ladder (17), Up big base left (6) with Nogs (14) using screws b and hex key f.
See Pic. 15.
Pic. 15
Assemble the Ladder with 2 steps as shown in the Pic. 16. Take the sides of the
Ladder (12, 13) and 2 Short nogs (16). Screw the parts together with screws b,
using hex key f.
4
4
22
14
14
14
14
14
17
11
f
14
14
14
22
6
11
17
13
12
16
16
12
16
f
Pic. 18
Screw the Rope Ladder with Side bases (4) with screws b, using hex key f.
See Pic. 17.
Pic. 17
Screw the Ladder with 2 steps with Side bases (4) with screws b, using hex
key f. See Pic. 18.
17
4
4
To be used for its intended purpose only and under
the direct supervision of an adult!
All the responsibility for children’s injuries received during
games on the furniture lies on adults watching after them.
Always be vigilant during children's games!

Other Montessori Furniture Indoor Furnishing manuals
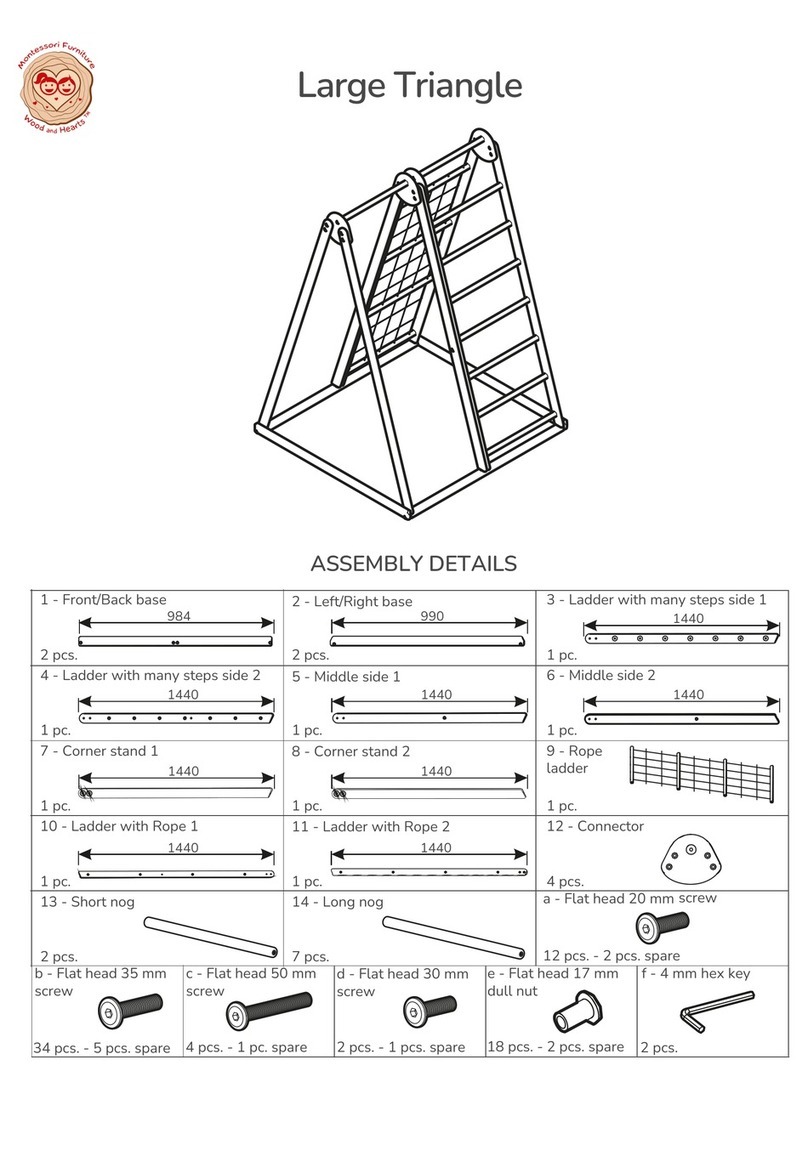
Montessori Furniture Wood and Hearts Large Triangle User manual

Montessori Furniture

Montessori Furniture Wood and Hearts Large Triangle User manual

Montessori Furniture Wood and Hearts Cloud User manual

Montessori Furniture

Montessori Furniture Wood and Hearts Cloud User manual

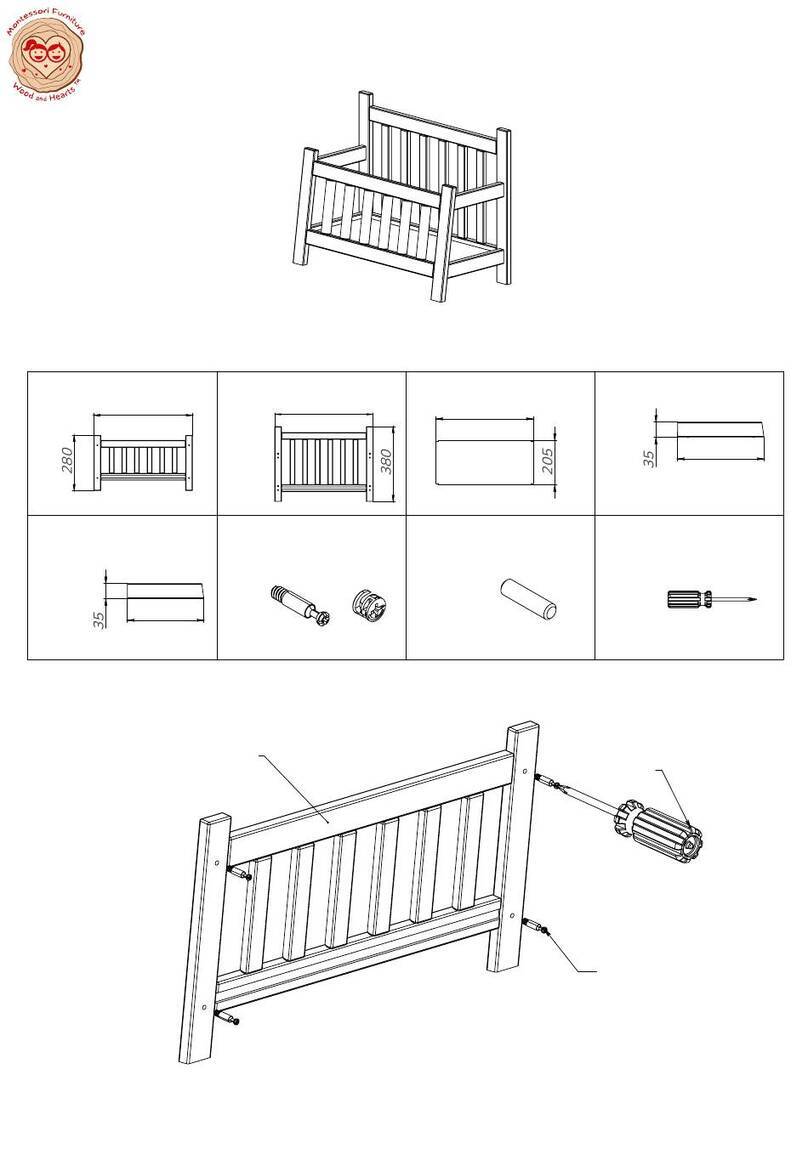
Montessori Furniture Bench User manual

Montessori Furniture

Montessori Furniture Bench User manual

Montessori Furniture Wood and Hearts Kitchen Light User manual

Montessori Furniture

Montessori Furniture Wood and Hearts Kitchen Light User manual

Montessori Furniture climber Spider User manual

Montessori Furniture

Montessori Furniture climber Spider User manual

Montessori Furniture Dewdrop User manual

Montessori Furniture

Montessori Furniture Dewdrop User manual

Montessori Furniture Cloud User manual

Montessori Furniture

Montessori Furniture Cloud User manual

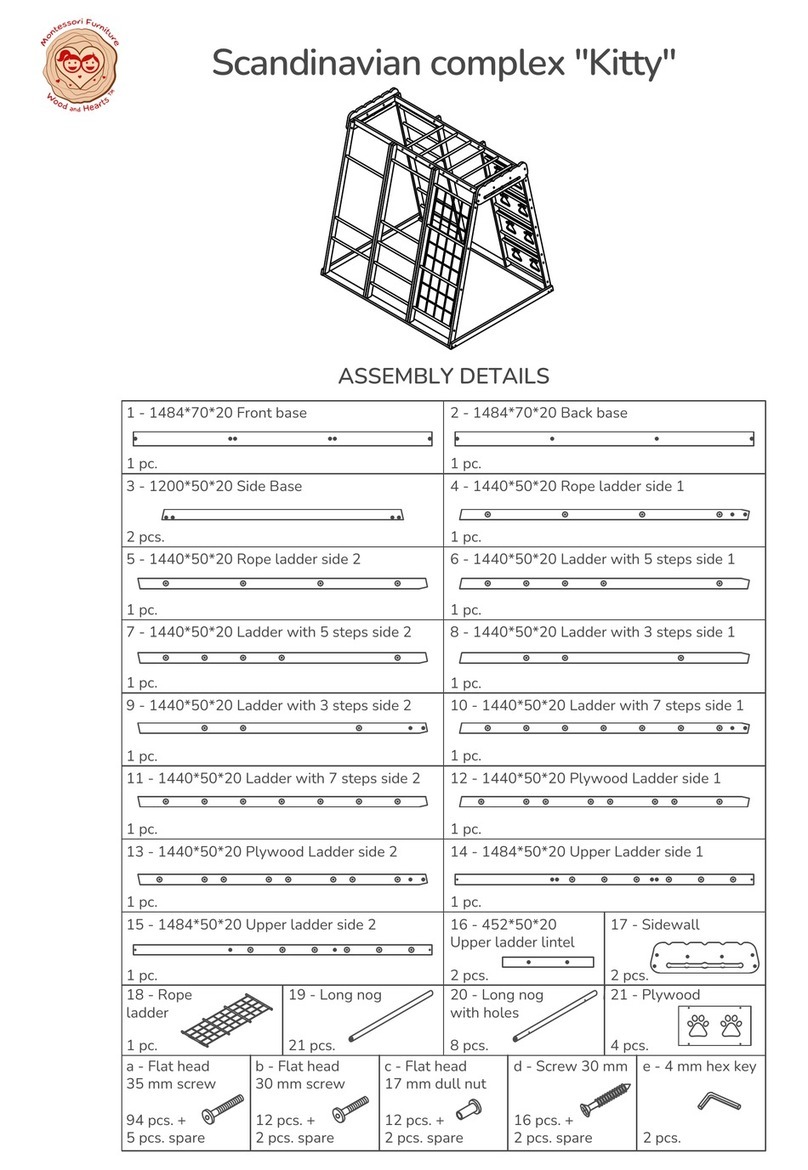
Montessori Furniture Wood and Hearts Kitty User manual

Montessori Furniture

Montessori Furniture Wood and Hearts Kitty User manual

Montessori Furniture Wood and Hearts Straight User manual

Montessori Furniture

Montessori Furniture Wood and Hearts Straight User manual

Montessori Furniture Wood and Hearts Truck-shaped learning chair User manual

Montessori Furniture

Montessori Furniture Wood and Hearts Truck-shaped learning chair User manual

Montessori Furniture Wood and Hearts Trees ans Houses User manual

Montessori Furniture

Montessori Furniture Wood and Hearts Trees ans Houses User manual

Montessori Furniture Wood and Hearts Angel User manual

Montessori Furniture

Montessori Furniture Wood and Hearts Angel User manual

Montessori Furniture Wood and Hearts Cloud User manual
Montessori Furniture

Montessori Furniture Wood and Hearts Cloud User manual

Montessori Furniture Wood and Hearts Trees ans Houses User manual

Montessori Furniture

Montessori Furniture Wood and Hearts Trees ans Houses User manual
Popular Indoor Furnishing manuals by other brands

Lifestyle Solutions SECTIONAL ROLL ARM Assembly instructions

Lifestyle Solutions

Lifestyle Solutions SECTIONAL ROLL ARM Assembly instructions

Rauch 70915.740 Assembly instructions

Rauch

Rauch 70915.740 Assembly instructions

Habitat Bamboo Natural 946/1365 manual

Habitat

Habitat Bamboo Natural 946/1365 manual

Midway MOD-5184 quick start guide

Midway

Midway MOD-5184 quick start guide

Office Star Products Work Smart EM69202N operating instructions

Office Star Products

Office Star Products Work Smart EM69202N operating instructions

Rauch M1770 Assembly instructions

Rauch

Rauch M1770 Assembly instructions

IKEA BESTA UPPLAND ROLL FRONT 24X75" instructions

IKEA

IKEA BESTA UPPLAND ROLL FRONT 24X75" instructions

Next BRONX 954002 Assembly instructions

Next

Next BRONX 954002 Assembly instructions

GrainWood JLF0303 Assembly instructions

GrainWood

GrainWood JLF0303 Assembly instructions

Hay CRATE instruction manual

Hay

Hay CRATE instruction manual

Techni Mobili RTA-80X5 Assembly instructions

Techni Mobili

Techni Mobili RTA-80X5 Assembly instructions

Next MARIELLE 709246 Assembly instructions

Next

Next MARIELLE 709246 Assembly instructions

OFW OFW00138 Assembly instructions

OFW

OFW OFW00138 Assembly instructions

Next 125803 Assembly instructions

Next

Next 125803 Assembly instructions

Easylife EL-DHM-70S instruction manual

Easylife

Easylife EL-DHM-70S instruction manual

FREEWAY Agile installation guide

FREEWAY

FREEWAY Agile installation guide

John Lewis Asuka instructions

John Lewis

John Lewis Asuka instructions

Worlds Apart ReadyBed 340/0229 quick guide

Worlds Apart

Worlds Apart ReadyBed 340/0229 quick guide

manuals.online logo
manuals.online logoBrands
  • About & Mission
  • Contact us
  • Privacy Policy
  • Terms and Conditions

Copyright 2025 Manuals.Online. All Rights Reserved.