manuals.online logo
Brands
  1. Home
  2. •
  3. Brands
  4. •
  5. Mooreco
  6. •
  7. Indoor Furnishing
  8. •
  9. Mooreco 91782 Series User manual

Mooreco 91782 Series User manual

Avid Modular Desk System - Return Desk
UPDATED AS OF: 12/01/2021
Part Number: 91782-XXXX-XX
1 of 10
INSTRUCCIONES DE ENSEMBLAJE
NO LA TIRE
INSTRUCTIONS DE MONTAGE
NE PAS JETER
ASSEMBLY INSTRUCTIONS
DO NOT THROW AWAY!
Parts
UPDATED AS OF: 12/01/2021 2 of 10
P1 - Large Top
P2 - Small Top
P3 - Leg Set
P4 - Modesty Panel
P5 - Long Crossbar
P6 - Short Crossbar
P7 - Pedestal Box
P7A - Handle
P7B - Divider Panel
P7C - Divider Bar
P7D - Pencil Tray
P7E - Key Set
x1
x1
x1
x2
x1
x1
x2
x6
x2
x2
x2
x2
A - Leg Panel Screw
(1/4-20 x 75mm)
B - Leg Panel Screw
(1/4-20 x 95mm)
C - Ped. Panel Screw
(M6 x 12mm)
D - Ped. Wood Screw
(#12 x 1”)
E - Leg Wood Screw
(#10 x 1”)
F - Pedestal Casters
F1 - Locking
F2 - Non-Locking
G - Leg Casters
G1 - Locking
G2 - Non-Locking
H - Lock Washer
I - Plastic Side Cap
J - U-Clamp
K - Ganger
L - Ped. Caster Screw
(M4 x 12mm Tap)
M - Plastic Back Cap
x2
x2
x12
x10
x16
x4
x4
x1
x1
x2
x16
x4
x1
x8
X12
Hardware
(NOT USED)
Tool(s):
-Allen Wrench
-Caster Wrench
Review full assembly instructions and
check that all parts are present before
beginning assembly. Heavy or large
furniture may require multiple persons in
order to properly assemble. If you have
questions regarding assembly, contact
the manufacturer before continuing.
Damage due to incorrect assembly may
not be covered by warranty. Do not use
product unless all screws are tight. Check
all screws for tightness at least every
six months. If parts are broken, missing,
damaged, or worn, stop use of the product
until repairs are made by your dealer using
factory authorized parts.
WARNINGS AND DISCLAIMERS
UPDATED AS OF: 12/01/2021 3 of 10
Previo a comenzar el proceso de
ensamblaje favor de revisar las
instruccionesyasegurarse quecuentacon
todas las partes y materiales necesarios.
Es posible que los muebles grandes o
pesados, requieran mas de una persona
para ensamblarlos correctamente. Por
favor contacte al fabricante directamente
si tiene alguna duda o pregunta antes de
continuar con el proceso de armado del
producto. La garantía no cubrirá daños
que ocurrieron por errores cometidos
durante el proceso de ensamblaje. Todos
los tornillos deben estar ajustados previo
el uso del producto. Debe revisar los
tornillos periódicamente, por lo menos
cada seis meses y asegurarse de que
estén bien ajustados. Por favor detenga
el uso del producto si partes del producto
se pierden, rompen, se deterioran por uso
o se rompen. Favor de contactar a su
distribuidor para que le envíen las partes
necesarias o realice las reparaciones
necesarias con partes autorizadas por el
fabricante.
Avant de commencer l’ assamblage
veuillez consulter les instructions
complètes et vérier si vous avez toutes
les pièces nécessaires. Ill est possible que
plusieurs personnes soient nécessaires
pour assemble des meubles grand ou
lourds. En cas de doute sur l assamblage
contactez le fabricant avant de continuer.
Les dommages encourus pendant
l’assamblage ne seront pas couvert par
la garantie. Ne pas utiliser le produit sans
vérier que tous les vis soient serrées.
Vériez que les vis sont serrées au moins
tous le 6 mois. Si aucune pièce se casse,
manque, est endommagée ou usée,
arrêtez d’ utiliser de produit jusqu’à ce
que le vendeur le repaire a l’aide de pièces
autorisées par la fabricant.
ADVERTENCIAS Y RENUNCIAS AVERTISSEMENTS
STEP 1
UPDATED AS OF: 12/01/2021 4 of
STEP 2
Open shelves and remove handle screws. Swap handles to front of shelves and insert
handle screws from inside of shelves to secure handles in place.
Remove shelves by first extending shelf to furthest setting until catch engages. To slide
shelf off of rails, rotate visible catch levers on both sides of shelf either up or down while
gently pulling shelf. Once both sides are free, shelf can be removed.
STEP 3
UPDATED AS OF: 12/01/2021 5 of 10
STEP 4
Place tops on a flat protective surface with pre-drilled holes face-up. Arrange tops in positions
shown for left or right handed desk installation.
Set pedestals (with shelves removed) upside down on tops. Secure to tops with wood screws
inserted through holes in pedestal top brackets. (Right handed desk depicted, placement
will be reversed for left handed desks).
RIGHT HANDED
LEFT HANDED
P1
P2
P7 P7
D
STEP 5
UPDATED AS OF: 12/01/2021 6 of 10
STEP 6
Screw in Leg Set to Large Top. Make sure Leg Set is oriented as shown before screwing.
Install Modesty Panel using two screws through Leg Set and two screws
within pedestal. Note that Leg Panel Screws will insert through inside holes
on Modesty Panel.
C
A
E
P3
STEP 7
UPDATED AS OF: 12/01/2021 7 of 10
STEP 8
Place Long Crossbar in between pedestal and Leg Set and secure with two
screws at each end, making sure that two side holes are in location shown.
Fit two U-clamps over crossbar and screw into top.
Insert casters for Leg Set and pedestal. Be sure to use Lock Washers on Leg Casters
and Pedestal Caster Screws for Pedestal Casters. For both sets make sure to install
locking casters in the front.
L
CP5
E J
G1
G2
F1
F2
H
STEP 9
Working with Small Top, add Pedestal Casters
with screws. Attach Short Crossbar with two
screws into pedestal. Set one U-Clamp over
crossbar close to edge and screw into top
with wood screws.
UPDATED AS OF: 12/01/2021 8 of 10
STEP 10
With two people, flip large top assembly upright. Next set return on its casters and
push top together with large top as shown. Link together by adding two screws
through end of Short Crossbar and screwing into side of Long Crossbar.
F2
F1
L
P6
C
J
E
C
STEP 11
Install second Modesty Panel by inserting screws through Leg Set and pedestal. Note
that Leg Panel Screws will have to be inserted in outside holes as shown.
UPDATED AS OF: 12/01/2021 9 of 10
STEP 12
From underneathe desk add one U-clamp to Short Crossbar and screw into Large Top. Add
Ganger across top edges, close to Modesty Panel, and secure with wood screws.
B
C
K
E
J
STEP 13
UPDATED AS OF: 12/01/2021 10 of
Push Plastic Caps into inserts on either side of pedestal.
THIS COMPLETES ASSEMBLY INSTRUCTION
STEP 12
Insert shelves back into pedestal boxes and place accessories as desired within shelves.
I

Other Mooreco Indoor Furnishing manuals
Mooreco 84426 Series User manual

Mooreco

Mooreco 84426 Series User manual

Mooreco 669R Series User manual

Mooreco

Mooreco 669R Series User manual
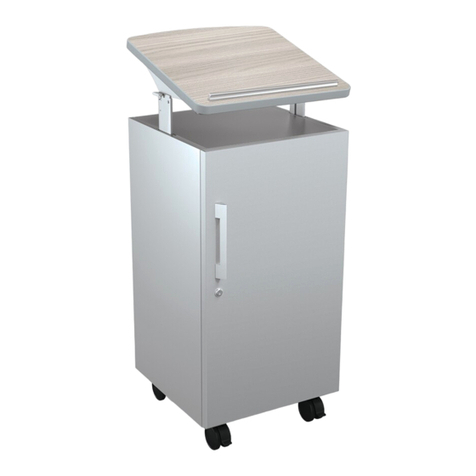
Mooreco Tote Tray 2 User manual

Mooreco

Mooreco Tote Tray 2 User manual

Mooreco Compass 9169 Series User manual

Mooreco

Mooreco Compass 9169 Series User manual

Mooreco 90316 User manual

Mooreco

Mooreco 90316 User manual

Mooreco 90354 User manual

Mooreco

Mooreco 90354 User manual

Mooreco Flipper-60 User manual

Mooreco

Mooreco Flipper-60 User manual

Mooreco PJ Table 89824 User manual

Mooreco

Mooreco PJ Table 89824 User manual

Mooreco 66661 User manual

Mooreco

Mooreco 66661 User manual

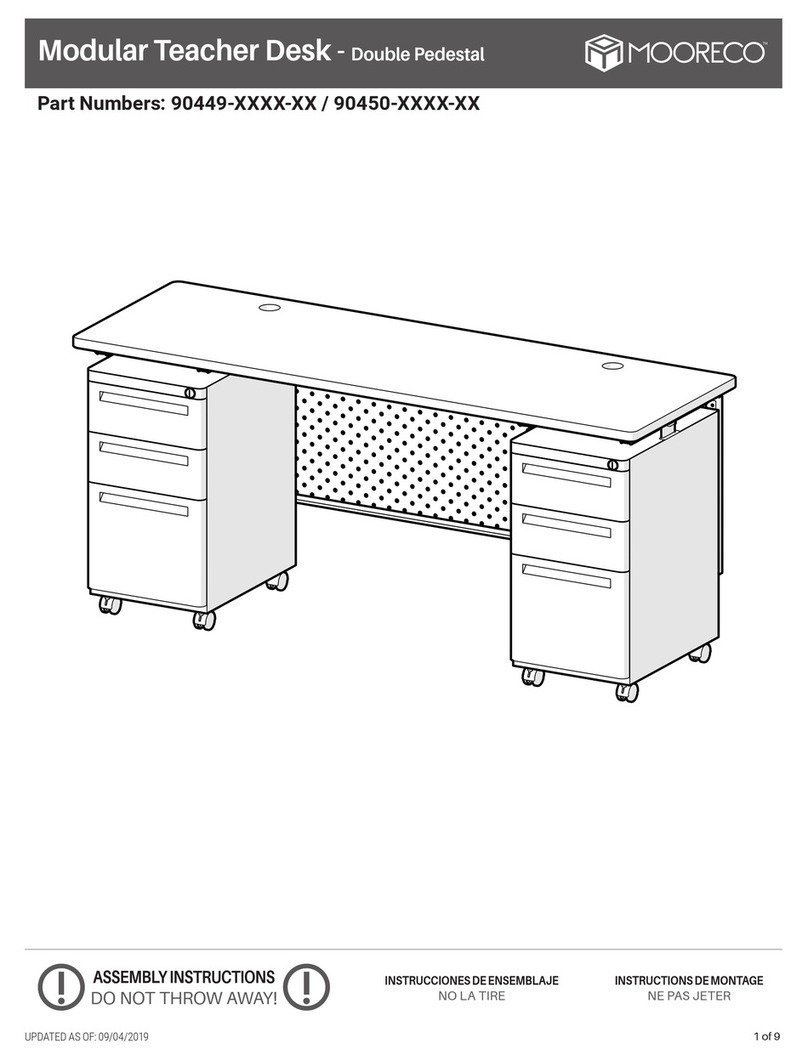
Mooreco 90449 Series User manual

Mooreco

Mooreco 90449 Series User manual

Mooreco Compass MakerSpace 9169 Series User manual

Mooreco

Mooreco Compass MakerSpace 9169 Series User manual

Mooreco Unity Glass Wall User manual

Mooreco

Mooreco Unity Glass Wall User manual

Mooreco 90527-V User manual

Mooreco

Mooreco 90527-V User manual

Mooreco Podium User manual

Mooreco

Mooreco Podium User manual
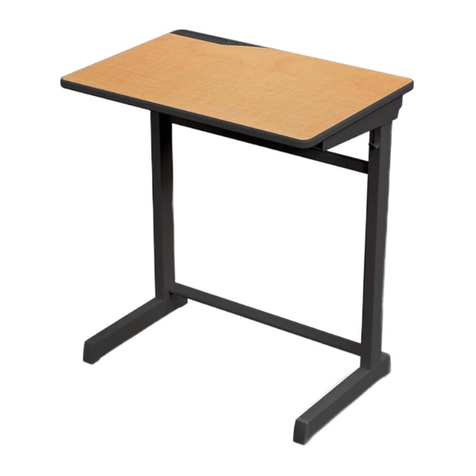
Mooreco 90354 User manual

Mooreco

Mooreco 90354 User manual

Mooreco 91777 Series User manual

Mooreco

Mooreco 91777 Series User manual

Mooreco 91153-A User manual

Mooreco

Mooreco 91153-A User manual

Mooreco 91785 Series User manual

Mooreco

Mooreco 91785 Series User manual

Mooreco Basic Desk User manual

Mooreco

Mooreco Basic Desk User manual

Mooreco Flipper-36 User manual

Mooreco

Mooreco Flipper-36 User manual

Mooreco Essentials 91180 User manual

Mooreco

Mooreco Essentials 91180 User manual

Mooreco 56584 User manual

Mooreco

Mooreco 56584 User manual

Mooreco Visionary Move Mobile 74965 Series User manual

Mooreco

Mooreco Visionary Move Mobile 74965 Series User manual

Mooreco Chevron Desk User manual

Mooreco

Mooreco Chevron Desk User manual
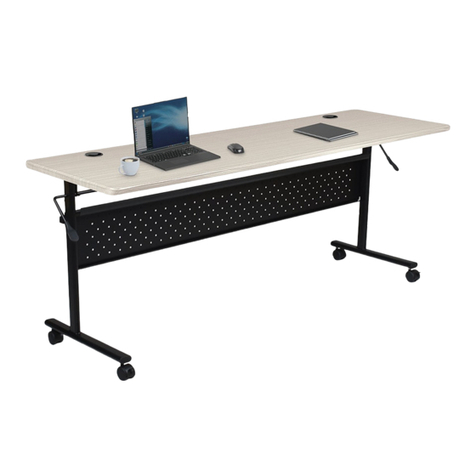
Popular Indoor Furnishing manuals by other brands

comfortel ingrid 7029 owner's manual

comfortel

comfortel ingrid 7029 owner's manual

Coaster 915143 Assembly instructions

Coaster

Coaster 915143 Assembly instructions

BATTLEBULL RED TWELVE quick start guide

BATTLEBULL

BATTLEBULL RED TWELVE quick start guide

Extremis Sticks quick start guide

Extremis

Extremis Sticks quick start guide

Bedz King BK-501 Assembly instructions

Bedz King

Bedz King BK-501 Assembly instructions

Onespace 50-41201 Assembly instructions

Onespace

Onespace 50-41201 Assembly instructions

Nightingale CXO 6200 series User handbook

Nightingale

Nightingale CXO 6200 series User handbook

avaks nabytok BASIC 2dv rohova Assembly instructions

avaks nabytok

avaks nabytok BASIC 2dv rohova Assembly instructions

Rauch ML055 Assembly instructions

Rauch

Rauch ML055 Assembly instructions

Lee & Plumpton 123 Assembly instructions

Lee & Plumpton

Lee & Plumpton 123 Assembly instructions

Riverside Windhaven Assembly instructions

Riverside

Riverside Windhaven Assembly instructions

Home Decorators Collection TJ-0237V6022BE Assembly instructions

Home Decorators Collection

Home Decorators Collection TJ-0237V6022BE Assembly instructions

Lightolier ALETTA AP2T8 Specifications

Lightolier

Lightolier ALETTA AP2T8 Specifications

Arthauss Furniture CARINI Ca12 Assembly instructions

Arthauss Furniture

Arthauss Furniture CARINI Ca12 Assembly instructions

Walker Edison W60CMP Assembly instructions

Walker Edison

Walker Edison W60CMP Assembly instructions

Blanco 501-304 Specification sheet

Blanco

Blanco 501-304 Specification sheet

Sunjoy G111000600 Assembly instructions

Sunjoy

Sunjoy G111000600 Assembly instructions

ERGONOMIC SOLUTIONS OPERA 20 instructions

ERGONOMIC SOLUTIONS

ERGONOMIC SOLUTIONS OPERA 20 instructions

manuals.online logo
manuals.online logoBrands
  • About & Mission
  • Contact us
  • Privacy Policy
  • Terms and Conditions

Copyright 2025 Manuals.Online. All Rights Reserved.