Morgan MAC-COOL2 User manual
Other Morgan Air Conditioner manuals
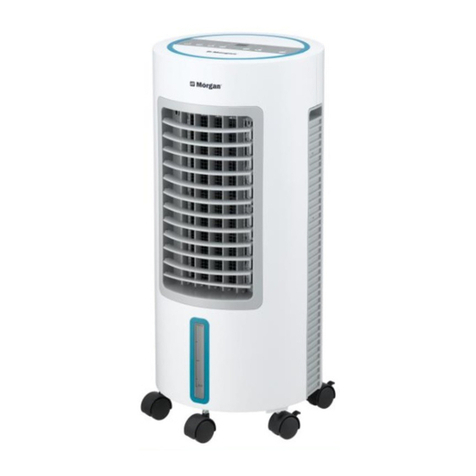
Morgan
Morgan MAC-DUOCOOL I User manual
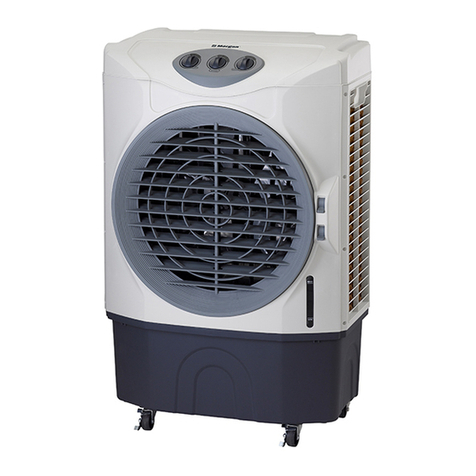
Morgan
Morgan MAC-COOL10A User manual
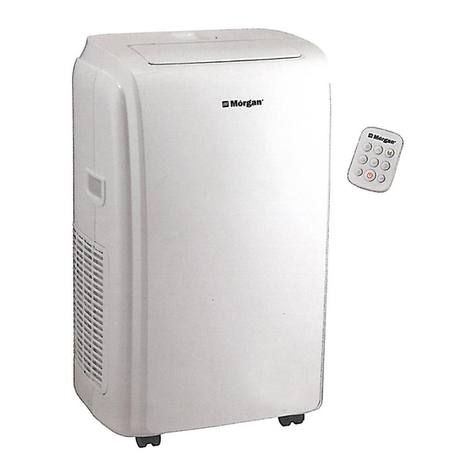
Morgan
Morgan MAC-092 SIERRAIRE User manual
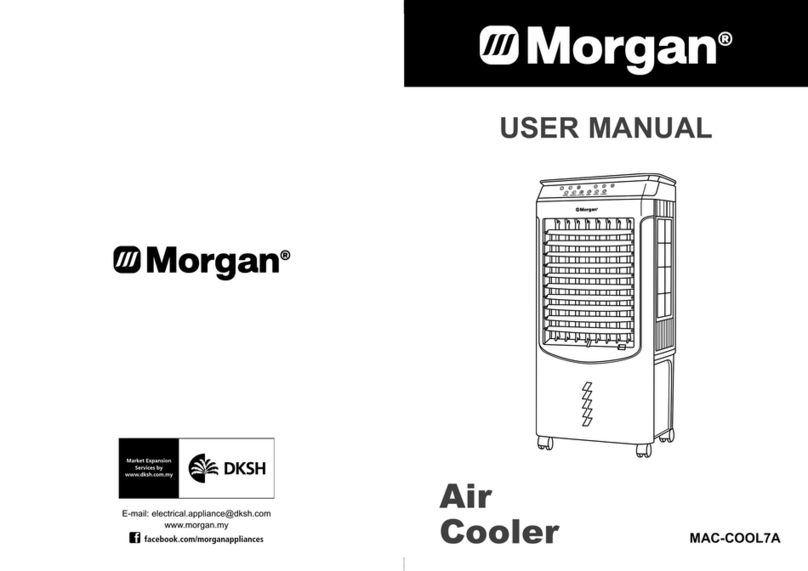
Morgan
Morgan MAC-COOL7A User manual
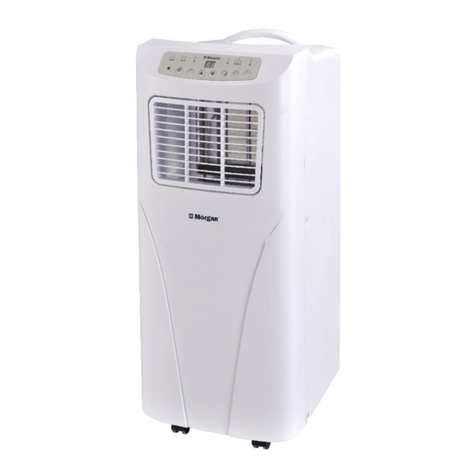
Morgan
Morgan MAC-091 Feather Lite User manual
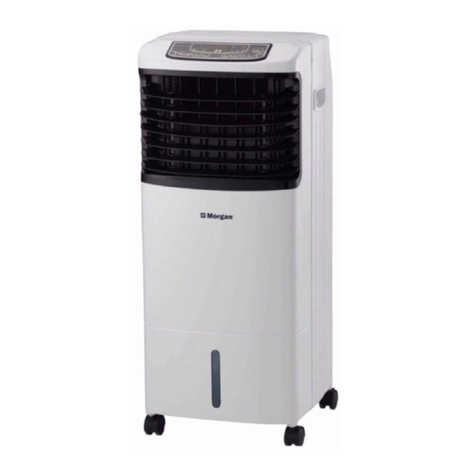
Morgan
Morgan MAC-COOL4 User manual
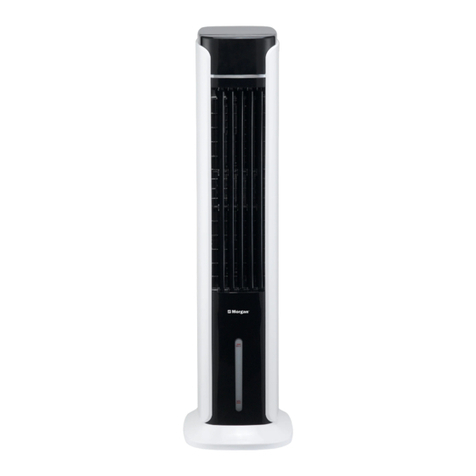
Morgan
Morgan MAC-COOL T1 User manual
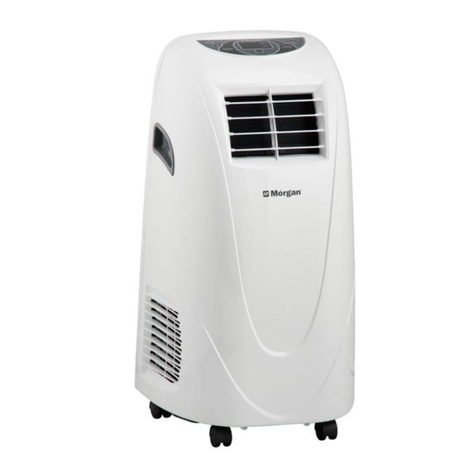
Morgan
Morgan MAC-96PA User manual
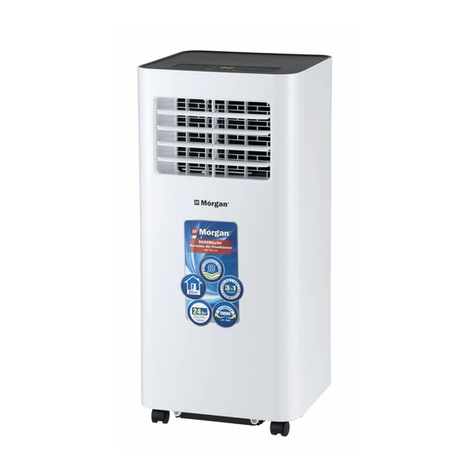
Morgan
Morgan MAC-080 DANDELION User manual
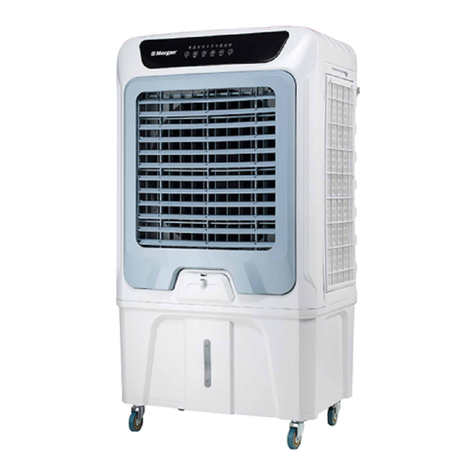
Morgan
Morgan MAC-AMPLEFLOW 18 User manual
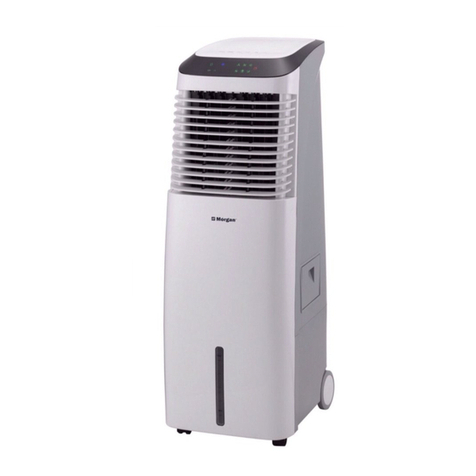
Morgan
Morgan MAC-COOL9 User manual
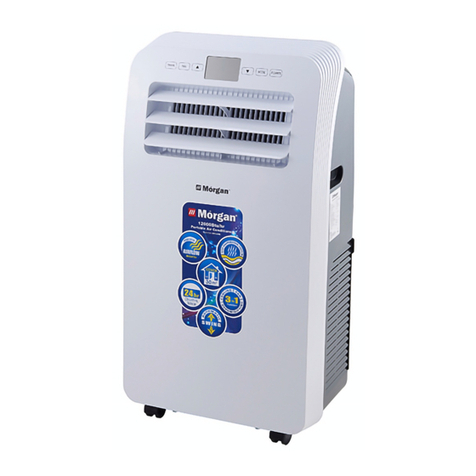
Morgan
Morgan MAC-121 SIERRAIRE User manual
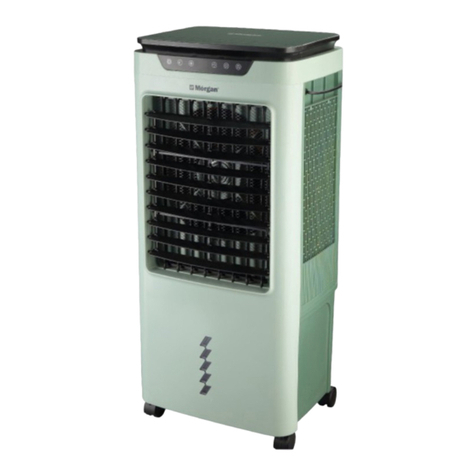
Morgan
Morgan MAC-COOL7 User manual
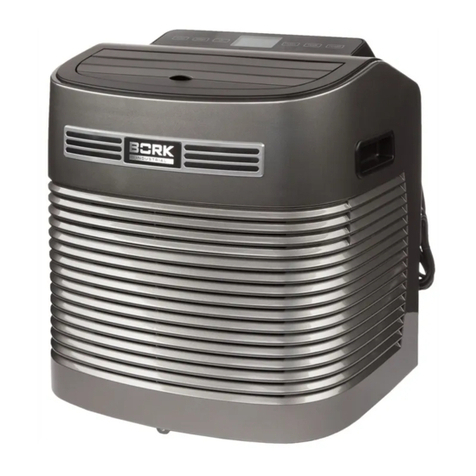
Morgan
Morgan MAC-10PA Titanium User manual
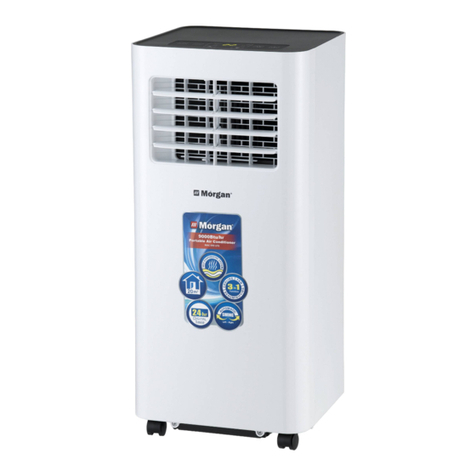
Morgan
Morgan MAC-093 LITE User manual
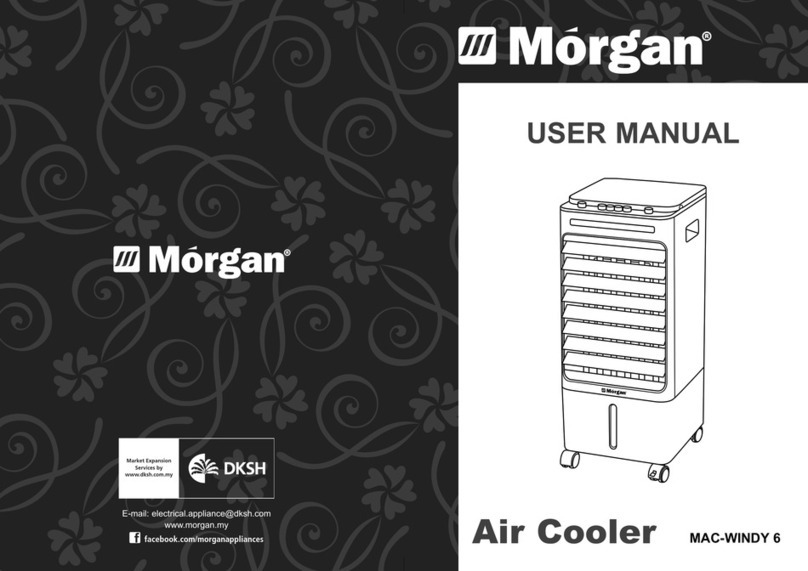
Morgan
Morgan MAC-WINDY 6 User manual
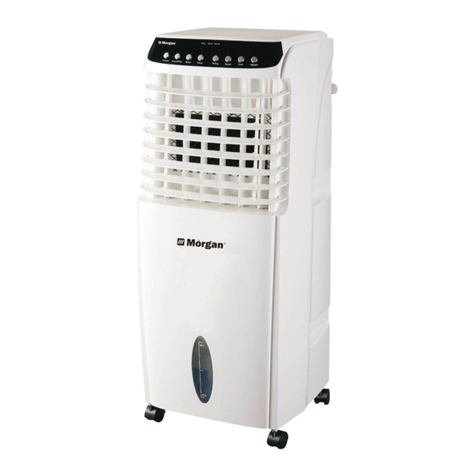
Morgan
Morgan MAC-COOL1B User manual
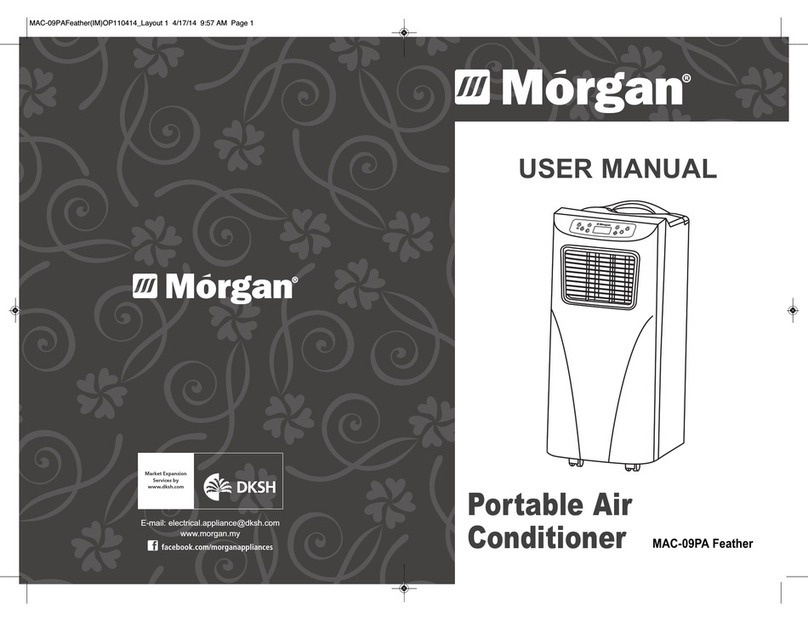
Morgan
Morgan MAC-09PA Feather User manual
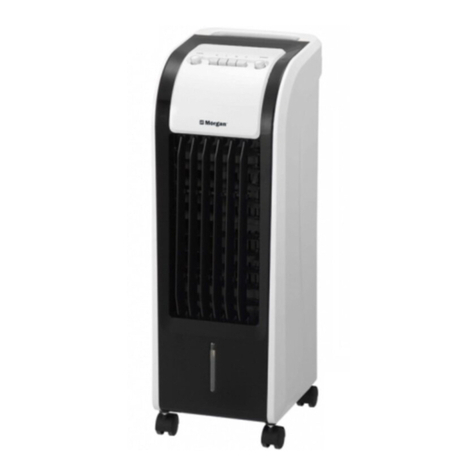
Morgan
Morgan MAC-COOL1A User manual
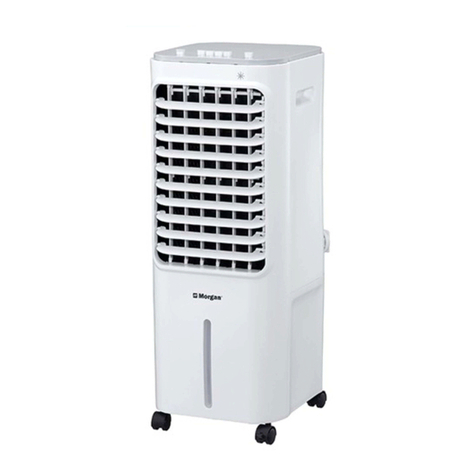
Morgan
Morgan MAC-CX12 User manual
Popular Air Conditioner manuals by other brands

Fujitsu
Fujitsu ASYG 09 LLCA installation manual

York
York HVHC 07-12DS Installation & owner's manual

Carrier
Carrier Fan Coil 42B Installation, operation and maintenance manual

intensity
intensity IDUFCI60KC-3 installation manual

Frigidaire
Frigidaire FAC064K7A2 Factory parts catalog

Sanyo
Sanyo KS2432 instruction manual

Mitsubishi Electric
Mitsubishi Electric PUHZ-RP50VHA4 Service manual

Panasonic
Panasonic CS-S18HKQ Service manual

Panasonic
Panasonic CS-E15NKE3 operating instructions

Gree
Gree GWH18TC-K3DNA1B/I Service manual

Friedrich
Friedrich ZoneAire Compact P08SA owner's manual

Daikin
Daikin R32 Split Series installation manual


