manuals.online logo
Brands
  1. Home
  2. •
  3. Brands
  4. •
  5. Morphy Richards
  6. •
  7. Vacuum Cleaner
  8. •
  9. Morphy Richards IB73120 User manual

Morphy Richards IB73120 User manual

This guarantee is valid in the UK and Ireland
only. It is in your interest to retain the retailers receipt
as proof of purchase. Please quote the following
information if the product develops a fault. These
numbers can be found on the base unit of the product.
Model No. Serial No.
(Please enter numbers for future reference)
All Morphy Richards products are individually tested
before leaving the factory. In the unlikely event of any
appliance proving to be faulty within 28 days of
purchase it should be returned to the place of purchase
for it to be replaced.
If the fault develops after 28 days and within 24
months of original purchase, you should take the
appliance to your nearest service agent. A list
containing details of your nearest service agent is
included with your appliance but please contact the
helpline quoting Model number and Serial number should
you require further assistance, repair or replacement of
the product is subject to the following exclusions. (see
Exclusions).
If you suspect a fault, follow the simple checks
detailed below before returning the appliance or
calling the helpline.
1 Check the dustbag and filters for blockages.
2 Check the hose and tubes for blockages.
3 Check the plug is firmly in the socket and the
supply is switched on.
4 Make sure the socket is working by trying
another appliance.
To qualify for the 2 year parts and labour guarantee
the appliance must have been used according to the
manufacturers instructions.
EXCLUSIONS
Morphy Richards shall not be liable to replace
or repair the goods under the terms of the
Guaranteewhere:
1 The fault has been caused or is attributable to
accidental use, misuse, negligent use or used
contrary to the manufacturers recommendations.
2 Continuing to use the cleaner when the bag is full.
3 Where the fault has been caused by power
surges or damage caused in transit.
4 The appliance has been used on a voltage
supply other than that marked on the
products.
5 Repairs have been attempted by persons other
than our service staff (or authorised dealer).
6 Where the appliance has been used for hire
purposes or non-domestic use.
7 The guarantee excludes consumables such as
bags, filters and air freshners.
This guarantee does not confer any rights other
than those expressly set out above and does not cover
any claims for consequential loss or damage. This
guarantee is offered as an additional benefit and does
not affect your statutory rights as a consumer.
If for any reason this item is replaced during the 2
year guarantee period, the guarantee on the new item
will be calculated from original purchase date. Therefore
it is vital to retain your original till receipt or invoice to
indicate the date of initial purchase.
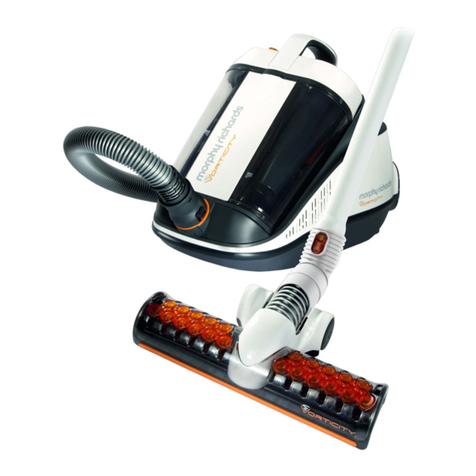
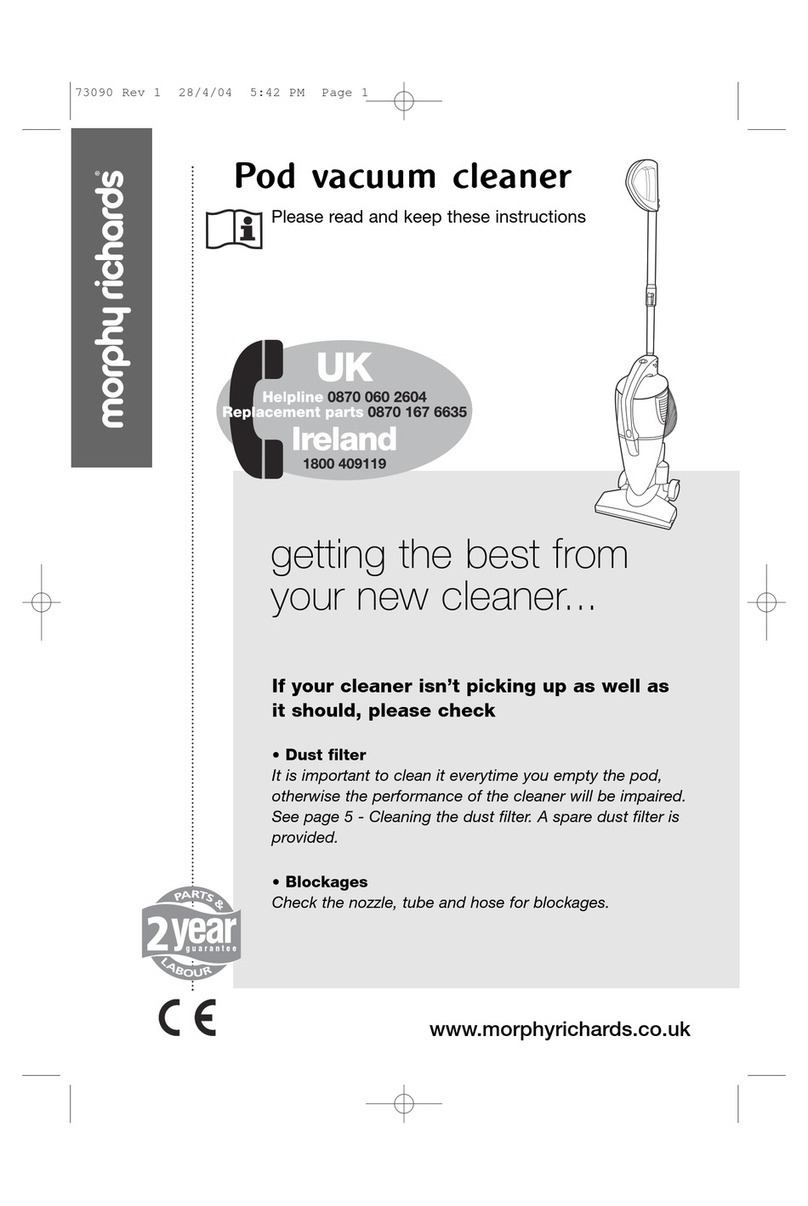
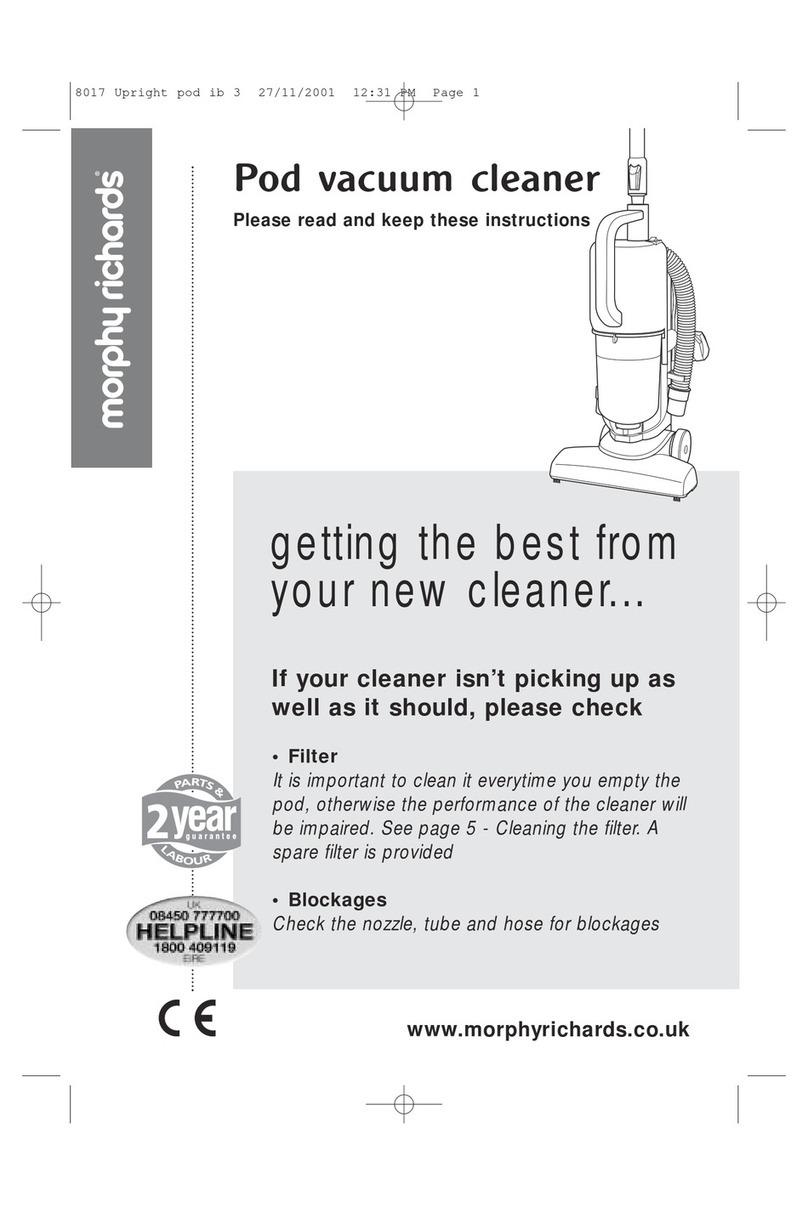
Pod compact bagless vacuum cleaner
2 year parts and labour guarantee
Instruction manual
The After Sales Division, Morphy Richards Ltd, Mexborough, South Yorkshire, England, S64 8AJ
Helpline (office hours ): UK (local rate) 08450 777700, Republic of Ireland 1800 409119
2
Important SafeguardsImportant Safeguards
Important Safeguards
Thisproducthasbeendesignedwith
yoursafety inmind.However,for safe
operation, it is important that you
observethefollowing points:
1Read all the instructions.
2Useonly genuineMorphyRichards
spare parts and accessories.
3If the electrical cable becomes
damagedthe complete cable
assembly must be replaced.
Do not attempt this task yourself,
contact Morphy Richards using the
helplinenumber on the front ofthis
leaflet.
4Do not use to pick up any liquids.
5Neveruse thisappliance to vacuum
hot ashes, hot cigarette ends, hot
coals or other similar items.
6Neveruse inthepresence of
explosiveliquids orvapours such
aspetrol, copier toner,orother
volatilesubstances.
7Never pick up acids, asbestos or
asbestos dust.
8Do not store the appliance near hot
ovensorheatingappliances.
9Theapplianceshouldneverbe left
runningunsupervised.
10Childrendo notunderstand the
dangersassociated withoperating
electricalappliances.Neverallow
children to use this appliance.
11 Do not use or keep this product
outside when it is raining.
12Nevermodify the cleaner inanyway.
13Repairsto electrical appliances are
onlyto be undertaken by authorised
serviceagents.Unprofessional
repairscan be dangerousfor users.
14Thisvacuum cleaneris intendedfor
domestic use only. Misuse or use
forcommercial or anyotherpurpose
will rendertheguaranteeinvalid.
15DISCONNECTFROMTHESUPPLY
BEFOREATTEMPTINGANY
CLEARINGOF BLOCKAGESOR
REPLACEMENTOFTHEFILTERS.
Electrical requirementsElectrical requirements
Electrical requirements
When using this appliance outdoors it
should be additionally protected by a RCCB
(Residual Current Circuit Breaker).
Check that the voltage on the rating plate of
your appliance corresponds with your house
electricity supply which must be A.C. (Alter-
nating current).
For appliances with fitted plug.
If the socket outlets in your home are not
suitable for the plug supplied with this
appliance the plug should be removed and the
appropriate one fitted.
SAVE THESESAVE THESE
SAVE THESE
INST UCTIONSINST UCTIONS
INST UCTIONS
IMP0RTANT:THEPLUGREMOVEDFROM
THEMAINSLEAD,IFSEVERED,MUSTBE
DESTROYEDASA PLUG WITHABARED
FLEXIBLECORDISHAZARDOUSIFENGAGED
INTOALIVESOCKETOUTLET.
Should the fuse in the 13 amp plug require
changing a 13 amp BS1362 fuse must be
fitted.
3
FeaturesFeatures
FeaturesFeatures
Features
Flexible hose
Pod release latch
Carrying handle
Cable rewind button
Power on/off switch
Wheels
Dust pod
Hose inlet
Storage hook
Accessory hook
Floor nozzle
Crevice tool
Brush tool (clips onto )
Extension tubes
Hose handle
4
AssemblyAssembly
AssemblyAssembly
Assembly
Your pod vacuum cleaner has an efficient
suction action to provide high levels of
cleaning on all types of surface around the
home.
Always remove the plug from the
power socket before fitting or removing
accessories.
Insert flexible hose
Insert the flexible hose in the hose inlet
duct on the front of the product, press until
it clicks into position.
To remove flexible hose
Press the release button to release the
flexible hose. Pull the hose firmly from the
hose inlet duct.
Fitting the extension tubes
and accessories
Join the two extension tubes together.
and attach the extension tubes to the handle
end of the hose. Some tasks may be easier
with only one extension tube fitted.
Attach the floor nozzle to the extension
tubes. The floor nozzle can be used for
carpets, rugs, hard floors and tiles.
Other accessories include:
•Crevice tool for awkward places,
corners and behind radiators etc.
•Brush attachment for pelmets, delicate
objects, sofas and armchairs.
ControlsControls
ControlsControls
Controls
On/Off power control
Press the on/off switch down to turn
the appliance on. Press again to turn off.
Suction control on handle
The suction power
can be adjusted using
the fingertip control
on the handle.
Closed: full suction
Open: low suction
Standby positionStandby position
Standby position
During short breaks in cleaning, the tubes can
be held in an upright, ‘standby’ position, whilst
you move furniture for instance.
CAUTION : Ensure that the appliance is never
left unattended whilst it is switched on.
After vacuumingAfter vacuuming
After vacuuming
1 Switch off the vacuum cleaner.
2 Unplug from the mains.
3 Use a hand or foot to operate the cable
rewind .
CAUTION : When using
the cable rewind,
always hold the plug
as the cable will
rewind quickly.
StorageStorage
StorageStorage
Storage
positionposition
positionposition
position
The vacuum cleaner can be stored in an
upright position. Slide storage hook into the
slot on the base of the product and the tubes,
hose and floor nozzle are held securely.
5
Emptying the PodEmptying the Pod
Emptying the Pod
Disconnect the
cleaner from the
mains socket.
Disconnect the
hose from the hose
inlet duct.
Remove the pod by
pushing the pod
release latch.
Remove the filter basket
and empty the pod into a
waste bin.
If the dust is tightly
packed tap the front
cover.
Shake the filter basket into the waste bin, this
will remove most of the dust.
The filter basket can be cleaned further using
the dusting brush (attached to the crevice tool).
If suction is low after cleaning, the filter basket
should be washed in warm water, (no detergent)
and left to dry thoroughly before replacing.
NEVERREPLACE THEFILTERBASKETWHEN
STILL DAMP.
eassembleeassemble
eassembleeassemble
eassemble
Replace the filter
ensuring that the seal is
good.
Replace the pod onto the
main body.
Changing and cleaningChanging and cleaning
Changing and cleaning
the other filtersthe other filters
the other filters
This cleaner is fitted with a motor protection
filter.NEVER USE THE VACUUM CLEANER
WITHOUT THIS FILTER IN PLACE.
To clean the motor protection filter
1 Remove the filter from the filter grille.
2 Rinse the filter in lukewarm water and dry
the filter completely.
3 Put the filter back into the filter grille and
reassemble.
Morphy Richards products are intended for non commercial use only.
Morphy Richards has a policy of continuous improvement in product quality and design.
The Company, therefore, reserves the right to change the specification of its models at any time.
Morphy Richards Ltd, Mexborough,
South Yorkshire, England, S64 8AJ 442/8673/06 Rev 1
Purchasing newPurchasing new
Purchasing new
filtersfilters
filtersfilters
filters
Only use original Morphy Richards filters.
Replacement filters can be purchased by
calling our Helpline number on the front of this
booklet.
Care and maintenanceCare and maintenance
Care and maintenance
Your cleaner is manufactured to withstand
normal day-to-day use, but an occasional
wipe over will help maintain its good looks.
Abrasive cleaners should not be used.
Changing the microChanging the micro
Changing the micro
exhaust filterexhaust filter
exhaust filter
This filter should be replaced every 12
months or sooner if required.
Remove the exhaust filter grille by pulling the
locking tabs towards you. Remove the used
filter. Insert the clean micro exhaust filter and
replace the filter grille.
IMPORTANT
•All filters should be checked
regularly for signs of damage,
preferably after each cleaning task.
The filters must be replaced
immediately if they become
damaged.
•Always disconnect the cleaner from
the mains when checking filters.
•Always make sure all filters are fitted
before use. Failure to do so may
result in damage to your product.
locking tabs

Other Morphy Richards Vacuum Cleaner manuals

Morphy Richards VC73240MUK User manual

Morphy Richards

Morphy Richards VC73240MUK User manual

Morphy Richards IB73300 User manual

Morphy Richards

Morphy Richards IB73300 User manual

Morphy Richards Ecovac 70096 User manual

Morphy Richards

Morphy Richards Ecovac 70096 User manual

Morphy Richards IB71053 User manual

Morphy Richards

Morphy Richards IB71053 User manual

Morphy Richards STORM CYCLONIC vacuum cleaner User manual

Morphy Richards

Morphy Richards STORM CYCLONIC vacuum cleaner User manual

Morphy Richards 73285 BAGLESS UPRIGHT VACUUM CLEANER User manual

Morphy Richards

Morphy Richards 73285 BAGLESS UPRIGHT VACUUM CLEANER User manual

Morphy Richards SpillMaster User manual

Morphy Richards

Morphy Richards SpillMaster User manual

Morphy Richards Bagless Vacuum Cleaner User manual

Morphy Richards

Morphy Richards Bagless Vacuum Cleaner User manual

Morphy Richards IB70191 User manual

Morphy Richards

Morphy Richards IB70191 User manual

Morphy Richards Scoot bagless vacuum cleaner User manual

Morphy Richards

Morphy Richards Scoot bagless vacuum cleaner User manual

Morphy Richards VC70069 MUK User manual

Morphy Richards

Morphy Richards VC70069 MUK User manual

Morphy Richards 73106 User manual

Morphy Richards

Morphy Richards 73106 User manual

Morphy Richards VC73410 MUK User manual

Morphy Richards

Morphy Richards VC73410 MUK User manual

Morphy Richards Ecolectric 73383 User manual

Morphy Richards

Morphy Richards Ecolectric 73383 User manual

Morphy Richards IB73370 User manual

Morphy Richards

Morphy Richards IB73370 User manual

Morphy Richards VC73184 User manual

Morphy Richards

Morphy Richards VC73184 User manual

Morphy Richards 73355 PERFORMAIR ENDURANCE UPRIGHT VACUUM... User manual

Morphy Richards

Morphy Richards 73355 PERFORMAIR ENDURANCE UPRIGHT VACUUM... User manual

Morphy Richards IB71050 User manual

Morphy Richards

Morphy Richards IB71050 User manual

Morphy Richards IB73090 User manual

Morphy Richards

Morphy Richards IB73090 User manual

Morphy Richards 73281 User manual

Morphy Richards

Morphy Richards 73281 User manual

Morphy Richards Supervac Deluxe User manual

Morphy Richards

Morphy Richards Supervac Deluxe User manual

Morphy Richards VC7341DMUK User manual

Morphy Richards

Morphy Richards VC7341DMUK User manual

Morphy Richards PERFORMAIR CYCLONIC VACUUM CLEANER User manual

Morphy Richards

Morphy Richards PERFORMAIR CYCLONIC VACUUM CLEANER User manual

Morphy Richards Topo compact vacuum cleaner User manual

Morphy Richards

Morphy Richards Topo compact vacuum cleaner User manual

Popular Vacuum Cleaner manuals by other brands

Panasonic MC-4620 operating instructions

Panasonic

Panasonic MC-4620 operating instructions

Hoover FREEJET 3in1 FJ120R2 instruction manual

Hoover

Hoover FREEJET 3in1 FJ120R2 instruction manual

Progress Stuttgart PC7218 operating instructions

Progress Stuttgart

Progress Stuttgart PC7218 operating instructions

Kent Euroclean DuraVac 152 Operator's manual

Kent Euroclean

Kent Euroclean DuraVac 152 Operator's manual

Lindhaus Valzer HEPA Specifications

Lindhaus

Lindhaus Valzer HEPA Specifications

Pulse-Bac 552 Operators & service manual

Pulse-Bac

Pulse-Bac 552 Operators & service manual

Stihl SE 122 instruction manual

Stihl

Stihl SE 122 instruction manual

Russell Hobbs COMPACT CYCLONIC Instructions, troubleshooting guide and guarantee

Russell Hobbs

Russell Hobbs COMPACT CYCLONIC Instructions, troubleshooting guide and guarantee

Iclebo POP YCR-M05 quick guide

Iclebo

Iclebo POP YCR-M05 quick guide

Numatic GVE 370 Owner's instructions

Numatic

Numatic GVE 370 Owner's instructions

Kärcher PUZZI 300 manual

Kärcher

Kärcher PUZZI 300 manual

Sears Craftsman 113.179490 owner's manual

Sears

Sears Craftsman 113.179490 owner's manual

Delfin HV102 quick start guide

Delfin

Delfin HV102 quick start guide

Philips TCX511/13 user manual

Philips

Philips TCX511/13 user manual

Hotpoint Ariston SL D10 BAW operating instructions

Hotpoint Ariston

Hotpoint Ariston SL D10 BAW operating instructions

Beko VRT 94928 VW user manual

Beko

Beko VRT 94928 VW user manual

cecotec CONGA ROCKSTAR 200 VITAL instruction manual

cecotec

cecotec CONGA ROCKSTAR 200 VITAL instruction manual

Makita DVC265 instruction manual

Makita

Makita DVC265 instruction manual

manuals.online logo
manuals.online logoBrands
  • About & Mission
  • Contact us
  • Privacy Policy
  • Terms and Conditions

Copyright 2025 Manuals.Online. All Rights Reserved.