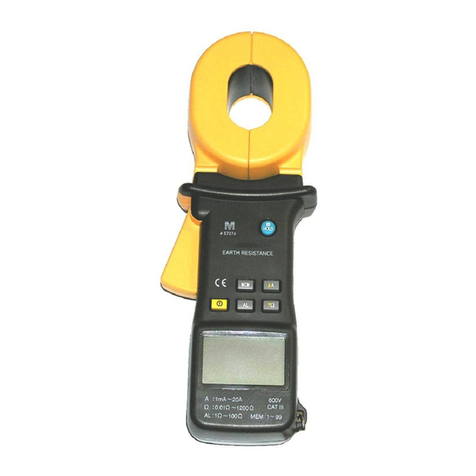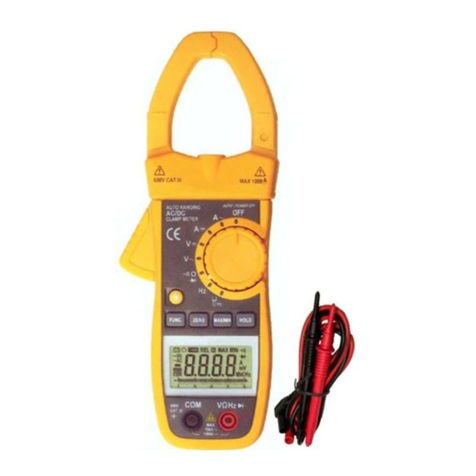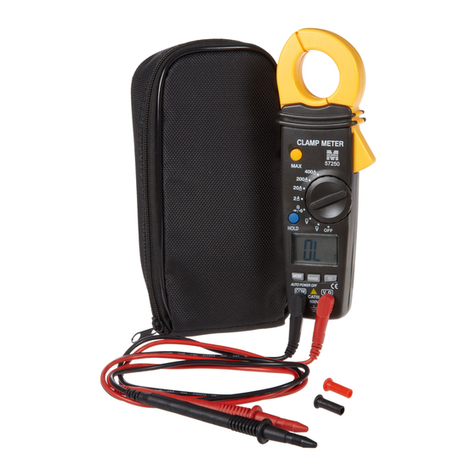
3. FRONT PANEL
1. LCD DISPLAY
2. ROTARY SWITCH
3. ZERO ADJUSTOR
4. INPUT JACKS
4. OPERATING INSTRUCTION
4.1 CAUTION BEFORE MEASUREMENT
1. Be sure that batteries are correctly placed in the battery case and connected to the battery snap.
2. Observe polarity when connecting polarized capacitors.
3. Fully discharge any capacitors.
4. Never apply voltage to the test jacks, serious damage may result.
5. Do not short the test leads together. This will cause x-large power consumption of the battery.
It will show over-range indication on all ranges.
4.2 CONSIDERATION
1. If the capacitance value is unmarked, start with the 200pF range and keep increasing until the
over-range indication goes off and a reading is obtained.
2. A shorted capacitor will read over-range on all ranges. A capacitor with low voltage leakage will
read over-range, or a much higher value than normal. An open capacitor will read zero on all
ranges (possibly a few pF on the 200pF range).
3. Measurements of very low capacitances should be performed using extremely short leads or the
capacitor measuring socket above input jacks in order to avoid introducing any stray capacitance.
4. When using the optional test leads, remember that the leads introduce a measurable capacitance
to the measurement.
As a first approximation, the test lead capacitance may be measured by opening the leads at the
tips, recording the open circuit value and subtracting that value (if the value is negative than
adding) from the display results. However, in order for this correction to be valid, the succeeding
capacitor measurement must be made with all other measurement conditions exactly the same.
5. Capacitors, especially electrolytics, often have notoriously wide tolerances. Do not be surprised if
the measured value is greater than the value marked on the capacitor, unless it is a close
tolerance type. However, values are seldom drastically below the rated value.
6. The existence of a leaky capacitance may be detected if the value changes significantly as the
scales are changed. The effect of the internal leaky resistance is minimized on the lower range
scales.
4.3 CAPACITANCE MEASURING PROCEDURE
1. Select the range switch for the maximum expected capacitance.
2. Check the zero display: If your test range on 200pF, 2nF 20nF. Before connecting the capacitor
under test (but after inserting any test leads or test fixtures). Rotate the front - panel adjust knob
for a zero display. This “ZREO ADJUSTMENT” is limited to approx. 20pF to ±20pF.
3. Connect the alligator clips to capacitor leads or insert leads of the capacitor into its measuring
socket.
4. Read the display. The measuring value is a direct reading and the electrical unit (pF, nF, µF, mF)
is indicated. If DISPLAY show “1“. It indicates on Out-of-Range measurement. If the display
indicates one or more leading zero’s, shift to the next lower range scale to improve resolution of
the measurement.
5. ROTARY SWITCH: Be sure to set to “OFF” position when not using.


