ATTENZIONE
WARNING
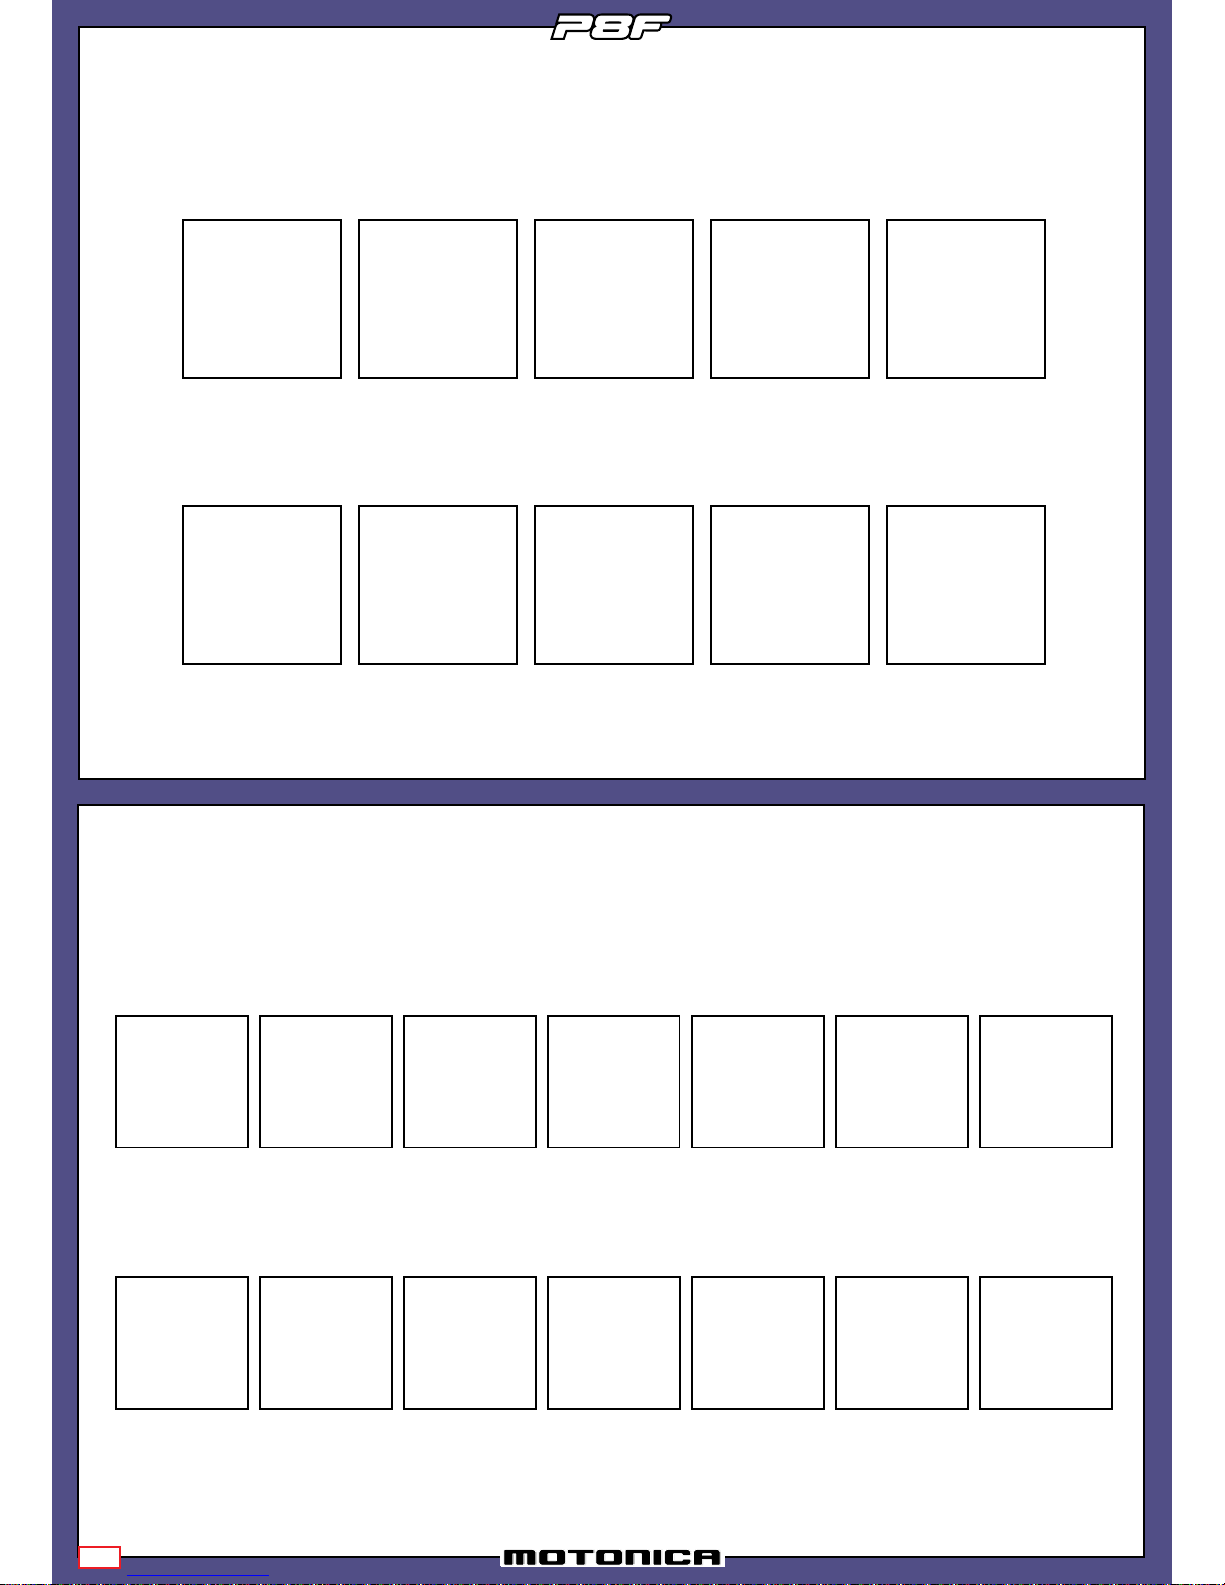
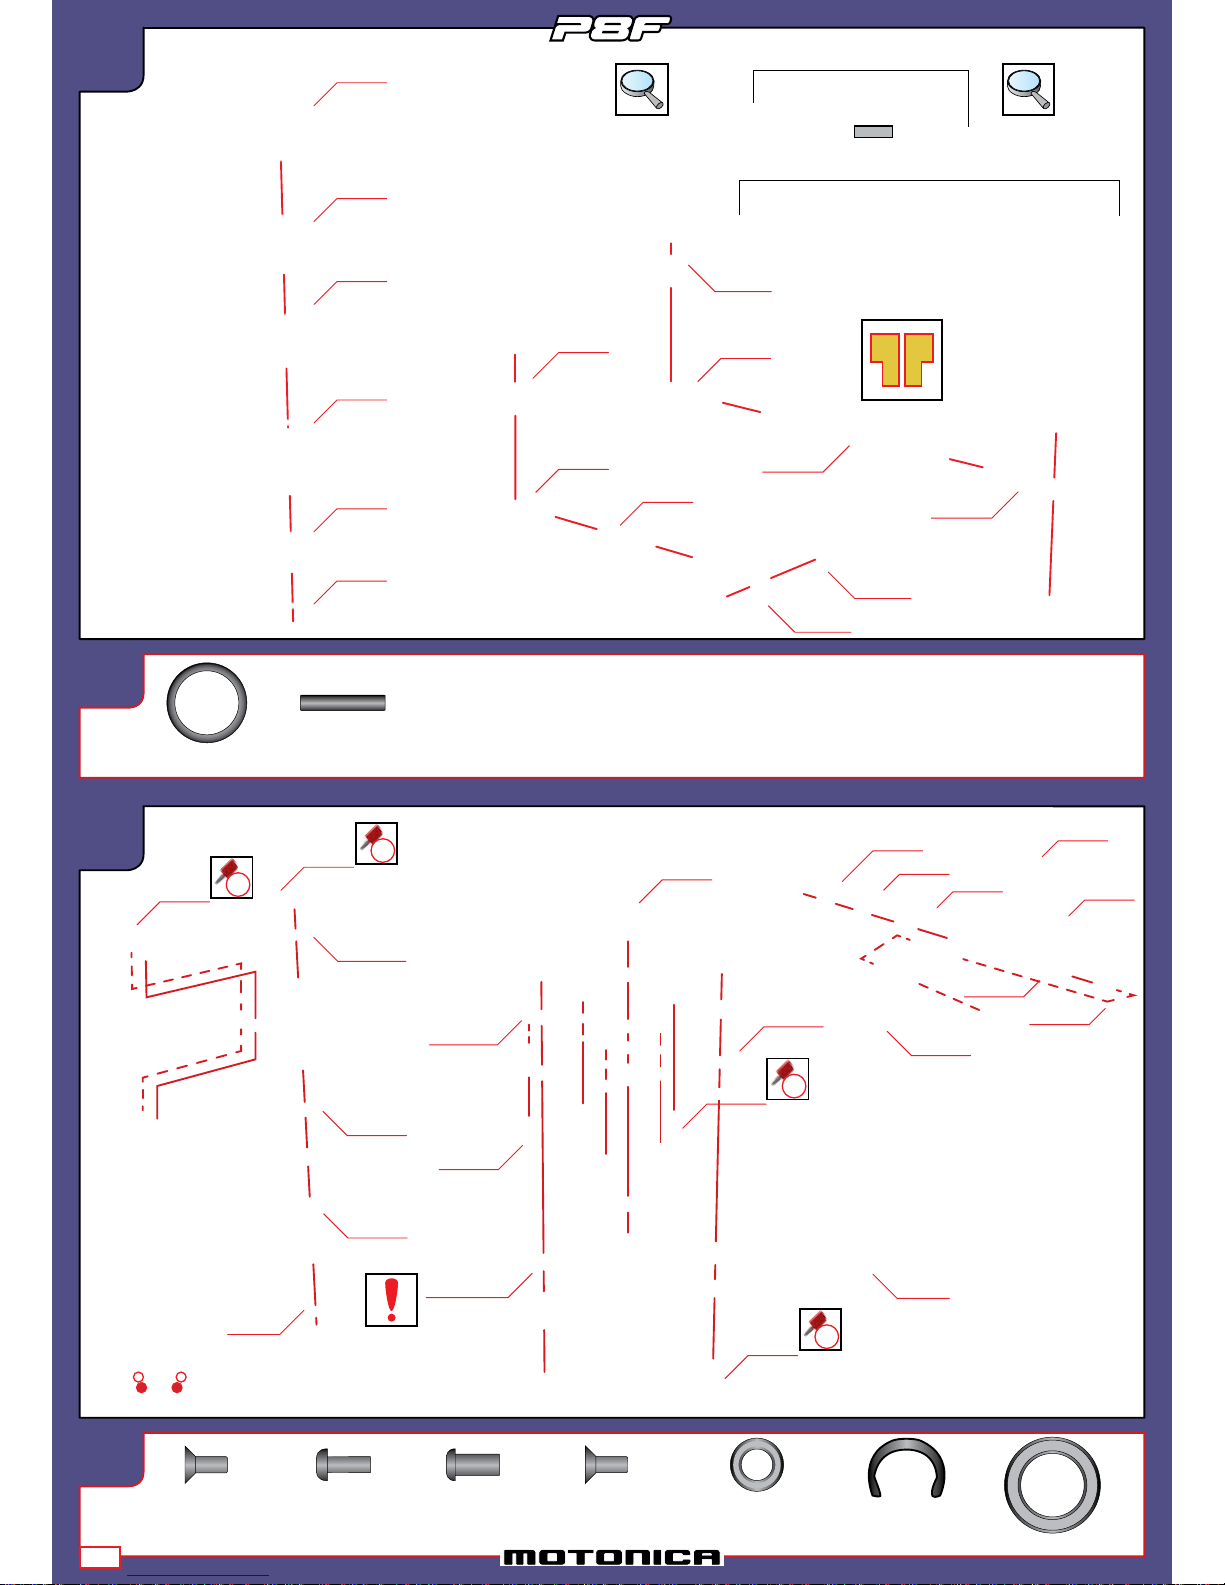
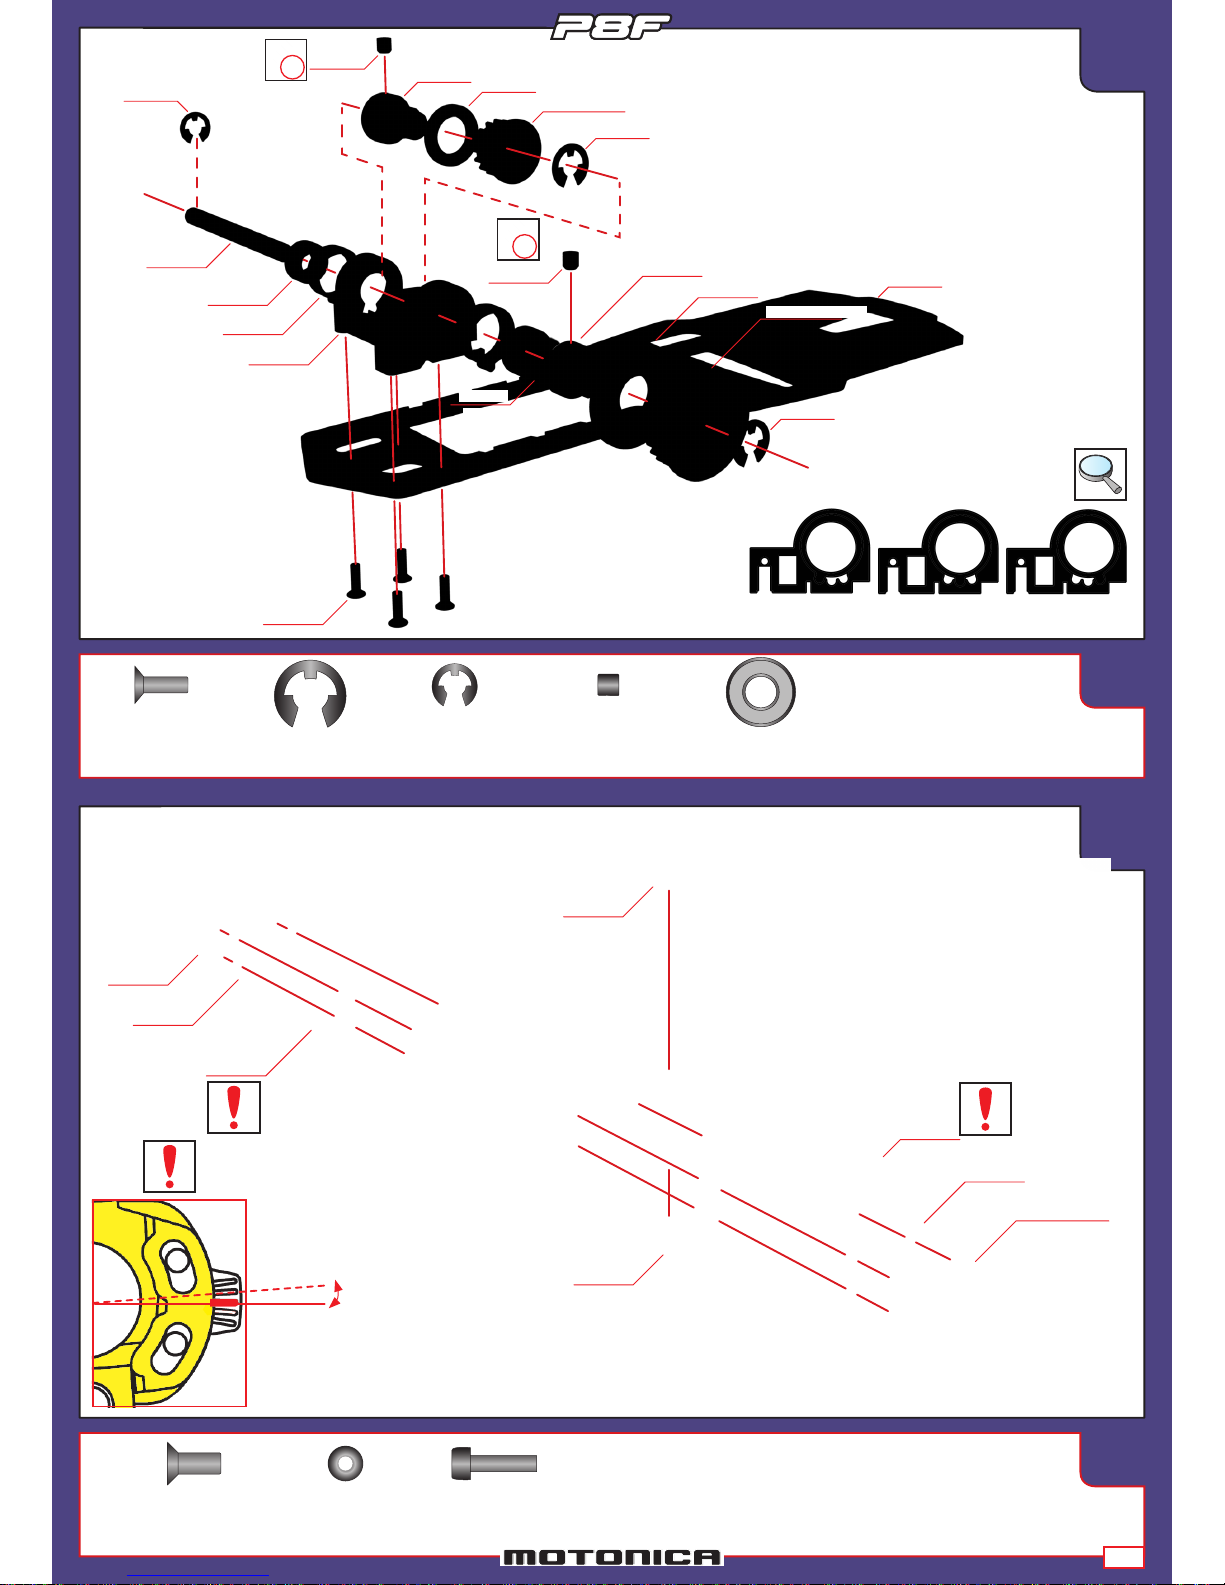
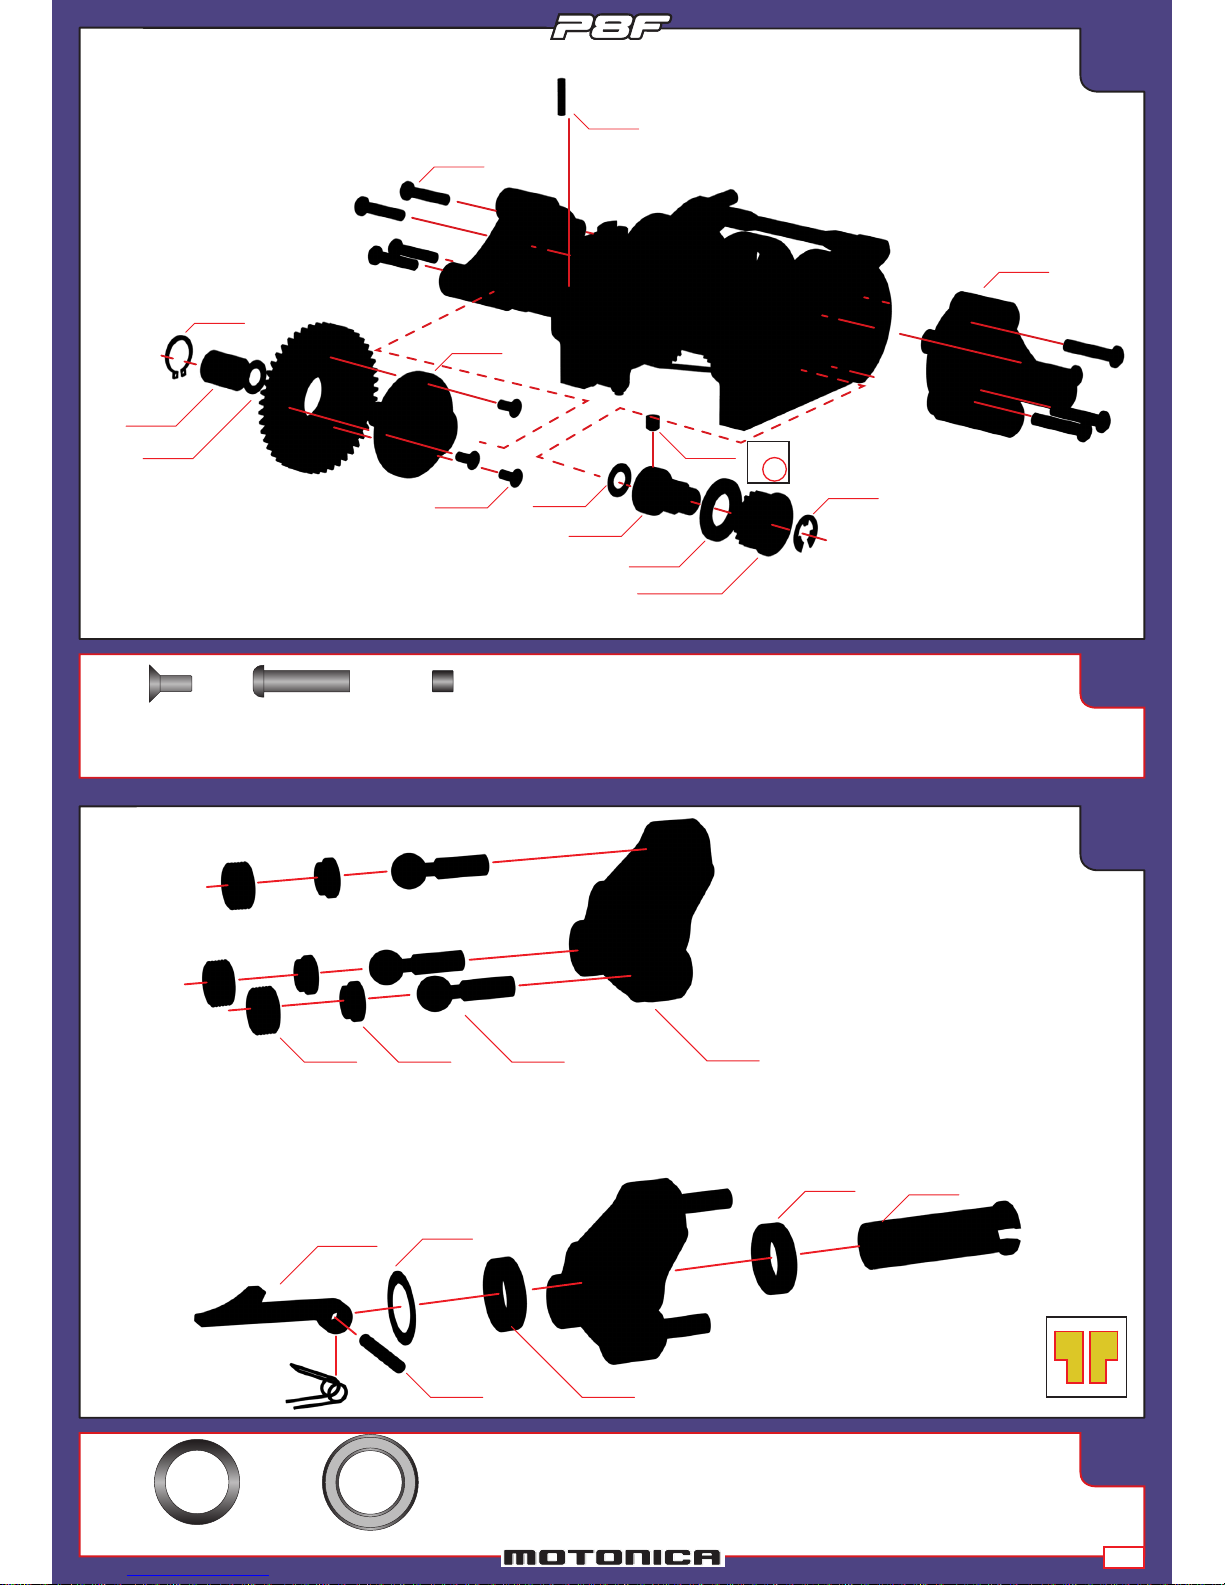
TL GR
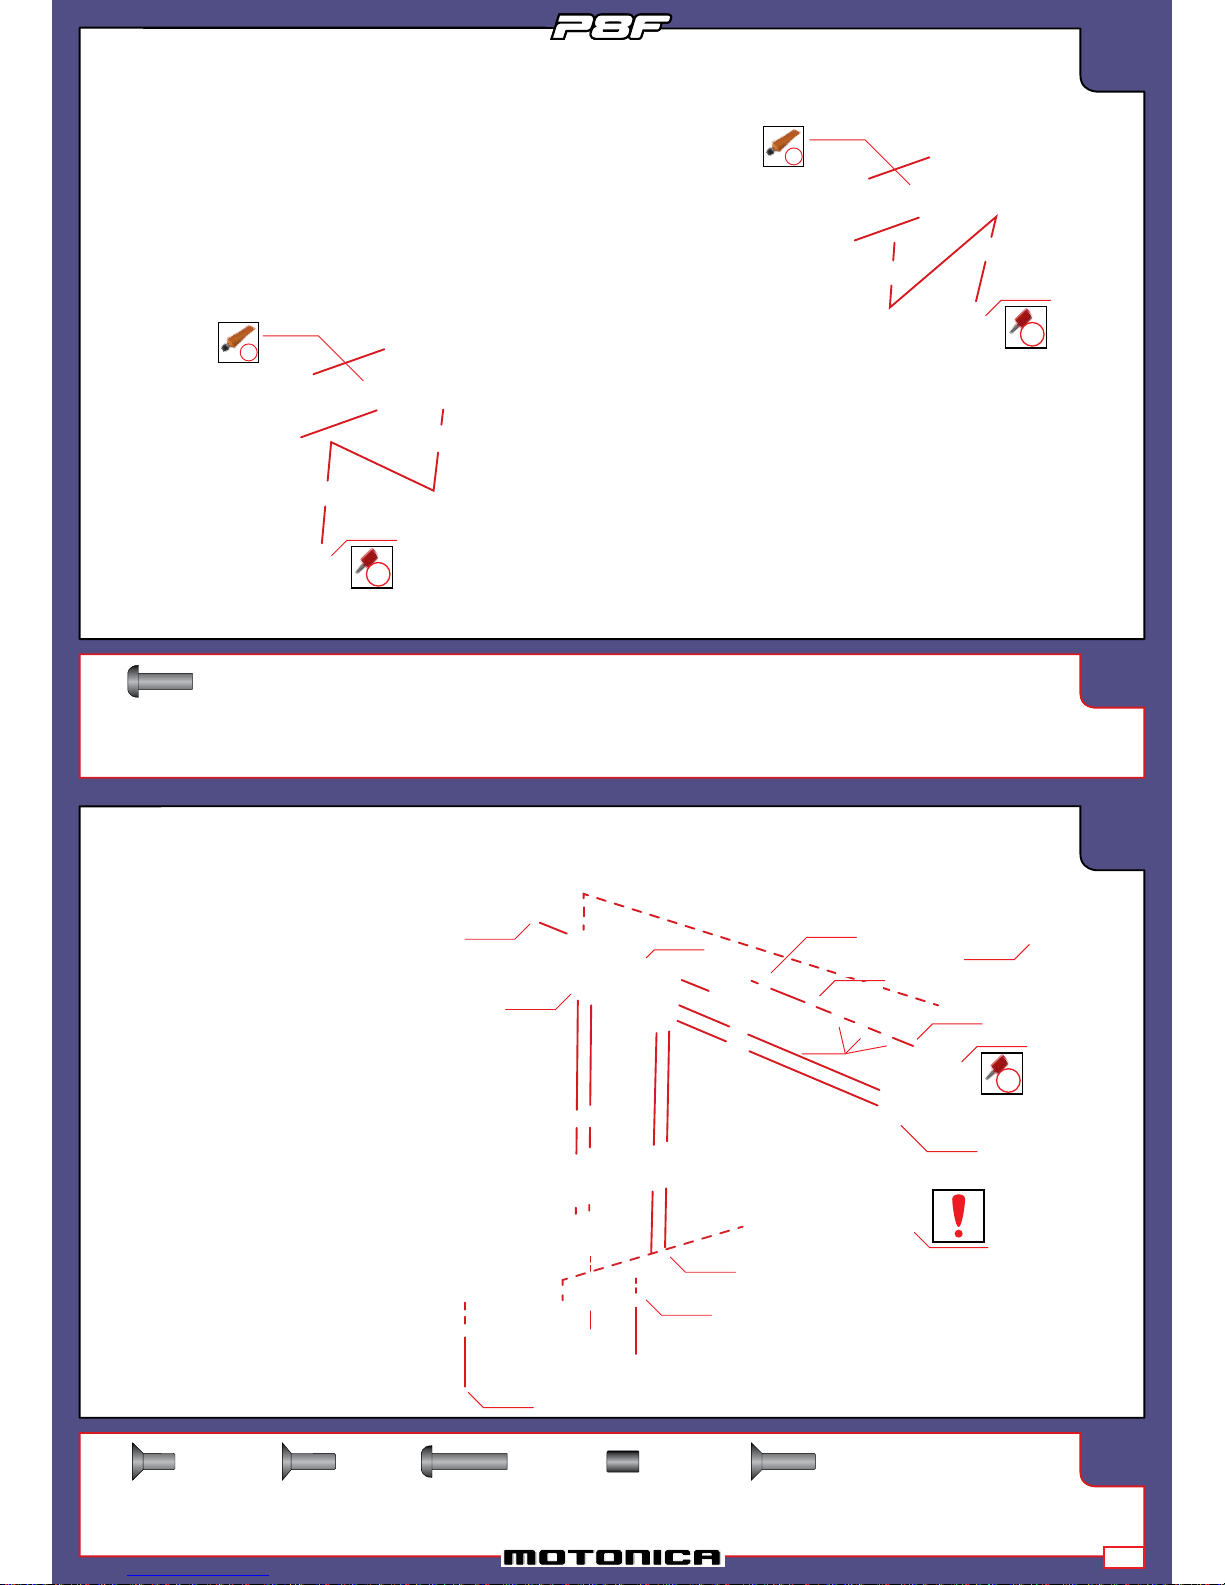
Applicare il Frenaletti
Apply thread lock Applicare il Grasso
Apply grease
OIL
Applicare Olio
Apply oil Prestare attenzione
Be careful
LR
Sequenza di montaggio
Assemble the parts in
the specied order
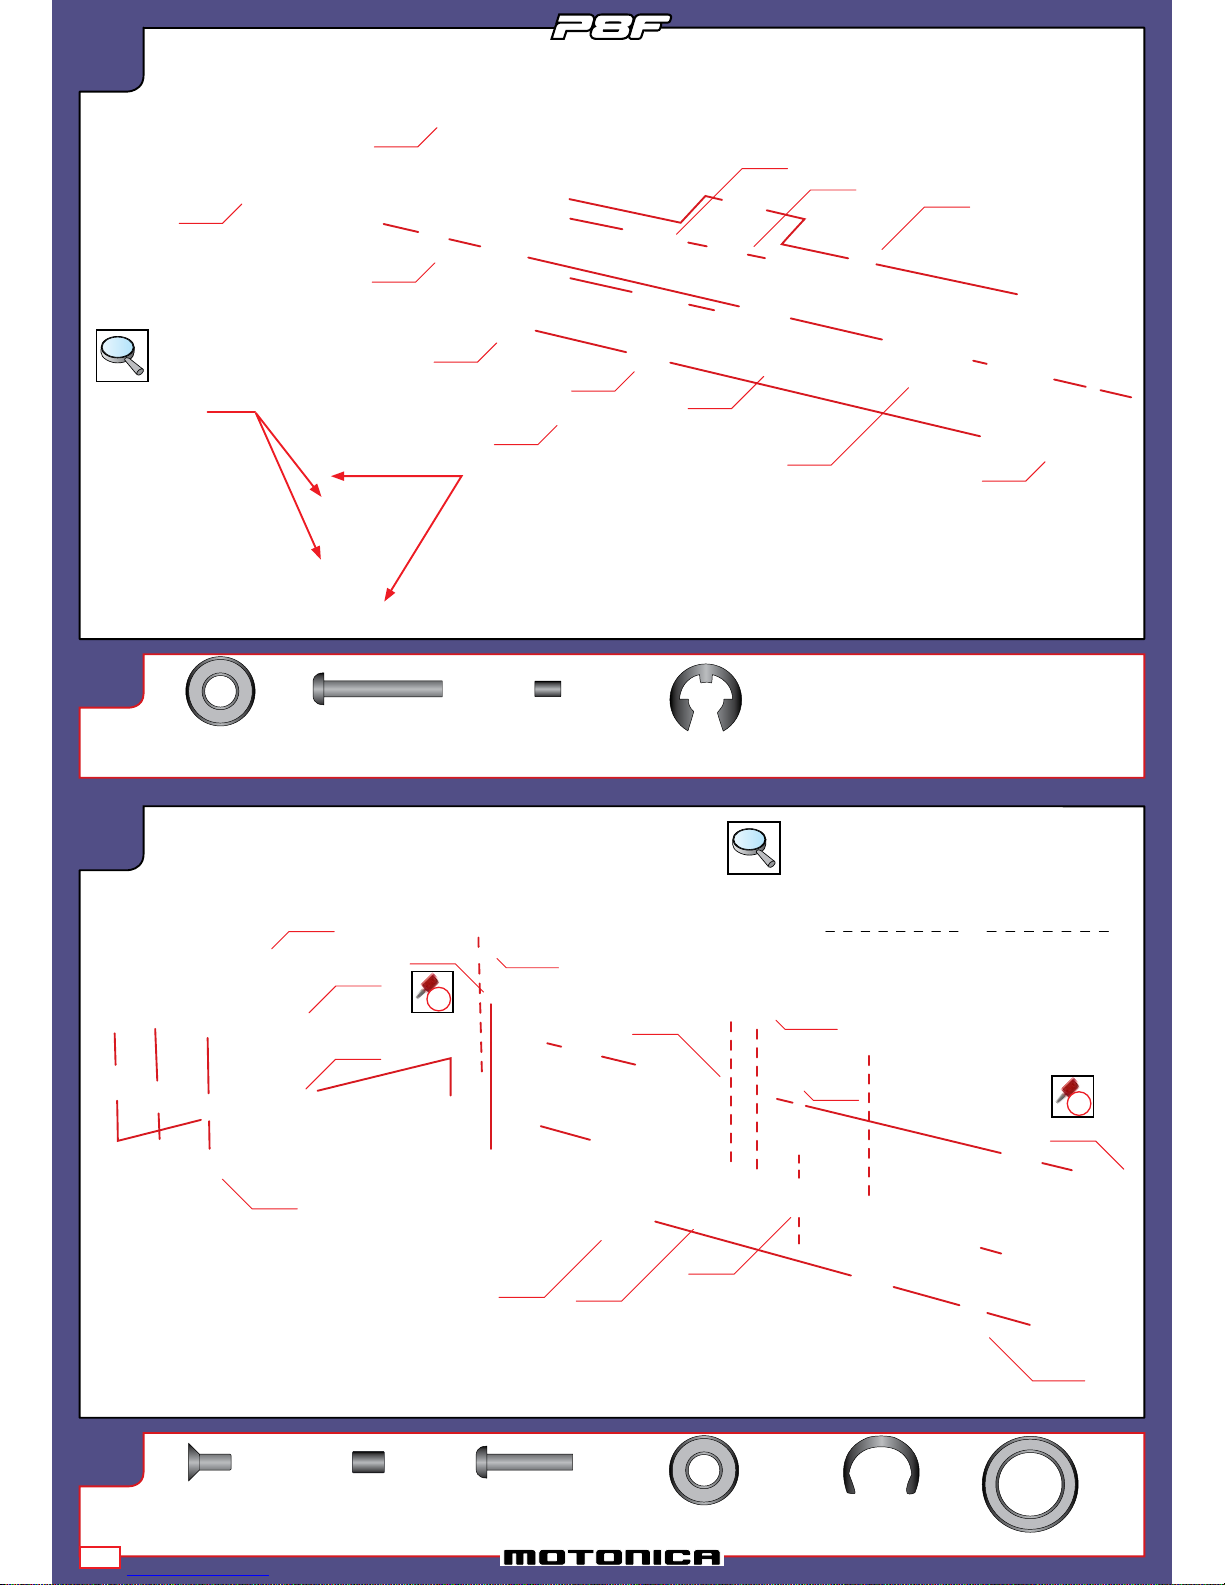
LEGENDA DEI SIMBOLI
Vista in dettaglio
View detail
WARNING!
This radio control model is not a toy.
- First–time builders should seek the advice of experienced modellers before beginning assembly and/or if they do not fully understand any part of the
construction. We highly advise to read the instruction manual before assembly, and to always keep it at hand for reference. Take care before operating this
model; you are responsible for its assembly and safe operation.
- The extreme performance of this model could be underestimated by inexpert drivers and could damage objects and/or people.
- Assemble this kit only in places out of children’s reach!
- Fastom S.r.l. through MOTONICA® is not responsible for any damage or harm caused by improper use or assembly.
- Fastom S.r.l. through MOTONICA® and its distribution network are not responsible for any damage caused by shipping or handling. Eventual parts
missing from the kit or awed must be reported within two weeks of purchase to your local hobby shop or distributor.
- For best performance, we highly advise to only use original authentic MOTONICA® parts.
For customer support and service please contact your local hobby shop or agent from whom you purchased this item.
- Contents of box may slightly differ from the pictures shown. Construction tools, tyres, body, fuel, radio system and servo, engine,
mufer and battery pack are not included unless otherwise stated.
ATTENZIONE!
Questo modello radiocomandato non é un giocattolo.
- Si consiglia ai principianti di apprendere dai modellisti più esperti tutti i suggerimenti necessari per un corretto assemblaggio e per poter pilotare senza
rischi il modello. Si consiglia inoltre di seguire il manuale di costruzione e di tenerlo sempre a portata di mano come riferimento. Rispettare sempre le
necessarie misure di sicurezza prima di adoperare il modello; siete i soli responsabili del suo assemblaggio e corretto funzionamento.
- La prestazione del modello potrebbe essere sottovalutata dal pilota inesperto e causare danni a cose e/o persone.
- Assemblare questo modello in posti fuori dalla portata di bambini!
- Fastom S.r.l. attraverso MOTONICA® non é responsabile per danni causati da un utilizzo o assemblaggio scorretto ed improprio.
- Fastom S.r.l. attraverso MOTONICA® e la sua rete di distribuzione non sono responsabili per danni dovuti al trasporto o maneggio. Eventuali pezzi
mancanti o difettosi devono essere segnalati entro le prime due settimane dall’acquisto al proprio negozio o distributore locale.
- Per una prestazione ottimale, consigliamo l’utilizzo esclusivo di parti originali ed autentiche MOTONICA®.
- Per assistenza contattare il negozio o agente locale di riferimento da cui avete acquistato questo articolo.
- Le immagini riprodotte possono differire leggermente dal contenuto della scatola. Utensili per l’assemblaggio, gomme, carrozzeria, carburante, sistema
radio e servocomandi, motore, marmitta e batteria per ricevente non sono inclusi se non altrimenti menzionato.
Montaggio
simmetrico
Symmetrical
mounting
1 2
3 4
03