To position the y correctly over the tent, drape the y over the tent and
ensure that the webbing tab colours on the y corners correspond to the
matching tab colours on the tent body corners: gold with gold at the front
of the tent, and black with black at the back.
On the underside of the y are several hook-and-loop wrap-ties,
including three for each of the black poles, one for each of the long gold
poles, and three for the shorter pole over the front door.
wrap-ties to make the tent its strongest by allowing the poles to reinforce
Wrap the inner hook-and-loop tab as tightly as possible around the pole,
then secure it by folding the outer hook-and-loop tab over it.
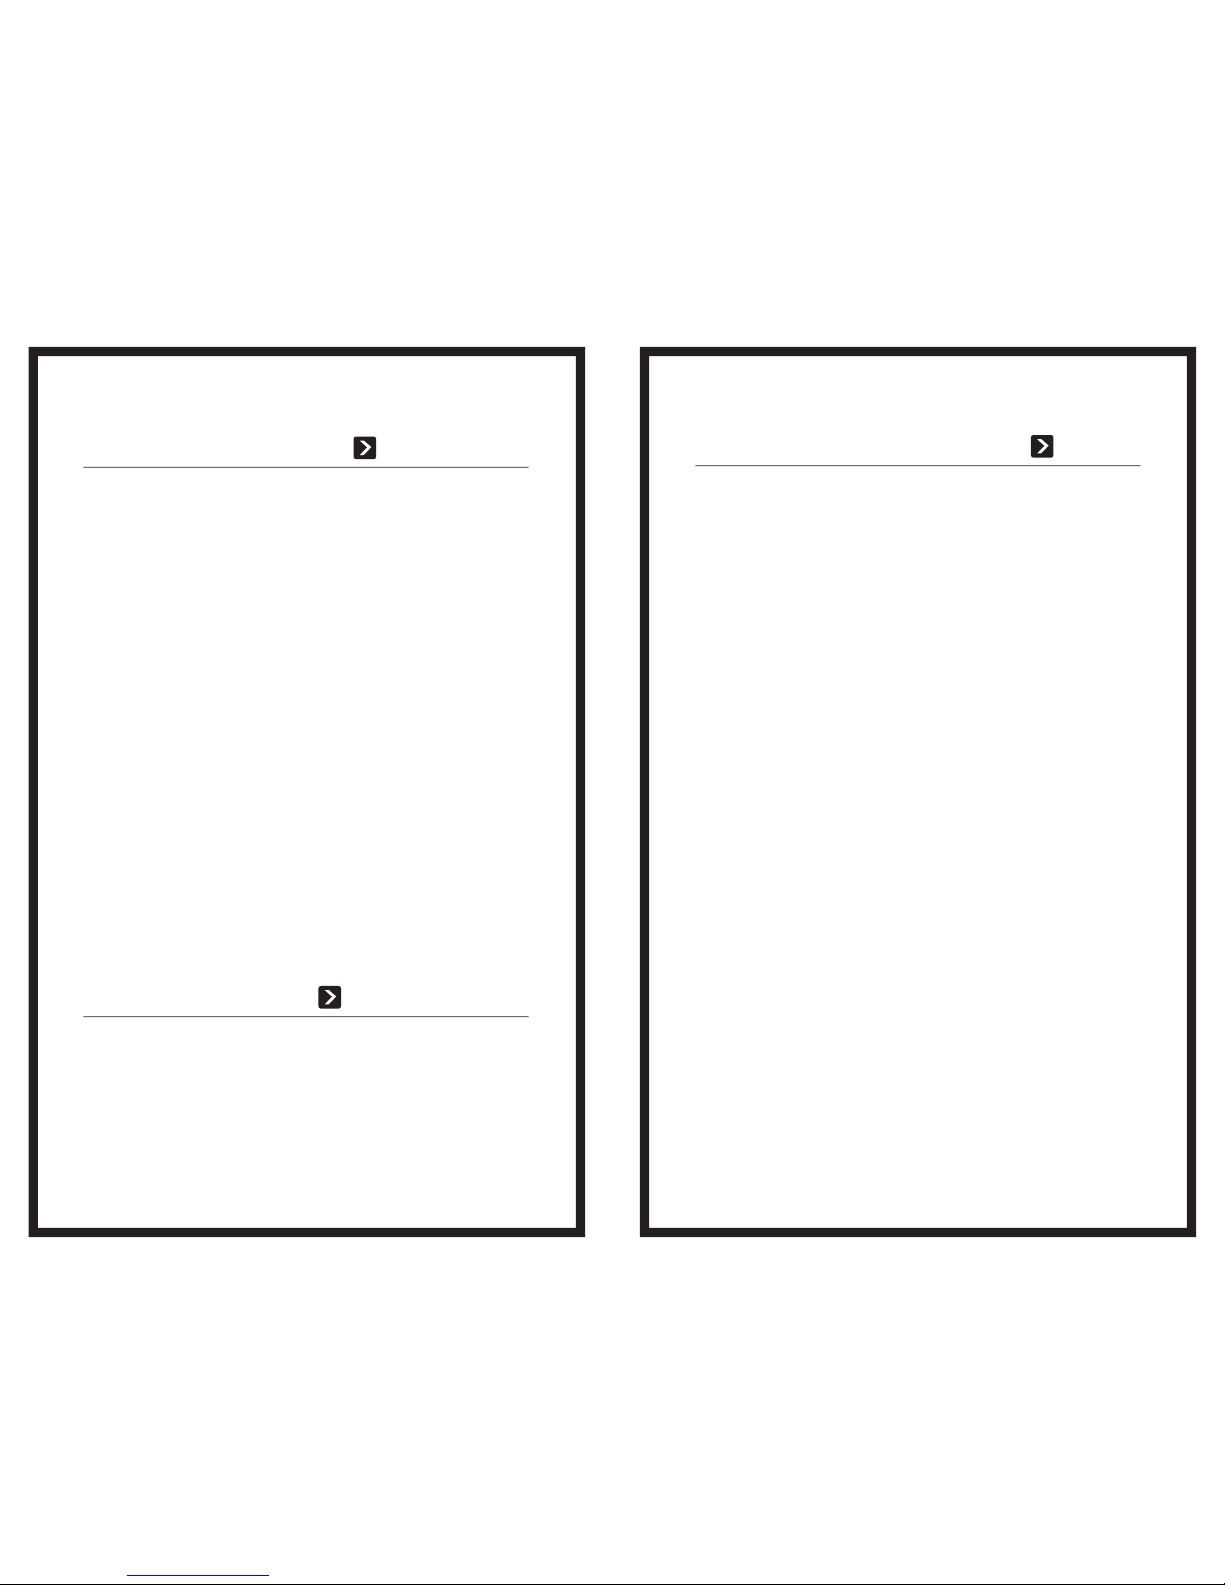
Fit all of the grommetted webbing tabs on the y corners over the
appropriate pole ends, folding the grommet tabs under the tent body as
shown in gures a and b.
If you have not already done so, peg out the four corners of the tent.
Peg out the vestibule. Tie back the vestibule in whatever combination
provides the desired balance of ventilation and weather protection.
Note that the vestibule has peg loops on either side of the door zippers
where they reach the ground. By staking out one loop or the other, you
can make the door side-opening or centre-opening to adapt it to the
prevailing wind or local landscape features.
The centre panel of the vestibule can also be rigged as a porch roof,
using corner poles improvised from trees, deadwood, paddles, or hiking
staffs. The most important thing to bear in mind if rigging this panel as a
rain roof is not to leave at or baggy surfaces where water can pool. You
can rig the panel so that it slopes away from the tent, like a cap brim, or
you can rig it so it slopes towards the tent, allowing water to drain to the
sides. You can rig the panel with one front corner higher than the other
so that water drains down the slope to the lower side. If an overhead
branch is handy, you can run a line to it from the guyline tab at the centre
of the front panel to create a water-shedding peak. Mix and match these
different ideas to adapt the panel to the local landscape and weather.
If desired, peg out the guyline loop at the bottom middle hem of each
These can be pegged so that the wall angles out from the tent
toward the peg. This makes the tent more wind resistant and also allows
maximum ventilating air ow.
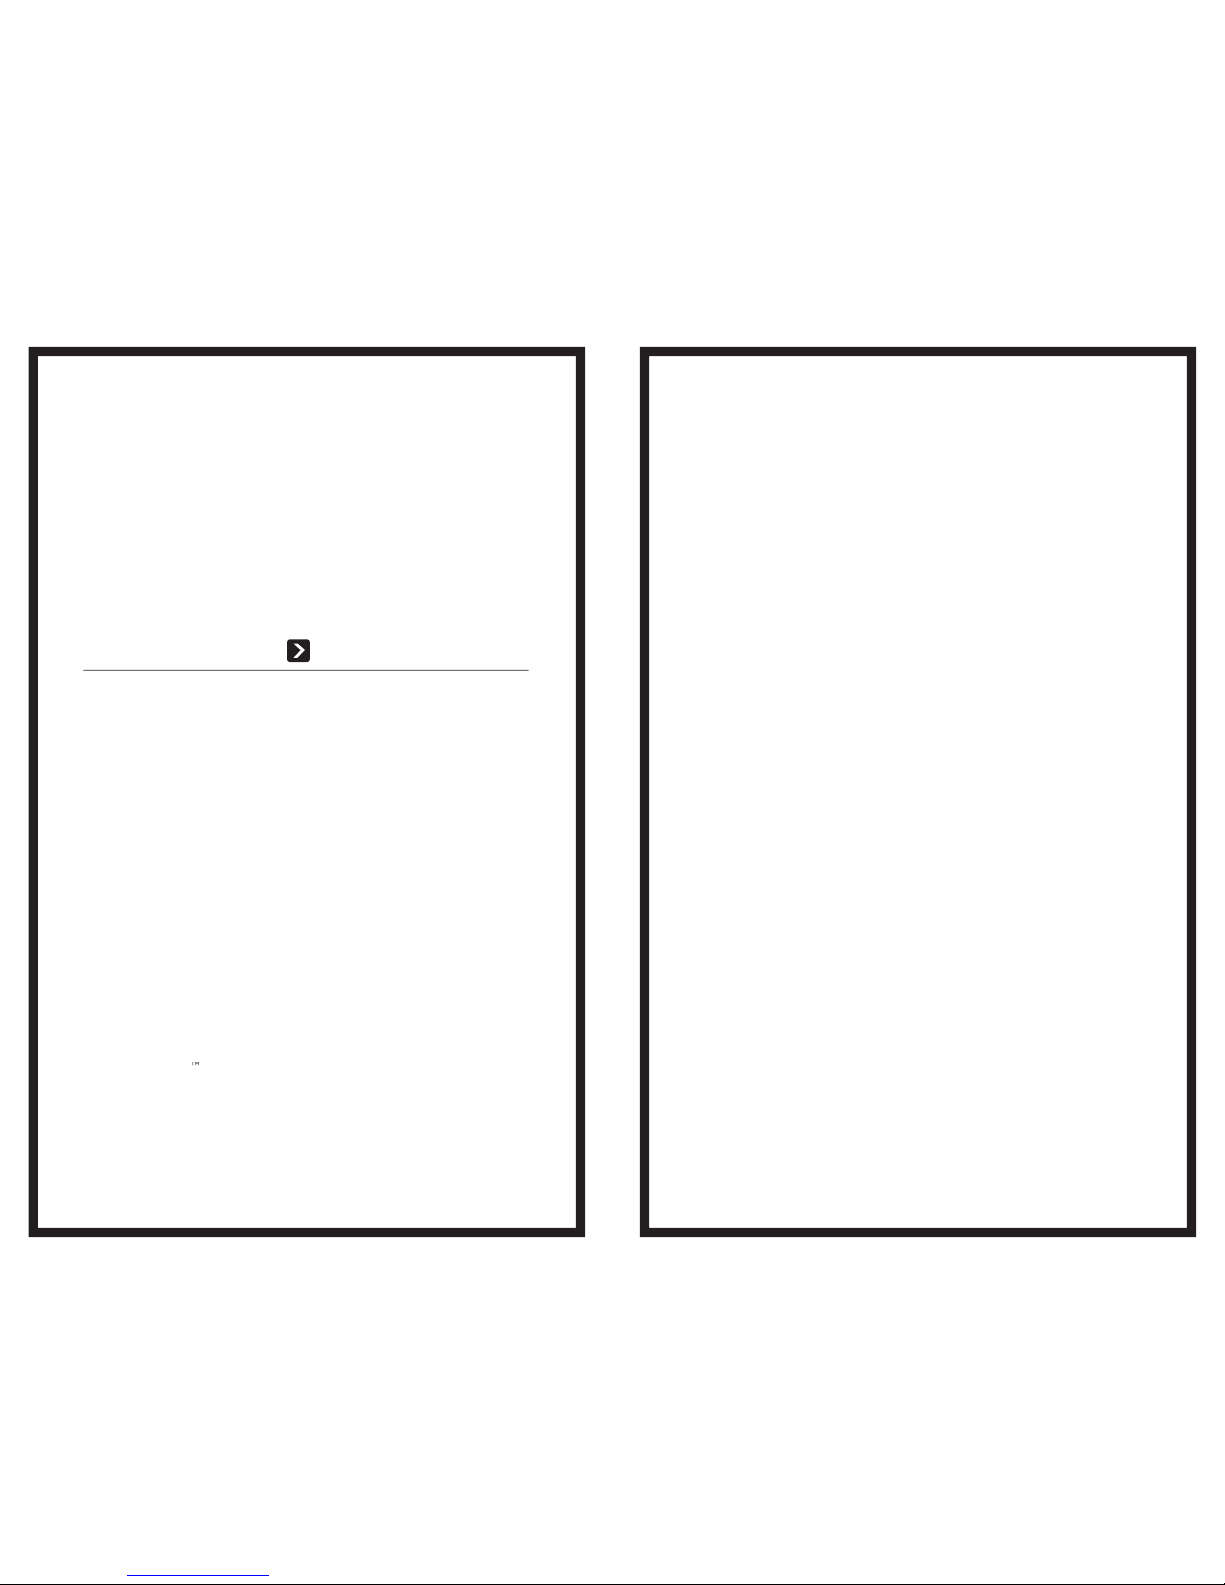
Each side wall of the tent has a triangular window ap.
permitting, you ventilate the tent by rigging a guyline from the loop at the
bottom of the window ap and pegging it out so that the window is open.
To lower each window ap, fasten the hook-and-loop patches to hold it
into place, clip the guyline loop into the plastic snap tting on the tent y,
and re-adjust the guyline tension. Note that the plastic snap tting should
, the guyline loop. This will prevent the window
over, the guyline loop. This will prevent the window over
ap from being jammed into the plastic snap tting as the guyline comes
We recommend facing the back of the tent into any prevailing winds. This
will present the most streamlined shape to the wind, and also positions the
door where it is downwind and sheltered for entering and exiting the tent.
The Opeongo 2 has a number of guyline attachments so you can rig
it increasingly securely in response to actual or anticipated winds. To
Guy out the four corners of the tent using the attachment points that
are about halfway up each corner of the y. These lines should run out at
about a 45-degree angle from the tent, that is, in about the same direction
as each pole is “pointing.”
Guy out the tab from the door window.
out the bottom hem of the vestibule main panel.
at the very top of the tent roof. These guylines should run out at ninety
degrees to the tent sides.
Guy out the tab from the roof vent; this will be
most secure if the vent is shut with the hook-and-loop patches.
Only extreme conditions require the use of all guyline points. To save
weight and cost for the average user, the tent is not supplied with pegs
and lines for all the points.
The #7001-T6 aluminum stakes included with the tent are suitable for
general use on relatively soft ground. However, in very hard-packed
ground you will need stronger (and heavier!) stakes that can withstand
the force needed to drive them in. On snow, sand, or other loose-packed
surfaces, wider T-Stakes or aluminum snow stakes will hold better; these
stakes hold best buried horizontally. You can also improvise with other
“stakes” (hiking staffs, ice axes, branches, rocks, trees), using the tent’s
stake loops or cord as required.