VCR Tape Playback
1. Turn “ON”the ignition switch and power will be applied
to the MovievisionTM system.
2. Release the viewing screen from it’s folded and locked
position in the viewing pod.
3. Point the remote at the viewing screen and press “POWER”
or press “POWER”on the front panel of the VCR.
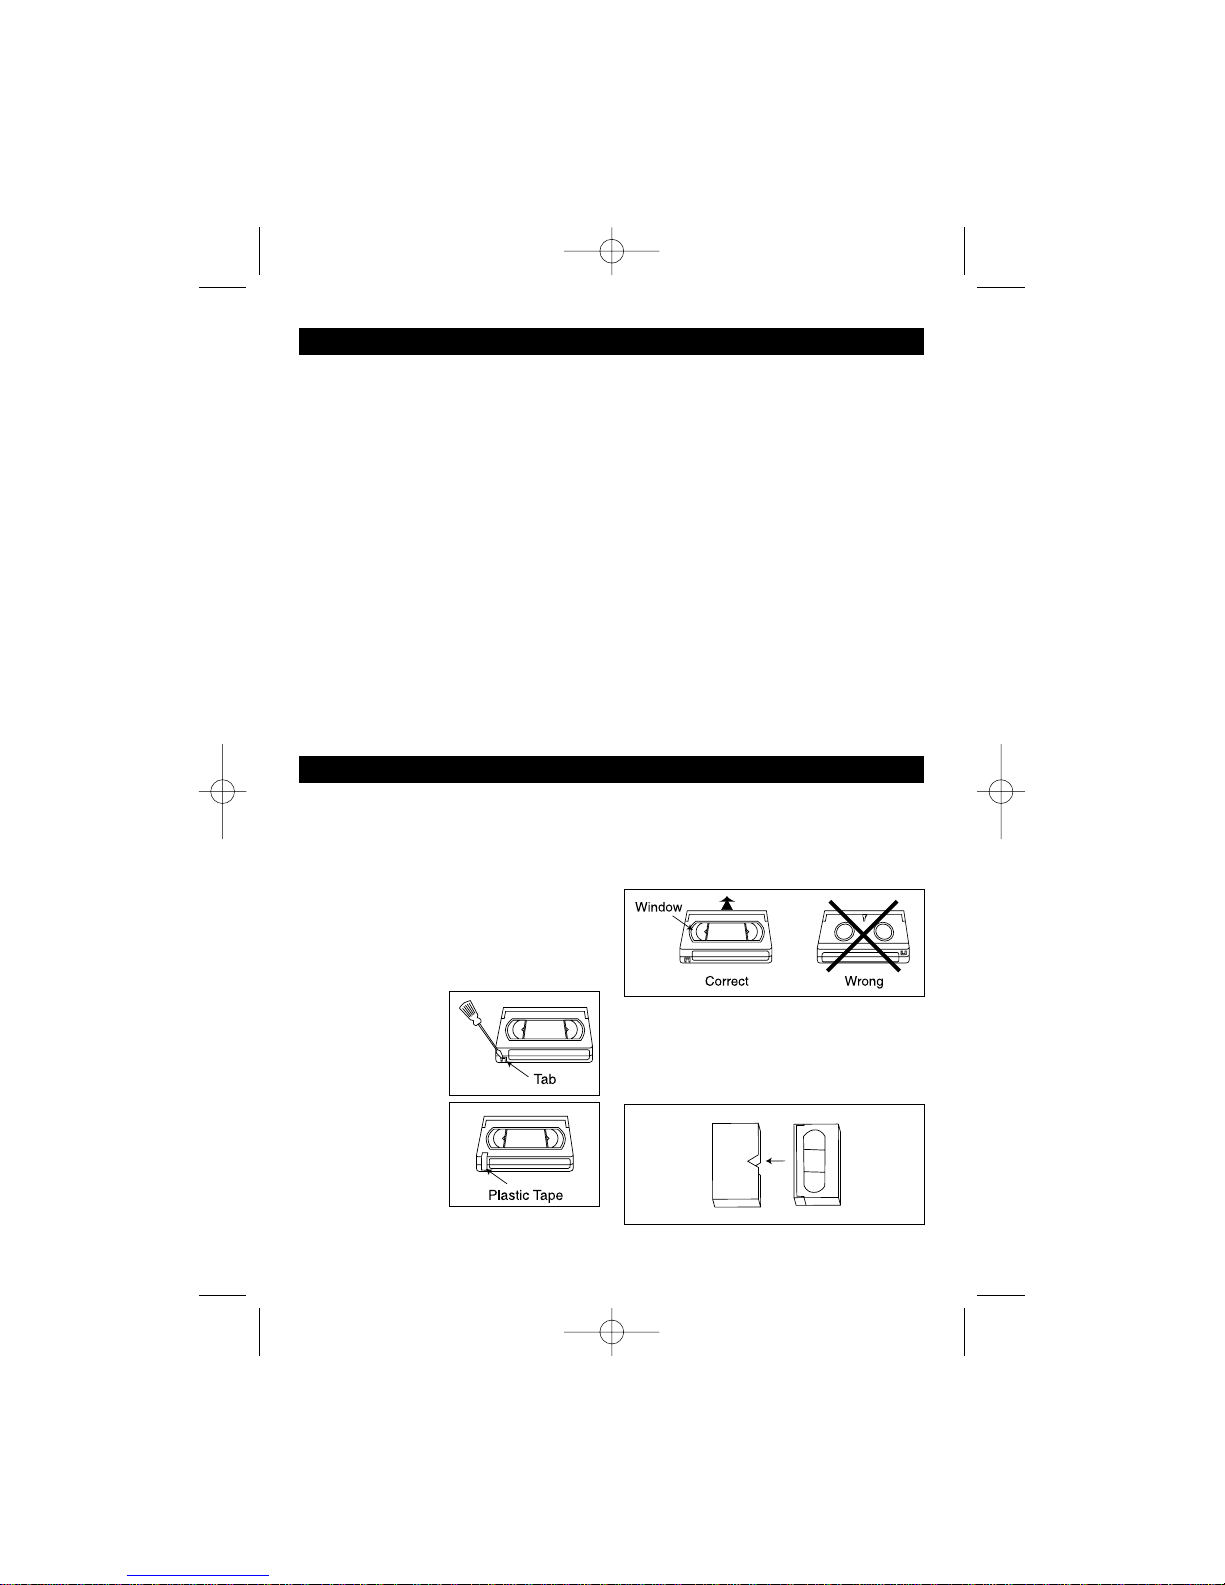
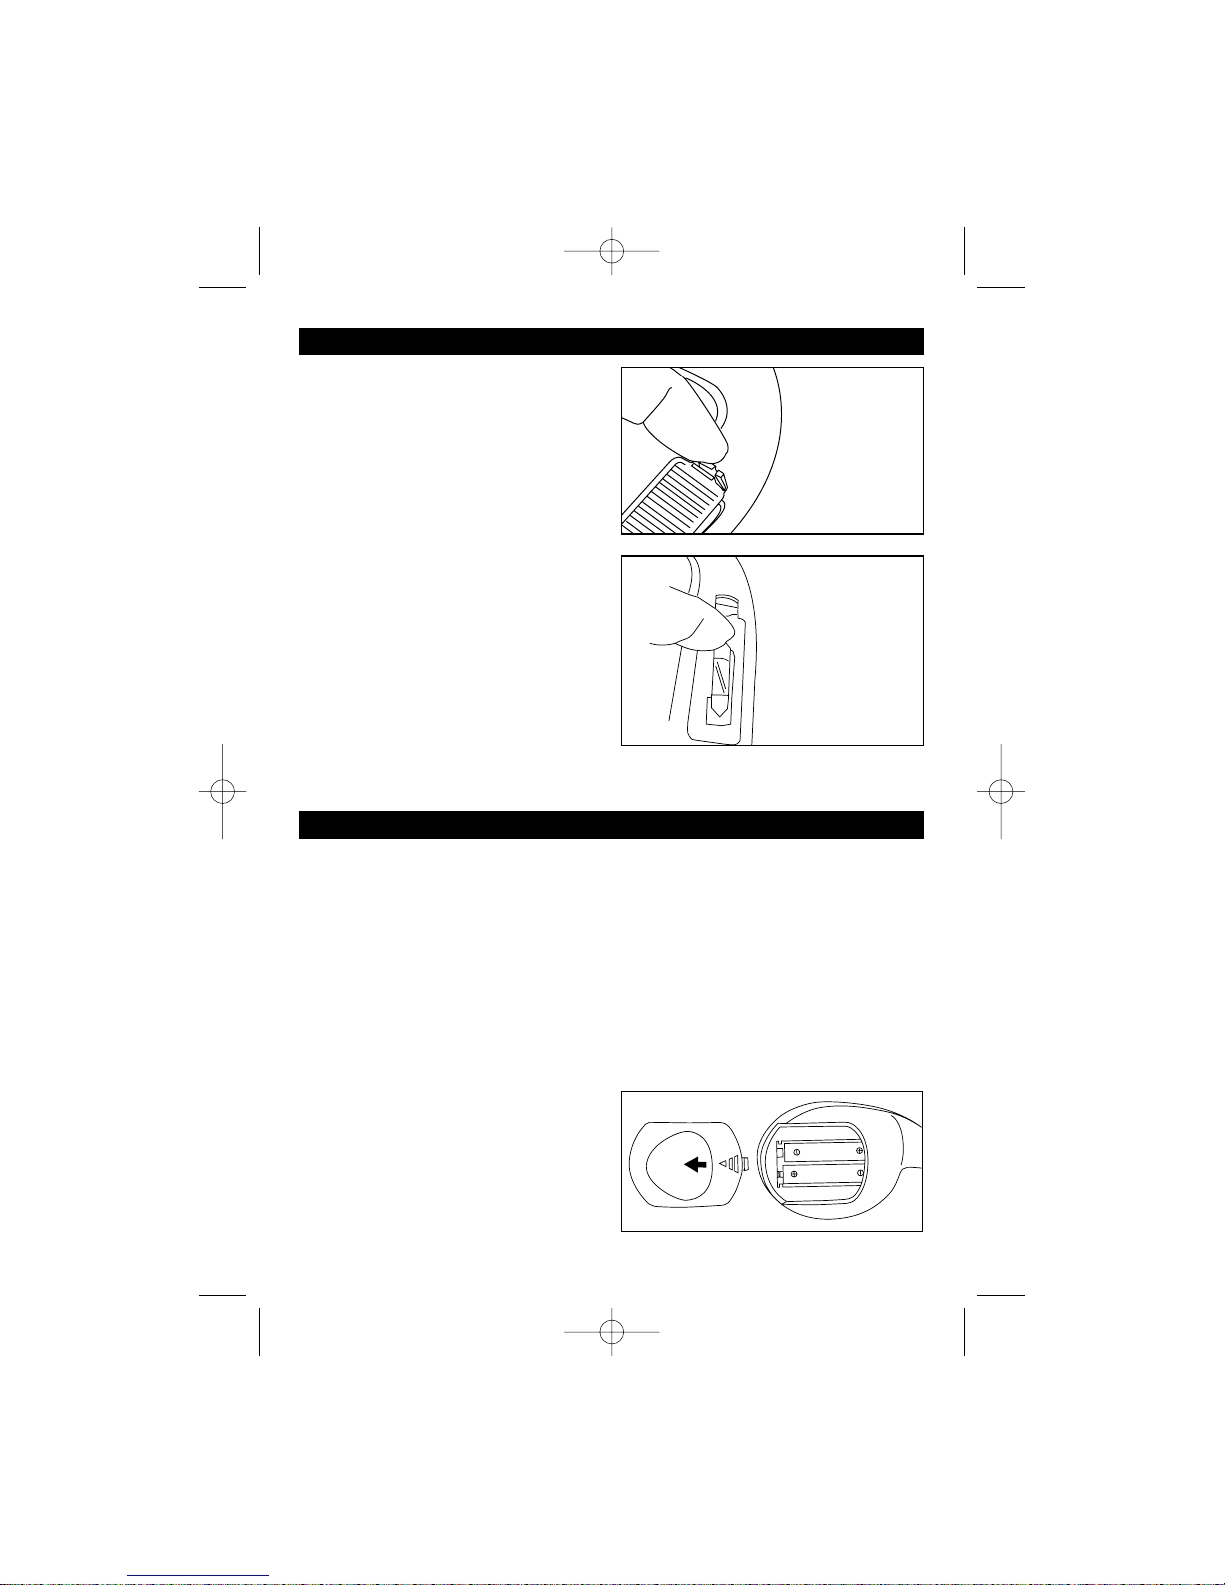
4. Insert a VHS tape into the tape slot of the VCR. Push the
tape case all the way in until the outer edge of the tape is
flush with the front panel of the VCR. The tape mecha-
nism will draw the tape in to the play position. The tape
will automatically go to play mode.
5. To stop playback, press “STOP”.
CAUTION! Do not push the tape in further than needed. Once
the outer edge of the tape case is flush with the front panel
let go of the tape! The mechanism will do the rest! Forcing
the tape in will result in damage to the mechanism and force
premature service.
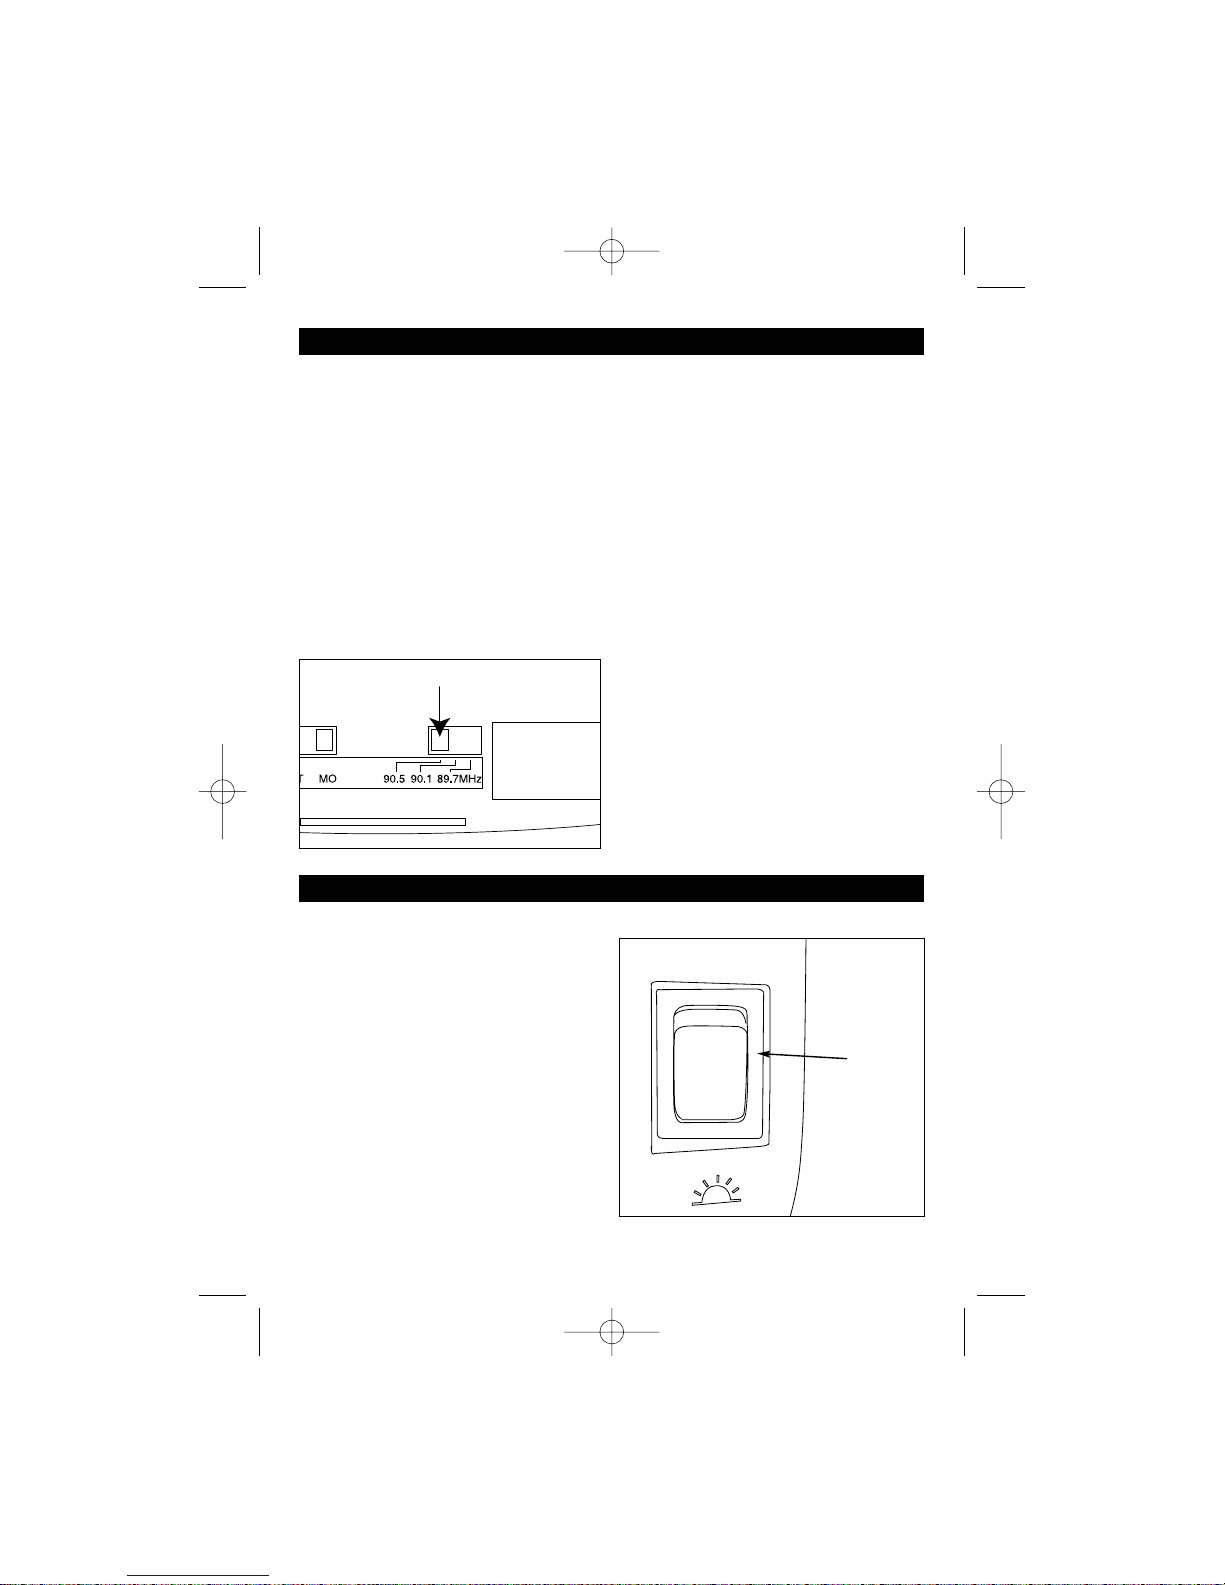
Manual Tracking
For best picture quality, the VCR video head must be aligned
with the recorded track on the tape; this alignment is called
tracking. Videocassettes recorded on other VCRs and video-
cassettes with copy protection may require some manual
adjustment.
To adjust manually, press “TRK”up or down as necessary
until the best picture possible is achieved.
Note 1: Picture distortion often occurs at the beginning of a
tape. Let the tape play for a moment to see if the distortion
clears.
Note 2: If manual tracking adjustments do not produce a
clear picture, there may be a problem with the videotape.
Programming and Setup
To prevent excessive drain on your vehicles battery, the
MovievisionTM system will shut down 20 minutes after you turn the
ignition key to the “OFF”position.
WARNING! You must eject the tape before leaving the
vehicle for extended periods of time. DO NOT leave a
tape in the VCR! Damage to the tape and the VCR will
occur. This damage is not covered by any warranty.
Using VCR Special Features
Forward and Reverse Picture Search
While in Play mode, press “REW ”or “FF ”; to
resume normal viewing press “PLAY
”.
Forward and Reverse Fast Search
While in Play mode, press and hold “REW ”or “FF ”;
Fast Search increases the tape speed 7 times if recorded at
SP speed or 21 times for tapes recorded at SLP speed. To
resume normal viewing, release the button.
Note: While in Forward or Reverse Fast Search, audio is
muted. If streaks, blurring or horizontal jitters appear,
adjust picture with Tracking buttons.
Still (Pause) and Frame Advance (Slow)
While in Play mode, press “STILL/SLOW”to stop on a single
still frame. Press “STILL/SLOW”again to advance picture
frame by frame. To resume normal viewing, press “PLAY
”.
Note: Using Still mode for more than five minutes stress-
es the tape and causes undue stress on the video heads;
the VCR automatically disengages Still mode after five min-
utes have elapsed.
Slow Motion Playback
Press “STILL/SLOW”for Slow Motion Playback.
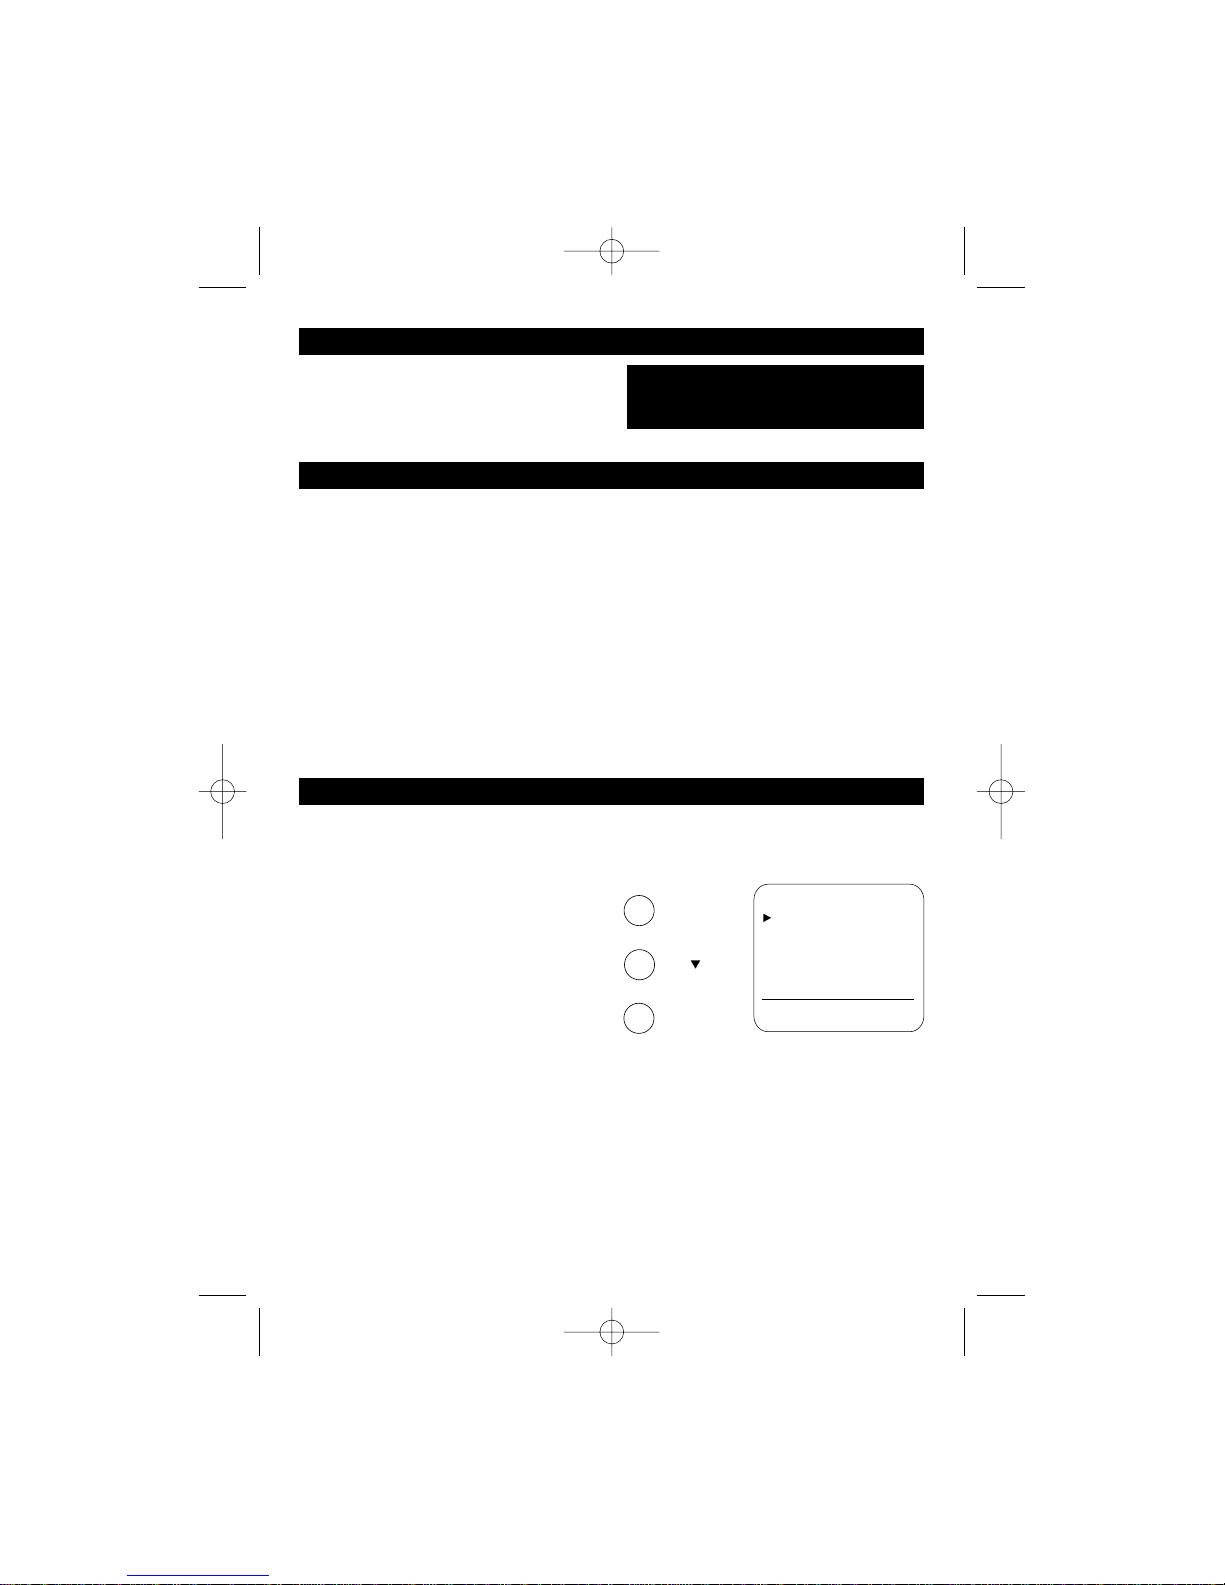
On Screen Menu
To access the on screen menu press the “MENU”button on
the remote control. You can access the following functions:
Record speed, Auto repeat and Audio output.
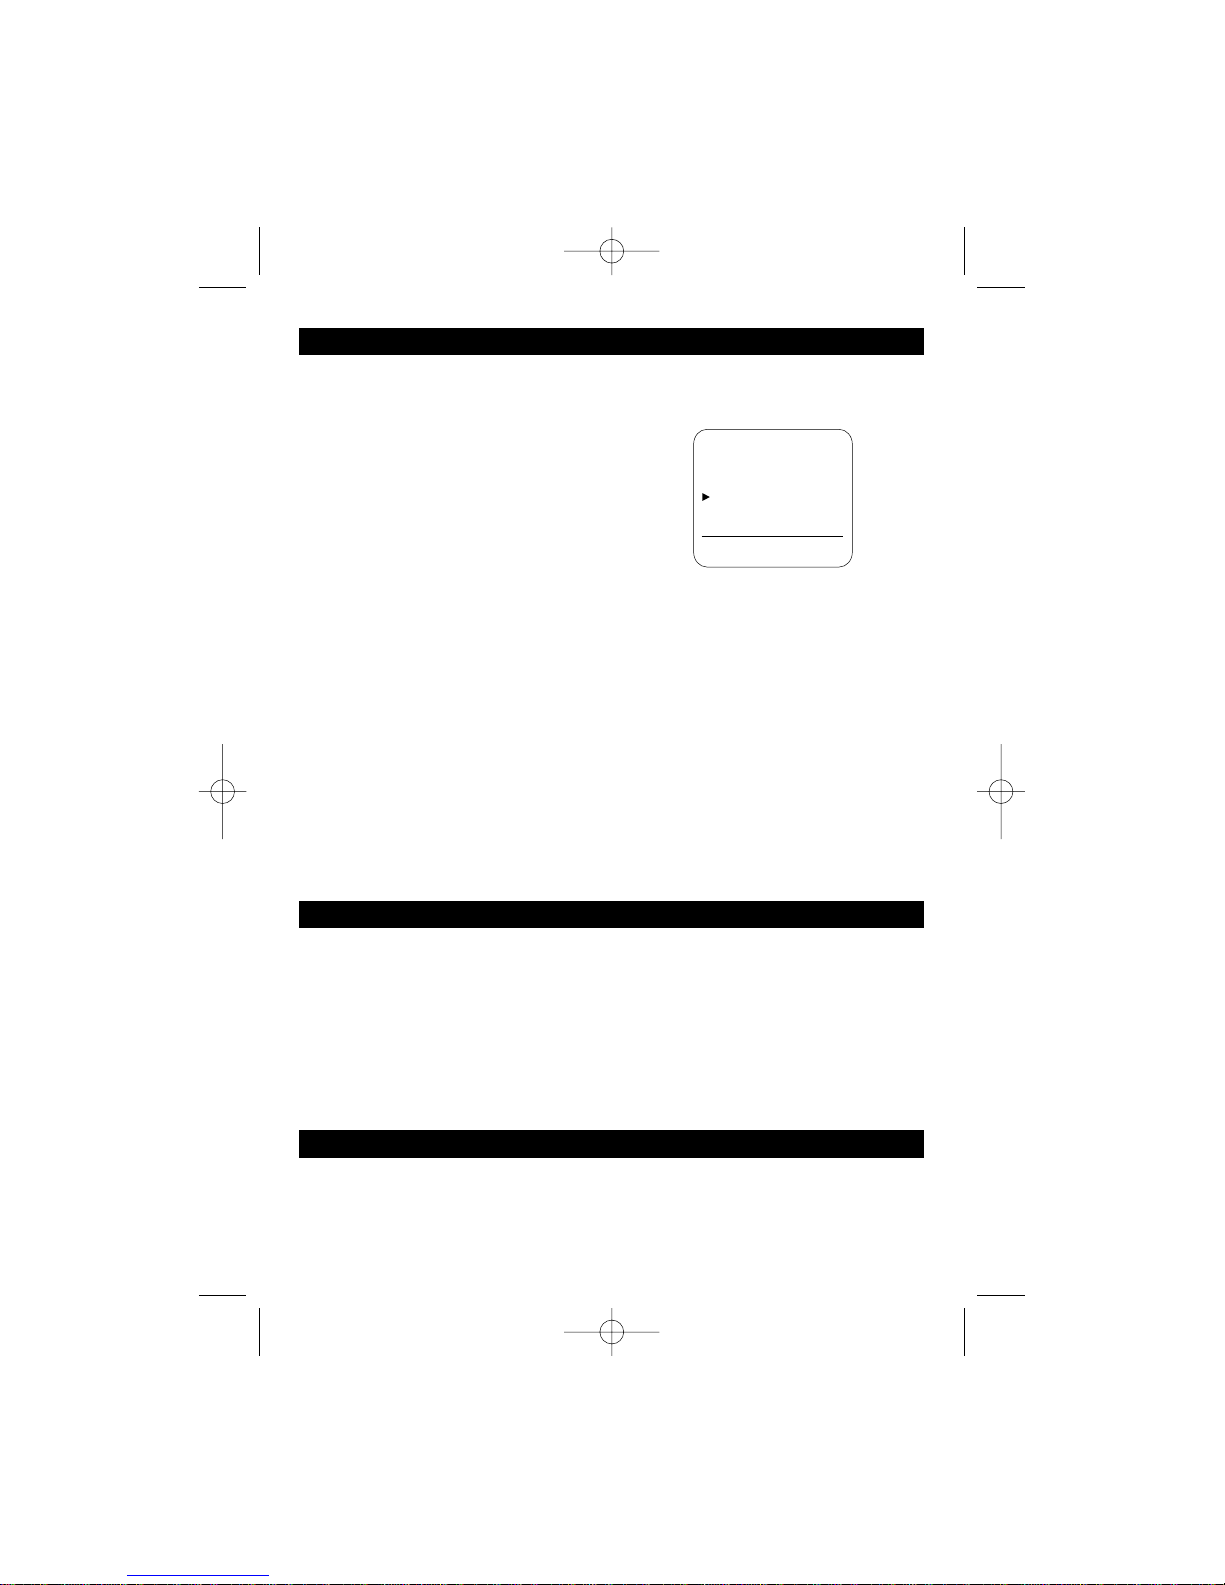
Record Speed
Press the “MENU”button on the remote control to access the
on screen menu. Use the “SHIFT”button to select the Record
Speed function. Press the “ENTER”button to select the
desired recording speed. Press “MENU”button to exit.
Auto Repeat
The Auto Repeat function will play the video cassette tape
repeatedly. Press the “MENU”button on the remote control
to access the on screen menu. Use the “SHIFT”button to
select the Auto Repeat function. Press the “ENTER”button to
select on or off. Press the “MENU”button to exit.