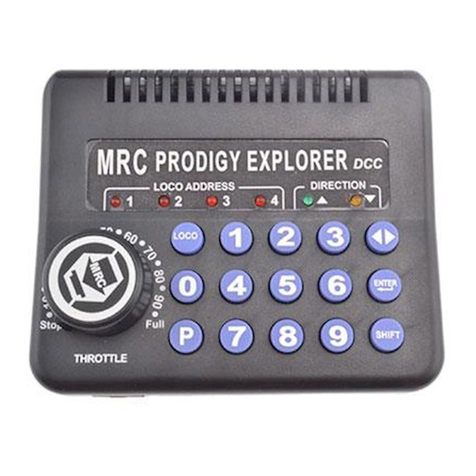
“Loco” appears on the screen. If it doesn’t, press “Loco” and then “Shift” to switch modes.
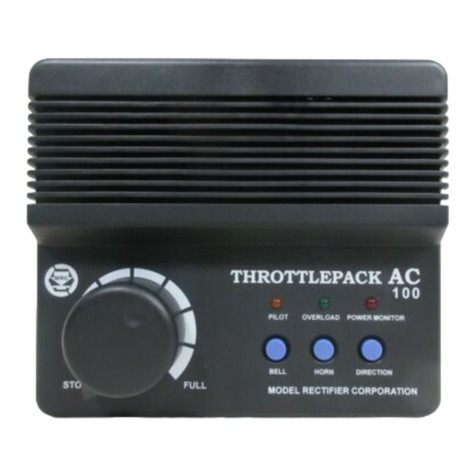
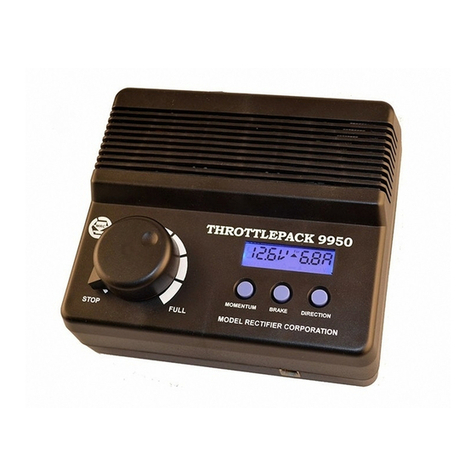
The throttle knob can then be used like a conventional power pack to control speed, and the
direction button to change the direction of the locomotive. To program momentums, press
Pand press Enter twice to skip Adr and SV. ACC will prompt you to program accelaration
rate. Enter a value from 0-32, with 0 being no momentum on acceleration, and 32 being
maximum momentum, and then press Enter. Next, dEC will prompt you for programming
decelaration rate. Enter a value of 0-32 and press Enter. And then press Enter to exit
program mode. Once programed these rates will be stored in the base until you change
them. Standard Mode can be used for Blue Line locomotives if they do not have a power
decoder, but you will not be able to control the sounds.
DUALMODE
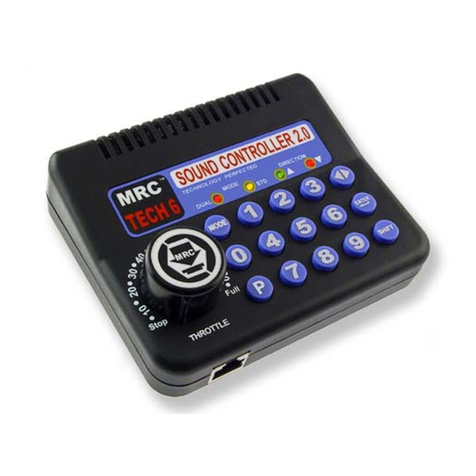
This is the power and sound control mode to run your train and control the sounds in your
decoder equipped loco. Since most decoders are factory default address #3, you should
select loco #3 to operate them by pressing “Loco”, press “3” and then press “Enter”. You
should be able to control your loco with the throttle knob and change the loco’s direction with
the direction key. If it does not respond, press the “SHIFT” key and then press “9, 9”. In 5
seconds this will reset your loco to factory default address # 3. You can turn on/off the
headlight by pressing “0”. You can turn on/off the Bell by pressing “1”. To blast the horn
press, “2”. To control functions F3 through F9, press “3” to “9”. To control F10 to F28, press
“SHIFT” and then press the desired two digit number.
NOTE: If you plan to use the locomotive with a DCC system, you will need to re-program the
loco to its original address using the DCC system after it was used with the Tech 6.
PROGRAMMINGYOURLOCO INDUALMODE
You have the ability to run multiple decoder equipped locos on your track at one time. Initial
programming of the loco address should be done one loco at a time by following the steps
below. Keep a log to remind you which loco is assigned to which address. You will need to
know the correct address to do any programming to the loco later on. All programming must
be done with the current (or the last) loco. First press “SHIFT, 9, 9” to reset the loco to the
default address #3. Operate the loco before performing any programming to ensure it’s on
address #3. Note: Locos must be programmed one at a time, remove all other pro-
grammed locos from the track before doing this, or else they will all revert back to
address #3.
1. Press “P”, Loc_ Adr will appear on the screen. If you don’t want to change the
address press “Enter” to skip this step. If you want to change the address you can
enter a number between 1 and 6 and then press “Enter”. If you wish to run
multiple locos you should program them with different addresses. Note: Do not
enter a number larger than 6. This unit only allows you control up to 6 locos.
2. Next, SV will prompt you for programming Start Voltage. To skip, press “Enter”. To
program, enter the desired value and press “Enter”.
3. Next, ACC will prompt you for programming accelaration rate. To skip, press “En-
ter”. To program, enter the desired value and press “Enter”.
4. Next, dEC will prompt you for programming decelaration rate. To skip, press “En-
ter”. To program, enter the desired value and press “Enter”.
5. Next, CV# will prompt you for programming a CV. To skip, press “Enter”. To pro-
gram a CV enter the CV number and press “Enter”. Then, enter the desired value
for the CV and press “Enter”. CV# will prompt again for programming another CV.
To exit the program press “Enter”.
Note: Your decoder must have “program on the main/ops mode” capability
to perform any programming steps outlined above. Refer to the
decoder/loco’s instruction manual’s CV Chart for range of values
that are associated with the CV’s inside the loco.
Once you have all your locos programmed to an address, Press the “Loco” button,
select an address, press “Enter”, then run your loco. You can leave this loco running,
and then select another loco to operate at the same time. You can operate up to all 6
addresses at the same time.
RECALLSTACK
Whenever you select a loco, the Tech 6 will automatically store the loco into the recall
stack for you to recall later. To save the stack for the next session press “Loco” twice.
To recall the loco simply press the “Recall” button to scroll through the available loco
addresses. To delete the current loco from your stack, press and hold “Del” for 2
seconds, and then press “Loco” twice to save.
EMERGENCYSTOP
Press “STOP” to stop the current loco. To stop all locos, press and hold “STOP” for 2
seconds. To restore operation, press and hold “STOP” again for 2 seconds.
UPGRADES
This unit comes with a 15V/10amp DC power supply. If you operate G or N scale
and you find the top speed is too low/high, send in the power supply with a $39.00
check or money order and we will upgrade the power supply for you. We can also
upgrade your base unit to 8 amps for an additional cost of $29.00.
A Wireless Conversion Set (0001212) will also be available. With the wireless con-
version you can operate with two wireless handhelds, so multiple people to oper-
ate on the same layout.
FORYOUR PROTECTION:
1. Never reverse a locomotive without stopping it first. To do so may damage
the locomotive motor or drive train.
2. Unplug your power supply at the end of the day’s operation.
3. Avoid prolonged overloads and short circuits. Your Tech 6 is equipped with
safety devices to prevent accidental damage due to short circuits and over-
loads but it is unwise to subject the unit to these frequently.
4. Children under the age of 14 should be supervised by an adult when oper-
atingthis product.
RETURN PROCEDURE/SERVICE
All M.R.C. products have been thoroughly tested before leaving our facility. If for some reason
you are having problems with any M.R.C. product, please contact our Customer Service
Department using the contact information below
All M.R.C.products carry a 6 month warranty against factory defects. This
warranty does not include abuse, misuse, neglect, improper installation, non-
intended use, or any modifications made to the product, including but not limited
to the removal of the NMRA plug on decoders, if applicable. If it should become
necessary to return any M.R.C. product for warranty repair/replacement, please
include a copy of the original sales receipt. Please include a letter (printed clearly),
