manuals.online logo
Brands
  1. Home
  2. •
  3. Brands
  4. •
  5. MRC
  6. •
  7. Controllers
  8. •
  9. MRC PRODIGY EXPLORER User manual

MRC PRODIGY EXPLORER User manual

Printed in USA
MRC PRODIGY EXPLORER INSTRUCTIONS
Item: 0001422
SPECIFICATIONS
Input: 15 VDC
Output: DCC signal with 14.5V amplitude and maximum at 2.0 Amps
INTRODUCTION
Thank you for purchasing this MRC Prodigy Explorer DCC System. You now own one of
the most advanced, easy to use DCC systems available. It will provide plenty of power
and will tap into all of the sounds and lighting features available in any locomotives that
are equipped with DCC (NMRA spec) sound decoders.
A DCC system consists of a DCC Command station that sends DCC commands to
your DCC decoders installed in accessories or locomotives. Each decoder has its own
address and will only follow the commands sent to its address.
CONNECTING TO YOUR LAYOUT
1. Using a small flat-bladed screwdriver, attach two wires (22 AWG or heavier)from
the track layout to the two green terminal. Plug in the green terminal (with the
screw side facing down) into the Explorer.
2. Plug the power supply into the Explorer.
FOR YOUR PROTECTION
1. Unplug your power supply at the end of the day’s operation.
2. Children under the age of 14 must be supervised by an adult when operating
this product.
OPERATION
Explorer can easily run four DCC decoder equipped locos. To run a loco you first must
know its address. Most decoders you purchase have the factory default address of
number 3. If you have more than one loco you must change the address so two or more
locos are not on the same address. Therefore if you have more than 1 loco you must
program your decoder to an address of 1, 2, 3 or 4. The programming of an address is
as easy as 1, 2, 3. See the section Program Address below.
To operate a loco, press the Loco button and press the number of the loco you wish to
operate. The LED will light to tell you loco number you are operating. You can now
control the loco by moving the throttle knob, change direction by pressing the arrow
(Direction) buttons and turn on /off the light by pressing the 0button. To select another
loco press Loco and enter the loco number. Once selected, you should be able to
control the new loco with the throttle knob. You can only control one loco at a time. To
operate accessory functions F0 to F9 simply press 0 to 9. To control F10 to F28, press
SHIFT and then enter the two digits of the function number. If you do not know the
address of your loco please refer to the Program Address section and follow the
instructions.
CONDITIONS
1. Limitation to original purchaser and proof of date of purchase: The obliga-
tions of MRC set forth herein shall only extend to the original purchaser. The burden of
proof as to the date of purchase is on the purchaser, thus it is recommended that you
retain your bill of sale or sales receipt and include it with the return of your train
control, keeping a copy of same for your records. This bill of sale or sales receipt must
have the date of purchase and the name and address of the dealer.
2. Validation of the Warranty: The validity of the above stated warranty is contingent
upon the original purchaser keeping proof of the dated purchase receipt and the name
of the dealer, and the address of the dealer. The burden of proof rests with the
purchaser of the Prodigy Explorer.
3. Proper packaging and shipping: To obtain a warranty repair, the train control must
be shipped freight prepaid to the address shown below. The train control must be
returned with its original package, which is then placed into an outer carton with not
less than 3" of packing material on each side. Alternate packaging affording at least
the same degree of protection is acceptable. Your full name, street address (post
office boxes are not acceptable), daytime telephone number and a detailed letter
explaining the exact nature of the problem should be enclosed along with a check or
money order in the amount of $19.00 to cover return postage and handling. Repairs or
replacement will be made and the unit returned as soon as it is practical after receipt,
examination, and repair of the train control.
4. Exclusions from Warranty: The warranty does not apply to (a) any marring, scratch-
ing, or defects in decoration and/or finish, (b) any damage or defect resulting from
misuse, abnormal service, water, or weather damage, (c) any damage incurred in
shipping and handling, (d) any incidental or consequential damage(s) caused by or
resulting from a defect in material or workmanship or other equipment failure, (e) any
damage arising from the train control not being used in accordance with the instruc-
tions provided. Your sole remedy shall be repair or replacement as herein above
expressed. Under no circumstances shall MRC be liable for any losses or damage,
direct or consequential, arising out of the use of or inability to use this MRC train
control. No implied warranty shall continue beyond the one calendar year from the
date of purchase. Further, any modification, alteration, or tampering with the MRC train
control or any repair other than that done at the factory automatically voids the war-
ranty.
5. Notice: Some states do not allow limitations on how long an implied warranty lasts or
the inclusion or limitation of incidental or consequential damages, so the above state
limitations or exclusions may not apply to you. This warranty gives you specific legal
rights and you may have other rights which vary from state to state.
If the product is no longer considered under warranty, then please contact Model Rectifier Corp.
for a price quote to cover the cost of repair or replacement of the product, and return shipping
and handling. Customers outside the continental United States, including; Hawaii, Alaska,
Canada and Mexico, have to contact MRC for exact return shipping rates for both war-
ranty and non-warranty repairs. Contact rrtech@modelrectifier.com. Be certain to re-
turn the MRC product only. Any questions regarding Warranty Policy can be directed
to our Customer Service Department by calling 732-225-6360 between the hours of
8:30am and 6:00pm EST, or by emailing: rrtech@modelrectifier.com
Send the product to:
Model Rectifier Corporation
Attn: Parts & Service
80 Newfield Avenue
Edison, NJ 08837-3817 U.S.A
Tip1: If you are operating more than one loco at a time and you switch from one loco to
another, the newly acquired loco will respond to the throttle knob setting immediately. If
throttle setting does not match the loco’s speed, the loco will immediately change to
the knob setting. You can avoid this by selecting an unused address such as 5 and
adjusting the throttle to match the approximate speed of the next loco you want to
select. Now select the real loco you wish to operate.
Tip2: If you prefer use road name or road number to identify your loco you can make
your own labels and apply to the console.
Tip3: To operate up to 9,999 addresses and to be able to move around the layout while
you operate your trains you can purchase an optional prodigy handheld.
OVERLOAD
Whenever there is a short circuit or overload the Explorer will cut off the output and both
direction LEDs will blink. Please unplug the Explorer and fix the cause of the short
circuit.
PROGRAM ADDRESS
1. Press P to get into the program mode. Both Direction LEDs will turn on to
indicate you are in program mode.
2. Press Loco
3. Input digit (1, 2, 3 or 4) you wish to assign to the loco. It will take 8 seconds to
program the address and then revert back to operation mode.
Note: The Explorer employs DCC program protocol to program addresses. This means
that all locos on the track will be programmed to the same address. Make sure there
are no other locos on the track when you wish to program an address. If you accidently
press the P. You can press Pagain to get out of the program mode.
PROGRAM CV
Configuration Variable or CVs receive and store data to allow the decoder to be tailored
to a specific set of features. Each decoder has its own set of CVs. Read your decoder’s
instruction or visit our website to get more information about CVs. Unlike programing
addresses, Explorer employs DCC program on mian protocol to program CV. So it will
only program the loco it addressed. It will not affect all other locos operating on the
track. So you can program a CV during normal operation. It will only program the
currently selected loco
1. Press P.
2. Input the CV number you want to program and then press ENTER.
3. Input the CV value you want to program into the CV and then press ENTER
again. It takes one second to program and it will then revert back to operating
mode.
If you want to adjust another CV, you have to repeat the above 3 steps. For more
information on CV definitions and their values, please read your loco manual or decoder
instructions.
REVERSE LOOP
DCC makes auto reverse loop possible. If your track has a reverse loop section you
need to order MRC AD520 Reverse Loop Controller. It will switch the polarity of the
reverse loop automatically.
EXPANSION
The Explorer has a built in jack for system expansion and upgrade. An optional handheld
controller will provide mobility around your layout. It also expands your MRC Prodigy
Explorer DCC system to a new level of features and enhanced performance.
1. For tethered operation, you can order the MRC 0001415 or 0001418 Prodigy
handhelds. It allows you to operate as many locos as you want with 4 digit
addressing. It also has many features such as consist control, accessory
decoder control and routing. It will also provide many other features that may
add enjoyment to operating your railroad.
2. For wireless operation, you can order the 0001412 Prodigy Advance wireless
conversion set.
3. If you want to use computer interface to program and operate, you can order
0001516 interface adapter.
Note: You can use all three methods of expansion and up to 4 handhelds working at
same time. For multiple handheld operation you will need 0001501 extension box. For
more information on this feature and possible upgrades, please visit our website:
www.modelrectifier.com.
UPGRADE POWER
If you run more than three locos at the sametime or get an overload reading without a
short circuit, you should upgrade your Explorer to more than 2 amps. Send in the
Explorer and power supply with a $59 check. We will upgrade your Explorer system to
4 amp capacity.
TROUBLE SHOOTING
It takes the DCC base unit, the decoders and your layout to make the DCC system
work. If you lost control of your loco, please do the following trouble shooting first before
calling us for help.
1. Your loco may have a pickup problem. You should clean your track and your
loco’s wheels. Oxide coating or dirt on either the track or loco’s wheels often
causes intermittent and jerky operation.
2. Your decoder may have lost its memory. You should reprogram the loco ad-
dress and try again.
3. If the loco response too slow, program CV3 and CV4 with value of zero.
4. If the loco’s top speed is too slow with top speed setting, program CV5 to
maximum value of 255.
SERVICE
All MRC products have been thoroughly tested before leaving our facility. If for some
reason you are having problems with any MRC product, please contact our Customer
Service Department using the contact information below
*ONE YEAR LIMITED WARRANTY
Model Rectifier Corporation (MRC) will, subject to the conditions explained and set
forth below, repair at its expense, within one calendar year from the date of sale, any
component of this MRC Train Control which is proven defective by reason of improper
workmanship or materials. MRC will repair said component(s) without charge for nec-
essary parts or labor. If the unit cannot be repaired, it will be replaced with another unit
or similar train control of equal or greater value.

This manual suits for next models

1

Other MRC Controllers manuals

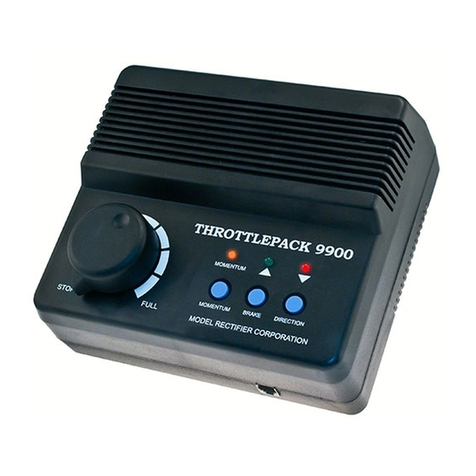
MRC THROTTLEPACK 9900 User manual

MRC

MRC THROTTLEPACK 9900 User manual

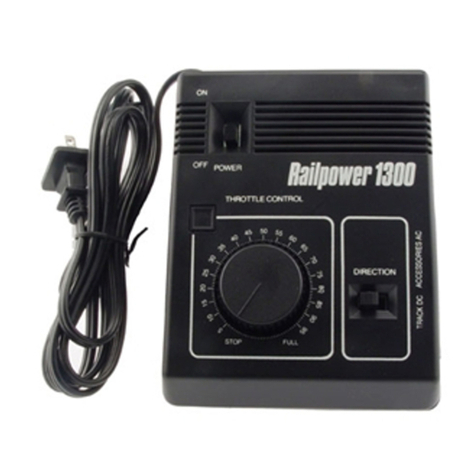
MRC Railpower 1300 User manual

MRC

MRC Railpower 1300 User manual

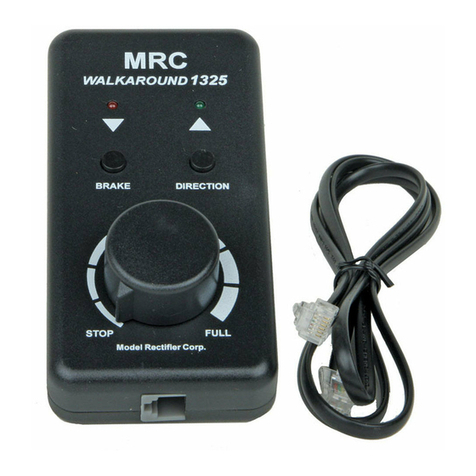
MRC 0001325 User manual

MRC

MRC 0001325 User manual

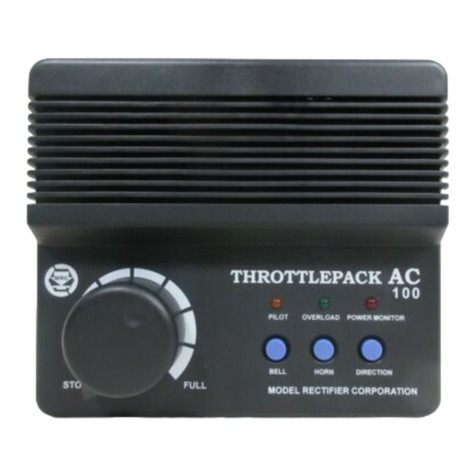
MRC THROTTLEPACK AC100 User manual

MRC

MRC THROTTLEPACK AC100 User manual

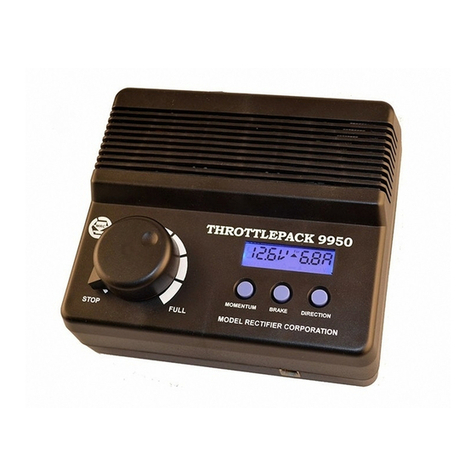
MRC THROTTLEPACK 9950 User manual

MRC

MRC THROTTLEPACK 9950 User manual

MRC PURE POWER DUAL User manual

MRC

MRC PURE POWER DUAL User manual

MRC VC-100 User manual

MRC

MRC VC-100 User manual

MRC Railpower 1370 User manual

MRC

MRC Railpower 1370 User manual

MRC THROTTLEPACK 9900 User manual

MRC

MRC THROTTLEPACK 9900 User manual

MRC IOW-924 User manual

MRC

MRC IOW-924 User manual

MRC PDT-2250 User manual

MRC

MRC PDT-2250 User manual

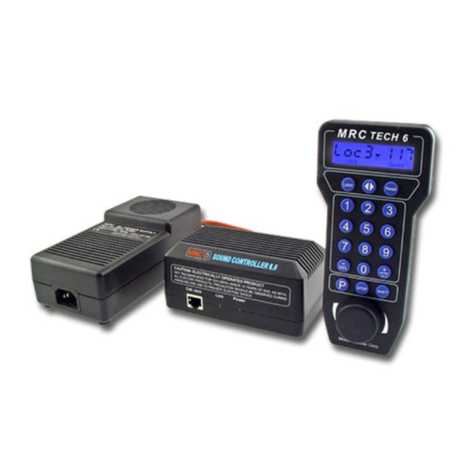
MRC TECH 6 User manual

MRC

MRC TECH 6 User manual

MRC TECH 6 0001203 User manual

MRC

MRC TECH 6 0001203 User manual

MRC TECH 6 2.0 User manual

MRC

MRC TECH 6 2.0 User manual

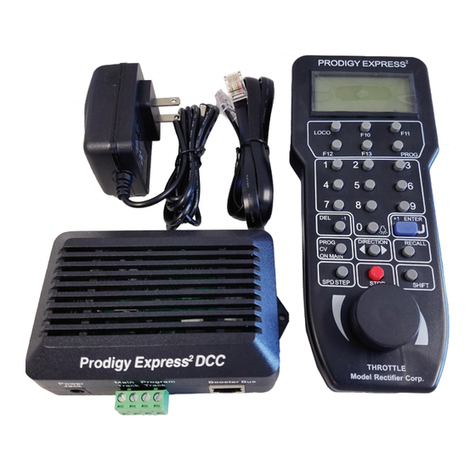
MRC Prodigy Express2 User manual

MRC

MRC Prodigy Express2 User manual

Popular Controllers manuals by other brands

Satel ACU-250 Installer manual

Satel

Satel ACU-250 Installer manual

Micropelt MVA004 EnOcean User manual and device specification

Micropelt

Micropelt MVA004 EnOcean User manual and device specification

ComfortClick Jigsaw manual

ComfortClick

ComfortClick Jigsaw manual

Crestron C2N-SDC Operations & installation guide

Crestron

Crestron C2N-SDC Operations & installation guide

Elko RFDEL-76M manual

Elko

Elko RFDEL-76M manual

Brivo ACS300 installation manual

Brivo

Brivo ACS300 installation manual

Tekmar Mixing Control 354 Data brochure

Tekmar

Tekmar Mixing Control 354 Data brochure

Gate WARFET user guide

Gate

Gate WARFET user guide

RLE Technologies Falcon F200 Quick start guides

RLE Technologies

RLE Technologies Falcon F200 Quick start guides

KMC Controls MEP-46 Q Series quick start guide

KMC Controls

KMC Controls MEP-46 Q Series quick start guide

ABB RMC-100 Startup guide

ABB

ABB RMC-100 Startup guide

Rice Lake iRite 920i installation instructions

Rice Lake

Rice Lake iRite 920i installation instructions

BRT Systems PANL user guide

BRT Systems

BRT Systems PANL user guide

Hitachi PSC-A32MN Installation and operation manual

Hitachi

Hitachi PSC-A32MN Installation and operation manual

HORIBA METRON S500 instructions

HORIBA METRON

HORIBA METRON S500 instructions

Resol DeltaSol BX L manual

Resol

Resol DeltaSol BX L manual

Regada Rematic UMR 1PA-Ex Installation, service and maintenance instructions

Regada

Regada Rematic UMR 1PA-Ex Installation, service and maintenance instructions

V-TAC VT-2472 manual

V-TAC

V-TAC VT-2472 manual

manuals.online logo
manuals.online logoBrands
  • About & Mission
  • Contact us
  • Privacy Policy
  • Terms and Conditions

Copyright 2025 Manuals.Online. All Rights Reserved.