U
't.
Do
notwearloosefittingclothing
get
caughtonthe
tiller.
Do
not
starttheengine
unlessthe
isintheneutral
(N)
position.
11. Do not fill gasoline
tank while engine is
running.
Spilling
gasoline
on hot
enginemay
causeafireor
explosion.
Donotrunthe
engine
whileindoors.Exhaust
gases
aredeadly
poisonous.
Be
careful
notto touch
the
muffler
after
the
enginehas
been
running,
itishot.
Before
any
maintenance
workisperformed
or
adjustments
aremade,
removethespark
plug
wireand
ground
it on the
engineblock
for
added
safety.
Usecautionwhen
tillingnear
buildingsand
fences,rotating
tines
cancausedamage
or
in
jury.
Beforeattemptingto removerocks,bricks
andotherobjectsfromtines,
stoptheengine
and be sure the tines have stopped
completely.Disconnect
thespark
plugwire
and
ground
to
prevent
accidentalstarting.
Check
the
tine
and
engine
mounting
bolts
at
frequent
intervals
for
proper
tightness.
Keepall nuts,boltsandscrews
tightto be
sure the equipment
is in safe working
condition.
Neverstore
theequipment
with gasoline
in
the
tank
inside
ofabuilding
where
fumes
may
reachan open flame or spark. Allow the
engine to cool before storing in any
enclosure.
12.
13.
14.
2.
3.
(+- 15.
16.
5.
6.
that
could
shift lever
7. Do not stand in front of the tillerwhile
starting
the
engine.
8. Donot place
feetand handson or nearthe
tines
whenstarting
theengine
or whilethe
engine
is
running.
9. Do not leavethe tillei unattended
with the
engine
running.
10. Do not walk in frontof the tiller
while
the
englne
isrunning.
17.
18.
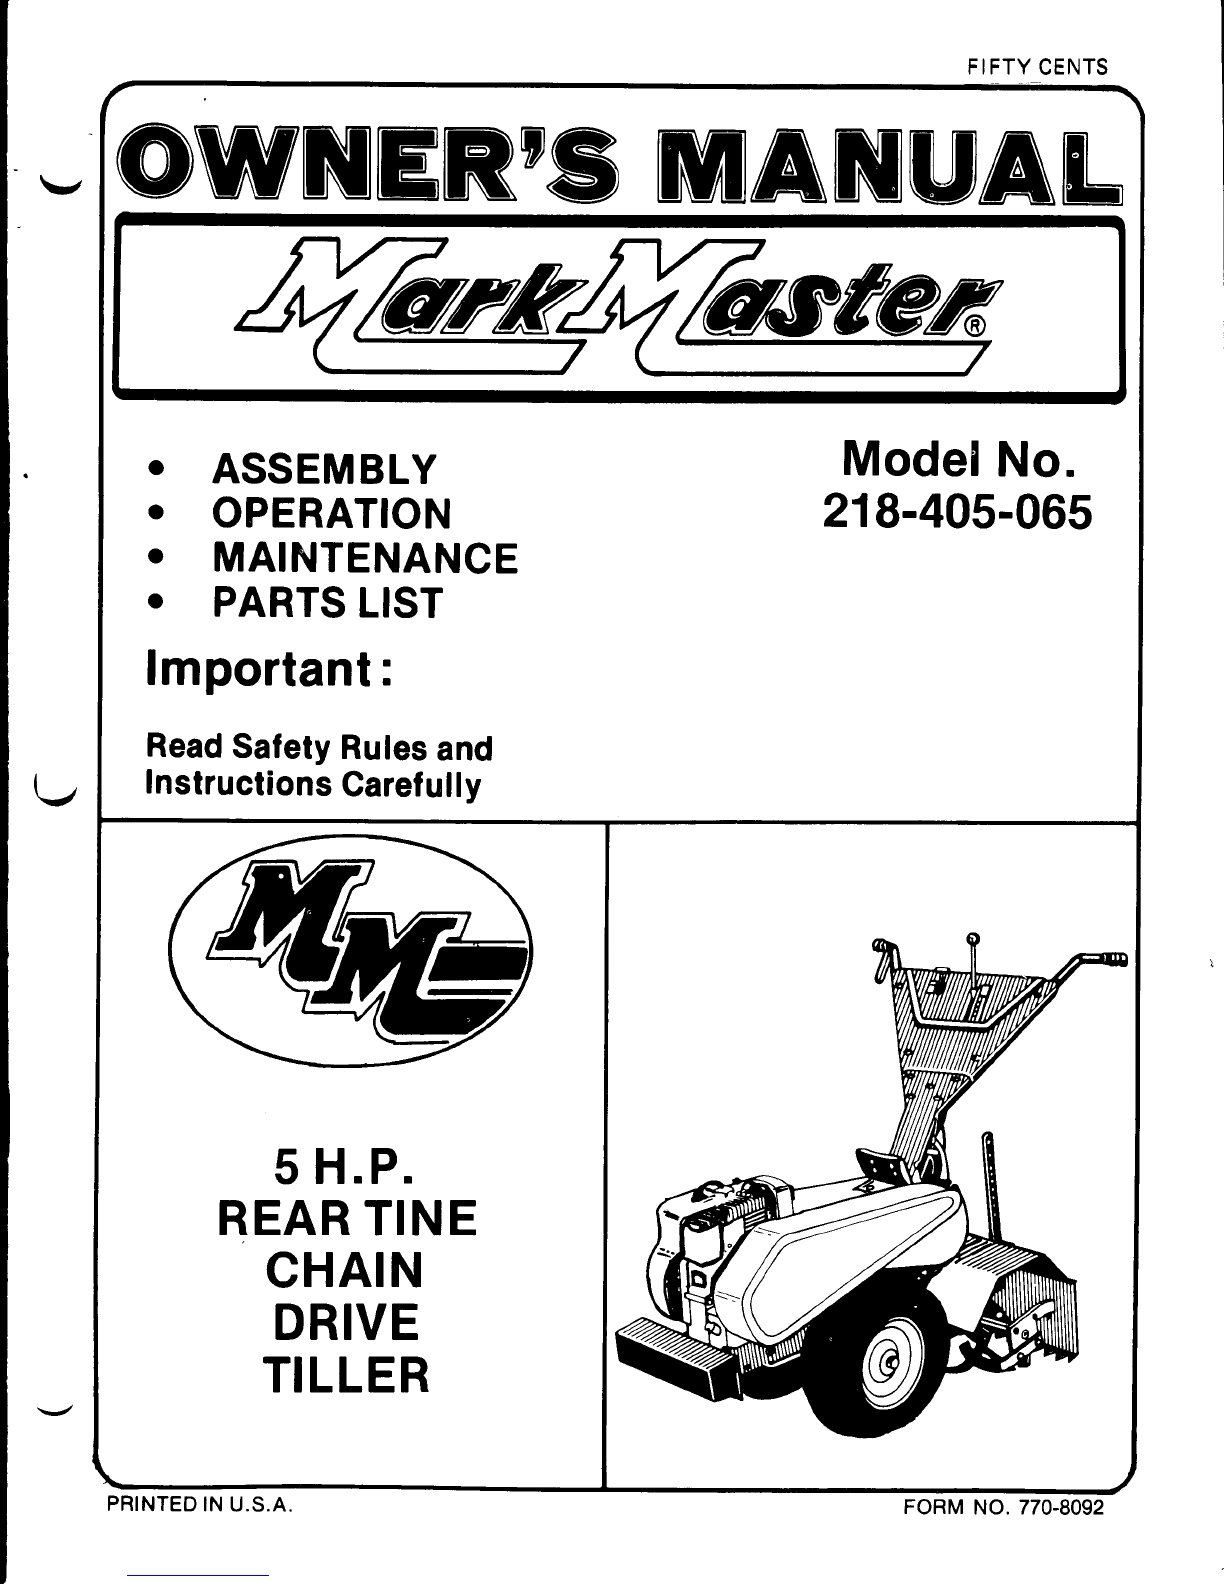
+tMPoRrANr
Itissuggested
thatthis
manual
be
readinits
entirety
beforeattemptingtoassembleoroperate.Keep
this
manual
in
asafe
place
forf
uture
reference
andfor
orderingreplacement
parts.
Thisunit
isshipped
WITHOUT
GASOLINE
or
OlL.
Af
terassembly,seeoperating
section
of this manual
f
or
proper
f
uel
and
amount.
your
tiller
isa precisron
piece
of power
equipment,
not
a play
thing.
Therefore,exercise
extremecaution
atalltimes.
SAFE
OPERATION
PRACTICES
FOR
TILLERS
Read the Operating
and ServiceOwner's
Manual
carefully.
Be
thoroughly
familiarwith
the controls and the proper use of the
equipment.
Neverallowchildren
to operatea power
tiller.
Only
persons
wellacquainted
withthese
rules
of safe operation
should be allowed to use
your
tiller.
Keep the a(ea of operation clear of all
persons,particularly
small
children
and
pets.
Do not operate
equipment
when barefoot
or
wearing
opensandals.
Alwayswearsubstan-
tialfootwear.
19.