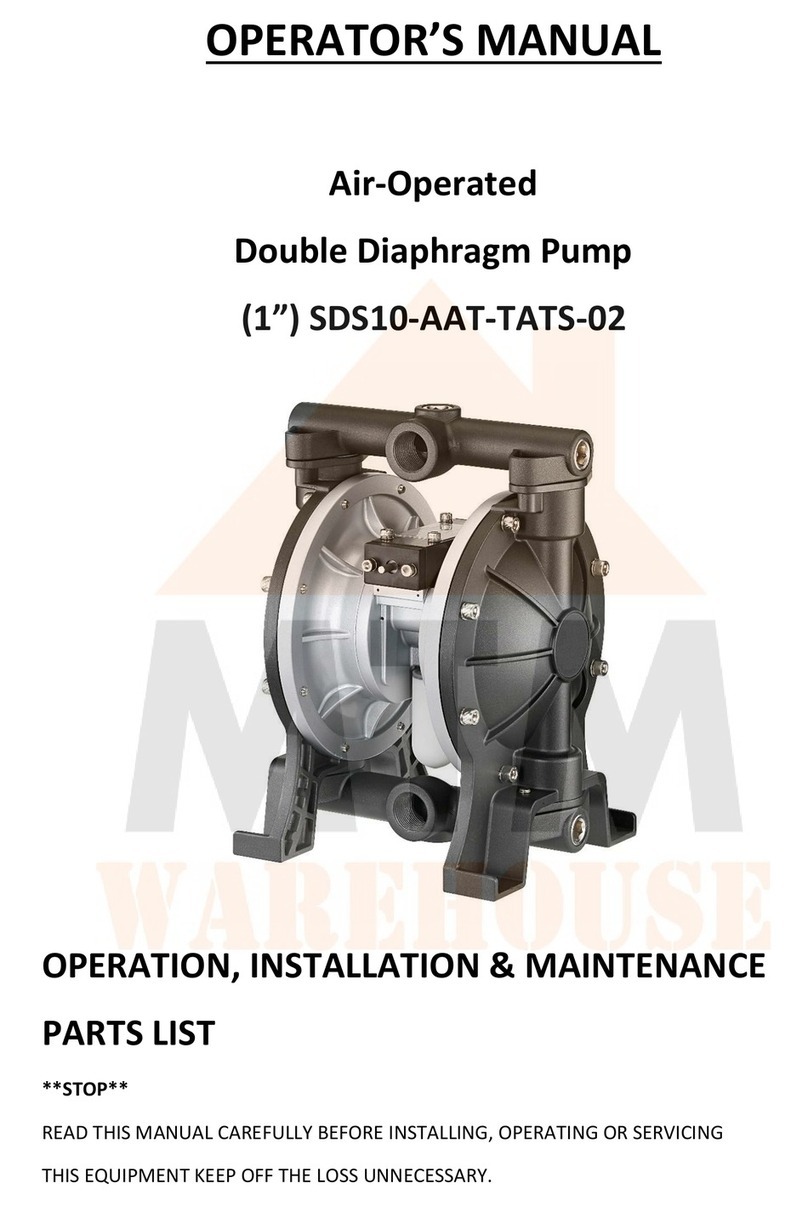
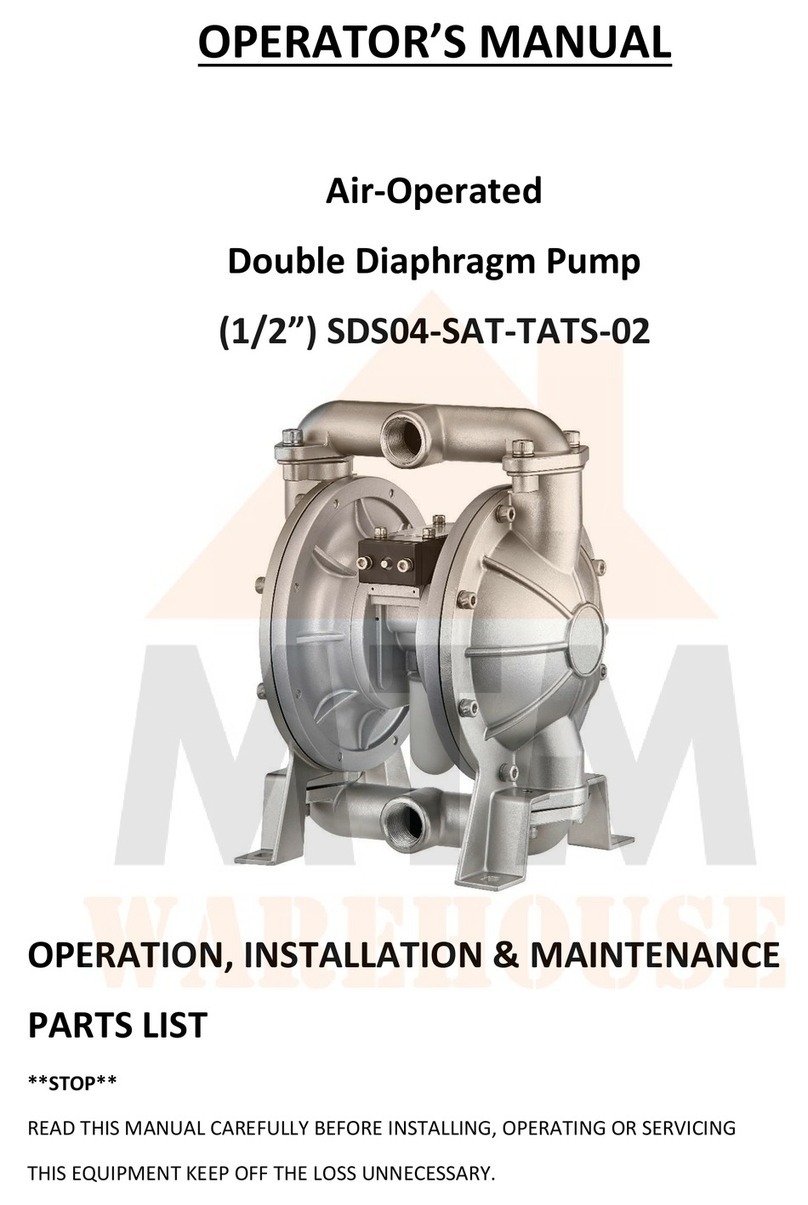
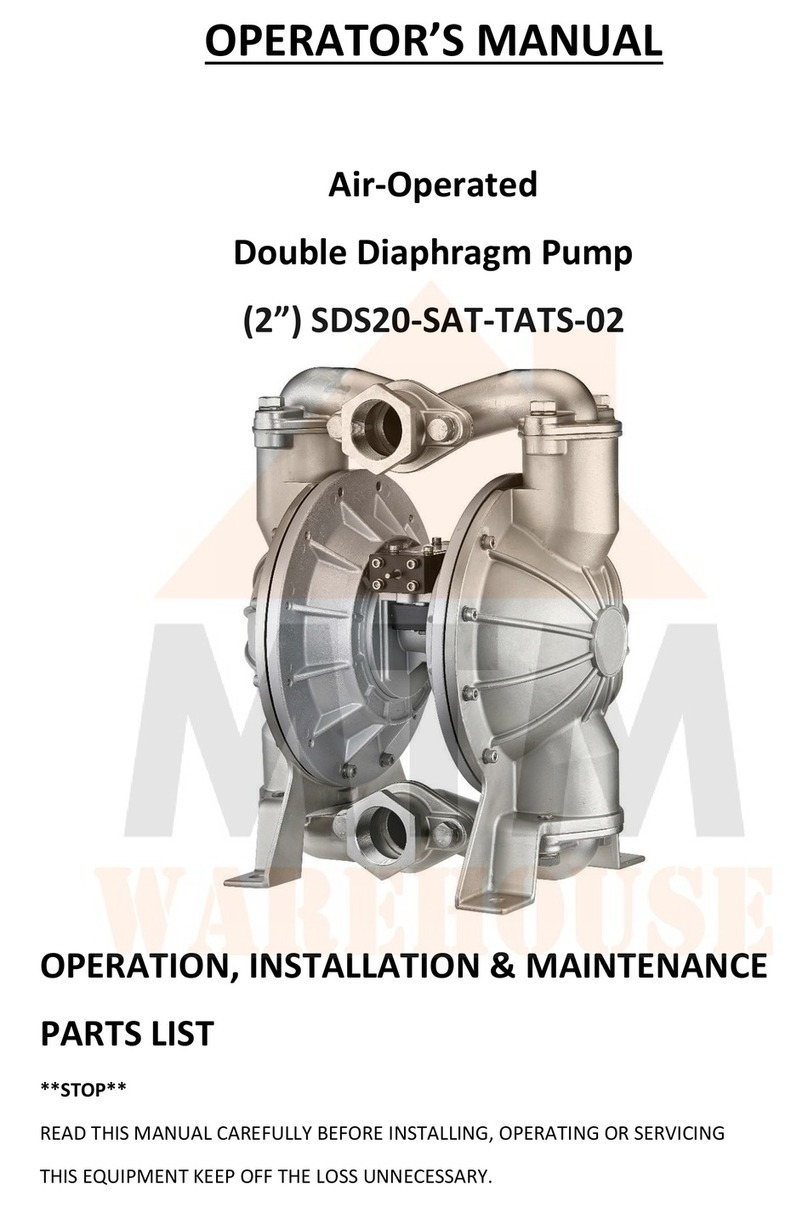
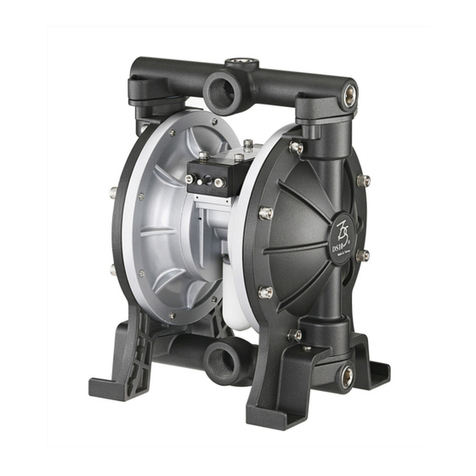
MTM SDS14-AAT-TATS-02 User manual

Index
1 Index.......................................................................................................................................................2
2 INSTALLATION AND CONFIGURATION....................................................................................................2
3 NOTICE OF OPERATION ..........................................................................................................................3
4 NOTICE OF MAINTENANCE.....................................................................................................................3
5 CHECK REGULARLY .................................................................................................................................4
6 DIMENSIONS & PARTS –SDS14-AAT-TATS-02........................................................................................5
INSTALLATION AND CONFIGURATION
•Use the hose or soft tube to connect to the inlet and outlet. Reduces loss from
vibration.
•Don’t stamp or cause the hose to regulate pressure in the pump.
•Don’t hang on the pump or else the pump will break.
•The suction head of inlet should be less than six metre (for water).
•When installing the pump, please use the following water vibration modes to absorb
the vibration.
oInstalled Place –Install the pump horizontal and avoid installing on sloped
surfaces.
oInstalled Aspect –Pay attention to keep the silencer’s aspect down.
oInstalled Mode –When you firm up the pump, please install the buffer
between the pump and base to avoid the pump from breaking.
•The direction for the inlet and outlet of the pipes can be tuned.
•When choosing the tube, consider the calibre, tolerance and pressure resistance. This
helps to prevent the tube from breaking and leaking.
•Please check and clean the inside of the tube before installation. Check for any iron
filling, trash or any other impurities inside. Otherwise, it may increase chance of the
pump breaking.
•Choose the tube that will not break from negative feedback pressure when fluid
transfers.
•Choose the correct tube size. Otherwise, insufficient suction if the tube is too big.
•It is recommended to install the filter in the inlet. It can help reduce the chance of the
pump breaking and extends the life of the pump.
•For the high air pressure connection:
oDon’t use a tube too small in the air inlet.
oAir pressure of inlet does not exceed 8.3kgf/cm2 (bar).
oUse the lubricant oil for cold-resistance and high-pressure resistance.
oIt is recommended to install the air filter regulator and lubricator (FRL) for the
air inlet. It helps to supply clean air and lubricant oil.

NOTICE OF OPERATION
•Check the installation if they are correct before starting the pump. If the pump
operates while there are any loose fasteners, it will cause damage to surrounding
people and equipment.
•If the fluid is a flammable, it is recommended to link the ground wire to avoid chances
of a fire or explosion from happening.
•Check the tightness of the inlet and outlet tube to ensure a stable link between the
pump and tube. The fasteners should be tightened down to the correct torsion to be
certain.
•When testing the pump before operation, the air inlet pressure should start at the
lowest limit and then regulate the air pressure to the highest limit. Make sure the
pump operation is normal and then regulate the air pressure to the value required.
•It is recommended to not let the pump idle for too long to avoid pressure loss and
breakdown.
•It is recommended to regulate the air inlet pressure to control the flow rate first, and
then gradually increase the fluid outlet switch slowly to the necessary value.
•When the pump is operating fluid filled inside and outlet switch is closed, then the
pump will stop. This is not dangerous, but it is recommended to not hold this state for
too long or have an operator beside. Otherwise, the fluid will leak.
•When stopping the pump, follow these instructions: close the inlet line for air, open
the outlet switch and release the pressure remaining inside the pump and pipe.
•If you want to transfer the fluid which can precipitate or easily solidify, be sure to
transfer the solvent to wash the pump inside after ceased operation. Otherwise, it can
break the diaphragm and crack the thimble switch when the pump starts up next time.
NOTICE OF MAINTENANCE
•Please read this manual carefully before servicing the pump.
•Don’t service the pump when it is operating o avoid causing endangering the operator.
•Before servicing the pump, follow these instructions: close the inlet line for air, open
the outlet switch and release the pressure remaining inside the pump and pipe
completely.
•Please use components produced from TONSON to service. Otherwise, it may cause
breakdown or reduced in efficiency.
•It is recommended to be preserved and do yearly inspections.
•When tightening the fasteners, ensure the correct torsion. If the fastener is tightened
greater or lesser than the necessary torque, it may cause the component to break or
an accident.
•If any breakage, accident or breakdown because of what was stated above, the
warranty is void.

CHECK REGULARLY
•Clean any impurities in the air-inlet filter regularly. Otherwise the impurities will
reduce the efficiency or breakdown the pump.
•If regular checks on the pump are neglected, the pernicious fluid will invade the
stratochamber of the pump when the diaphragm breaks, and the pump will
breakdown. Even cause an accident to surrounding people.
•The diaphragm, ball valve, ball set and O-ring are all expendables. It is recommended
to change them when the pump operates in stipulation number of times.
•The life expectancy of diaphragm is almost ten million operations. (This is just an
estimate. The life will cut down when the fluid has dust of metal, iron filings, wear-
resisting particles or other foreign matter).
•The O.D. of ball valve is shown below:
oSDS03: 12.0mm SDS04: 15.9mm SDS06: 25.4mm
oSDS10: 28.0mm SDS14: 45.0mm SDS20: 55mm
If the O.D. of the ball is less than 95% or changes shape, then the check valve will
reduce efficiency or stop working. It is then highly recommended to change the ball
valve immediately.
•The ball seat and ball cover should be changed if there are signs of wear or changes
shape. It is suggested for the ball valve to also be change simultaneously.

No.
Component Name
Component
No.
Amount
No.
Component Name
Component
No.
Amount
1
Hexagon Screw
PC000019SW
12
27
O-Ring
PB000250
3
-
Hexagon Screw
PC000106SW
8
28
O-Ring
PD000016
2
-
Ping Hua Division
PC000057
20
29
Hexagon Screw
PC000209
2
2
Hexagon Screw
PC000116
8
30
Cup Nut
PC000167
2
3
Teflon Pad
PB000182
2
31
C-Shaped Retaining
PA000069
2
4
Down Ball Seat (PP)
PA000242
2
32
Hexagon Screw
PC000032SW
4
-
Down Ball Seat (SUS)
PA000028
2
33
O-Ring
PD000050
1
5
Teflon O-Ring
PB000417
4
34
O-Ring
PD000015
1
6
Up Ball seat (PP)
PB000243
2
35
Body of Sequential
PA000152
1
-
Up Ball Seat (SUS)
PA000027
2
36
Piston of Air Valve
PA000140
1
7
Up Ball Cover (PP)
PB000241
2
37
O-Ring
PDAP0032
1
-
Up Ball Cover (AL)
PA000307
2
38
O-Ring
PDAP0022
2
8
Down Ball Cover (PP)
PB000241
2
39
Starting Copper Latch
PA000153
1
-
Down Ball Cover (AL)
PA000241
2
40
Cover of Sequential B
PB000102
1
9
Teflon Ball
PB000041
4
41
Cover of Sequential A
PB000079
1
-
Bakelite Ball
PB000203
4
42
O-Ring
PD000002
1
-
SUS Ball
PA000006
4
43
Housing of Sequential
PB000139
2
10
Teflon Pad
PB000418
2
44
Body of Cylinder Base
PA000093
1
11
Housing of Pump
PA000051
2
45
Hexagon Screw
PC000013SW
8
12
Steel Hexagon Screw
PC000174
2
46
O-Ring
PD000029
2
13
Steel Washer
PC000059
2
47
Hexagon Screw
PC000081SW
8
14
Pad of Diaphragm
PA000227
2
48
Hexagon Screw
PC000039SW
4
15
Outside Diaphragm
(PTFE)
PB000023
2
49
Up Pipe
PA000126
1
-
Outside Diaphragm (PE)
PB000022
2
50
Silencer
PB000049
1
16
Inside Diaphragm
PD000081
2
51
Air Pressure Room of
Pump
PA000198
2
17
Pad of Diaphragm
PA000228
2
52
Thimble Cover
PA000169
2
-
O-Ring
PD000007
2
53
Slithery Mass Valve
PB000068N
1
18
O-Ring
PD000031
2
54
Include Ply
PB000089
1
19
Shaft Cover
PB000179
2
55
Pipe Adapter
PA000220
2
20
O-Ring
PD000008
2
56
Abnormal O-Ring
(Inside)
PD000129
1
21
O-Ring
PD000054
2
57
Abnormal O-Ring
(Outside)
PD000130
1
22
Shaft of Diaphragm
PA000087
1
58
O-Ring
PD000003
2
23
Buffer Pad
PD000059
2
59
O-Ring
PD000002
4
24
Body of Square Switch
PA000111
1
60
Switch Thimble
PA000153
2
25
Switch Piston
PA000144
1
61
Down Pipe
PA000125
1
26
O-Ring
PD000002
3
Table of contents
Other MTM Water Pump manuals
Popular Water Pump manuals by other brands

Edwards
Edwards EH500 instruction manual

Oase
Oase ProMax Garden Automatic 3500 operating instructions

Grundfos
Grundfos CRE Installation and operating instructions

Groeneveld
Groeneveld AC3 installation manual

Homa
Homa AMS Series Installation, operation and maintenance manual

Pentair
Pentair STA-RITE SE370 Installation and operation manual

Waterway
Waterway Power Defender PD-140C owner's manual

Blue-White industries
Blue-White industries ProSeries Chem-Feed CFPS-1 manual

Wilo
Wilo Wilo-Rexa MINI3-V05-AU Series Installation and operating instructions

SFA
SFA SANIPUDDLE Installation and operating manual

Makita
Makita Pump EW200R instruction manual

Coleman
Coleman Quickpump 4D instructions