MTP ST-172 User manual

MTP
INSTRUCTION MANUAL
Temperature & Humidity Datalogger
Model ST-172
MTP Instruments

Table of Contents
Introduction
Page 1
Functions and Technical Specifications
Page 1
Display Description
Page 2
Software Installation
Page 3
Operating Mode
Page 4
Correct Time
Page 4
Datalogger Setup
Page 5
Datalogger Download
Page 6
Zoom in
Page 6
Zoom out
Page 7
Customize the Graph Window
Page 7
Save File As / Open Saved File
Page 8
Print Graph and List
Page 8

Introduction
Congratulations on the purchase of your Temperature and Humidity Datalogger, model
MTP ST-172. This Temperature and Humidity Datalogger is designed with a high
accuracy temperature and humidity sensor. The datalogger is provided with features of
high accuracy, fast response and stability. It is widely used for monitoring and collecting
data of environment temperature and humidity. Careful use of this instrument will
provide years of reliable service.
Functions and Technical Specifications
Functions:
You can monitor temperature and humidity values efficiently and conveniently for long
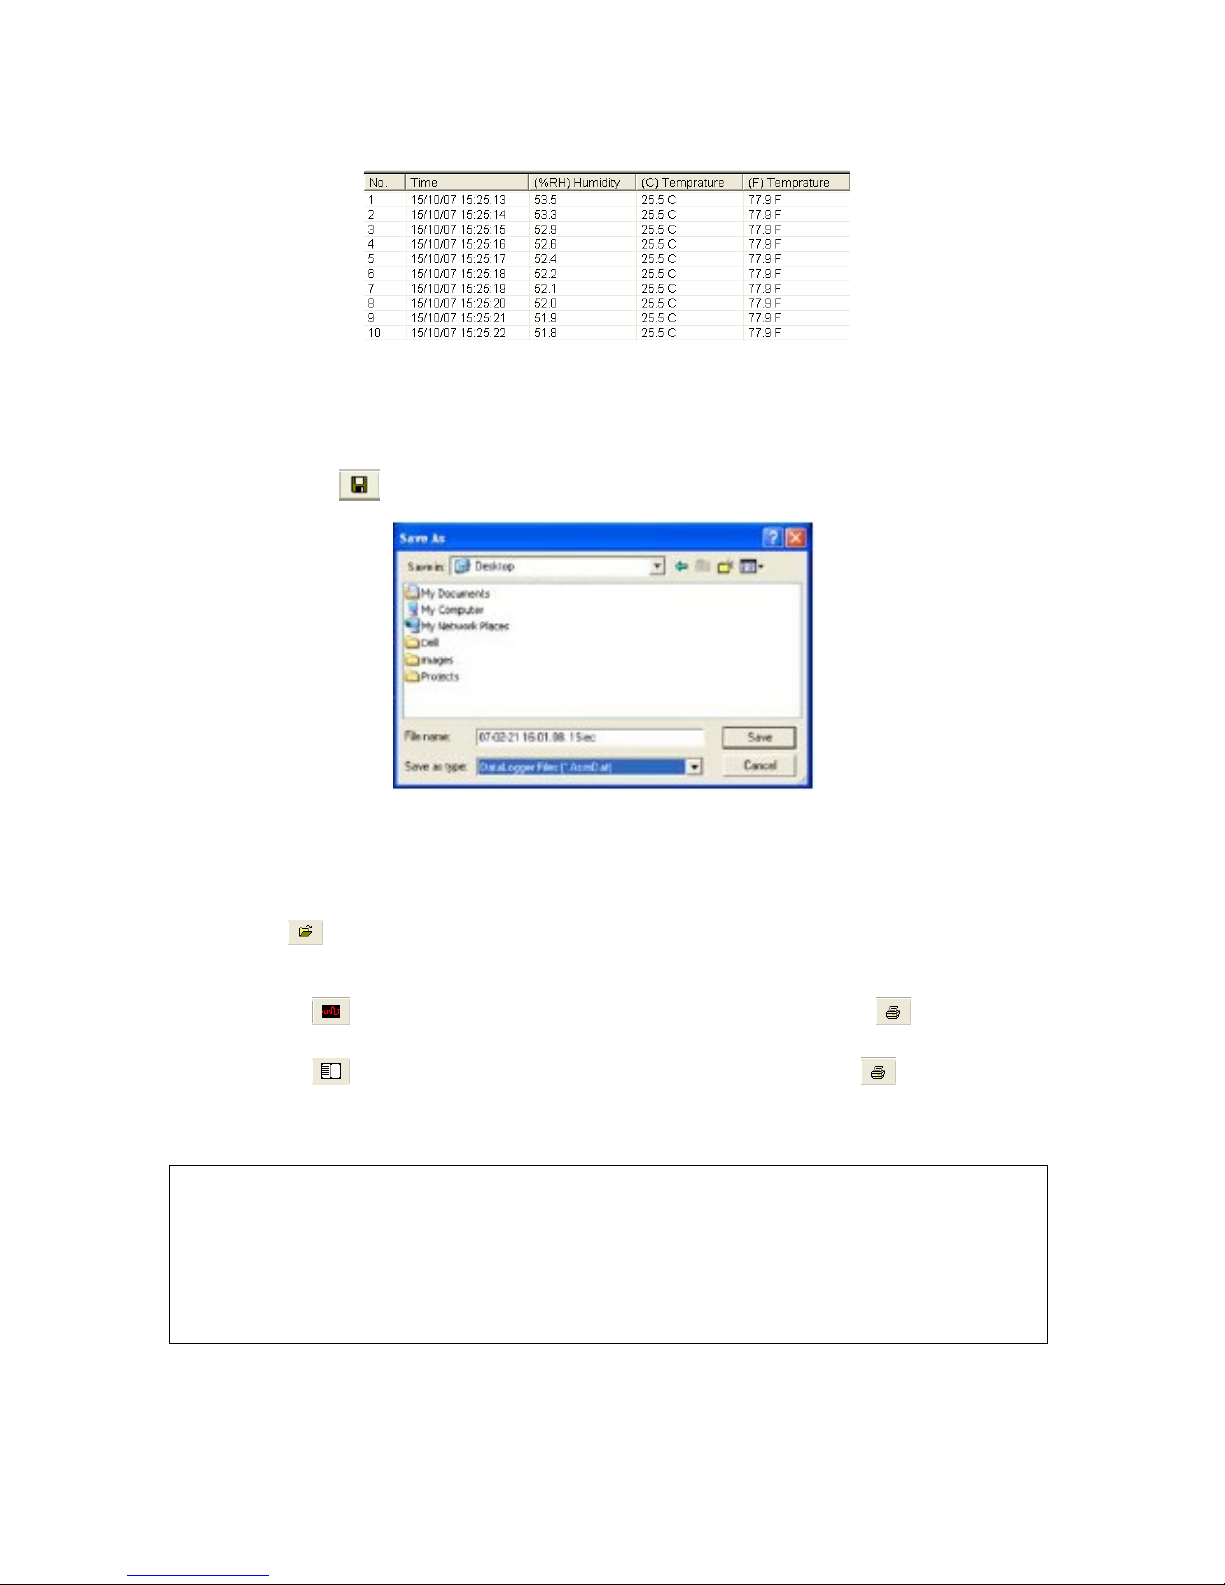
time periods by using the datalogger. The readings are saved in the logger and simply
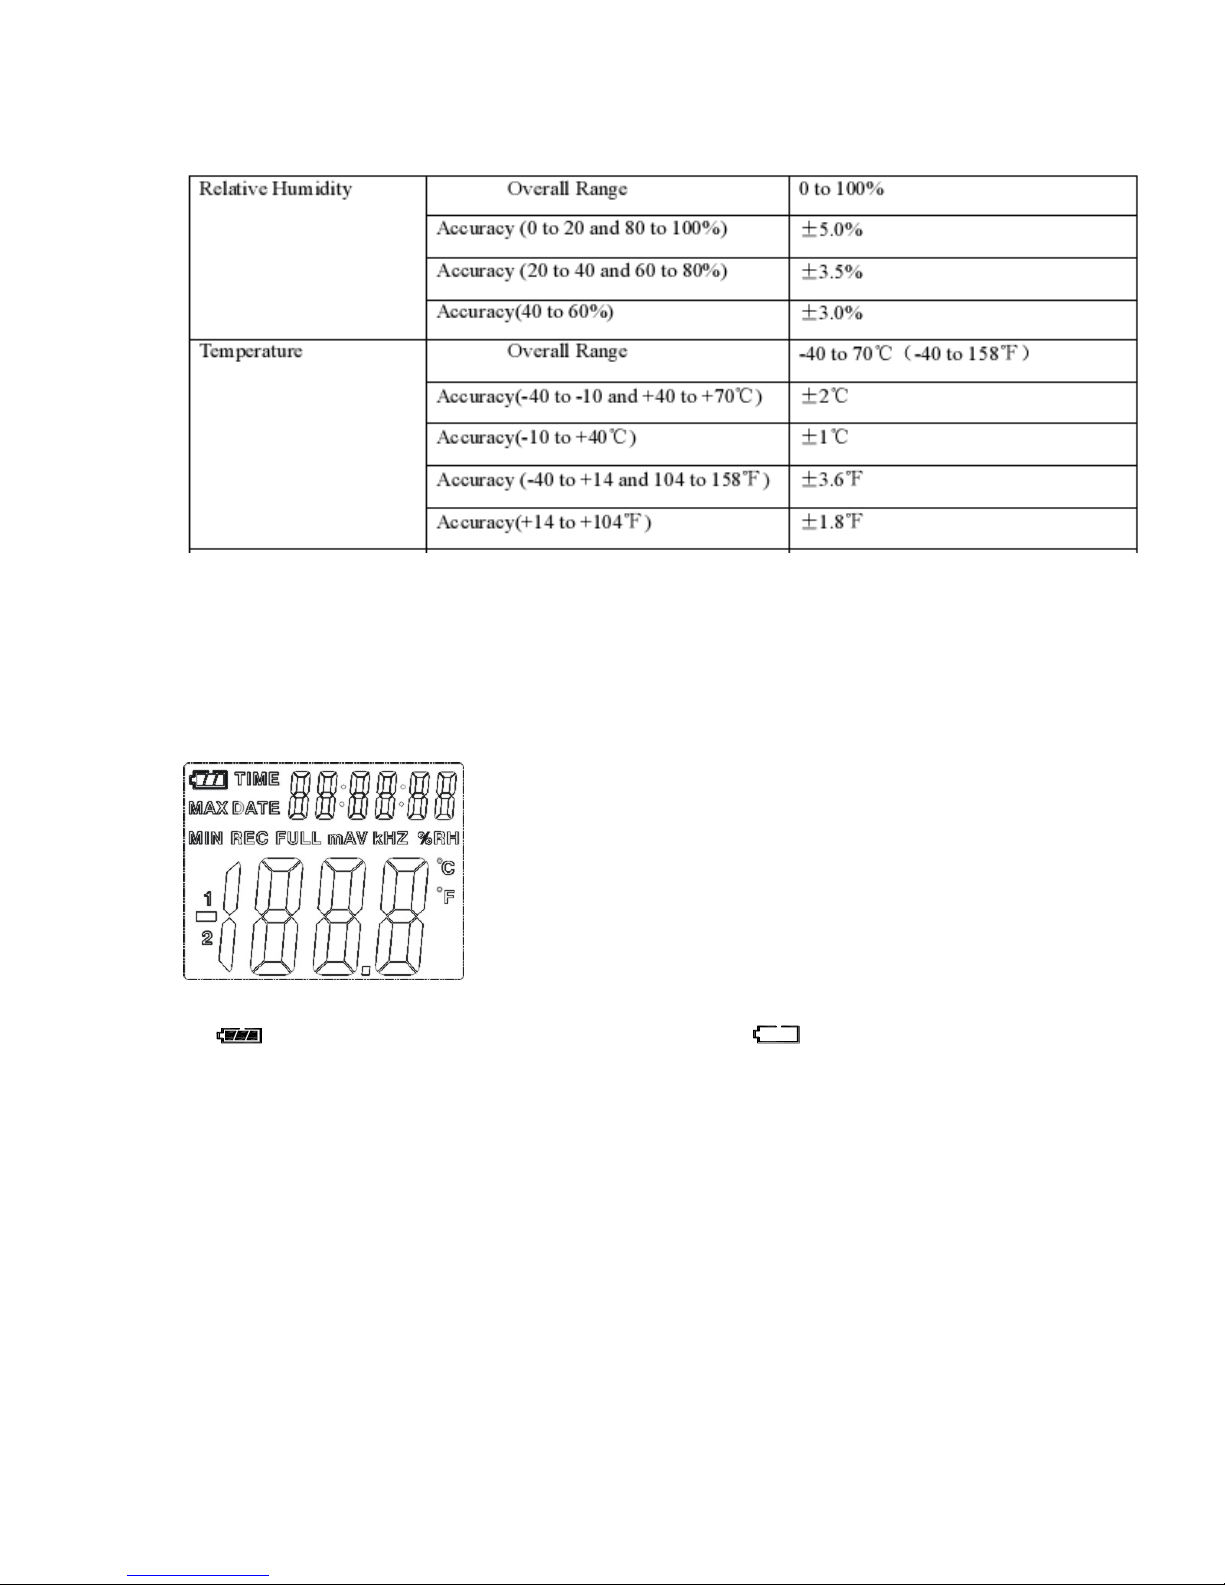
read out by your PC with USB cable. The LCD can show current readings, Max, Min,
Time, Date and Temperature or Humidity values.
Note:
This datalogger should be placed upright when in use. If used in low temperature, high
humidity environment, the datalogger should be placed upright in a dry area to remove
any condensation before reading the data on the device.
Battery life can be extended by leaving the datalogger connected to a PC.
Features:
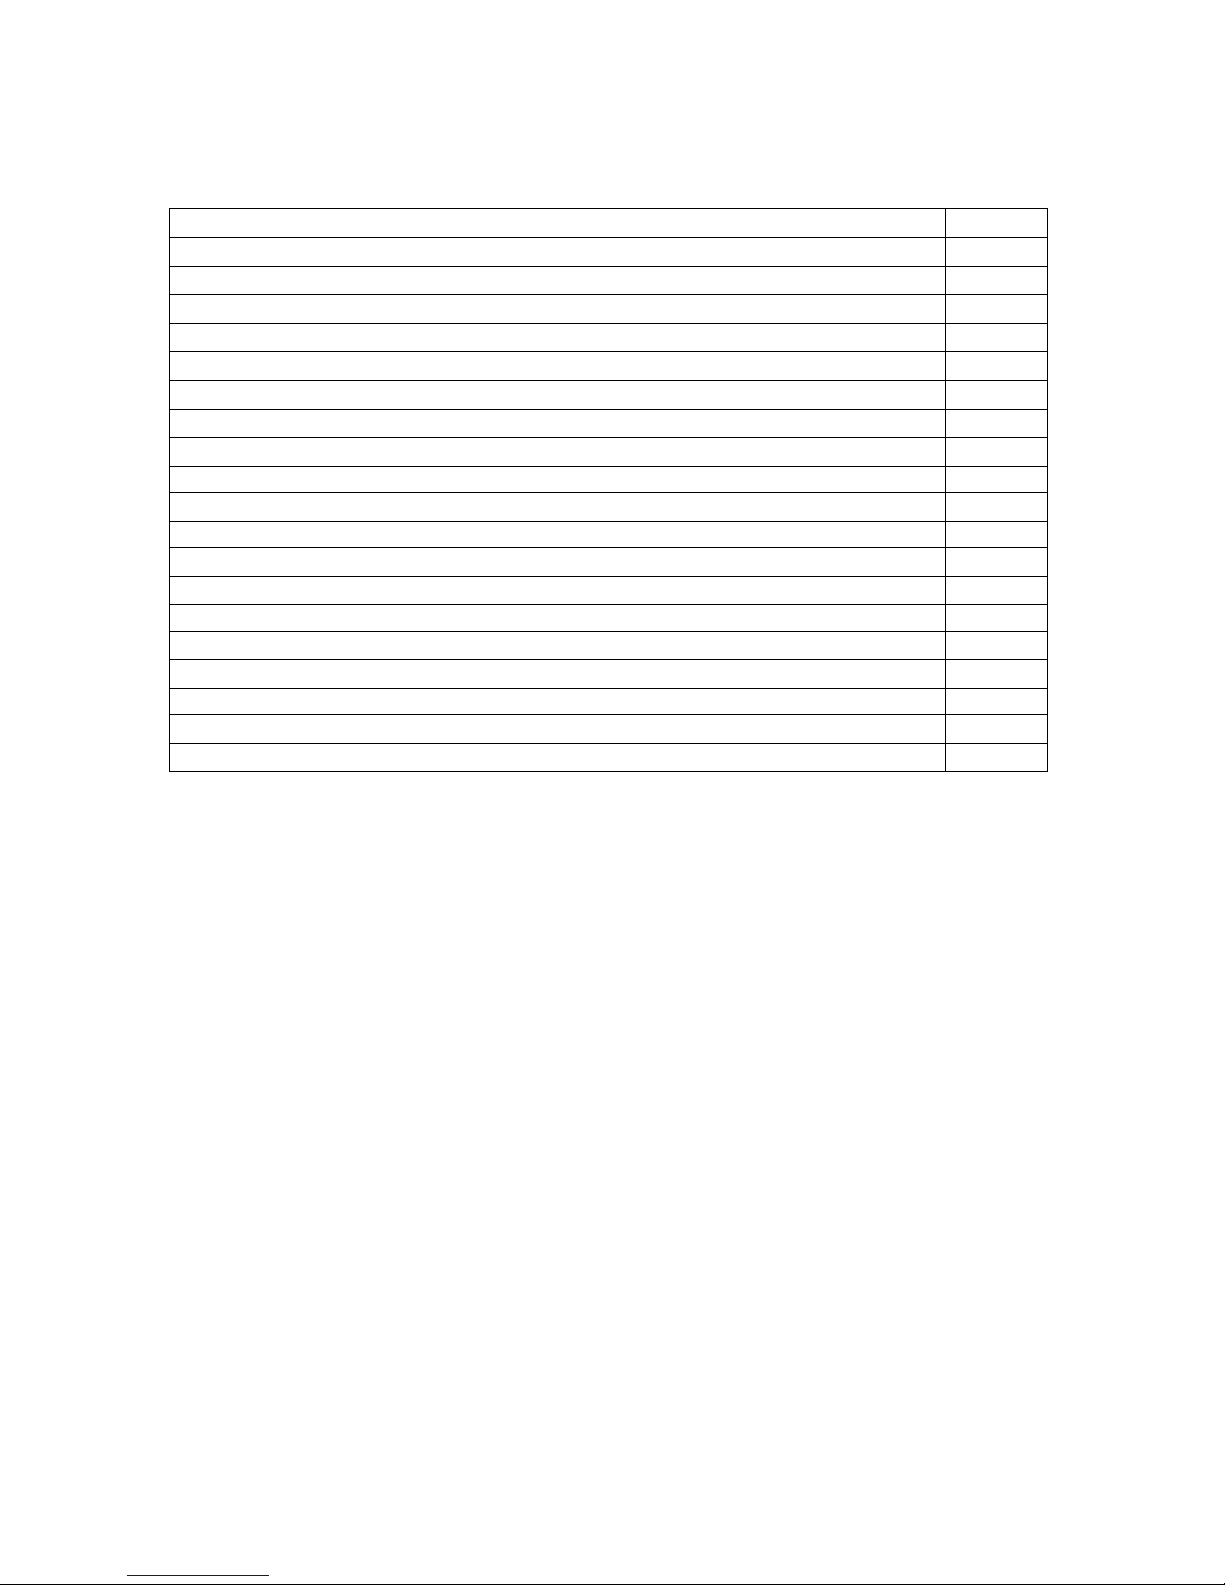
Memory for 32700 values
LCD to show logging information easily
Freely selectable measurement cycle, from 1 sec. to 24h
Download collected data through PC’s USB
Alarm display if user’s defined maximum/minimum values are exceeded
Analysis software used to view graph for logging data
General Specifications:
Dimensions: 94 x 48 x 33mm
Weight: 115g
Power Supply: 3.6V Lithium battery
Accessories: USB cable, analysis software, (1) battery and instruction manual
1

Technical Specifications:
Resolution: 0.1% RH, 0.1°C
Memory: 32700 values
Measuring cycle: 1s to 24h
Analysis software: 2000/XP/Vista
Display Description
1. Battery symbol. When battery is exhausted, symbol will be
displayed. Replace battery when symbol appears. Battery life is more
than 3 months
2. TIME: Current time is displayed
3. DATE: Current date is displayed
4. Time/Date: Time and date automatically toggle every 10 seconds
5. MAX: Display maximum value during measuring
6. MIN: Display minimum value during measuring
7. REC: Indicates that datalogger is in recording mode
8. FULL: Memory is full indicator. The datalogger will stop recording
9. %RH: Indicates that the datalogger is measuring humidity
10. °C: Celsius temperature unit
11. °F: Fahrenheit temperature unit
2

12. MAX/MIN: Press the MAX/MIN button to view the recorded Max and Min values
with the time and date they were recorded. While in MAX/MIN mode, if no button
is pressed for 40 seconds, the display will automatically exit the MAX/MIN mode
and return to the real time display. The time and date display will automatically
toggle every 10 seconds.
13. PC symbol: When downloading the data to the PC, ʺPCʺsymbol will be displayed
on the LCD. After the download is completed, the datalogger will display the last
value recorded, but it will stop recording. The logger needs to be re-set from the
software to begin a new recording session.
You can only read the data from the logger itself. All settings will be carried through
the software installed in PC.
14. Alarm function: When the measured value exceeds the set upper limit or lower limit,
the LED alarm will blink one time per minute. Blinking red LED indicates that
temperature value exceeds limit while blinking yellow LED indicates that humidity
value exceeds limit.
15. ʺLOʺsymbol: ʺLOʺsymbol will be displayed if the temperature/humidity sensor is
not well connected. When this symbol is displayed, please open the back cover and
re-install the sensor.
Software Installation
The datalogger USB software is a program for collecting data from the datalogger when
it is connected to a PC or notebook computer. The data may be displayed graphically, as
Excel or similar programs. The major functions are all listed in the main window.
System Required:
Windows 2000 or Windows XP or Vista
Minimum Hardware Required:
PC or NoteBook with Pentium 90 MHz or higher 32 MB RAM
At least 7 MB byte hard disk space available to install HT datalogger USB software
Recommended display resolution 1024x768 with high color (16 bit)
3

Main Menu
Save
Save the recorded data to the disk
Open
Open a saved file
Correct time
Setup of time and date on datalogger
Datalogger Setup
Setup of datalogger
Download Data
Download data from the datalogger
Show Graph
Show the recorded data as a graph
Show List
Show the recorded data as a list
Print
Print the graph or the list
Help Document
Access to help document
Operation Mode
Correct Time
If datalogger time is incorrect, click on the icon to open the Correct Time Dialog
Box. Input the correct date and correct time and click ʺOKʺbutton; the datalogger time
will update.
4

Datalogger Setup
Note:
Any stored data will be permanently erased when Setup is finished. To enable you to
save data before it is lost, click on ʺCancelʺand download the data.
Always ensure that the remaining charge in the battery is sufficient to last the complete
duration of your logging exercise. If in doubt, we recommend that you always install a
fresh battery before logging critical data.
Click on the icon on the menu bar. The Setup window will appear as shown
below; descriptions for each field in the Setup window are listed below the
illustration.
The Samprate Setup field instructs the datalogger to log readings at a specific rate.
You can input specific data at the left Edit box and select the time unit at the right
Combo box.
The LED Flash Cycle Setup field can be set by the user (select ʺNo Lightʺ, LED
will not flash and battery life will last longer).
The Manual and Automatic options allow the user to start datalogging immediately
when the Setup window is exited (automatic) or at a later time (manual).
The Alarm Setup field allows the user to set HIGH and LOW temperature and
relative humidity limits and disables the flashing data logger’s LEDs thereby
conserving the battery energy.
The Circulating Record and No Circulating options instruct the datalogger to
continue logging data to cover the earlier data (Circulating Record) or stop logging
(No Circulating) when the datalogger is full.
Click on ʺSetupʺto save changes. Click on ʺDefaultʺto set the logger to factory
default condition. Click on ʺCancelʺto abort the setup.
5

Datalogger Download
To transfer the readings stored in the logger to the PC:
a. Connect the datalogger to the same USB port used when the datalogger was
initialized.
b. Open the HT datalogger software program if it is not running.
c. Click on the Download icon .
d. The window shown below will appear. Select Download to begin transferring
readings.
If readings are successfully transferred, the Data Graph window will appear.
The top field shows detailed information of the readings (Time, Sampling Rate, Data
Numbers, Alarm Hi, Alarm Low, Max Data, Min Data and Avg. Data).
Zoom in:
1. Press the left mouse button and drag a rectangle around the area to be expanded.
2. Release the mouse button.
3. Use the horizontal scrollbar to scroll through all the data. Use the left vertical
scrollbar to scroll through the temperature data. Use the right vertical scrollbar to
scroll through the relative humidity data.
6

Zoom out:
Click on to zoom out and return to full view. .
Setup the Temp. and RH Y Axis.
Setup the Background color, Grid color, Temperature and RH color.
Customize the graph window
Allows the user to select which data to view as a trace.
Add or remove grid lines from ʺxʺand ʺyʺaxes.
Mark points: places dots on the traces for the actual data points, breaking up the
continuous nature of a trace.
Click on the list icon to get the list window.
7

It shows specific time and data.
Save file as / Open Saved File
1. Click on the icon to open the Save As dialog box.
2. Name the file and save it with the default extension. The file will be saved with the
ʺrecordʺ extension to be reopened in the HT Datalogger software program and also
as a ʺxlsʺfile to be opened in spreadsheet program or other word processing
program. To open an existing data file for viewing on the data graph window, click
on the icon. When prompted, select a record file saved earlier.
Print Graph and List
Click on the icon to show the data as a graph and then click on the icon to
print the graph.
Click on the icon to show the data as a list and then click on the icon to print
the list.
MTP Warranty
MTP Instruments warrants this instrument to be free of defects in parts and workmanship for
one (1) year from date of shipment. This warranty does not apply to defects resulting from
action of the user such as misuse, improper wiring, operation outside of specification, improper
maintenance or repair, or unauthorized modification. MTP Instruments specifically disclaims
any implied warranties or merchantability or fitness for a specific purpose and will not be held
liable for any direct, indirect, incidental or consequential damages. MTP Instruments total
liability is limited to repair or replacement of the product.
8

Les Instruments
MTP
Instruments
Head Office
4409, Charleroi street
Montreal-North, Quebec
H1H 1T6
Telephone: (514) 326-7167 Fax: (514) 326-7835
Toll Free Number: 1-888-326-7167
Distributed by:
Table of contents
Popular Other manuals by other brands

DANE-ELEC
DANE-ELEC MEDIA TOUCH datasheet

K&K Sound
K&K Sound BANJO TWIN product manual

Megasat
Megasat WSTA-DP250PMS user manual

Perfomance Tool
Perfomance Tool W1645 owner's manual

brennenstuhl
brennenstuhl KT A92 V315 DE Instructions for use

Sony
Sony HCD-BX20I - Compact Disc Receiver Component Service manual