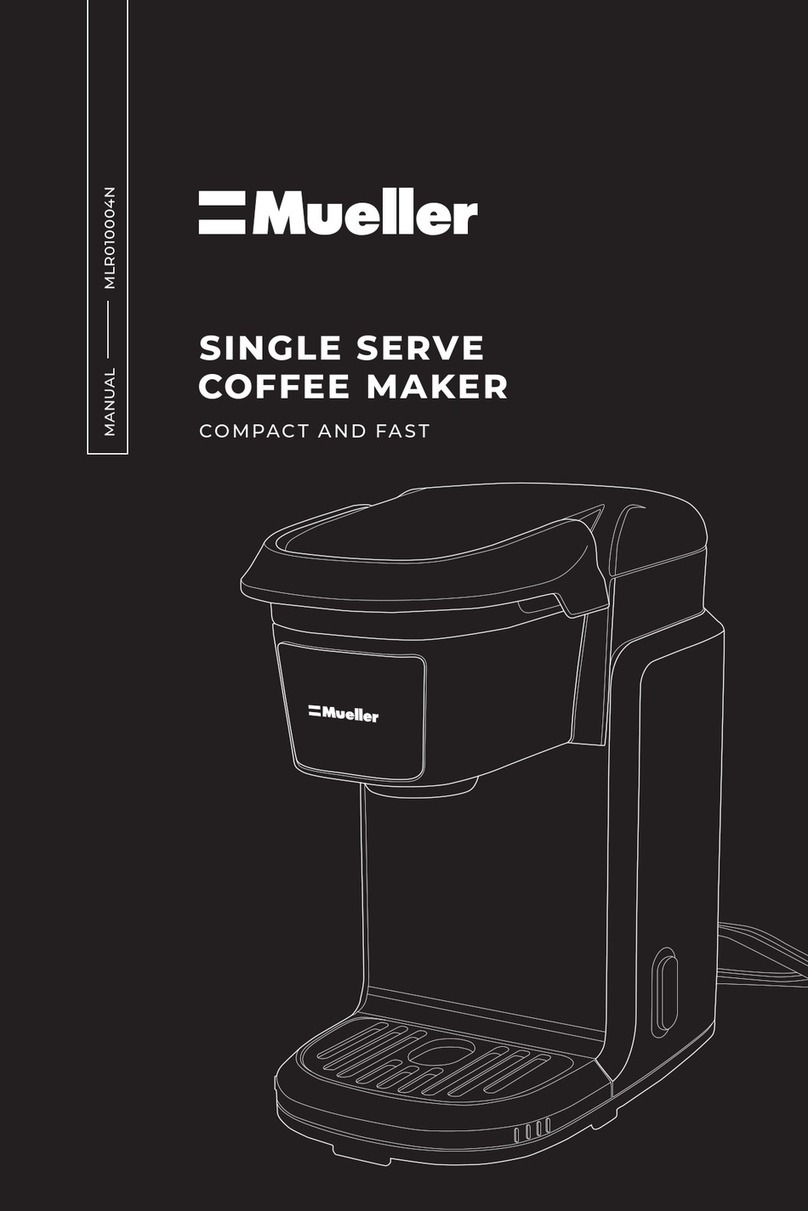
Mueller U-700 User manual

Model: U-700
INSTRUCTION MANUAL
K-cup Coffee Maker
Single Server Brewer

CONTENT
Single Server Brewer, manufactured
properly it will reward you with many years of good service.
to the safeguards.
IMPORTANT SAFEGUARDS --------------------------------------------3
NOTES ON THIS MANUAL ---------------------------------------------5
UNPACKING ----------------------------------------------------------5
STARTING UP---------------------------------------------------------5
OVERVIEW OF MACHINE PARTS AND CONTROLS -----------------------6
HOW TO BREW-------------------------------------------------------7
HOW TO PROGRAM YOUR DEFAULT COFFEE VOLUME ------------------9
HELPFUL HINTS ------------------------------------------------------9
CLEANING AND MAINTAINING YOUR SINGLE SERVE BREWER----------10
TROUBLESHOOTING YOUR SINGLE SERVE BREWER -------------------13
TECHNICAL DATA ----------------------------------------------------14
LIMITED WARRANTY
------------------------------------------------14
LIMITATION AND EXCLUSIONS
--------------------------------------15
2

including the following:
2. Do not touch hot surfaces. Use handles and knobs when available. Scalding
may occur if the coffee brewer is moved or opened or K-Cup® Pack is disturbed
during brewing cycles.
3. This appliance must be properly installed and located in accordance with these
manufacturer may result in fire, electrical shock or injury to persons.
5. Do not place on or near a hot gas or electric burner, or in a heated oven.
6. Do not use outdoors.
7. To protect against fire, electric shock and injury, do not immerse cords, plugs
or the appliance in water or any other liquid.
8. Use only water in this appliance! Do not put any other liquids or foods in the
Water Reservoir.
9. To disconnect, unplug power cord when not in use and before cleaning. Allow
Service to arrange for replacement or repair.
11. Do not let the cord hang over the edge of the table or counter, or touch hot
surfaces.
12. Close supervision is necessary when any appliance is used by or near
children.
13. Do not open the brewer while brewing is in progress.
14. Do not use appliance for other than intended use.
15. To disconnect, turn any control to “off,” then remove plug from wall outlet.
16. Risk of Fire or Electric Shock. Do not open. No user serviceable parts inside.
Repair should be done by authorized service personnel only.
CAUTION: There are two sharp needles that puncture the K-Cup® pack, one
Holder. To avoid risk of injury, do not put your fingers in the K-Cup® pack
Assembly Housing.
3
IMPORTANT SAFEGUARDS

SPECIAL CORD SET INSTRUCTIONS
becoming entangled in, or tripping over, a longer cord.
2. An extension cord may be purchased and used if care is exercised in its use.
of the grounded type, the extension cord should be a grounding type 3-wire
over a countertop or tabletop where it can be pulled on by children or tripped
over accidentally.
4.
THIS PRODUCT IS FOR HOUSEHOLD
USE AND HOSPITALITY USE ONLY
appliance. Proper care and maintenance will ensure a long life and a trouble-free
CAUTION: There is extremely hot water/steam in the K-Cup® pack Holder during the
Assembly Housing during the brewing process.
WARNING: To reduce the risk of fire or electric shock, do not remove any service
covers. There are no user serviceable parts inside the coffeemaker. Only authorized
personnel should repair the coffeemaker.
Servicing should be performed by
an authorized service facility.
SAVE THESE INSTRUCTIONS
4

NOTES ON THIS OPERATING MANUAL
manual, please contact the service and sales centre.
UNPACKING
STARTING UP
− Remove your coffee brewer from its packaging
1. coffee brewer
2. Manual
3. Warantee card
Note:
− Check that your home power supply voltage is the same as marked on the
Tip:
(e.g. for removals, servicing, etc.)
Note:
In order to ensure that this machine works perfectly, it was tested with water
before leaving the factory.
• Danger of scalding: beware of hot water & steam
• Do not operate the machine with an empty water tank or water is less than
MINIMUM level.
water drip
5

• Do not open the handle when the machine is brewing.
• Always pull out the power plug before cleaning the machine
• Only use the machine in a dry room
Thoroughly rinse out the water tank with fresh water before using for the
accompanying the appliance.
The lightning flash with arrowhead symbol, within an equilateral triangle, is intended to
alert the user to the presence of uninsulated “dangerous voltage” within the product’s
to persons
6
OVERVIEW OF MACHINE PARTS AND CONTROLS
Brewer head handle
Brewer head
Water Outlet piecer
K-cup pack
K-cup pack housing
Water level indicator
Drip tray plate
Drip tray
Drip tray base
Reservoir lid
Reservoir
On/Offswitch
Short size serving
Middle size serving
Long size serving
1
10
11
2
3
4
5
6
7
8
9
12
13
14
15

1. Place Brewer upright on a flat surface, remove all product
packaging and plug into outlet.
2. Remove reservoir and reservoir lid,
then fill with water to the MAX FILL line.
3. Replace reservoir lid and place
reservoir on top Brewer.
K-Cup® pack into the k-cup pack housing, do not
peel off the foil cover of the k-cup pack.
4. **The appliance has water level senser, if water
level is lower than Min line, the brewer will not be allowed to make a
light in the water level indicator.
CAUTION: Avoid the sharp piercing pin
inside the brew head (even it will be
hidden when the handle is opened)
HOW TO BREW
7

6. Close by pressing down on top of the brew head handle
NOTE: K-Cup® pack will be punctured when closing the brew head
7. Place a coffee cup in the dispense area on the drip tray.
NOTE: Drip Tray and Drip Tray Plate can be removed to
accommodate larger travel mugs.
completely for 20 seconds.
10. Your delicious coffee is ready.
11. Prior to open the brewer head, always let residual drips/steam
to escape completely.
12. Remove the used K-cup from the brewer as per the figure,
keep your hands far from the hot water outlet.
Do not open the handle when the machine is brewing, if the brewer is opened
Pump always stops earlier while this does not mean the brewing process is completely,
8

Tips:
the machine.
HELPFUL HINTS
How to change default coffee volume ( 6oz- 8oz-12 oz):
a. leave the machine unplugged.
d. You can press the small cup size to set the default volume
8oz-10oz-12oz
coffee volume is programmed.
How to reset the machine.
a. leave the machine unplugged.
c. The blue light of the water level gauge will flash twice,
standing for the reset is completed.
using a K-Cup® pack.
9

CLEANING AND MAINTAINING YOUR SINGLE SERVER BREWER
Cleaning External Parts
IMPORTANT: Make sure the Brewer is unplugged before cleaning Regular cleaning of the
Brewer’s external components is recommended. Allow to Cool.
1. Never immerse the Brewer in water or other liquids. The Housing and other external
components may be cleaned with a soapy, damp, non-abrasive cloth.
2. The Drip Tray can accumulate liquids. The Drip Tray and Drip Tray Plate should be
periodically inspected and cleaned with a damp soapy nonabrasive lint free cloth. The
Drip Tray and Drip Tray Plate should not be put into the dishwasher. To remove the Drip
an undesirable taste in your cup of coffee such as chlorine or other mineral taste, we
for you. For a strong, intense cup, select an Extra Bold K-Cup® pack (with up to 30% more
the FILL LEVEL indicator and brew normally.
• Brewing Into a Tall Mug – To brew into a tall mug, simply remove the Drip Tray
Assembly and place the tall mug on the Drip Tray Base.
• The Drip Tray – Any liquid overflow (from your cup or the Cold Water Reservoir) will be
caught in the Drip Tray. Be sure to empty the Drip Tray. The Drip Tray has a snug fit to
ensure it stays put in transit.
• Clean Your Brewer Regularly – To keep your Brewer looking and performing its best, be
sure to clean the external and internal components on a regular basis. See page 10 for
• De-Scaling – Mineral content in water varies from place to place. Depending on the
mineral content of the water in your area, calcium deposits or scale may build up in your
the Brewer that come in contact with water.
• Storing – When storing your Brewer, carefully empty the Drip tray and water reservoir.
Store your Brewer upright in a safe, dry, frost-free environment.
10
Cleaning the K-Cup® pack Holder
1. Cleaning the Parts – The K-Cup® pack Holder Assembly can be placed onto the
top shelf of a dishwasher. NOTE: Use low temperature cycles in the dishwasher.
CAUTION: There are sharp needles that puncture the
K-Cup® pack above the K-Cup® pack Holder and in the
injury, do not put your fingers in the K-Cup® pack
Assembly Housing.
Cleaning and Emptying the Reservoir
Storage
Empty the reservoir before storing and take care to ensure that you store your
Brewer in a safe and frost free environment. It is suggested to store your Brewer
the K-Cup® pack Holder. Should a clog arise due to coffee grinds, it can be
cleaned using a clean household tool. Remove K-Cup® pack Holder and detach
Funnel. Insert the household tool into the Needle to loosen the clog and push it
out. The K-Cup® pack Holder is dishwasher safe.
Discard the remaining water by removing the reservoir lid and turning reservoir
upside down over the sink. It is recommended to empty the water reservoir
between uses and use fresh water for each brew. Do not immerse appliance in
water.
11

De-Scaling Your Brewer
content of the water, calcium deposits or scale may build up in your Brewer. Scale
Brewer that come in contact with water.
performance or when there are white deposits in the reservoir. It is possible for
damp lint-free cloth and running three rinse brews without a K-Cup® pack.
If your Brewer has been in an environment below freezing, please be sure to let
it warm to room temperature for 2 hours before using.
To de-scale the Brewer:
Step 1: Make sure you have at least 8 ounces of undiluted white vinegar on hand.
You will also need a 10 oz ceramic mug (do not use a paper cup) and access to a
sink.
Step 2: Fill reservoir with 8 ounces of undiluted white vinegar, place a ceramic
mug on the Drip Tray Plate.
Step 3: Close the brew head and perform a brew into the ceramic mug without
adding a K-Cup® pack.
then allow it to sit for at least 30 minutes.
K-Cup® pack. Empty the contents of the ceramic mug into the sink, be careful as
contents may be hot.
place a cup on the Drip Tray Plate and perform a brew.
place) to clean the Brewer plumbing and get rid of any residual taste from the
vinegar. The Brewer is now ready for normal use again.
12

TROUBLESHOOTING YOUR SINGLE SERVER BREWER
Beyond these recommended cleaning and maintenance procedures this Brewer
guide.
PROBLEM CAUSE SOLUTION
Brewing a partial cup
1) K-Cup® pack Holder may
be clogged
2) Water is not enough to
brew the selected size.
3) Calcium or scale is built up
in the brewer.
1) Clean K-Cup® pack Holder if
necessary and rinse under faucet
2) Make sure there is
enough water in the reservoir to
brew the selected serving size
3) De-scale the Brewer
1) The reservior is not empty
before removal.
Water in reservoir base 1) Remove the water reservoir,
Turn off the brewer with the
on/offbutton, press the on/off
button and keep it pressed for 3
seconds, the pump starts to drain
the water of the base.
2) Use a dry sponge to absorb the
water if any.
1) Ground coffee sticked on to
the Water Outlet gasket as a
result the sealing is not good.
Coffee drops around the
brewer hold when brewing
Pull off the gasket gently and
rinse the gasket with water, put it
back gently after rinse.
Temperature sensor does not
work properly.
The on/off button is flashing Call service line.
1) The brewing is stopped
manually.
2) The handle or brewer head
is lift while the button is
flashing
Water spitting from the outlet
of the brewer head.
1) Leave the brewer to escape
steam/residual water
completely, in 20 seconds from
the brewing process is
interrupted.
It is normal, depending on
K-cup from different brand.
lift while the button is flashing
K-cup is shrinked after
brewing
Check to be sure that it is
plugged in securely.
Brewer does not have power Plug into a different outlet.
No water in the reservoir.
The handle is lift.
Check to make sure there is
water in the reservoir
Close the handle, the 3
serving buttons will flash if the
handle is lift.
Brewer cannot brew
13

TECHNICAL DATA:
Right for improvements changes
are reserved in the interest
of technical progress.
or its distributors of this brewer.
Rated Voltage: 120V AC
Rated Frequency: 60Hz
Rated Power: 1,420W
N.W./G.W.: 3.1/3.5 kg appr.
Pump Pressure: Max. 3 Bars
Water Tank Capacity: 45 oz
14
LIMITED WARRANTY

LIMITATION AND EXCLUSIONS
15

Müeller USA
Table of contents
Other Mueller Coffee Maker manuals

Mueller
Mueller SmoothBrew CB-375 User manual

Mueller
Mueller FRENCH PRESS User manual

Mueller
Mueller Ultra Brew DC 750 User manual

Mueller
Mueller FRENCH PRESS MU-SSHYDPRESS User manual

Mueller
Mueller KC-21 User manual

Mueller
Mueller MLR010557N User manual

Mueller
Mueller DC-550 User manual

Mueller
Mueller Ultra Brew DC 750 User manual

Mueller
Mueller ULTRA BREW DC-760 User manual