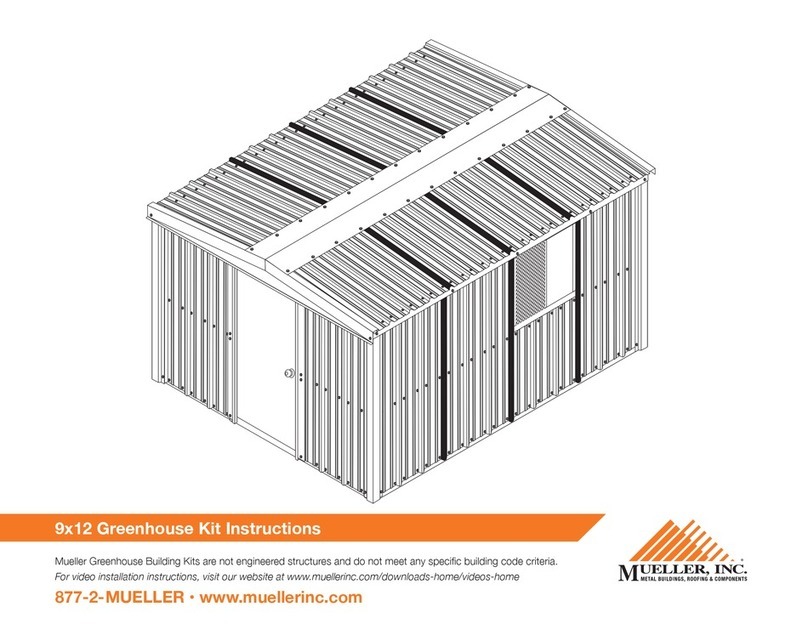
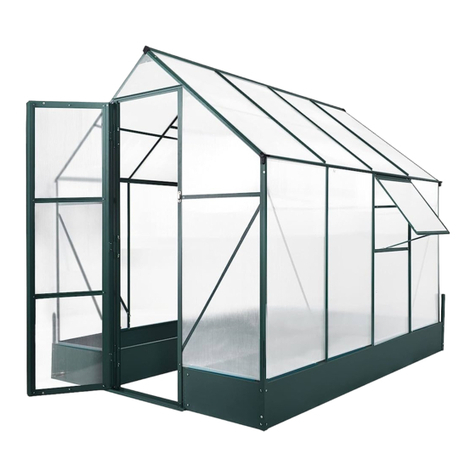
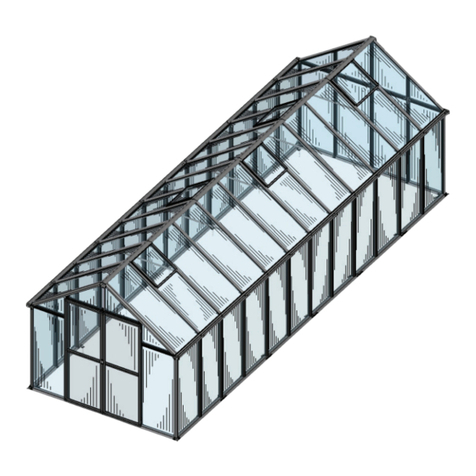
Mueller 6x9 Greenhouse Kit User manual

Mueller Greenhouse Building Kits are not engineered structures and do not meet any specic building code criteria.
For video installation instructions, visit our website at www.muellerinc.com/downloads-home/videos-home
877-2- MUELLER • www.muellerinc.com
6x9 Greenhouse Kit Instructions

Mueller, Inc.6x9Greenhouse Kit Instructions;For additional information, see the Greenhouse Installation Video 2
PARTS LIST
Refer to the parts list on the itemized invoice delivered with your building.
All parts are stenciled on the inside of the channel, purlin, girts and rafters. Example of this below:
Parts List
Due to continuing improvements, please refer to the parts list on the itemized invoice delivered with your building. All
parts are stenciled on the inside of the channel, purlin, girts and rafters. Example of this is below:
PG 2
MuellerInc‐6x9DIYBackYardKitInstructions;For additional information, see the D.I.Y Installation Video
PG 2
MuellerInc‐6x9DIYBackYardKitInstructions;For additional information, see the D.I.Y Installation VideoPG 2
MuellerInc‐6x9DIYBackYardKitInstructions;For additional information, see the D.I.Y Installation Video

Mueller, Inc.6x9Greenhouse Kit Instructions;For additional information, see the Greenhouse Installation Video 3
TYPES OF SCREWS
⅞"
Lap TEK
Screw Lap Strap
“on the bottom”
Skylight
Screw
Skylight
Screw
Skylight
Screw
Skylight
Screw
Skylight
Screw
Skylight
Screw
Skylight
Screw
12"12"12"
36"
1 ¼"
¾"
TEK Screw
For attaching sheet metal to purlin
Skylight Screw
“Large Head”
Lap TEK Screw
For attaching sheet metal to sheet metal
NOTE: Make sure to use TEK screws to attach sheets to purlins, lap TEK screws to attach sheets to sheets.

Mueller, Inc.6x9Greenhouse Kit Instructions;For additional information, see the Greenhouse Installation Video 4
NOTE: Leading and trailing edge of
channels are overbent for a tight
t. Spread apart as needed to
nest the purlin into the channel.
BASE LAYOUT (BC-1 AND BP-1)
Leveling and proper blocking is
critical for the base layout.
BC-1
(Base Channel)
BC-1
(Base Channel)
BP-1
(Base Purlin)
BP-1
(Base Purlin)
STEP 1
Insert BP-1 into BC-1
Triangles are for
door centering
STEP 2
Add MKB-1 (Galvanized MKB-2)
to top of BP-1 into BC-1
STEP 3

Mueller, Inc.6x9Greenhouse Kit Instructions;For additional information, see the Greenhouse Installation Video 5
MAKE SURE THE ASSEMBLY IS SQUARE
NOTE: Mueller recommends the building be placed on leveling
blocks (not included) to support the base channel
and purlins. Mueller also recommends the building be
anchored to the ground or foundation. The method of
anchor is at the owner’s discretion.
Make sure the assembly is
square. Assembly is square
when the corner to corner
measurements are equal.
6'4"
9'4"

Mueller, Inc.6x9Greenhouse Kit Instructions;For additional information, see the Greenhouse Installation Video 6
ERECTING COLUMNS (C-1)
Attach column to MKB-1 (Galvanized MKB-2) clip using 1/2"x1" Fin Head Bolts
HINT: Add clips to top of columns before standing up.
BP-1
BP-1
BC-1
BC-1
C-1
C-1
C-1
C-1
MC-1

Mueller, Inc.6x9Greenhouse Kit Instructions;For additional information, see the Greenhouse Installation Video 7
RAFTERS (R-1)
Bolts should remain loose until EC-1 is installed
R-1
R-1
Place one
bolt as
shown.

Mueller, Inc.6x9Greenhouse Kit Instructions;For additional information, see the Greenhouse Installation Video 8
EAVE CHANNEL (EC-1)
Tighten bolts after EC-1 is installed.
EC-1
EC-1

Mueller, Inc.6x9Greenhouse Kit Instructions;For additional information, see the Greenhouse Installation Video 9
MAKE SURE THE ASSEMBLY
IS SQUARE AND LEVEL
BP-1
BP-1
BC-1
BC-1
C-1
C-1
C-1
C-1
R-1
EC-1
EC-1
R-1
Make sure the assembly is square.
Assembly is square when the corner to
corner measurements are equal. Use
temporary bracing (not included) to
hold assembly square if required.

Mueller, Inc.6x9Greenhouse Kit Instructions;For additional information, see the Greenhouse Installation Video 10
R-1
EC-1
EC-1
R-1
RP-1
RP-1
ROOF PURLIN
Open side of RP-1 faces to center of building

Mueller, Inc.6x9Greenhouse Kit Instructions;For additional information, see the Greenhouse Installation Video 11
DOOR AND DOOR TRIM
Notch and bend
trim as shown
J Trim TEK
Screw
Door
Door Jamb
TOP VIEW

Mueller, Inc.6x9Greenhouse Kit Instructions;For additional information, see the Greenhouse Installation Video
TEK
Screws
12
ADDING MID-GIRTS
(MG-1, MG-2 AND MG-3)
To attach MG-3, use
TEK screws to go
through door trim,
door frame and girt.
NOTE: Bolt to inside of column leg
NOTE: Add MKB clips to MG-2 prior to connecting to the column.
MG-1
MG-1
MKB-1
Clip
MG-2
MG-2
MG-2
MG-3 MG-3
MG-3

Mueller, Inc.6x9Greenhouse Kit Instructions;For additional information, see the Greenhouse Installation Video
1"
Lap TEK Screw
Eave Trim
DripTrim Use
inside/outside
closures
behind drip
trim
1"
1"
13
ADD WINDOW
Start sheet 1" in from steel line. Sheet 1" above bottom of base channel
NOTE: Sheets below window
will need to be eld cut
for window assembly
from 3'8" panels.
Install one full sheet,
then partial sheet.
Insert window and ap
ush to sheet. Add drip
edge window trim when
installing eave trim.
See installation
instructions included
with the window
packaging.

Mueller, Inc.6x9Greenhouse Kit Instructions;For additional information, see the Greenhouse Installation Video 14
SHEETING SCREW PLACEMENT
WALL SHEETS
ROOF SHEETS
Lap TEK
Screw Lap Strap
“on the bottom”
Skylight
Screw
Skylight
Screw
Skylight
Screw
Skylight
Screw
Skylight
Screw
Skylight
Screw
Skylight
Screw
12"12"12"
36"
Lap TEK
Screw Lap Strap
“on the bottom”
Skylight
Screw
Skylight
Screw
Skylight
Screw
Skylight
Screw
Skylight
Screw
Skylight
Screw
Skylight
Screw
12"12"12"
36"
NOTE: Make sure to use TEK screws to attach sheets to purlins, lap TEK screws to attach sheets to sheets.

Mueller, Inc.6x9Greenhouse Kit Instructions;For additional information, see the Greenhouse Installation Video
1"
15
SHEETING SIDEWALL WITHOUT DOOR
Inside closure goes on the bottom and outside closure goes on top.
Endwall
Sidewall
NOTE: Start sheets 1" in from corner channel and start sheet 1" above the bottom of the base channel
TOP VIEW

Mueller, Inc.6x9Greenhouse Kit Instructions;For additional information, see the Greenhouse Installation Video
1"
16
SHEETING SIDEWALL WITHOUT DOOR
Inside closure goes on the bottom and outside closure goes on top.
Endwall
Sidewall
NOTE: Start sheets 1" in from corner channel and start sheet 1" above the bottom of the base purlin
TOP VIEW

Mueller, Inc.6x9Greenhouse Kit Instructions;For additional information, see the Greenhouse Installation Video
1"
1"
17
SHEETING
NOTE: Make sure the
frame is plumb and
level, and tighten
all bolts prior to
sheeting. Repeat
for each wall.
NOTE: For side with door,
start sheets ush
with J-trim on both
sides of the door.
Door Jamb
Panel
Door
J-Trim
TEK
Screw
TOP VIEW

Mueller, Inc.6x9Greenhouse Kit Instructions;For additional information, see the Greenhouse Installation Video 18
CORNER TRIM

Mueller, Inc.6x9Greenhouse Kit Instructions;For additional information, see the Greenhouse Installation Video 19
BACK SIDE WALL
Roof to wall sheet alignment
Align major ribs from wall to
major rib on roof
Lap TEK
Screw Lap Strap
“on the bottom”
Skylight
Screw
Skylight
Screw
Skylight
Screw
Skylight
Screw
Skylight
Screw
Skylight
Screw
Skylight
Screw
12"12"12"
36"
NOTE: Make sure
panels remain
square during
installation.

Mueller, Inc.6x9Greenhouse Kit Instructions;For additional information, see the Greenhouse Installation Video
2.5"
20
SHEETING THE ROOF
Align roof sheets with wall sheets
CAUTION: Use scaffold boards
(not included) when installing
roof panel sheets/trim
Wall Sheet
Door
Door
NOTE: Use TEK screws at
the purlins
Use Lap TEK screws
every 20" vertically
SIDE VIEW
SIDE VIEW
TOP VIEW
Lap TEK
Screw Lap Strap
“on the bottom”
Skylight
Screw
Skylight
Screw
Skylight
Screw
Skylight
Screw
Skylight
Screw
Skylight
Screw
Skylight
Screw
12"12"12"
36"
Inside
Closure
Eave
Trim
Table of contents
Other Mueller Greenhouse Kit manuals