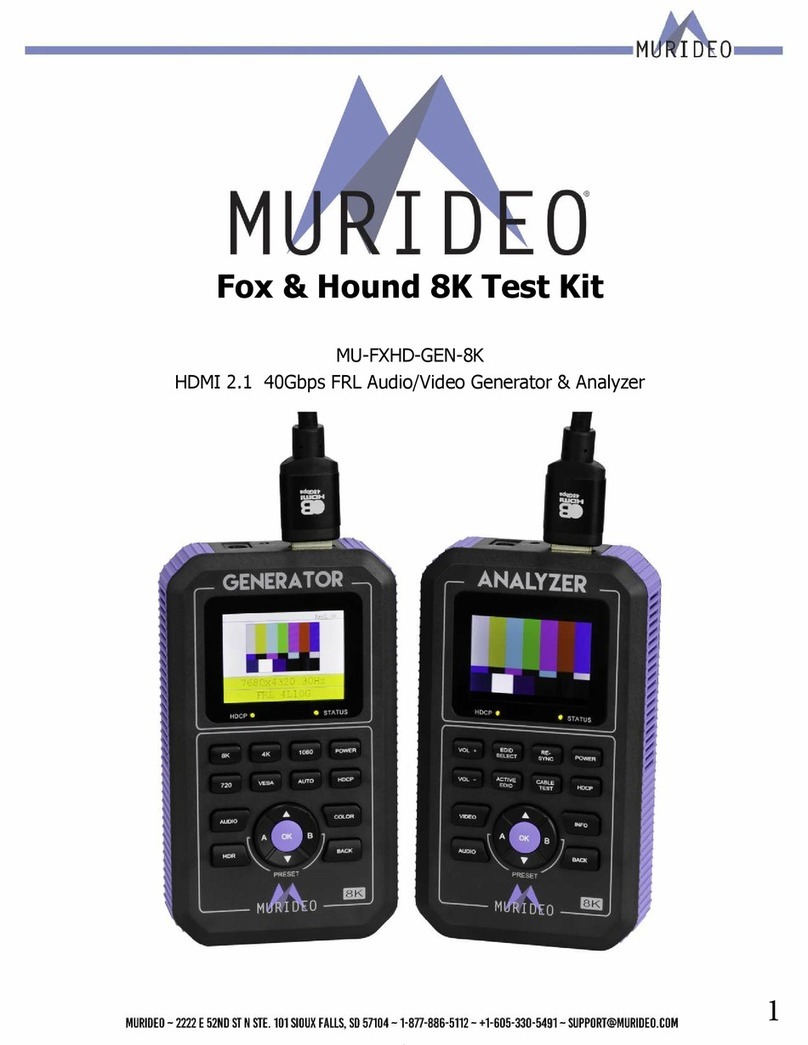
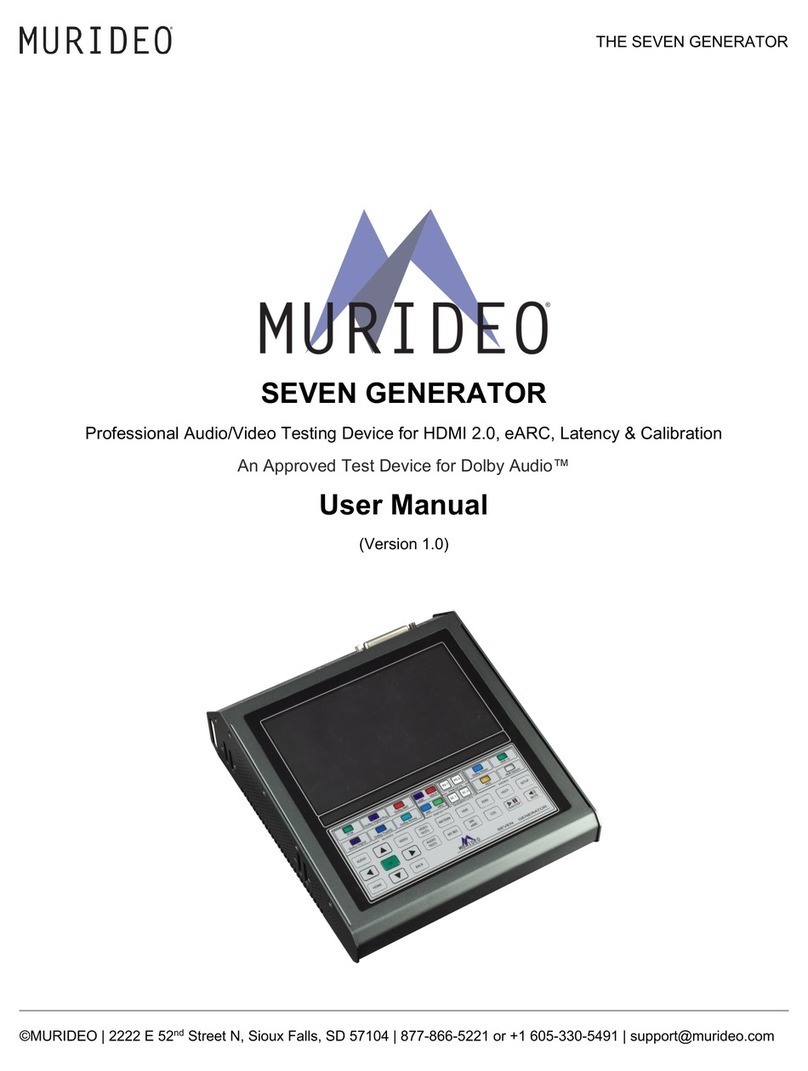
Murideo Fresco SIX-G User manual

Page 1 of 45
Call the AVPro Team at –North America 877-886-5112 International +1-605-27 -6055
Murideo
Fresco SIX-G
HDMI 2.0 Test Pattern Generator
HDCP 2.2 Tester
User s Manual
Version 1.00

Page 2 of 45
Call the AVPro Team at –North America 877-886-5112 International +1-605-27 -6055
Important Safety Information
• Follow all instructions
• Use only a dry cloth to clean
• Use caution not to block side vents on unit
• Indoor use only: To reduce the risk of electric shock, do not use near water or expose to
rain or moisture. Keep away from excess moisture
• Do not use near heat sources such as room heaters, hot A/V equipment
• Read all warnings
• Use only accessories provided by Murideo
• Unplug the device during lightning storms or when unused for long periods of time
• Keep away from open flames
• Protect all connected cords including power cords from being pinched, compressed, and
stepped on
• Do not open the case. All servicing should be done only by qualified and approved service
personnel and will void the warranty.
• Electrical Input Rating: Power over 5V/DC 700mA. Caution: Use only the supplied AC/DC
Adapter
• Operating temperature range: e.g. 0 to 0C.
• For charging use the provided 5V/ DC 3A supply only
• To disconnect power sources, remove the AC/DC adapters from the wall outlets.
Attention:
1. In order to protect your SIX-G and complete system under test from possible damages,
please don't turn on the SIX-G power switch before generator Output is attached to
tested device (repeater, video processor or display) input.
Please make sure that system under test is completely powered off before you insert or
extract HDMI cable to any of involved devices.
2. Please insert and extract HDMI cables from your SIX-G gently and with high level of care.
3. During Hot-Plug between HDMI connector and receptacle (when tested device is On) ESD
discharge can occur due to the potential differences (possible ground -loop) between
powered equipments. These potential differences can be on extremely high level.
Our Fresco SIX-G HDMI output is protected against ESD discharge till 7KV on all active
HDMI lines, but in case if massive discharge will be over that value, will cause serious
damage to SIX-G internal circuitry and can make SIX-G HDMI output completely
inoperable. We have sophisticated methods to measure directly on High voltage
protection chips evidences of such unwanted ESD event, but unfortunately, that will
automatically void SIX-G warranty. In your own interest please pay full attention and
prevent your workplace from occurrence of ESD by trying to create Static-safe working
environment.

Page 3 of 45
Call the AVPro Team at –North America 877-886-5112 International +1-605-27 -6055
Table of Contents
Page Overview
Page -5 Key Features
Page 5 What's in the Box
Page 6 Functionality Diagram
Page 7-9 Connecting Muridio SIX-G
•Manual Operation
•Operation with Spectracal CalMAN 5
•Operation with included PC Software
Page 10 Manual Operation& System Testing
Page 11 Six-G Input & Output Connections
Page 11-13 Buttons & Indicator Functions
Page 13-16 Navigation Basics
Page 16-23 PC Software
•Connection
•Format Selection
•Timing Calculator
•Pattern Selection
•Settings
•EDID Management
•RGB Triplets
Page 2 -30 Test Pattern Usage
•White PLUGE
•Black PLUGE
•Color & Tint
•ISF Color Girls
•Sharpness & Geometry
•Color Temp
•Chroma Multiburst
Page 31-37 Troubleshooting with the SIX-G
Page 38 Specifications
Page 39 List of Supported Resolutions
Page 0 API
Page 0- 1 FCC Compliance
Page 2- 5 Warranty

Page 4 of 45
Call the AVPro Team at –North America 877-886-5112 International +1-605-27 -6055
Overview
Thanks for purchasing the Murideo SIX-G – an ISF Pro Tool!
The Murideo SIX-G is intended for the AV integration market to confirm HDMI 2.0(a) and HDCP
2.2 operation at the 18 GBPS level. Additionally, the SIX-G is an excellent troubleshooting tool for
distributed HDMI systems and a reference source for video calibration. SIX-G beside many other
sophisticated features is also compatible and certified by SpectraCals, CalMAN.
One of the biggest challenges for integrators today is determining what infrastructure to put in
the systems they design and further verifying, that all of the components will work together. Over
the past few years UHD TVs have been a mix of HDCP 2.2 and 1. , 300MHz and 600Mcsc – even
to the point of varying by port.
The SIX-G takes the guess work out of troubleshooting, and provides absolute information about
HDMI components that will work and IDs ones that won’t work – all in a hand-held, ruggedized,
portable field tool.
The SIX-G is designed to be extremely accessible, shipping with free control software, plus front
panel controls that allow access to 99% of the features.
The SIX-G is the only unit to carry the complete suite of ISF test patterns, select-able color output
level, RGB Triplets and Constant APL (Average Picture Level) all in one place, making it a
calibrators dream.
Note: The SIX-G ships with a protective cover on the screen that you may remove, although this is
not required for operation.
Key Features:
•HDMI 2.0(a) Support. 600 Mcsc - 2160P @60 : : Maximum Resolution
•HDR (High Dynamic Range) Support
•HDCP Pass/Fail - HDCP 2.2, 1. or None Indicator Light >Some of the K UHDs on the
market today support HDCP 2.2 - The SIX-G will tell you what the TV will and won’t
support.
•Hot Plug Detect Indicator Light > On the fly indicator for troubleshooting issues especially
when switching, splitting and extending HDMI
•CalMAN Supported > Advanced features available to CalMAN like APL, ISF Test Patterns
and more. No driver required & Simple setup.
•EDID Read and Save functionality >did you know most K TVs still have 2K preferred
timings? Know what your TV is telling you.

Page 5 of 45
Call the AVPro Team at –North America 877-886-5112 International +1-605-27 -6055
•8 Bit per pixel color depth > Todays TVs are still 2 bits per pixel, but the new Blu-Ray
may be 30, so lots of headroom is available.
•USB Control and WebOS Support
•Portable - Battery Operated > Rechargeable batteries included make field troubleshooting
much easier.
•Optimized Ergonomics – 3” LCD display and simple menu system makes SIX-G very user
friendly.
•ISF Certified and includes ISF Test Patterns >Specialty Black, White, Multi-burst, and more.
People patterns for checking flesh tones and color decoding after calibration.
•Plenty of specialty patterns > Everything you need to setup, calibrate, and troubleshoot
HDMI/DVI video systems
•Includes audio confidence test tones > to make sure audio is active on the HDMI line
What s in the Box
• SIX-G Generator
• 5 V DC/AC Power Supply / Charger (110-2 0 VAC) with set of International plugs (US, UK,
AU, EU).
• Rechargeable Battery Pack (installed)
• Hard Case
• 3’ Micro USB to USB cable
• 1’ 3.5mm to DB9 (F) serial cable adapter
Please read the entire manual before turning on your new Murideo Six-G for helpful tips on
charging and battery life extension.

Page 6 of 45
Call the AVPro Team at –North America 877-886-5112 International +1-605-27 -6055
Front Panel Functional Description
Rear Connector Panel

Page 7 of 45
Call the AVPro Team at –North America 877-886-5112 International +1-605-27 -6055
Connecting the MURIDEO SIX-G
The SIX-G generator can be operated manually, PC interfaced with Spectracal’s CalMan version
5.6 or greater (in automated mode), or the supplied application software.
Manual Operation Connection
1. Connect the AC power adapter to the generator and plug it into AC power or power the
generator using the internal battery.
2. Connect the HDMI cable between the generator and the unit under test.
3. You are now ready to power up the generator and unit under test and proceed with your
performance verification.
a. The display will show the last pattern and resolution used. The HPD light will be
ON and the HDCP light will be ON if HDCP is enabled.
. To change the output resolution - Push the OK button to recall the TIMING RES menu or
push the YELLOW hot key to bring up a list of commonly used timings. Use the UP/DOWN
keys to step to the timing you want and then push the OK button.

Page 8 of 45
Call the AVPro Team at –North America 877-886-5112 International +1-605-27 -6055
5. To change the test pattern use the UP/DOWN keys to step to the desired test pattern. The
test pattern is shown on the front panel display.
6. The Purple hot key will take you to the HDCP Setting menu. Use the UP/DOWN keys to
step to the desired HDCP mode and the OK key to make the selection
Spectracal s CalMan 5 Connections:
You will need a SIX-G, a PC with a licensed copy of CalMan installed, a light measurement meter,
and cables. (Contact AVPro if you need a current License or details when other calibration
software will be SIX–G supported.)
1. Connect the supplied AC power adapter to the SIX-G. Due to the time required it is
recommended to use the AC power adapter during the calibration procedure.
2. Connect the Control port of the SIX-G and the light meter to the PC USB ports.
3. Connect the SIX-G output to the monitor using an HDMI cable.

Page 9 of 45
Call the AVPro Team at –North America 877-886-5112 International +1-605-27 -6055
PC w/included Software Application Connections:
You will need a SIX-G, a PC with the application installed, supplied HDMI cable, supplied RS-232
cable, and supplied AC power adapter.
1. Connect the SIX-G to it AC power adapter.
2. Connect the SIX-G to the PC using the supplied USB cable or alternatively supplied RS-232
cable terminated with DB 9 female receptacle (in case if your host PC does have physical
Serial COM Port).
3. Connect the SIX-G output to the unit under test using an HDMI cable.
Manual Operation & System Testing
Manual operation is well suited for testing video distribution system components prior to installation or
for step-by-step diagnostics and to isolate faulty component within an installed system.
Typical manual operation steps:
1. Connect the SIX-G generator to the unit under test using an HDMI cable.

Page 10 of 45
Call the AVPro Team at –North America 877-886-5112 International +1-605-27 -6055
2. Power ON the SIX-G generator using the internal battery or the supplied AC power adapter.
3. Power ON the unit under test.
. Use the navigation keys of the SIX-G to select the resolution, pattern and HDMI setting desired for
testing.
5. The unit under test will display the selected test pattern if it is compatible with the test signal
timing and signal parameters.
6. If the test pattern is not displayed check the following: HDP front panel light is ON, check that the
HDCP SETTINGS mode is compatible with the unit under test, verify the input you are using is
compatible with the test signal format – Note that NOT all HDMI inputs on monitors are the same,
verify the sink EDID by going to the SINK EDID INFO menu on the SIX-G.
If you are testing or servicing a system you can connect the SIX-G to any HDMI input connection along the
signal path. You can work step by step from the Sink back to the Source or from the Source to the Sink.
Creating test system with multiple SIX-G and allowing 3rd party system integration.
For purpose setting up large test system with multiple SIX-G, we provided Serial port via 3.5 mm, 3 pin
receptacle and in supplied Control software, mechanism for Serial identification for each connected SIX-G
device.
We also added in accessories proprietary serial cable, terminated on one side with DB9 (9 pin connector
and on the other side with 3.5mm (aka: Mini Stereo Jack) with 3 contacts.
Serial Connection diagram:

Page 11 of 45
Call the AVPro Team at –North America 877-886-5112 International +1-605-27 -6055
Six-G Input & Output connections:
1. Power in: 5VDC @ 3A adapter
2. Batteries Included - Unit runs off internal batteries and is recharged via supplied power
adapter. You can also leave the power source connected during use.
3. Charging Indicator – on unit rear opanel:
a. Red – Unit is charging
b. Red LED off – Unit is charged
c. Front button – OK then Left Arrow – shows charge level bars.
. Control – connect USB micro cable from Control Port to PC for use of SIX-G PC Software or
for use with CalMAN or other 3rd party software.
5. RS232 – Use to connect the supplied 3.5mm to 9-pin serial adapter to a PC or 3rd party
controller for RS232 operations – not normally used for standalone operation.
6.
7. L/R In – 3.5mm Source audio input stereo L/R – Not normally used for standalone
operation.
8. HDMI Out – For connecting to an HDMI input on a display, projector or AVR. Can also be
connected to any sink or repeater for troubleshooting distributed systems – baluns,
matrixes, distribution amps, etc.
Buttons & Indicators (page 6 for picture).
1. 3” LCD Display:
a. Firmware Revision – top right-hand corner (Rev1.00 in example)
b. Active Pattern – shows the pattern that is currently selected.
c. Active Resolution and Frame Rate
2. Hot Plug Detect (HPD) – is green when hot plug is detected. The HPD (Hot-Plug-Detect)
feature is a communication mechanism between a source and a sink device that makes
the source device aware that it has been connected/disconnected to/from the sink
device. When an HDMI cable is inserted between the two devices, the resulting hot-plug
detection instantiates a start-up communication sequence. The EDID information stored
in the sink device gets read by the source device though the DDC bus, when EDID data
exchange is correct HPD LED will lit continually, in case of EDID malfunction HPD LED will
blink.
3. HDCP Locked – Indicates if HDCP is detected. Green when detected. You must first select
either 1. or 2.2 HDCP in the menu. Light will turn green when any version of HDCP is
detected. HDCP stands for High-Bandwidth Digital Content Protection, a copy protection
scheme to eliminate the possibility of intercepting digital data midstream between the
source & display. The format designed by Intel and licensed by Digital Content Protection,
LLC using an authentication and key exchange procedure before video and audio is
presented. Products compatible with the HDCP scheme such as DVD players, satellite and
cable HDTV set-top-boxes, as well as few entertainment PCs requires a secure connection
to a compliant display, the process often described as the handshake. Due to the increase

Page 12 of 45
Call the AVPro Team at –North America 877-886-5112 International +1-605-27 -6055
in manufacturers employing HDCP in their equipment, it is highly recommended that any
HDTV you purchase is compatible. Current versions of HDCP are 1. and 2.2. The Murideo
SIX-G handles both.
. Format Quick Select (Res Quick Select on photo) – This button is used to quickly change
between 8 common video resolutions and frame rates.
5. HDCP – Used to Select HDCP 1. , HDCP 2.2 or None (no HDCP).
6. Power – Hold down for a few seconds to power on or power off the unit.
7. OK Button – Press to enter the menu and then use left and right arrows to navigate
through the menu pages and up and down arrows to select specific items in menu.
Pressing OK again selects the menu item.
8. Up/Down Arrows – during normal operation use up and down arrows to navigate through
test patterns.
9. Exit Menu – Use to go back or exit menus.
Button Labels Indicators
Menu System – When the SIX-G initially boots up you will see a splash screen followed by the last
pattern used and the resolution and timing plus firmware information.

Page 13 of 45
Call the AVPro Team at –North America 877-886-5112 International +1-605-27 -6055
Menu Timeout – The on screen menu will exit after 20 seconds. After 1 minute of device
inactivity display goes black to conserve battery charge – pressing any button will wake it up
immediately.
Unit Sleep/Shutdown – The unit will completely shut down after 10 minutes of no activity. This is
to conserve battery charge and to avoid overheating if you put it back in the case without
powering down.
Navigation – To navigate the SIX-G menu system start by pressing the button. From there use
the left and right arrows to navigate through the various menu pages. Use the up and down
arrows to navigate selected pages and again to select. Use the button to return to test
pattern selections.
Menu Pages– for the purpose keeping with the order below once in the menu use the right arrow
to navigate.
1. Timing Resolution – Select from 2 preset resolutions and timings from 6 0x 80 60 Hz to
38 0x2160 60 Hz. Also includes 3D patterns. You can also select AUTO – this will cause the
generator to output the preferred timing from the displays EDID. Additionally, there are
10 placeholders for user-defined patterns. A list of all patterns is included on page 1 of
this manual.
2. Color Space – Select Color Space for the particular display under test. Selections include:

Page 14 of 45
Call the AVPro Team at –North America 877-886-5112 International +1-605-27 -6055
a. RGB (0-255) – RGB Full is generally reserved for PC monitors since PCs use full
range RGB.
b. RGB (16-235) – RGB Limited - HDTV SMPTE Range – Movies are viewed and
produced within this range. This allows you to set absolute black at 16 and white
at 235.
c. YC (16-235)- YCbCr : : - full horizontal & vertical resolution – no chroma-
subsampling is used.
d. YC 22 (16-235) – YCbCr :2:2 – ½ horizontal resolution, full vertical resolution.
e. Human Eye is less sensitive on color data compared to luminance; color data for
that reason is ½ horizontal and vertical resolution. Generally YC :2:2 is the setting
for most consumer electronics sources like Blu-ray players and cable and satellite
set top boxes. HDMI specifics is related to new feature of HDMI 2.0 where
resolution of K/60 fps is standardized with color space YUV :2:0.
f. AUTO – This will put the generator in the color space setting based on the displays
EDID.
3. Deep Color Depth – Video Bit Depth – allows selection of bit depth between 8 and 16 bits
per pixel – 8-bit, 10-bit, 12-bit, and 16-bit plus AUTO. AUTO will use the bit depth based
on the displays EDID.
Note: Resolution, Color Space and Bit Depth are interrelated and effect bandwidth. Here are the
new (for 2015) HDMI 2.0 timings (bold):
Source: HDMI.org

Page 15 of 45
Call the AVPro Team at –North America 877-886-5112 International +1-605-27 -6055
Now – let’s look at a bandwidth calculator for some common timings and familiar content:
All calculations above are RGB or YCbCr : : 8-bit (2 -bit column above – 8 bit per RGB pixel =
2 -Bit). What you can see is that at K 60 Hz 096x2160 @ 60 frames per second (FPS) and 8-bit
we max out at 17.5 GBP/sec which is the top of the HDMI 2.0 specification (18 GBP/sec) - this is
the uncompressed figure. In the example above we also show data rates using MPEG
compression – this is what allows us to have high bandwidth content delivered to us through the
various media in our homes and businesses without visual artifacts.
That being said – certain timings, bit depths and color space combinations cannot be selected as
they exceed the maximum bandwidth requirement for HDMI 2.0 of 18 GBP/sec. The SIX-G will
not allow you to select an invalid combination of values.
. HDCP Setting – This screen allows you to select (turn on) HDCP 1. , HDCP 2.2 or NO HDCP.
This feature is useful for troubleshooting. HDCP settings. The ability to choose HDCP 1. ,
HDCP 2.2 and HDCP OFF. Even though you have an HDCP 2.2 compatible source,
sometimes displays and HDMI distribution equipment claim implementation but only
provide actual support on one or some of the inputs or even without supporting
18GBP/sec (2160P60 : : 8-bit). The only way to verify what is happening is to use the
SIX-G. EXAMPLE: We have discovered some displays will accept HDCP 2.2 but only in
K30, K60 is only accepted in HDCP OFF for PC signals.
5. HDMI/DVI Setting – Select DVI or HDMI or AUTO. AUTO reads the EDID for this setting.
6. Audio Sampling – Allows audio sampling rates between 32K and 192K. AUTO may also be
selected in which case the sampling rate listed in the EDID preferred rate will be used.
7. Audio Sampling Size – 16-bit, 20-bit and 2 -bit selections are available as is AUTO (EDID).
8. Audio Source:
a. INT – Internal 1K Test Tone – for confidence testing – does the audio pass through
the distribution system? (HDMI, HDBaseT HDIP, etc.) With 32 combinations of
speaker configuration you can test connectivity for every speaker in the system.

Page 16 of 45
Call the AVPro Team at –North America 877-886-5112 International +1-605-27 -6055
b. External – via 3.5mm stereo jack in top of unit. This can be used to generate test
signals such as sinewaves at various frequencies, pink noise, white noise, etc. for
system testing.
9. Audio Channels – Allows you to select 32 speaker configurations from 2.0 to
7.1.Regardless of your configuration you will likely be able to use one of our 32
combinations to address all of you speakers and Subs. Currently SIX-G supports 8
channels of audio embedded into HDMI with highest resolution of 192 KHz / 2 bit.
10. Audio Volume – Use to control internal sinewave generator volume level.
Note: We use Studio Six tools from an IOS device (IPhone) to get pink & white noise and sinewave
and square wave signals into the HDMI stream for testing.
11. RGB Triplet – Use this menu with the window pattern to create any window size color
swatch for advanced measurement. Additionally, you can set the background color using
the same method. You have the possibility of creating over 16K colors. To use press OK
and then up or down arrow to change – press OK again to make the change. RGB triplets
and APL (background color or average picture level (API) - In video systems, the average
level of the picture signal during active scanning time integrated over a frame period;
defined as a percentage of the range between blanking and reference white level.
CalMAN and other calibration software call on specific triplets for more precise calibration
and in the creation of LUTs (lookup tables).
12. Standby Setting – Standby Off and Standby On – Allows you to select when SIX-G going
into sleep mode – generally, with no activity (HPD) the unit will shut down after 10
minutes to conserve power.
13. Save EDID – On the unit this feature allows you to save up to 6 EDIDs in the field from any
sink (TV/AVR) device. The PC Interface software allows you to do more in depth EDID
functions like moving the EDID you captured in the field to another device or to save the
EDID on the PC for sending to a manufacturer.
1 . Sink EDID Info – Gives you basic EDID data including preferred timing on the connected
display. PC Interface gives you complete EDID data.
15. Battery Status – provides a bar graph of battery charge level.

Page 17 of 45
Call the AVPro Team at –North America 877-886-5112 International +1-605-27 -6055
PC Software included:
PC Interface – This is a program that ships with the Murideo SIX-G free and lets you control the
unit from your PC (Mac – use Parallels, Bootcamp or other PC emulator).
Connection – Connect from your PC USB port to the SIX-Gs USB Micro port with the supplied
cable. No driver installation is required. USB is serial under the hood and the SIX-G will show up
as a COM port in Device Manager.
Run–The program by double-clicking on this icon. The program
will either be on a USB stick that comes with the unit or can be downloaded from the
Murideo.com website.
Opening Screen:
Status Panel
Opening Screen
Use:
1. To connect click on SEARCH DEVICE – this will find the COM port & change the COM Port
light to RED as seen above. The status panel is viewable from all pages.
2. Timing – Click on the Timing you want the generator to output.

Page 18 of 45
Call the AVPro Team at –North America 877-886-5112 International +1-605-27 -6055
3. Timing Details – This will give you detailed information about the signal you are
generating. You can also use this page to define new user defined timings.
Timing Details Screen

Page 19 of 45
Call the AVPro Team at –North America 877-886-5112 International +1-605-27 -6055
. You can also set some USER DEFINED FORMATS
Procedure of creating User Defined Timing
Task of creating non-standard video resolutions / timings (mostly related to VESA domain) is very
simple with SIX-G.
Please follow above 3 steps listed on illustration and you can generate wide variety of
Specific video resolutions practically for any resolution till VESA 1920 x 1200 (WUXGA).

Page 20 of 45
Call the AVPro Team at –North America 877-886-5112 International +1-605-27 -6055
5. Patterns – select the pattern you need here.
Pattern Selection Screen
Other manuals for Fresco SIX-G
1
Table of contents
Other Murideo Test Equipment manuals