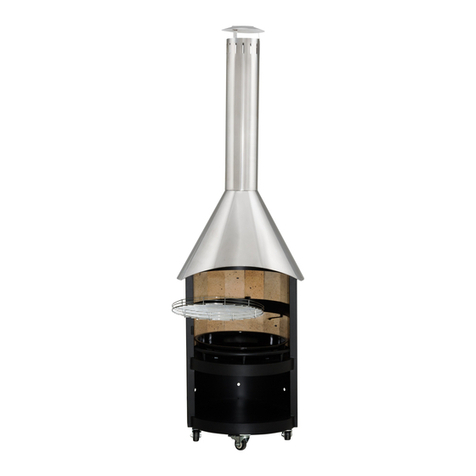
Too thin of a mortar layer at this place (1) can cause the table to crack (B). When assembling the “housing + re-clay plates” hearth
(C), only stick the housing to the table plate (B) and rmly insert the re-proof plates without any mortar. More attention should be
paid to the hearth type (D). First of all, in order to stick all three parts (2 sided plates and back plate) together, use a high-temperature
resistant binder. For that purpose, the best is re-clay mortar or re-proof silicone. Before smearing the plates with joiner, it is
worth locating their proper placement (parallel to the base A). Subsequently, smear the contacting surfaces with the binder, insert
a barbecue grid and tie all these assembled items with string or adhesive tape to protect them against drawing aside, which should
be removed after the setting is nished.
e last stage is the mounting of the chimney hood (E) by sticking it to the upper side of the hearth. If there is a possibility of strong
winds, stick the roof (F) to the chimney hood, using the same binder.
4. FINISHING
In order to achieve better aesthetics and to secure the grill from the frost eect, the places of binding should be accurately fullled
with a binder by means of a joiner-tool. You may use for this purpose the same binder that you used for assembling. e most impor-
tant action after nishing this is the protection of the decorative plaster that will be exposed to many unfavourable weather factors
(rain, frost etc.). For this purpose, you need approx. 1-2 litres of facade emulsion paint of any colour. Before painting, you should
undercoat the decorative plaster carefully with a primer. is protects the barbecue from absorbing large amounts of water, which
unfavourably aects the use of the barbeque (chimney hood cracking).
After nishing the activities related to mounting and painting, the barbeque should be left for a 24 hour period (without use) for the
drying and setting of the mortar that joins the individual elements.
5. USE
It is recommended that you use charcoal or briquettes in the barbecue. When using wood, please be careful not to use too much wood
at a time as this may damage the barbecue (excessive dirtiness, soot, and tar layers inside the chimney hood and its eventual breaka-
ge). You should remember that the barbecue, like many other replaces, needs time for “breaking in”. erefore, you should light the
smallest possible re at the beginning of its use in order to allow the barbecue’s hearth to harden.
Lighting the barbecue to quickly or poor weather conditions (lighting of the barbecue after a recent rain or low temperatures) can
cause micro-cracking and scratches in its hearth part. e arisen micro-cracking and scratches does not aect barbecue use and can-
not be considered as damage of the product or reason for a claim.
ere is a possibility of colour changes and calcareous eorescence on concrete products that technically cannot be avoided. ere is
a possibility of rust on a barbecue that is nished with natural phyllite or sericite slate. ese runs can be easily removed by means
of a wire brush.
Do not use the barbecue in closed rooms.
Do not mount the barbecue on non-hardened unsteady ground.
Do not use alcohol, gasoline, or similar liquids and synthetic materials with poisonous chemicals for lighting the barbecue (e.g. plas-
tics, rubber).
6. NOTES
During transportation and carrying of the barbecue parts, they should be placed in the same position as during assembling.
e barbecue producer is not responsible for wrong assembly, nishing, or non-compliance concerning use.


