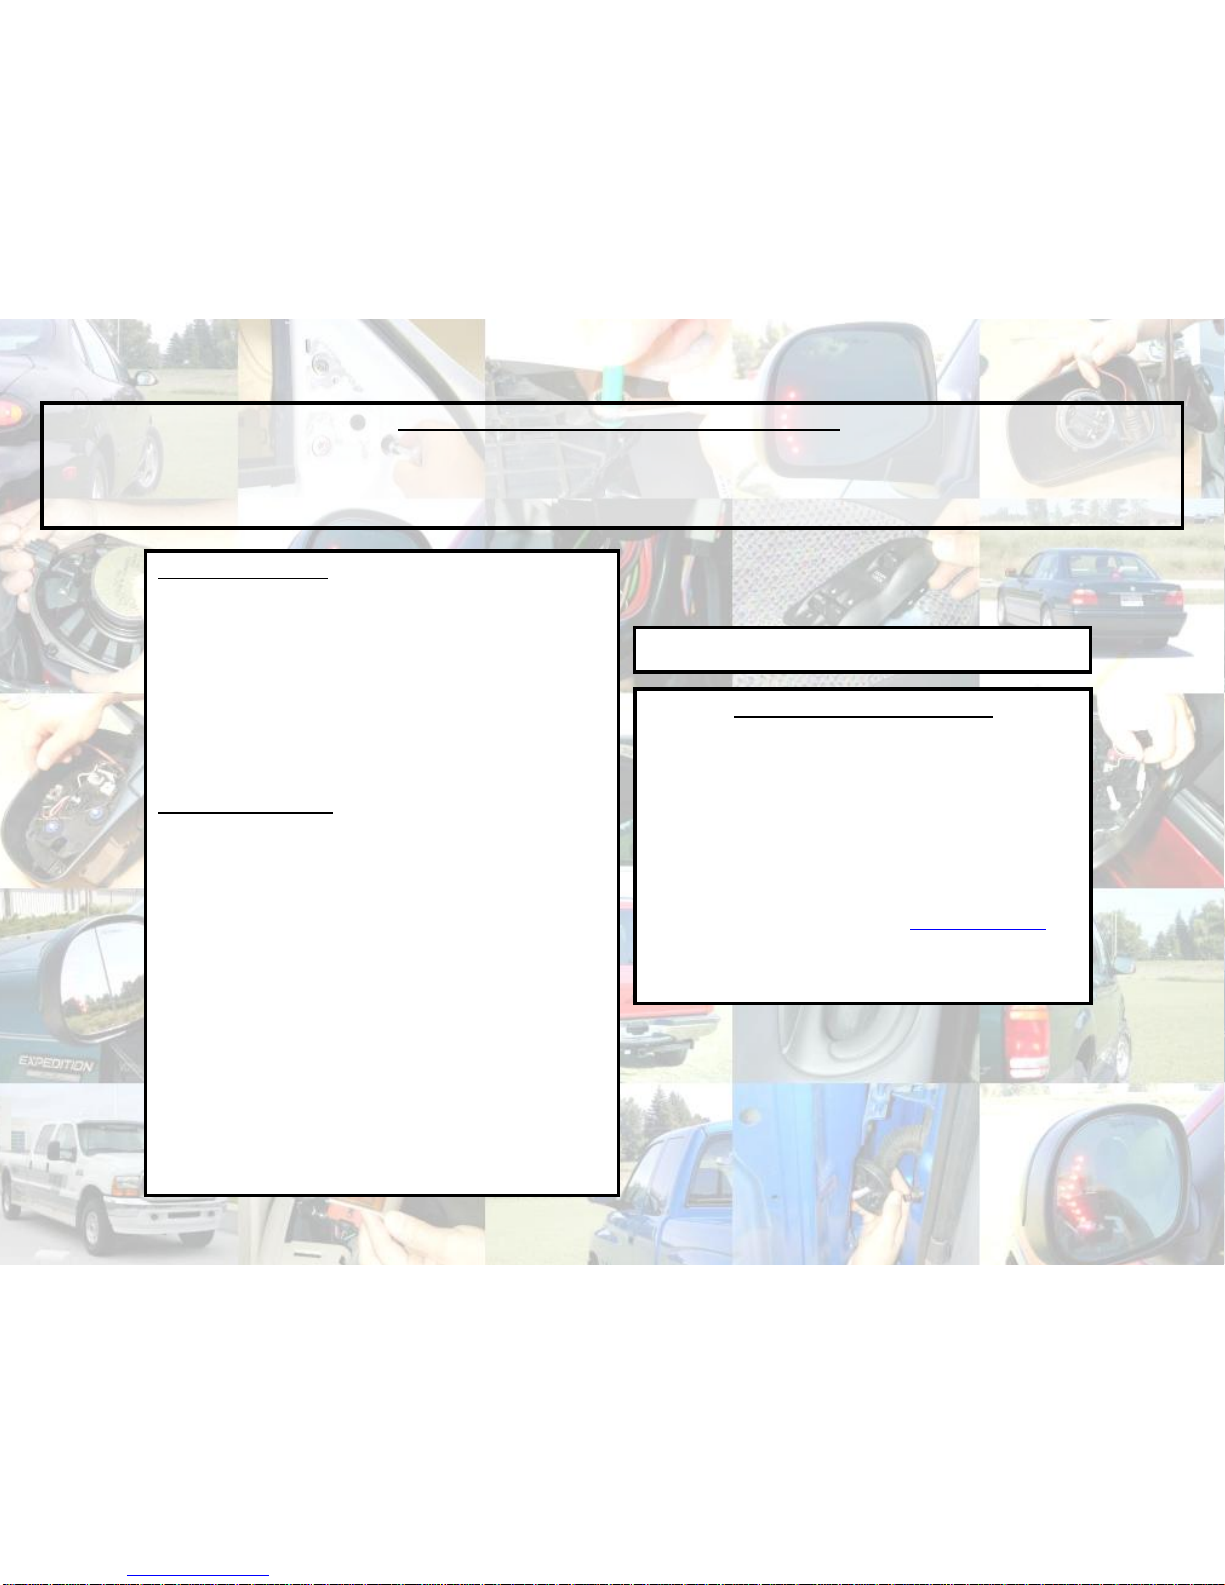
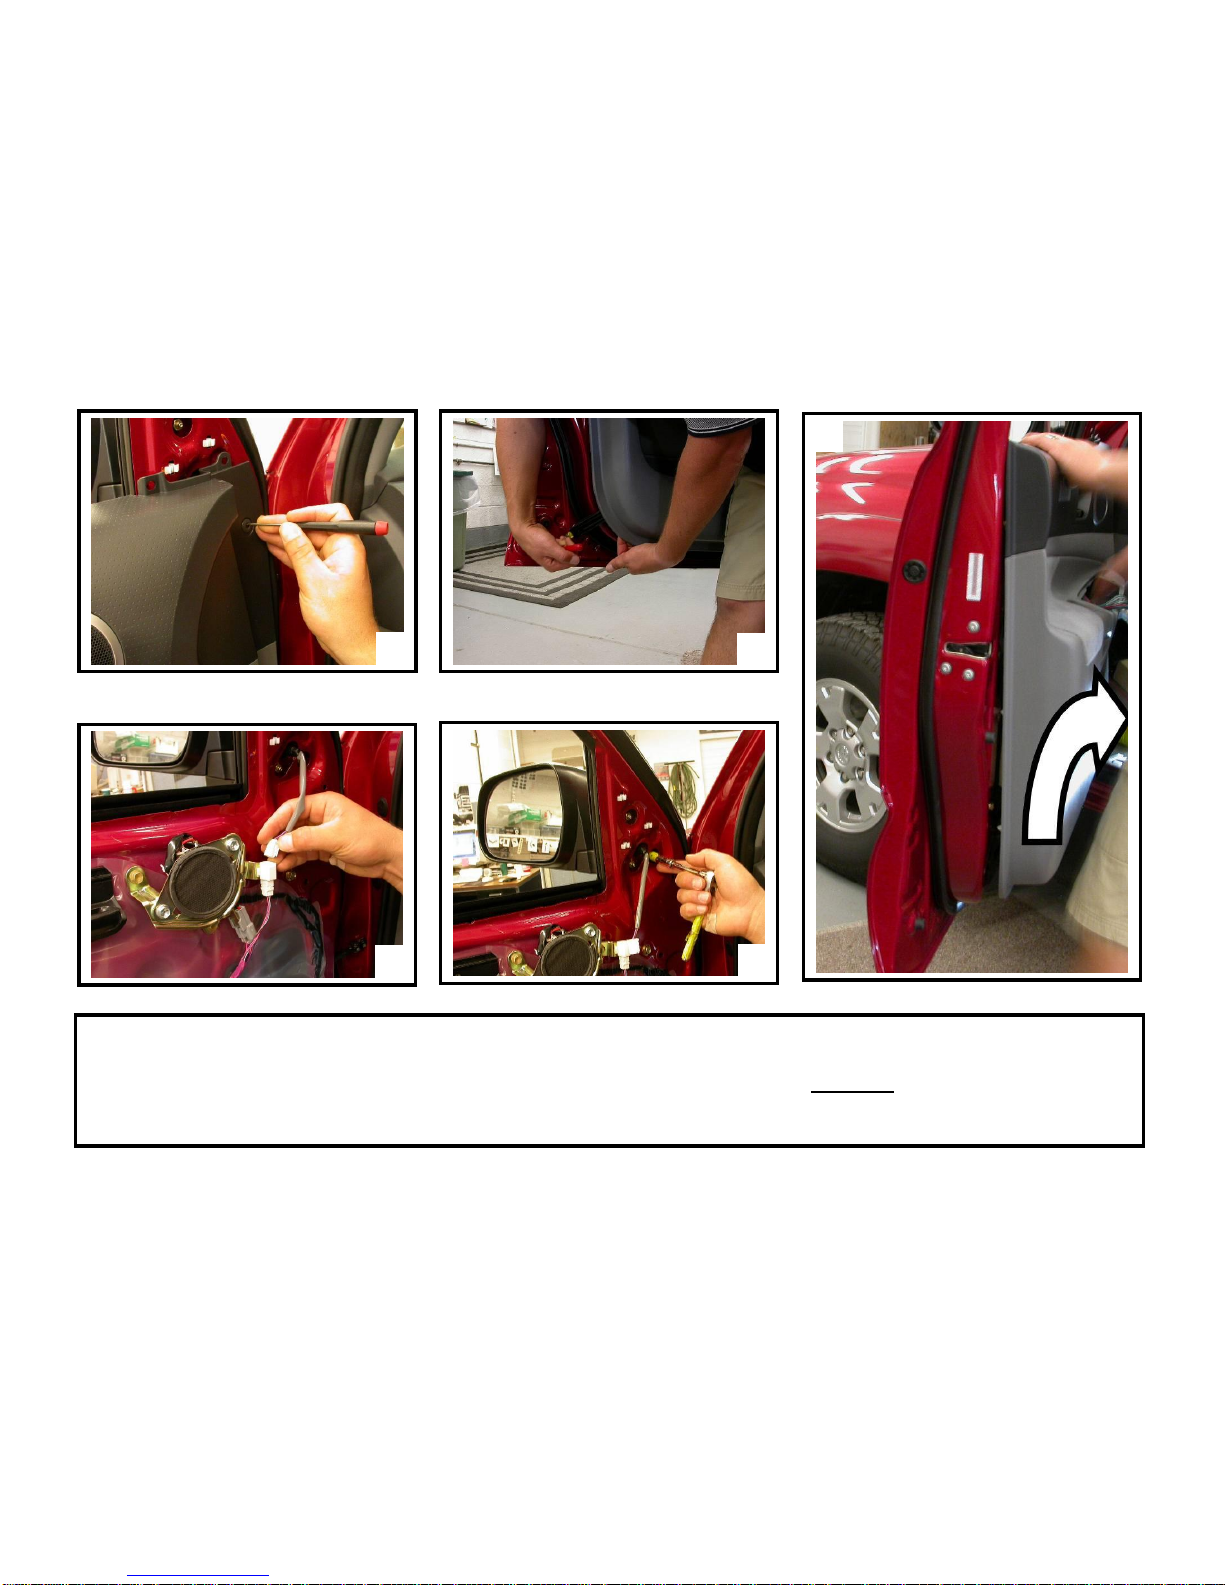
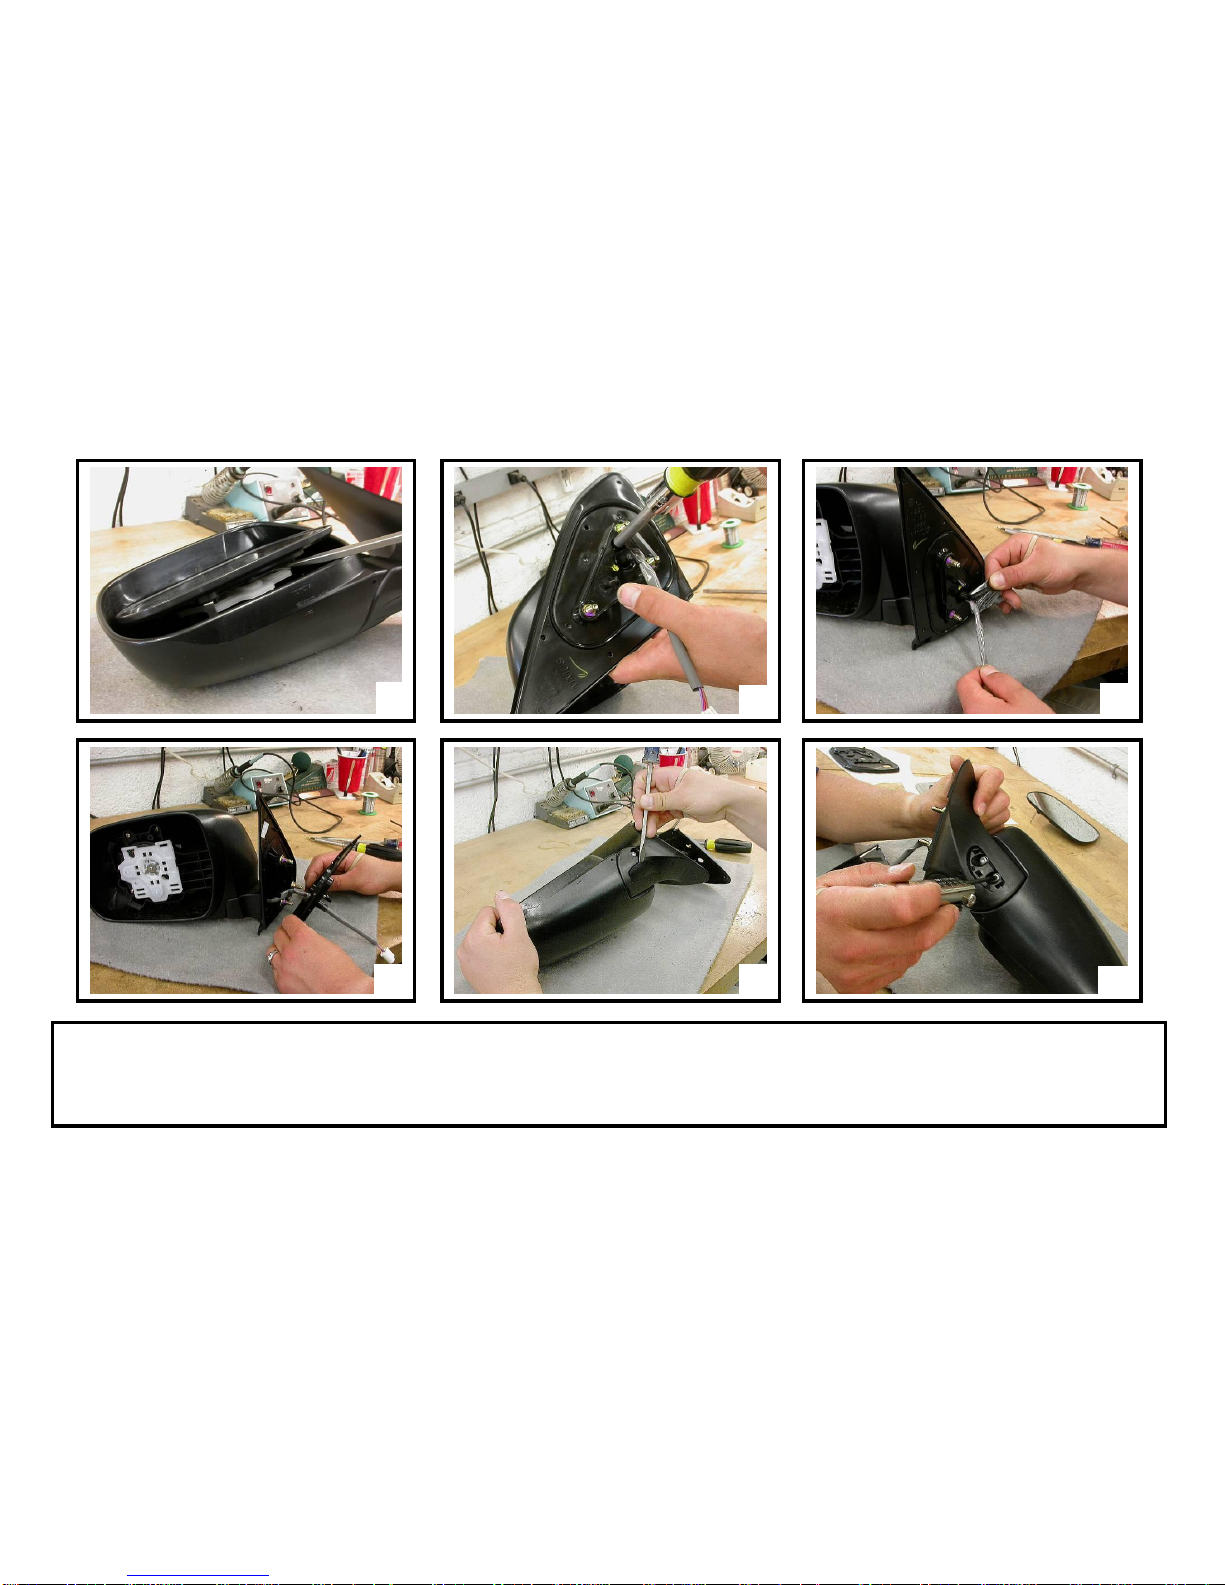
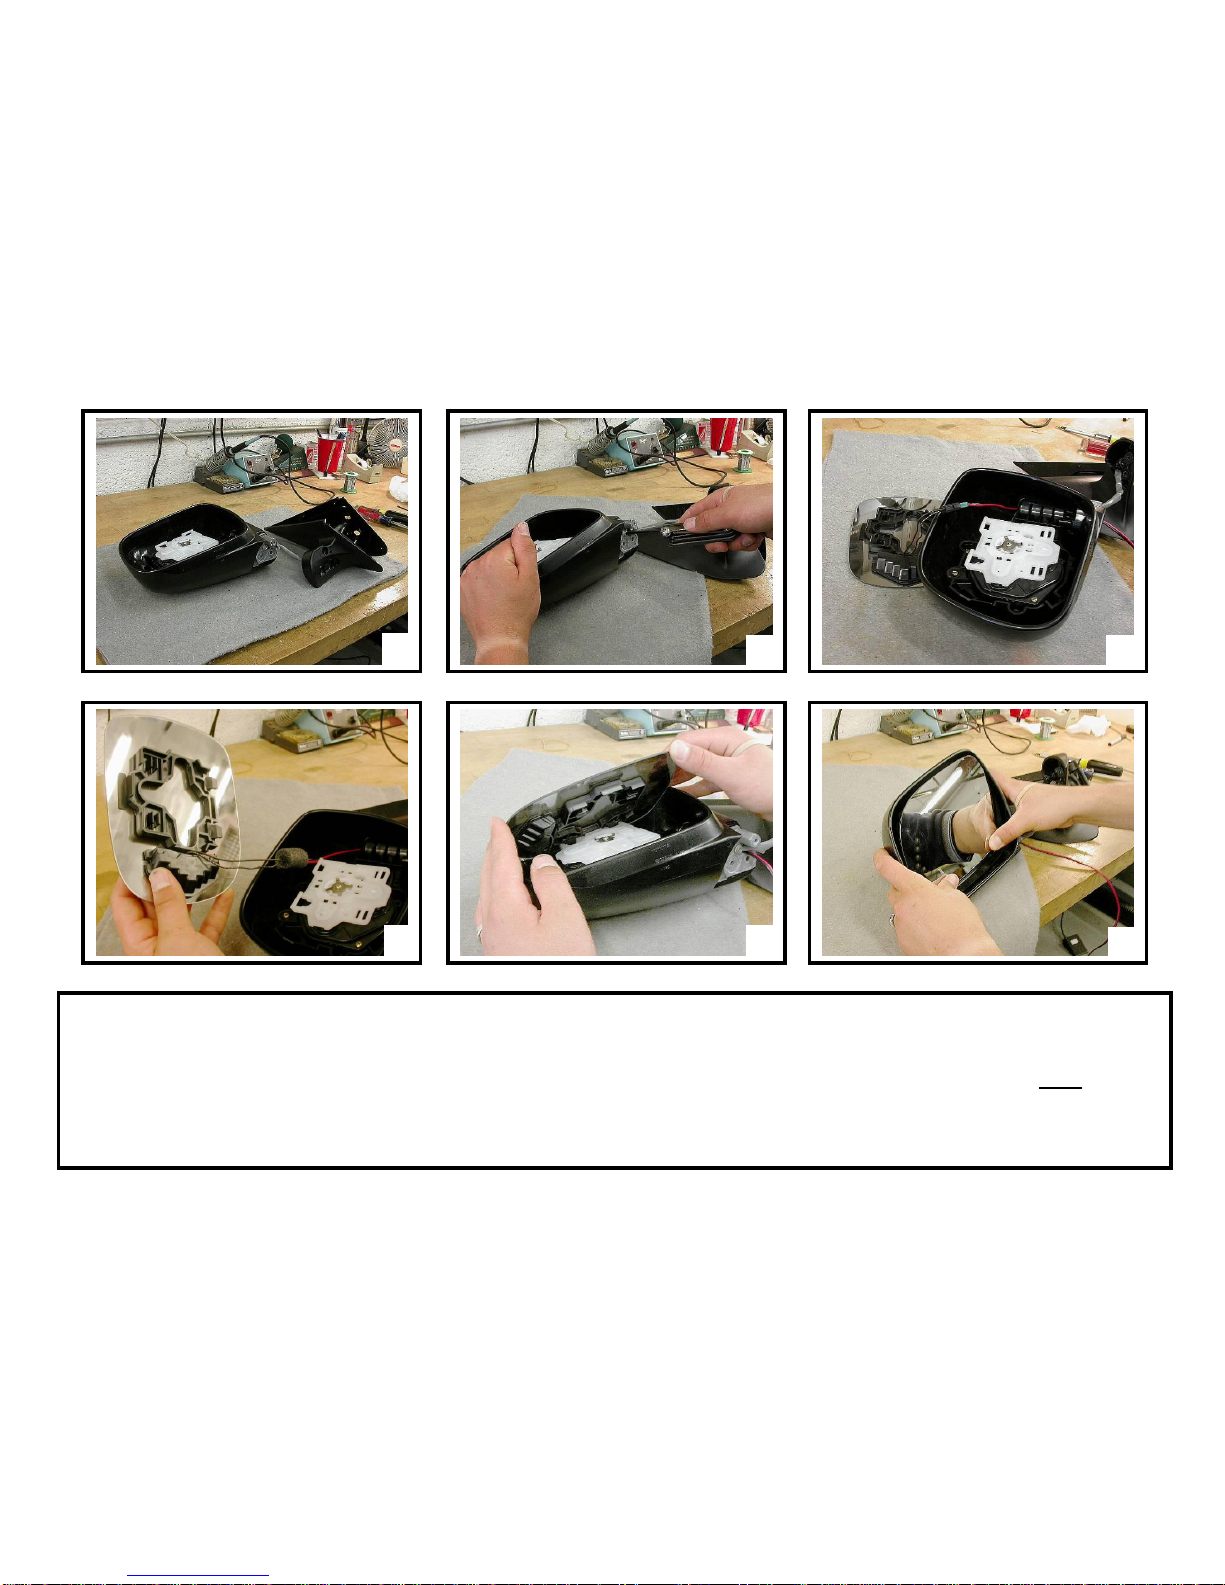
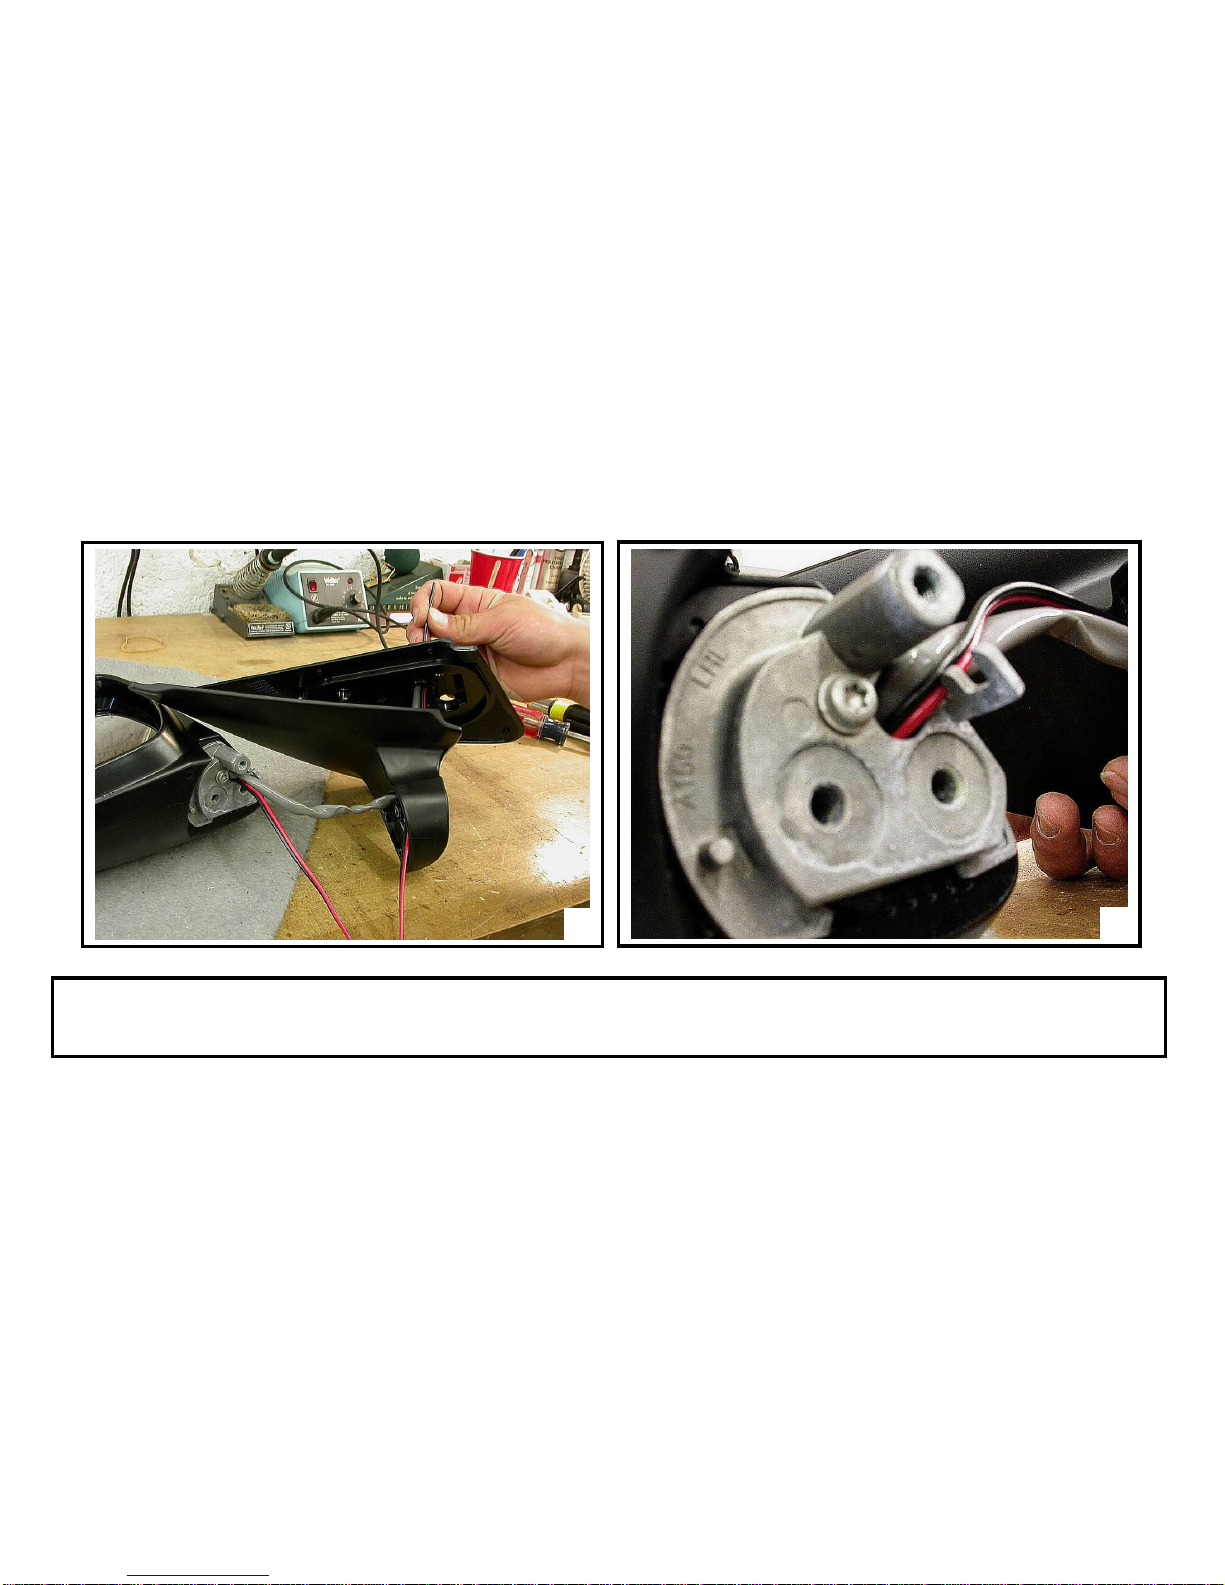
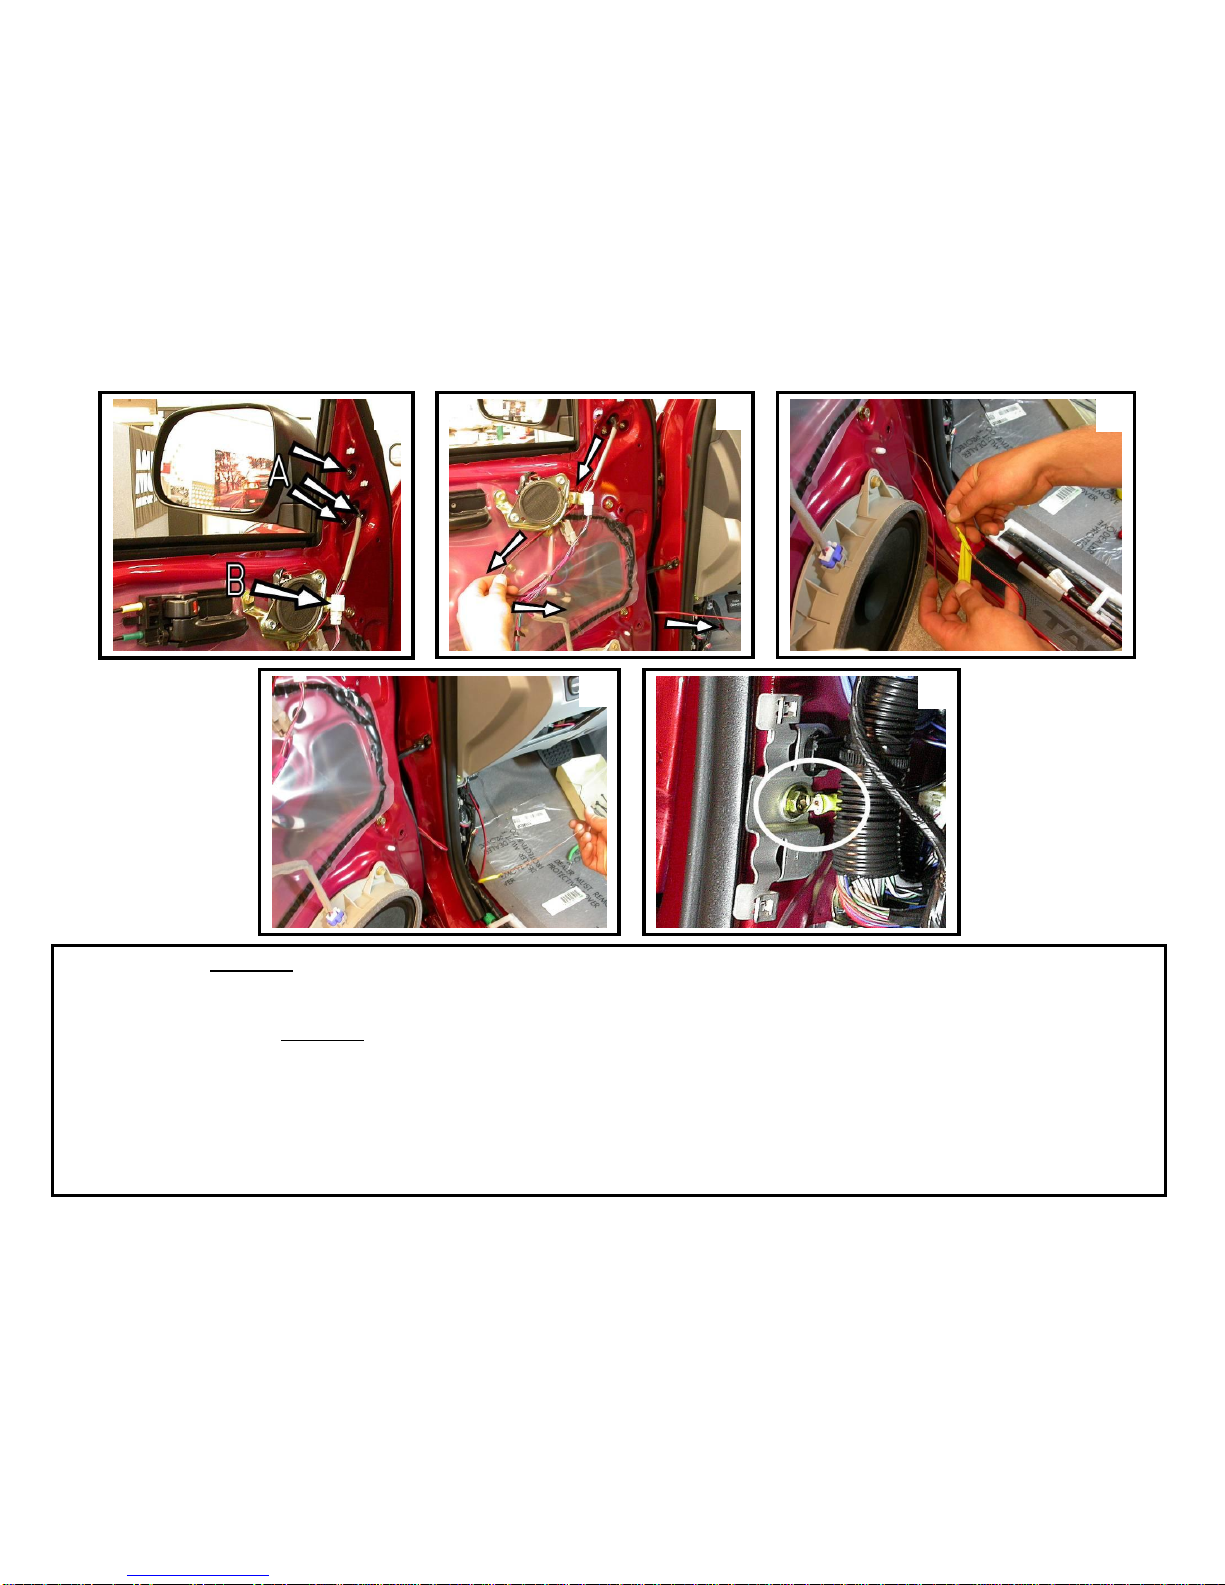
Guide all wire harnesses thru the hole in the door frame and position the mirror housing assembly onto the mirror mount. Attach the mirror housing to the mirror mount with
three mirror mounting nuts (AA).WARNING! Do not over tighten the mirror mounting nuts. Reconnect mirror harness (AB). Find the rubber boot located between the
door frame and vehicle frame. Push in and pull out on both ends of the rubber boot. Guide the Signal®mirror wire harness alongside original wire harness down and thru
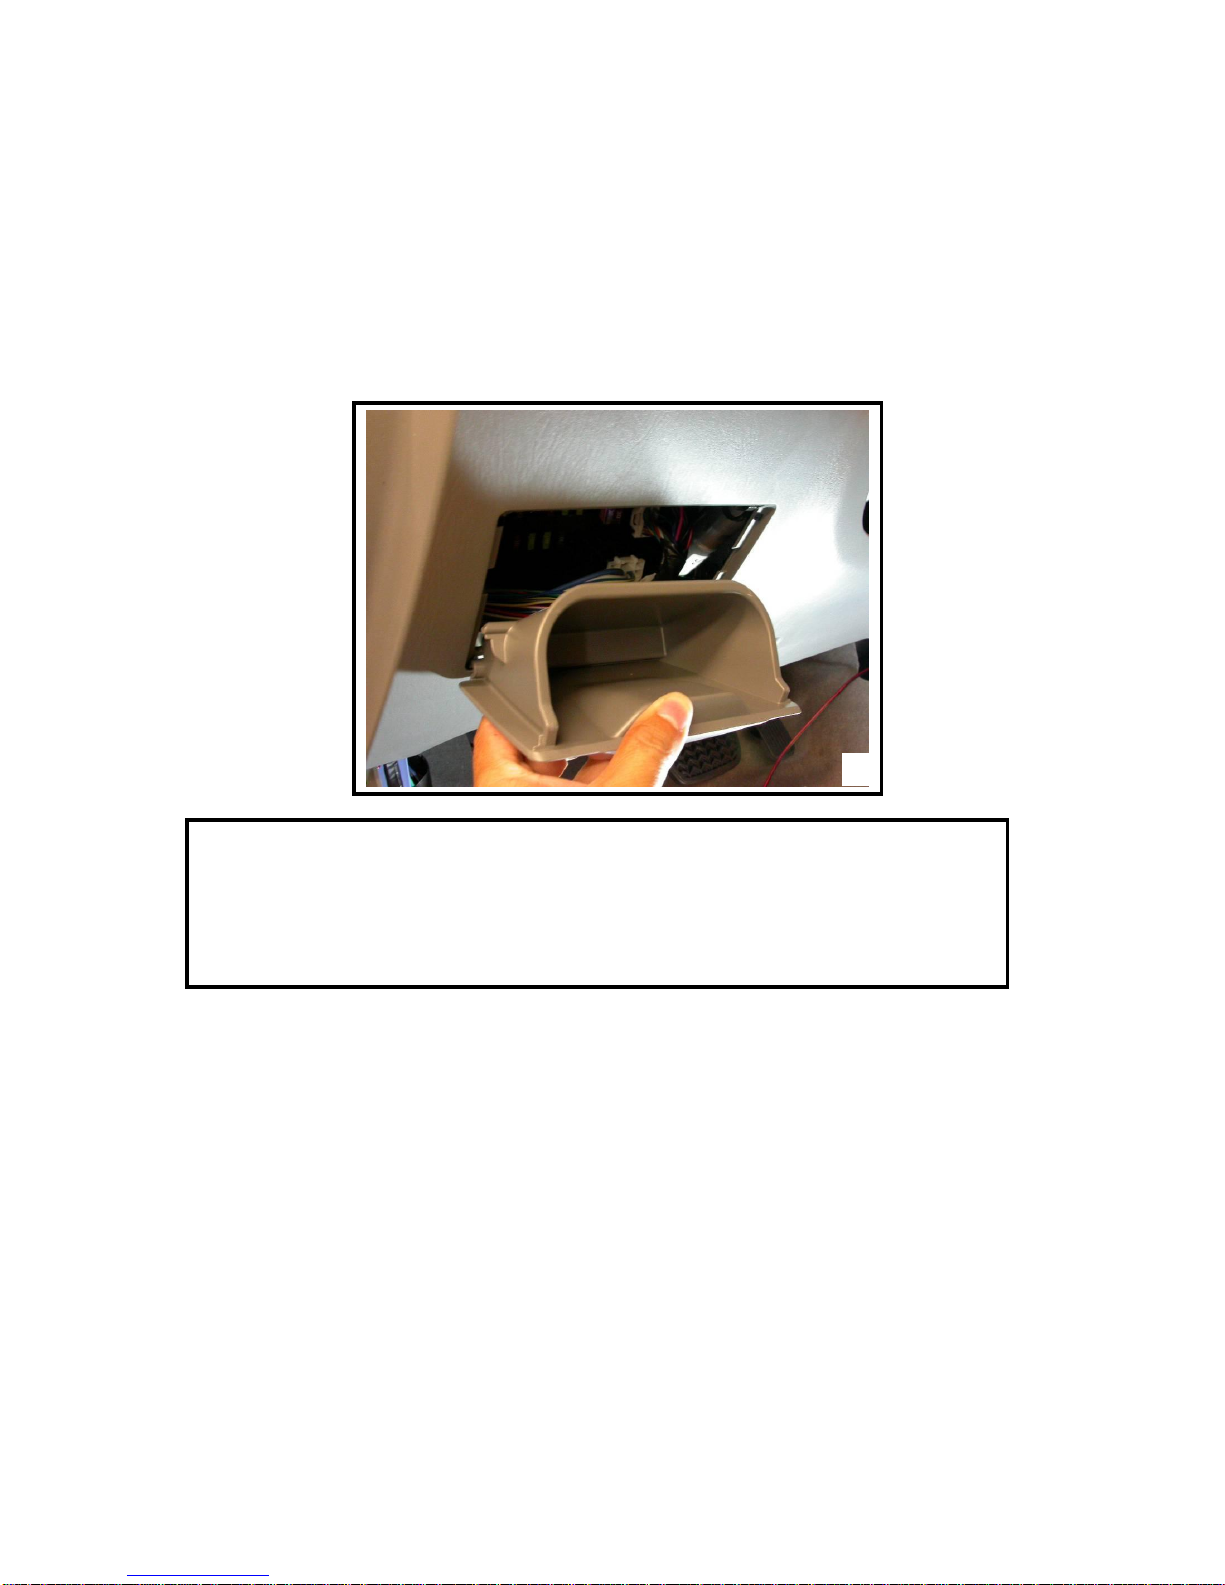
clear protective covering and out the hole vacated by the removal of the rubber boot (B). Remove floor trim and kick panel. Tape the open end of the Signal®mirror wire
harness to the gopher rod (C). Push the gopher rod thru the rubber boot, thru the hole on the vehicle frame and into the vehicle (D). Gently pull the Signal®mirror wire
harness thru, removing any slack in the Signal®mirror wire harness. Cut the tape with a utility knife and remove the gopher rod. Using a utility knife, slice between the red
and black wire on the Signal®mirror wire harness. Gently and carefully pull on each wire to separate the two. Locate the grounding bolt near the kick panel area. Route the
black wire on the Signal®mirror wire harness to the grounding bolt location. Cut the black wire to length making sure enough slack is left for splicing. Strip about 3/8” off of
the black wire. Bend about half of the stripped portion of the black wire back onto itself. Insert the black wire into one of the supplied ring connectors and crimp it into place.
Secure the ground ring to the metal framework of the vehicle using the bolt as shown (E).
WARNING: When routing wire into vehicle, it is extremely important to not let wire get pinched or crushed at any time.
Avoid window track and sharp edges at all times. Not doing so may cause circuit shortage problems in the long run.