© MuxLab Inc. 2018
Installation
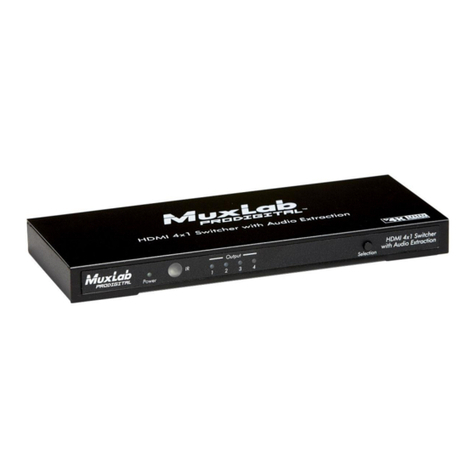
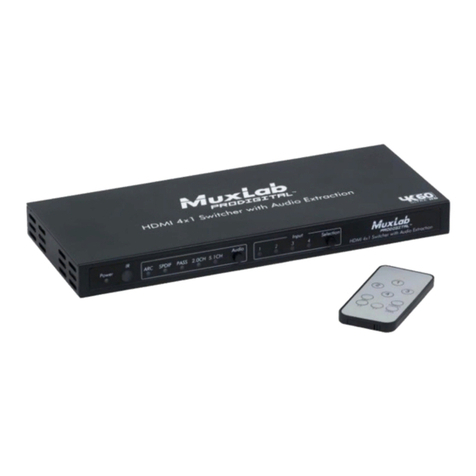
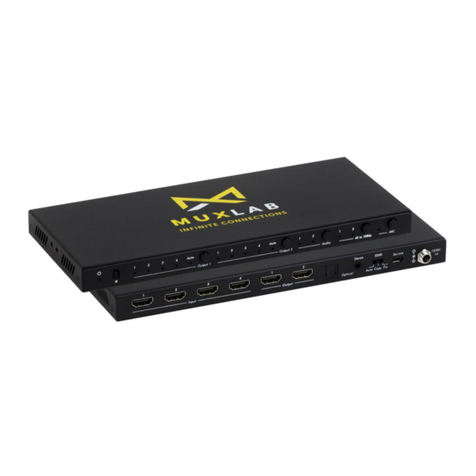
In order to install the HDMI 4X1 Switcher with Audio Extraction, please follow the
steps below:
1. Connect the HDMI video source(s) to the input connector(s) of the switcher.
2. Connect the HDMI display equipment to output connector of the switcher.
3. Connect the audio receiver to the appropriate audio output connectors of the
switcher (Audio L/R output and/or Optical output).
4. Connect the 5 VDC power supply to the switcher first, and then plug the
power supply into an AC power outlet.
5. Power on the HDMI equipment and verify the image quality.
6. If using ARC, press the “ARC” button and ensure the ARC LED is ON (solid
blue). This allows a Smart TV receiving streamed content to return audio over
the HDMI cable back to the 500437 HDMI output port and on to an audio
system via the 500437 Optical output port.
7. There are four HDMI inputs to select from. Press the “Selection” button to
select which input to send to the display. The HDMI Input LEDs will indicate
which HDMI input is currently selected.
8. To extract audio from the selected HDMI input, press the “SPDIF/ARC”
button to light the LED. Extracted audio will be available on the Optical port.
NOTE: Enabling SPDIF/ARC (SPDIF/ARC LED ON) overwrites the
ARC functionality and sends extracted audio of the currently selected
HDMI input to the audio system. This will be noticeable if streaming to a
Smart TV. For ARC to function correctly, the SPDIF/ARC LED must be
OFF.
9. Press the Audio button to select the audio mode to be extracted. Three audio modes
are supported which set the source audio. The modes are pass-through (audio is
unaltered at the source), 2CH (audio is set to 2CH at the source) and 5.1CH (audio
is set to 5.1 at the source).
10. The following diagram shows the final configuration.
Troubleshooting
The following tables describe some of the symptoms, probable causes and possible solutions
in respect to the installation of the HDMI 4X1 Switcher with Audio Extraction.

