Wichtig:
Bitte lies Dir die Anleitung sorgfältig durch bevor du dieses Produkt gebrauchst und
bewahre sie sorgfältig auf. Alle Schritte, die ohne die Anleitung durchgeführt werden,
können Dein Kind gefährden. Das gekaue Produkt kann schnell mit dem Kinderwagen
verbunden werden und erleichtert Dir den sicheren Transport Deines Kindes. Das
Kiddyboard ist praktisch und bietet gleichzeitig Komfort.
Warnung:
Um Schäden zu vermeiden
1. Behalte Dein Kind immer im Auge und lass es nie unbeaufsichtigt.
2. Für den Gebrauch des Kiddy Boards sollte Dein Kind über 15 Monate alt sein
und das Gewicht von 20 kg nicht überschreiten.
3. Das Kiddy Board ist jeweils nur für den Gebrauch durch ein Kind geeignet.
4. Stelle sicher, dass alle verschließbaren Teile verschlossen sind.
5. Vergewissere Dich, dass Dein Kind sich außer Reichweite des Kiddyboards
befindet, während du es aus- oder einklappst.
6. Während die Höhe eingestellt wird, darf das Kiddyboard nicht in benutzung sein.
7. Das Kiddyboard ist kein Spielzeug. Gib es Deinem Kind nicht zum Spielen.
8. Das Kiddyboard ist nicht zum Rennen, oder Skaten gemacht.
9. Die Verpackungen des Kiddyboards sind kein Spielzeug. Gib es Deinem Kind
nicht zum Spielen.
10. Um die Sicherheit des Kiddyboards zu erhalten, überlade es nicht und trans-
portiere damit keine Einkäufe, oder Ähnliches.
1
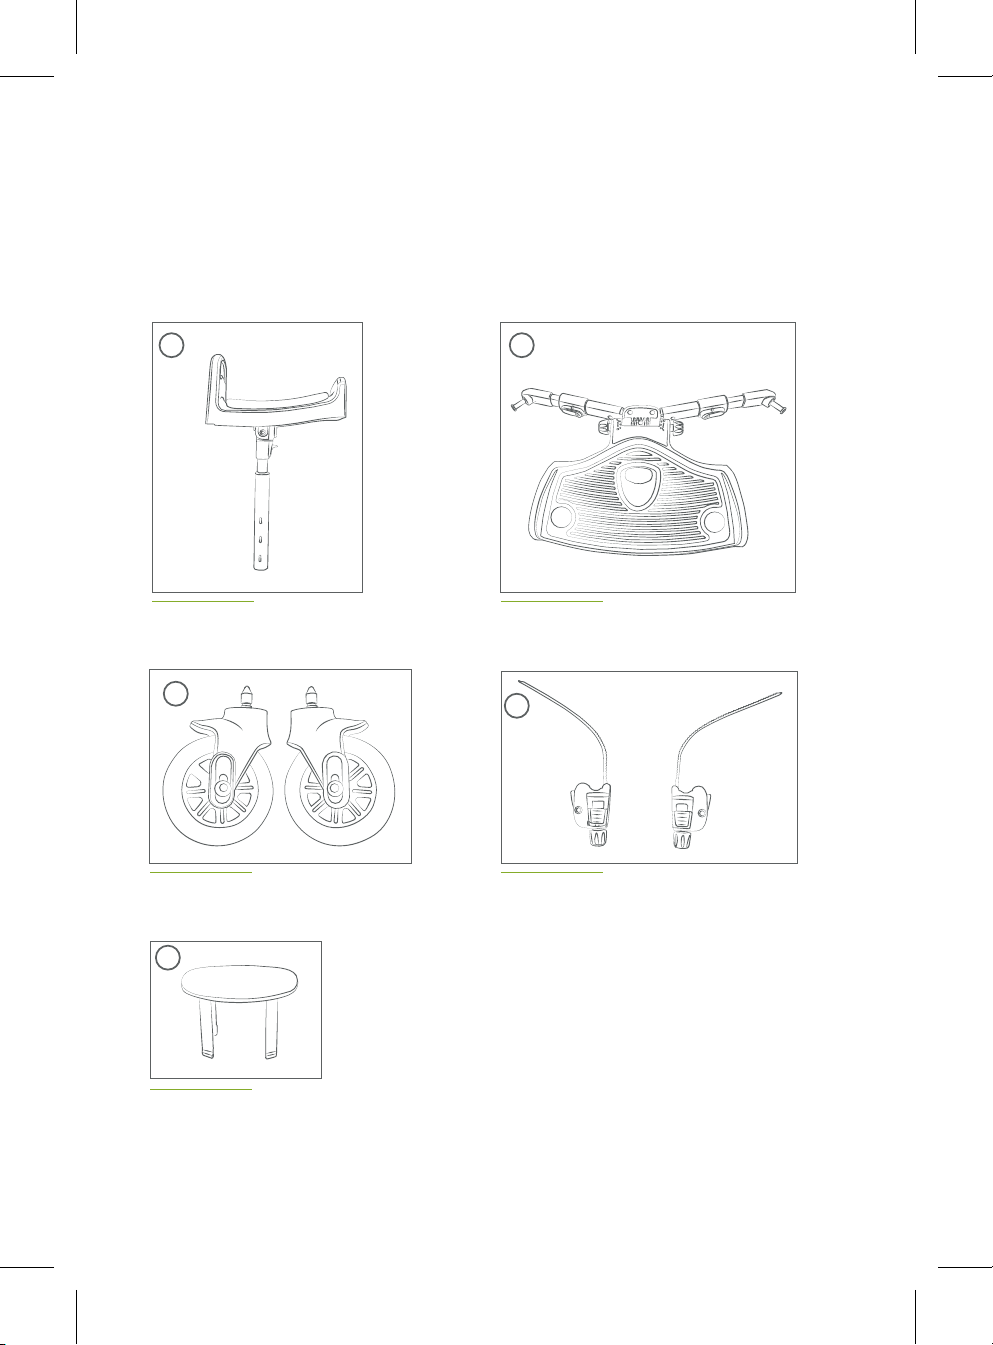
My Junior® My Kiddy Board