4
CAUTION
•Do not use burs with problems listed below as the bur may
break, seize up or disengage from the chuck.
- Bent, deformed, worn, rusted, broken, deficient bur.
- Bur which is cracked on the edge or axis.
- Non-ISO(EN ISO) standard, or tampered bur.
•Do not use burs other than specified in “11 Specifications” as
such burs may be accidentally released or break during
rotation.
•Always keep the bur shank clean. Dirt or debris in the chuck
could cause poor bur concentricity or low chuck retention
force.
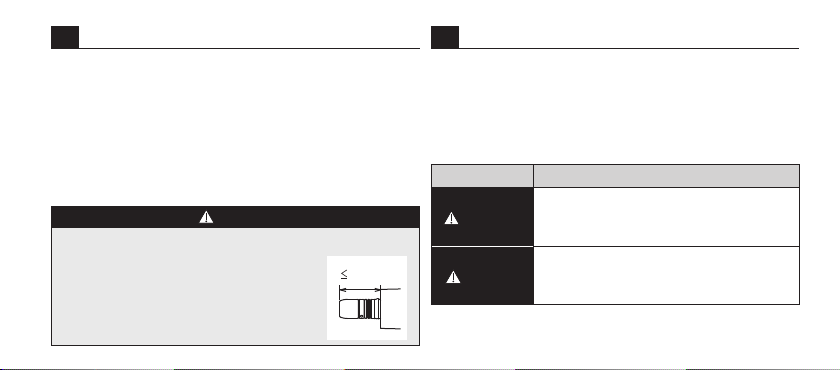
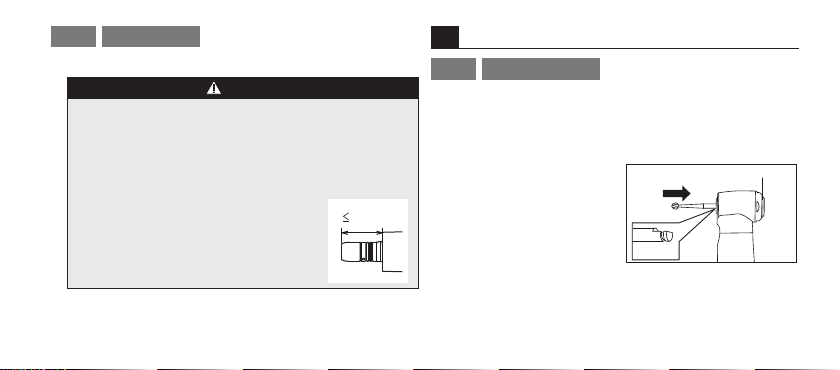
•Always insert the bur all the way into the chuck. If insertion is
insufficient, premature failure of the bearings or accidental
release of the bur may occur.
•Do not exceed Max. Bur Length shown in “11 Specifications”.
CAUTION
•Always follow the instructions provided by the bur
manufacturer.
•Do not exceed the bur speed recommended by the bur
manufacturer.
•Should the handpiece function abnormally during use, stop
using the handpiece immediately and contact your Authorized
NSK Dealer.
•Do not use the following fluids to wipe, immerse or clean the
product; strong/super acid water, strong acid/alkaline
chemicals, chlorinecontaining solutions, solvents such as
benzine or thinner.
•The handpiece is delivered in a non-sterile condition and must
be autoclaved prior to use.
•Perform regular function and maintenance checks. (Refer to
“10 Periodical Maintenance Checks”)
N-605_nano_contra_EN_WCS5_200824.indd 4 2020/08/24 13:31:30