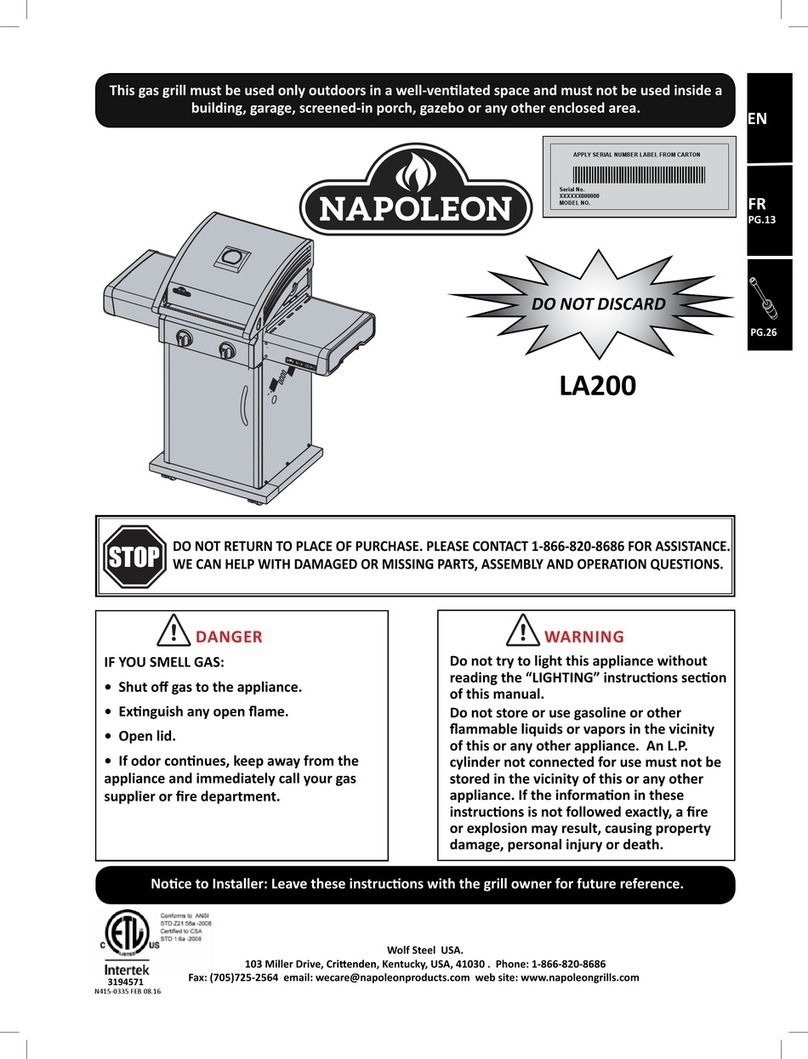
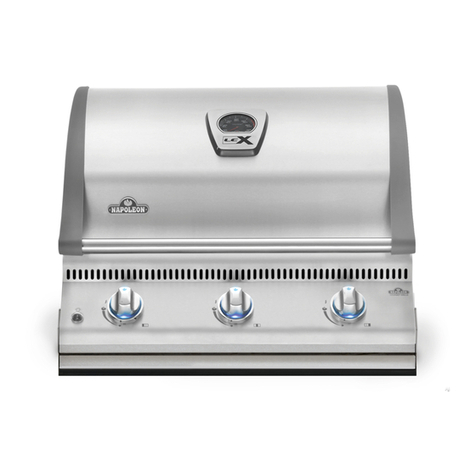
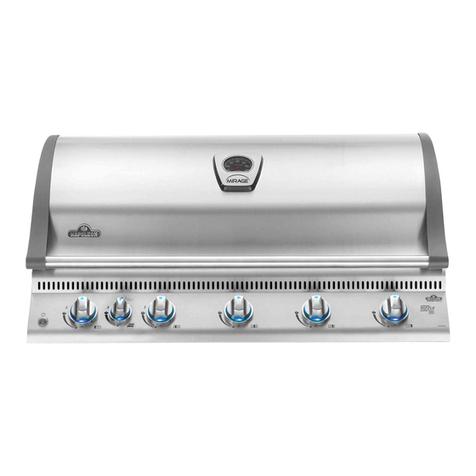
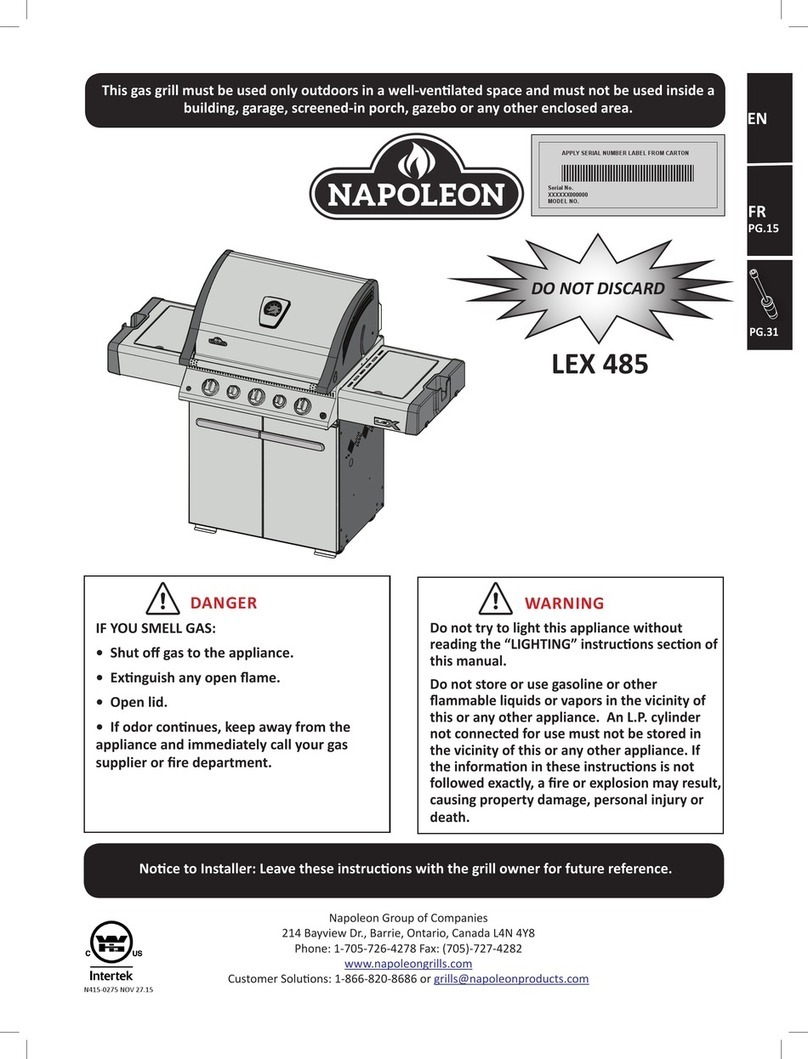
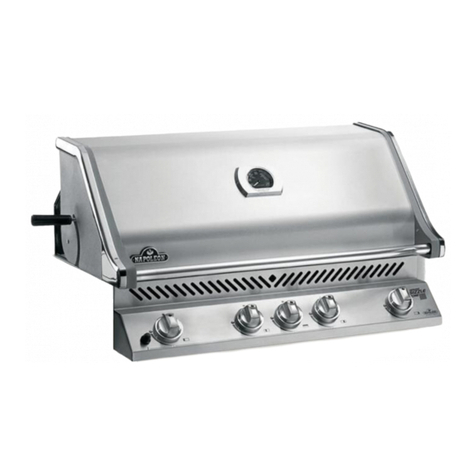
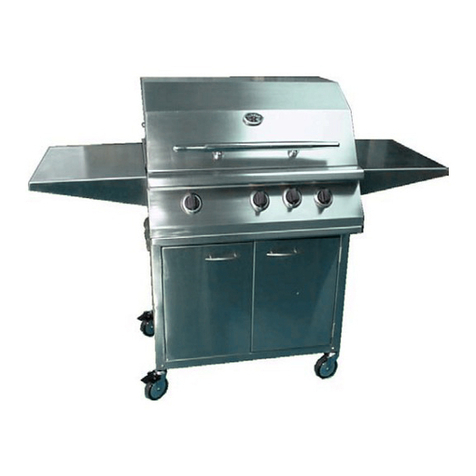
Napoleon BIPRO 825 User manual

EN
DE
PG.35
WARNING
Do not try to light this appliance without
reading the “LIGHTING” instrucons secon
of this manual.
Do not store or use gasoline or other
ammable liquids or vapors in the vicinity of
this or any other appliance. An L.P. cylinder
not connected for use must not be stored in
the vicinity of this or any other appliance.
If the informaon in these instrucons is
not followed exactly, a re or explosion may
result, causing property damage, personal
injury or death.
DANGER
IF YOU SMELL GAS:
• Shut o gas to the appliance.
• Exnguish any open ame.
• Open lid.
• If odor connues, keep away from the
appliance and immediately call your gas
supplier or re department.
APPLY SERIAL NUMBER LABEL FROM CARTON
Serial No.
XXXXXX000000
MODEL NO.
This gas grill must be used only outdoors in a well-venlated space and must not be used inside a
building, garage, screened-in porch, gazebo or any other enclosed area.
WARNING! CABINET FRAME, CABINET AND COUNTER TOP MUST BE MADE FROM NON-COMBUSTIBLE MATERIAL.
Napoleon Group of Companies
214 Bayview Dr., Barrie, Ontario, Canada L4N 4Y8
Phone: 1-705-726-4278 Fax: (705)-725-2564
www.napoleongrills.com
grills@napoleonproducts.com
N415-0308CE-GB-DE FEB 24.15
Noce to Installer: Leave these instrucons with the grill owner for future reference.
Adults and especially children should be alerted to the hazards of high surface temperatures.
Young children should be supervised near the gas grill.
BIPRO 825

2
www.napoleongrills.com
EN
All NAPOLEON gas grills are manufactured under the strict Standard of the world recognized ISO 9001-2008
NAPOLEON products are designed with superior components and materials, and are assembled by
NAPOLEON.
Napoleon Gas Grill President’s Limited Lifeme Warranty
NAPOLEON warrants that components in your new NAPOLEON product will be free from defects in
Stainless steel tube burners 10 years plus5
Stainless steel sear plates 5 years plus5
plus5
All other parts 2 years
plus5 indicates a period of extended warranty coverage whereby the replacement part will be made
Condions and Limitaons
NAPOLEON warrants its products against manufacturing defects to the original purchaser only, provided that
codes.
warranty.
heat, abrasive and chemical cleaners, nor chipping on porcelain enamel parts, nor any components used in the
indirect damages.
respect to the sale of this product.
Any damages to the gas grill due to weather damage, hail, rough handling, damaging chemicals or cleaners will not
be the responsibility of NAPOLEON.
warranty claims from NAPOLEON.
claim.
3
www.napoleongrills.com
EN
WARNING! Failure to follow these instrucons could result in property damage, personal injury or
death. Read and follow all warnings and instrucons in this manual prior to operang grill.
Safe Operang Pracces
garage, screened-in porch, gazebo or any other enclosed area.
clearance is recommended near vinyl siding or panes of glass.
Children should be supervised to ensure that they do not play with the appliance.
concerning use of the appliance by a person responsible for their safety.
not be stored below the gas grill.
Disconnected cylinders must not be stored in a building, garage or any other enclosed area.
Inspect the gas supply hose before each use. If there is evidence of excessive abrasion or wear or the hose
manufacturer.
Do not light burners with lid closed.
Keep any electrical supply cord and gas supply hose away from any heated surfaces.
towards the front of the gas grill (if applicable).
Do not use a pressure washer to clean any part of the unit.

4
www.napoleongrills.com
EN
Gas Cylinder
Never connect a cylinder, which does not meet local codes.
Only cylinders connected to the appliance may be stored in the enclosure, or close to the appliance.
Cylinders must not be exposed to extreme heat or direct sunlight.
Cylinder Connecon
Gas Hose
WARNING! This gas grill must be installed by a licensed gas er. The gas grill can not be
connected to the gas supply using hoses except to connect the cylinder regulator to the piping system.
The increased temperature within the enclosure may cause the hose to melt. Use the provided exible
metal connector to connect the gas grill to either approved rigid piping, approved copper tubing or
approved exible metal connectors. Ensure the installaon conforms to all local and naonal codes.
The enre gas supply installaon must be leak tested before operang the gas grill. Refer to the manual
for complete grill assembly instrucons.
If the hose and regulator are not included by the manufacturer, then only hoses and regulators which
Ensure that the hose does not come into contact with grease, other hot drippings, or any hot surfaces
on the appliance.
Replace the hose before expiry date printed on the hose.
Example Cylinder
Correct Disposal Of This Product

5
www.napoleongrills.com
EN
Technical Data
I I I
Gas Category I I I I
above)
I I I I
Butane and Propane
at 30mbar
Butane 28-30mbar
Propane 37mbar
Butane and Propane
at 37mbar
Butane and Propane
at 50mbar
Countries BE, BG, CY, DK, EE, FI,
PL

6
www.napoleongrills.com
EN
CYLINDER SIZE OPENING A AREA OPENING B AREA
20in2(130cm2) 10in2(65cm2)
30in2(195cm2)15in2(100cm2)
5” (127mm)
MAXIMUM
1” (25.4mm)
MAXIMUM
OPENING
A
OPENING
B2” (51mm)
MINIMUM
PARTITION TO ISOLATE
CYLINDER FROM GRILL
NON LOCKING DOOR
34” (864mm)
RECOMMENDED
5” (127mm)
MAXIMUM
Gas Hook-Up Instrucons
WARNING! This grill is designed for non-combusble enclosures only, and must be installed and
serviced by a qualied installer to local codes.
WARNING! Cabinet frame, cabinet, and counter top must be made from non-combusble material.
WARNING!The pressure supplied to the grill must conform to what is listed on the rang plate of
the grill. If the supply pressure is greater, a regulator must be installed.
BUILT IN PROPANE GAS HOOK-UP
the manifold. Connect the other end of the connector to the gas piping. Ensure that the connector does
connect the unit except to connect the cylinder regulator to the piping system. It must be connected with
codes.
cavity used to enclose the gas grill. A propane cylinder can not be stored below the gas grill.
BUILT IN CYLINDER ENCLOSURES: Built in cylinder enclosures which completely enclose the cylinder must
have both of the following:
2
2
2
and 100 cm2
Every opening must be large enough to permit the entrance of a 3.2 mm rod.

7
www.napoleongrills.com
EN
WARNING!
use of tools.
and the ground.
enclosure.
WARNING!Built in units are supplied with a drip pan which holds only a minimal amount of
grease. To prevent grease res, the pan must be cleaned aer each use.
WARNING! Access must be provided to the inside of the enclosure to make gas connecons.
DANGER! Read all instrucons carefully before operang the grill. Failure to follow these
instrucons exactly could result in a re causing serious injury or death. The enre installaon must be
leak tested before operang the grill.

8
www.napoleongrills.com
EN
Leak Tesng Instrucons
WARNING! A leak test must be performed annually and each me a cylinder is hooked up or if a
part of the gas system is replaced.
WARNING! Never use an open ame to check for gas leaks. Be certain no sparks or open ames
are in the area while you check for leaks. Sparks or open ames will result in a re or explosion,
damage to property, serious bodily injury, or death.
Leak tesng:
hose, manifolds and valves.
gas installer.
Electrical Precauons
WARNING! Failure to follow these instrucons could result in property damage, personal injury or
death.
If the supply cord is damaged, it must be replaced by the manufacturer or its service agent or a
Do not let the cord hang over the edge of a table or touch hot surfaces.
the outlet.
Never remove the grounding plug or use with an adapter of 2 prongs.

9
www.napoleongrills.com
EN
Lighng Instrucons
O Posion
WARNING!Open lid
WARNING! Ensure all burner controls are in the o posion. Slowly turn on the gas
supply valve.
Main Burner
Lighng
Smoker Burner
Lighng
Rear Burner Lighng
(if equipped)
Side Burner Lighng
(if equipped)
1. Open grill lid. 1. Open grill lid. 1. Open grill lid. 1. Open burner cover.
2. Push and turn any main
the burner lights and then
release.
2. Push and turn the
2. Push and turn the side
3. If the pilot does not
ignite, then immediately
3. Push and hold the
light with a match.
3. Push and turn the rear
burner control to the high
3. Push and hold the electronic
lights, or light with a match.
4. If the pilot and burner will
not ignite within 5 seconds,
minutes for any excess gas
to dissipate. Either repeat
steps 2 and 3 or light with
a match.
4. If the burner will not
ignite within 5 seconds,
minutes for any excess gas
to dissipate. Repeat step 2.
4. Push and hold the
match.
4. If the burner will not ignite
within 5 seconds, turn the
for any excess gas to dissipate.
Repeat step 2.
match, clip the match into
through the grill and sear
plate while turning the
corresponding burner valve
to high.
5. If the burner will not
ignite within 5 seconds,
minutes for any excess gas to
dissipate. Repeat step 3.
WARNING! Do not use rear burner while operang main burner.
Le
Centre
Tube
Burner
Right
Centre
Tube
Burner
Le
Infra
Red
Burner
Right
Infra
Red
Burner
Igniter
Le
Tube
Burner
Rear
Burner Right
Tube
Burner
Light
Smoker Burner
Smoker
Tray Warming
Burner

10
www.napoleongrills.com
EN
Cooking Instrucons
Inial Lighng
does not occur again. Simply run the main burners on high for approximately one-half hour.
gas grill. In extreme circumstances when consistent high winds come from directly behind the unit, heat
the possibility of improper heat build up.
NOTE!Napoleon is not responsible for: over ring, blow outs caused by environmental condions
such as strong winds, or inadequate venlaon.
FIG .1 FIG .2
FIG .3

11
www.napoleongrills.com
EN
Main Burner Use
Rear Burner Use (If Equipped)
WARNING! Barbecue sauce and salt can be corrosive and will cause rapid deterioraon of the gas
grill components unless cleaned regularly. When nished cooking disassemble rosserie components,
wash thoroughly with warm soapy water and store indoors.
Direct Cooking
Indirect Cooking
Smoker Burner
Infrared Main Burner Use (If Equipped)
CAUTION! Due to the intense heat the infrared burners provide, food le unaended over burners
will burn quickly. Keep the lid open when cooking with the infrared burners set to high. The intense
heat ensures adequate searing temperatures even with the lid open. This also allows observaon of the
food to prevent burning.

12
www.napoleongrills.com
EN
Infrared Heat
of the heat in the beam fell into the spectral region just beyond the red end of the spectrum, where no
visible light existed. Most materials readily absorb infrared energy in a wide range of wavelengths, causing
generates heat, allowing us to feel warmth.
or mess. Infrared burners also provide a more consistently heated area that is far easier to regulate than

13
www.napoleongrills.com
EN
Infrared Grilling Chart
Food Control Seng Cooking Time Helpful Suggesons
4 min. – Rare
6 min. – Medium
a natural tenderizer while
and juicy.
side.
4 min. – Rare
5 min. – Medium
Preparing hamburgers to
order is made easier by
to your meat, try adding
then medium-low to low
20-25 min.
thigh and the leg from the
Medium 6 min. per side
for more tender results.
Spare ribs
20 min. per side
Choose ribs that are lean and
pulls away from the bone.
Lamb chops
15 min. per side
chops for more tender
results.
Medium - Low 4-6 min. Select the larger size wieners.
before grilling.

14
www.napoleongrills.com
EN
WARNING! Always wear protecve gloves and safety glasses when servicing your grill.
WARNING! To avoid the possibility of burns, maintenance should be done only when the grill is
cool. Avoid unprotected contact with hot surfaces. Ensure all burners are turned o. Clean grill in an
area where cleaning soluons will not harm decks, lawns, or paos. Do not use oven cleaner to clean
any part of this gas grill. Do not use a self-cleaning oven to clean cooking grids or any other parts of
the gas grill. Barbecue sauce and salt can be corrosive and will cause rapid deterioraon of the gas grill
components unless cleaned regularly.
Cleaning Instrucons
Note
coastal areas and other harsh environments, such as the warm, highly humid atmosphere around pools
Grids And Warming Rack
surface.
Control Panel
available from your Napoleon dealer. Never apply abrasive cleaners on any stainless surfaces, especially
Cleaning Inside The Gas Grill
wire brush to remove the ash. Remove the sear plates and brush debris from the burners with the brass
wire brush. Sweep all debris from inside the gas grill into the drip pan.
WARNING! Built in units are supplied with a drip pan which holds only a minimal amount of
grease. To prevent grease res, the pan must be cleaned aer each use.
Drip Pan
pan, slide the drip pan free of the grill. Never line the drip pan with aluminum foil, sand or any other
Cleaning The Outer Grill Surface: Do not use abrasive cleaners or steel wool on any painted, porcelain or
stain
your Napoleon Grill dealer.
Lights
small amount of degreaser may be used. Do not use abrasive cleaners as this may scratch or damage the
lens.

15
www.napoleongrills.com
EN
WARNING! Always wear protecve gloves and safety glasses when cleaning your grill.
WARNING! Turn o the gas at the source and disconnect the unit before servicing. To avoid the
possibility of burns, maintenance should be done only when the grill is cool. A leak test must be
performed annually and whenever any component of the gas train is replaced or gas smell is present.
Maintenance Instrucons
clear from debris.
Burner
CAUTION! Beware of Spiders.
debris and corrosion, use an opened paperclip or the supplied port maintenance bit to clean them. Drill
Reinstallaon
WARNING! When reinstalling the burner aer cleaning it is very
important that the valve/orice enters the burner tube before lighng your
gas grill. If the valve is not inside the burner tube a re or explosion could
occur.
Protecon Of Infrared Burners
them. Damage caused by failure to follow these steps is not covered by your grill warranty.
thoroughly.

16
www.napoleongrills.com
EN
WARNING! Regulator Hose (when applicable): Check for abrasions’, melng, cuts, and cracks in the
hose. If any of these condions exist, do not use the gas grill. Have the part replaced by your Napoleon
Gas Grill dealer or qualied gas installer.
Aluminum Casngs
surface to
remove any residue and paint with high temperature barbecue paint. Protect surrounding
Replacement Screen N565-0002
way to escape the grill. If the hot air is not allowed to escape, the burners can become deprived of oxygen
WARNING! Always wear protecve gloves when changing the halogen bulb in the internal lights
of your grill.
Lights
remove the lens from the housing, remove the Philips screw securing the housing in place. Snap the lens
Do not touch the halogen bulb with your bare hands.
The oil from your ngerps will reduce the life of the bulb.

17
www.napoleongrills.com
EN
Troubleshoong
Problem Possible Causes Soluon
when valve turned to high.
procedure.
carefully. All gas grill valves must be in the
Preheat grill with both main burners on high
for 10 to 15 minutes.
uneven heat.
Sear plates installed incorrectly.
Excessive grease and ash build on sear
plates and in drip pan.
Ensure sear plates are installed with the
holes towards the front and the slots on the
Preheat grill with both main burners on high
for 10 to 15 minutes.
Clean sear plates and drip pan regularly. Do
not line pan with aluminum foil. Refer to
Burners burn with yellow
the smell of gas.
Possible spider web or other debris, or
Main burner will not light
with the igniter, but will
light with a match.
Normal occurrence on hot days.
replaced.
Burners will not cross light
each other.
peeling inside lid or hood.
Grease build-up on inside surfaces.
and hood is porcelain, and will not peel.
(Rumbling noise and
burner surface.)
Supply hose is pinched.
tube.
Clean out venturi tube.
carefully. All gas grill valves must be in the

18
www.napoleongrills.com
EN
Problem Possible Causes Soluon
Infrared burner (if
blow-torch type sound
and grows dim.)
drippings and build-up. Ports are
clogged.
covered by griddle or pan.)
housing.
two minutes. Relight burner and burn on
surface is covered by objects or accessories.
two minutes, then relight.
Allow burner to cool and inspect very
contact your authorized Napoleon dealer to
order a replacement burner assembly.
Contact your authorized Napoleon dealer
burner assembly.
Blown Fuse.
Faulty transformer.
corroded or loose.
Faulty igniter.
Dirty or corroded electrodes.
protected outlet) into electrical box on the
power box.
Replace fuse located on outlet line of
transformer.
side of cabinet.
Replace igniter – located under electrical
cover.
Oven and control panel
Blown fuse.
Faulty transformer.
corroded or loose.
Bulbs blown (oven lights only).
protected outlet) into electrical box on the
power box.
Replace fuse located on outlet line of
transformer.
side of cabinet.

19
www.napoleongrills.com
EN
KEEP YOUR RECEIPT AS PROOF OF PURCHASE TO VALIDATE YOUR WARRANTY.
Ordering Replacement Parts
Warranty Informaon
MODEL:
(Record informaon here for easy reference)
1. Model and serial number of the unit.
4. Proof of purchase (photocopy of the invoice).
1. Model and serial number of the unit.
3. Proof of purchase (photocopy of the invoice).
Costs for service calls to diagnose problems.
cleaner).

20
www.napoleongrills.com
EN
Geng Started
1. Remove all cart panels, hardware, and grill head from the carton. Raise lid and remove any
2.
3. Assemble the grill where it is to be used, lay down cardboard or a towel to protect parts from being
lost or damaged while assembling.
4. Most stainless steel parts are supplied with a protecve plasc coang that must be removed
prior to using the grill. The protecve coang has been removed from some of the parts during the
manufacturing process and may have le behind a residue that can be perceived as scratches or
blemishes. To remove the residue, vigorously wipe the stainless steel in the same direcon as the
grain.
5.
6.
If you have any quesons about assembly or grill operaon or if there are damaged or missing parts
please call our Customer Soluons Department at 1-866-820-8686 between 9 AM and 5 PM (Eastern
Standard Time).
CAUTION! During unpacking and assembly we recommended you wear work gloves and safety
glasses for your protecon. Although we make every eort to make the assembly process as problem
free and safe as possible, it is characterisc of fabricated steel parts that the edges and corners might
be sharp and could cause cuts if handled incorrectly.
Flat and Phillips
screwdrivers
Pliers
ratchet or driver
TOOLS REQUIRED FOR ASSEMBLY (tools not included)
Other manuals for BIPRO 825
1
Table of contents
Languages:
Other Napoleon Gas Grill manuals

Napoleon
Napoleon ultra chef 485 series User manual

Napoleon
Napoleon BIPRO 600 User manual

Napoleon
Napoleon Ultra chef UD405RSB User manual

Napoleon
Napoleon BIM730 User manual

Napoleon
Napoleon LEX 730 User manual

Napoleon
Napoleon LA200 User manual

Napoleon
Napoleon LEX 485 User manual

Napoleon
Napoleon BILEX485 User manual

Napoleon
Napoleon LEX 730 User manual

Napoleon
Napoleon TQ285X User manual