manuals.online logo
Brands
  1. Home
  2. •
  3. Brands
  4. •
  5. Narita
  6. •
  7. Heater
  8. •
  9. Narita NH-850 User manual

Narita NH-850 User manual

~T ®
~~RITA
Description:Parabolic Halogen Heater
Item No.:NH-850
INSTRUCTION MANUAL
www.naritausa.com
IMPORTANT SAFEGUARDS
~
When using this electric unit, basic safety precau-
tions should always bc followed to reduce the risk
of fire, electric shock and injury to persons, includ-
ing the following:
1. Read all instructions before using this unit.
2. CAUTION: risk of electric shock. Do not open
or try to repair the heater yourself.
3. This heater is hot when in use. To avoid bums,
do not let bare skin touch hot surfaces. If
provided, use handles when moving this heater.
Keep combustible materials, such as furniture,
pillows, bedding, paper, chothes, and curtains at
least 3 ft (O.9M) from the front of the heater and
keep them away from the sides and rear.
4. Extreme caution is necessary when any heater is
used by or near children or invahds, or when the
heater is left operating and unattended.
5. Do not operatt any heater with a damaged
cord or Plug or after the heater malfunctions,
has been dropped or damaged in any manner.
Return heater to authorized service facility for
examination, electrical or mechanical adjust-
men, or repair.
6. This heater is not intended for use in bathrooms,
laundry areas and similar indoor locations.
Never locate heater where it may fall into a
bathtub or other water container. To protect
against electrical hazards, DO NOT immerse in
water or other liquids.
7. Do not run cord under carpeting. Do not cover
cord with throw rugs, runners, or similar cover-
ings. Arrange cord away from traffic area and
where it will not be tripped over.
8. To disconnect heater, turn controls to off, the
A short power
cords may be
cal rating ofthe
extension cord should be arranged so
pulled on by children or pets, or tripp
2 English
remove plug from out1e!.
9. Do not insert or allow foreign objects to enter
any ventilation or exhaust opening sa this may
cause an electric shock or fire, or damage the
heater.
10. A heater has hot and arcing or sparking parts
inside. DO NOT use it in areas where gasoline,
paint, explosive and/or flammable liquids are
used or stored.
11.Avoid the use of an extension cord because thc
extension cord may overheat and cause a risk
of fire. Howevcr, if you have to usc an exten-
sion cord, the cord shall be No.16 AWG mini-
mUll size and rated not less than 1500watts.
12. To avoid fire or shock hazard, plug the unit
directly into a 120V AC electrical out1e!.
13. Always unplug the unit before moving or
cleaning, or whenever the heater is not in use.
Be sure to pull by the plug and not the cord.
14. Use onlv for intended household use as
described in this manual. Any other use not
recommended by the manufacturer may cause
fire, electric shock, or injury to persons. The
use of attachements not recommended or sold
by unauthorized dealers may cause hazards.
15. Do not use outdoors.
16. Always use on a dry, level surface.
17. Keep unit away from heated surfaces and open
flames.
18. WARNING:To reduce the risk of fire or
electric shock, DO NOT use this unit with any
solid-state speed control device.
19. DO NOT attempt to repair or adjust any
electrical or mechanical functions on this unit,
Doing so will void your warranty. The inside
of the unit contains no user serviceable parts.
Qualified personnel should perform all servic-
ing only.
20. To prevent a possible fire, do not block air
intakes or exhaust in any manner. Do not use
on soft surface, like a bed, where openings may
become blocked.
• Do not install the unit directly under a power
outlet.
• Do not share the power outlet with other
appliances.
• Do not use an adapter or extension cord.
• Unplug the unit when not in use for a prolonged
period ..
SAVE THESE
INSTRUCTIONS
HOUSEHOLD
USE ONLY
PARTS
1. Built-in Carrying Handle (in back)
2. Protective Front Grille
3. Parabolic Reflection Hood
4. Base
5. Timer Knob
6. Tip-over Safety Switch (on bottom)
7. Power Knob
SPECIAL FEATURES
• Radiant sun-like heat
• Heats instantly
• Safety tip-over switch
• Overheat protection circuit
• Dual heat settings, 400W 1800W
• Motorized oscillation
• Silent operation
• Energy efficient
• Non-flammable surface
• 2 hour timer
• Excel1ent for spot heating
• Doesn't bum oxygen
TO USE
1. Remove the heater from the box and place on a
firm,level surface. Plug the unit into a polarized
120 V 60Hz power outlet.
2. Turn the power knob to the desired heat setting.
(Timer must be set to ON.)
LOW: heating up to 400W
HIGH: heating up to 800W
OSC. LOW: heater will rotate left to right 90°,
and heat up to 400W
OSc. HIGH: heater will rotate left to right
90°,and heat up to 800W
OFF: heater will stop operating
NOTE: Do not manual1y rotate heater. It should
only be rotated using oscil1ation function.
3. To operate the timer, turn the timer knob clock-
wise to the desired position. The heater will stop
automatically after the set time has expired.
4. To tilt the adjustable head, grasp the reflection
hood and gently tilt it forward or backwards
until you hear a click. The reflection hood can
be tilted into 4 positions.
CAUTION: When tilting the adjustment head, the
hearter must be turned off.
English 3
IF HEATER WILL NOT
WORK
1. Check if the power cord is plugged into an
electrical outlet, if not, plug in.
2. Check if electricity to the main fuse is working.
3. Confirm that the power knob is turned to LOW,
HIGH, OSC LOW, or OSC HIGH.
4. ConfiniJ that the timer knob is not turned to
OFF. The Timer knob must be set to ON or
positioned 0-120 for the heater to operate.
5. Check if the heater is on a level surface. If the
tip-over safety switch is not pushed in, the
heater will not run.
CLEANING &
MAINTENANCE
\. Unplug the unit and let it cool.
2. To keep the heater clean, the outer shell
may be cleaned with a soft, damp cloth.
You may use a mild detergent if necessary.
CAUTION: Do not let liquid enter the heater.
3. Do not immerse the heater in water.
4. Wait until the unit is completely dry before use.
STORAGE
Store the heater in a cool, dry location when not in
use. Preferably, to prevent dust and dirt build-up,
use the old packaging to repack the unit.
4 English
LIMITED WARRANTY
Your Narita 'small appliance is
warranted against defective
materials or workmanship for
Iyear from the date of purchase,
the warranty is only valid for
any manufacturing defects under
nonnal use and conditions. and
we will repair or parts
replacement at its option,
defective parts at no charge, this
warranty does not apply in the
improper~- installation, misuse,
abuse or damages cause from
shipping. Any return of
defective' merchandise to the
manufacturer must be processed
accordingly by contacting
customer service first to obtain
the Return Authorization
Number and freight prepaid
with proof of purchase. We will
not accept any returns of
merchandise without an
applicable RMA#.

Other Narita Heater manuals

Narita NH-9015TR User manual

Narita

Narita NH-9015TR User manual

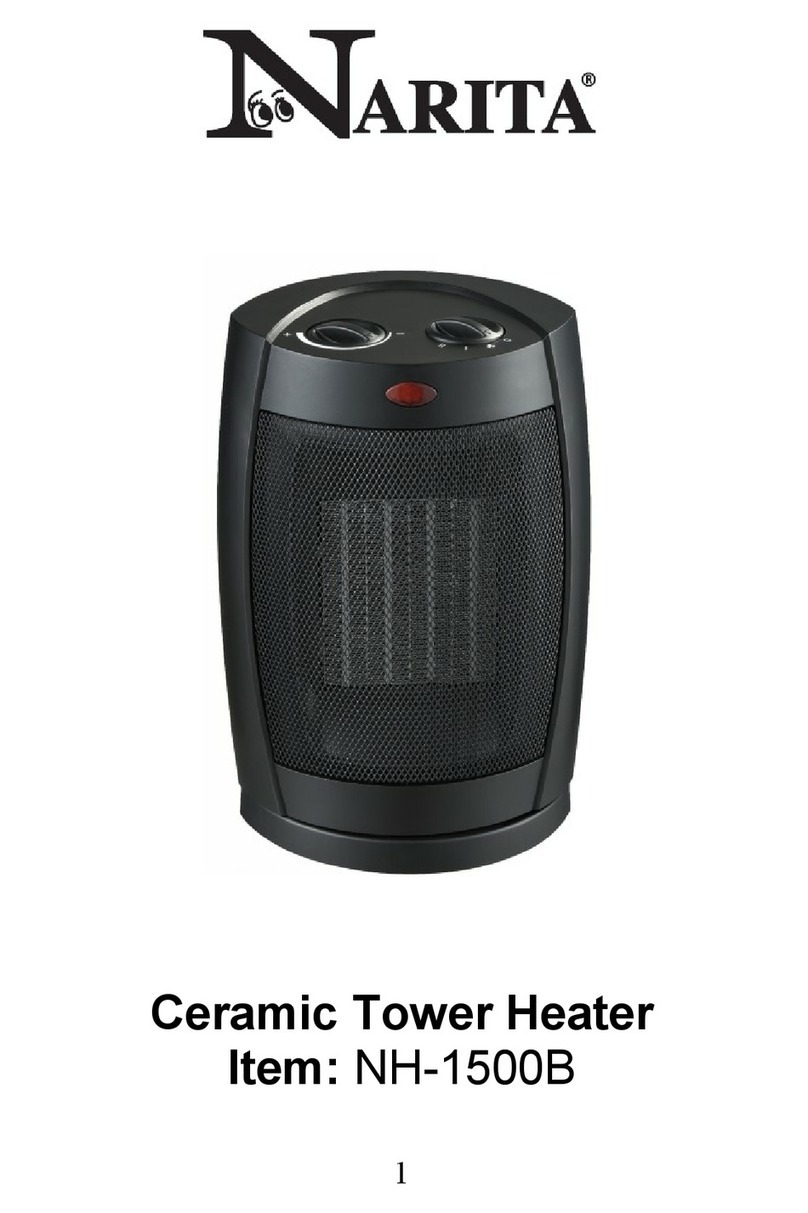
Narita NH-1500B User manual

Narita

Narita NH-1500B User manual

Popular Heater manuals by other brands

Somogyi Elektronic HOME FK 52 instruction manual

Somogyi Elektronic

Somogyi Elektronic HOME FK 52 instruction manual

Dimplex DX-233 Series owner's manual

Dimplex

Dimplex DX-233 Series owner's manual

Philips HD3412/00 user manual

Philips

Philips HD3412/00 user manual

RIB ACQ9092 manual

RIB

RIB ACQ9092 manual

Goldair Select GSOC145 operating instructions

Goldair

Goldair Select GSOC145 operating instructions

Profile 100000115 Bora manual

Profile

Profile 100000115 Bora manual

Stanley 675900 operating manual

Stanley

Stanley 675900 operating manual

Omega SEPDH Series Guide

Omega

Omega SEPDH Series Guide

Sengoku HeatMate HME-GS10 Operator's manual

Sengoku

Sengoku HeatMate HME-GS10 Operator's manual

Jaga DBH-SET Installation and operation manual

Jaga

Jaga DBH-SET Installation and operation manual

TECHWOOD TCG-1200 instruction manual

TECHWOOD

TECHWOOD TCG-1200 instruction manual

DutchWest 2181 (Small) Service manual

DutchWest

DutchWest 2181 (Small) Service manual

Kampmann UniLine 10 Assembly and installation instructions

Kampmann

Kampmann UniLine 10 Assembly and installation instructions

Heatlight HLW15IP66 Series instructions

Heatlight

Heatlight HLW15IP66 Series instructions

Zibro Laser FF 55 operating instructions

Zibro

Zibro Laser FF 55 operating instructions

King Electrical KP1205 installation instructions

King Electrical

King Electrical KP1205 installation instructions

HJM 636 Using instructions

HJM

HJM 636 Using instructions

BASETech 560566 operating instructions

BASETech

BASETech 560566 operating instructions

manuals.online logo
manuals.online logoBrands
  • About & Mission
  • Contact us
  • Privacy Policy
  • Terms and Conditions

Copyright 2025 Manuals.Online. All Rights Reserved.