National Flooring Equipment BINDPRO User manual

Read Manual Before Operating Machine
405294-EN Rev A
BINDPRO DOUBLE PULL BINDER
INSTRUCTION MANUAL

DISCLAIMER
All eorts have been made to ensure the accuracy of the information in this manual. However, should any
errors be found, National Flooring Equipment (NFE) would greatly appreciate being notied. Due to con-
tinual development of our equipment, NFE cannot take responsibility for any incorrect action taken, or not,
due to errors or omissions in this manual that may result from negligence, accident, or any other cause.
No part of this manual may be used or reproduced in any form whatsoever without the written permission
of NFE. The contents of this manual are subject to revision without notice. All rights reserved.
The use of third-party spare parts may adversely aect the performance of the product and could invali-
date the warranty.
Nationalequipment.com
Toll Free: 800.245.0267 | Main: 763.315.5300
9250 Xylon Avenue North | Minneapolis, MN 55445
© 2019, National Flooring Equipment, Inc.

Table of Contents
3
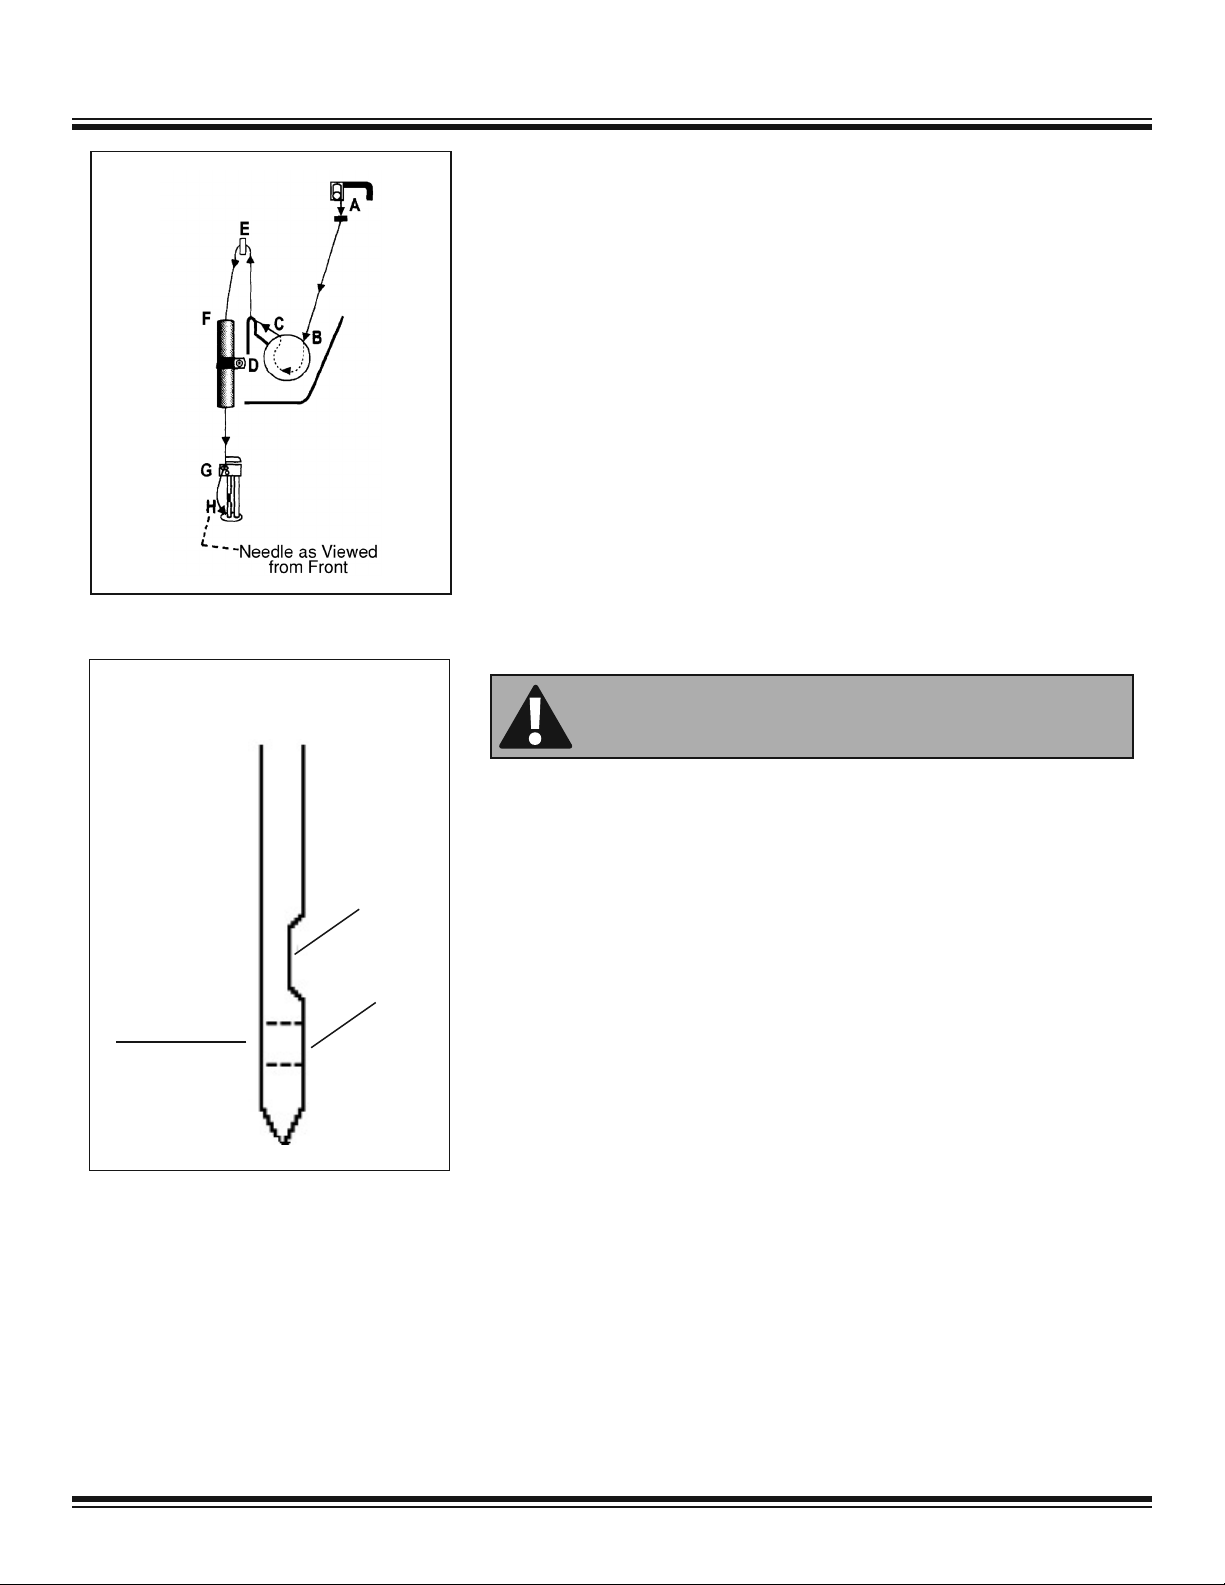
Table of Contents .......................................................................................................................................................... 3
Features and Specications......................................................................................................................................... 4
Safety.............................................................................................................................................................................. 6
General Rules for Safe Operation ......................................................................................................................... 6
Recommended Electrical Practices ....................................................................................................................... 7
Main Controls and Components .................................................................................................................................. 8
Operation...................................................................................................................................................................... 10
Unpackaging ........................................................................................................................................................ 10
Threading the Machine ........................................................................................................................................ 10
Thread Tension .................................................................................................................................................... 12
Proper and Improper Thread Tension .......................................................................................................... 12
Upper Thread Adjustment ............................................................................................................................ 12
Lower Thread Adjustment ............................................................................................................................ 12
Installation and Threading of Binding Tape .................................................................................................. 13
Stitching ............................................................................................................................................................... 14
Changing Between Zigzag and Straight Stitch Modes ................................................................................ 14
Preparing to Stitch ....................................................................................................................................... 14
Stitching ....................................................................................................................................................... 14
Stitching Around a Corner............................................................................................................................ 15
Removing Carpet ......................................................................................................................................... 15
Important Points........................................................................................................................................... 15
Binding Corners .................................................................................................................................................. 16
Outside Corners........................................................................................................................................... 16
Inside Corners ............................................................................................................................................. 18
Folder Options ..................................................................................................................................................... 20
Operating Tips ..................................................................................................................................................... 21
Maintenance................................................................................................................................................................. 22
Lubrication ........................................................................................................................................................... 22
Needle Height Adjustment ................................................................................................................................... 23
Needle-To-Driver Setting & Race Cover Spring Clearance ................................................................................. 24
Folder Adjustment ................................................................................................................................................ 25
Troubleshooting Guide ............................................................................................................................................... 26
Complete Parts List..................................................................................................................................................... 28
Accessories & Attachments ....................................................................................................................................... 30
Warranty ....................................................................................................................................................................... 33

Features and Specications
4
FEATURES
• Electronic speed control
• Heavy-duty gear set on top drive shaft makes machine more
robust
• LED light improves visibility of sewing area
• Heavy-duty 1/8 hp motor
• Straight stitch or zigzag lock stitch for binding strength
• Factory-set feed timing using keyways on top shaft
• Oilite bearings simplify maintenance
• Heavy-duty transfer rollers for improved mobility
• Ball bearing cam follower for reduced friction and increased
longevity
• Ergonomic handle gives better visibility and reduces hand and
arm fatigue
• Accommodates a variety of binding folder sizes
• Sews approximately 16 lf/min

Features and Specications
5
Product Specications
Width Length Height Weight Power
15” (38.1 cm) 19” (48.3 cm) 14” (35.6 cm) 44 lbs (20.0 kg) 120V, 5A

Safety
6
GENERAL RULES FOR SAFE OPERATION
READ AND SAVE ALL INSTRUCTIONS FOR FUTURE USE. Before use, ensure operators read and understand this manual. Read and under-
stand labeling on machine and components. Extra copies of the manual are available.
1. KNOW YOUR EQUIPMENT: Read this manual carefully to learn equipment applications and limitations, potential hazards associated with
this type of equipment. Keep this manual with the equipment it is associated with.
2. AVOID DANGEROUS ENVIRONMENTS: Do not use in rain, damp or wet locations, or in the presence of explosive atmospheres (gas-
eous fumes, dust or ammable materials). Remove materials or debris that may be ignited by sparks.
3. KEEP WORK AREA CLEAN AND WELL LIT: Cluttered, dark work areas invite accidents.
4. DO NOT USE ON STEPS.
5. DRESS PROPERLY: Do not wear loose clothing. These may be caught in moving parts. When working wear gloves and insulated non-skid
footwear. Keep hands and gloves away from moving parts.
6. USE SAFETY EQUIPMENT: Hearing protection is recommended during extended use.
7. KEEP BYSTANDERS AWAY: Children and other bystanders should be kept at a safe distance from the work area to avoid distracting the
operator and contacting the equipment or extension cord. Operator should be aware of the proximity of bystanders. This machine is not
intended for use by persons with reduced physical, sensory or mental capabilities or lack of experience and knowledge. Equipment is not
to be used by children.
8. USE PROPER ACCESSORIES: Using accessories that are not recommended may be hazardous. Be sure accessories are properly
installed and maintained. Do not remove a guard or other safety device when installing an accessory or attachment.
9. CHECK FOR DAMAGED PARTS: Inspect guards and other parts before use. Check for misalignment, binding of moving parts, improper
mounting, broken parts and other conditions that may affect operation. If abnormal noise or vibration occurs, turn off immediately and
have the problem corrected before further use. Do not use damaged equipment. Tag damaged equipment “DO NOT USE” until repaired.
Missing or damaged parts should be properly repaired or replaced immediately. For all repairs, use only identical NFE replacement parts.
10. GUARD AGAINST ELECTRIC SHOCK: Prevent body contact with grounded surfaces such as pipes, radiators, ranges and refrigerators.
Hold your equipment by insulated nonmetal grasping surfaces. Use a Ground Fault Circuit Interrupter (GFCI) to reduce shock hazards.
11. DO NOT FORCE EQUIPMENT: Equipment will perform best at the rate for which it was designed. Excessive force only causes operator
fatigue, increased wear, reduced control and may cause needle deection.
12. KEEP HANDS AWAY FROM ALL MOVING PARTS.
13. STAY ALERT: Watch what you are doing, and use common sense. Do not use when you are tired, distracted or under the inuence of
drugs, alcohol or any medication causing decreased control.
14. MAINTAIN LABELS AND NAMEPLATES: These carry important information. If unreadable or missing, contact NFE for a replacement.
15. MACHINE IS HEAVY, DO NOT DROP. Ensure proper lifting procedures are followed when transporting.

Safety
7
RECOMMENDED ELECTRICAL PRACTICES
Guidelines for Using Extension Cords
• Ensure the cord type is suitable for the application and location. If you are unsure about your cord type, consult a qualied electrical profes-
sional or electrician.
• Ground your equipment. The equipment must be plugged into an appropriate outlet, one which is properly installed and grounded in ac-
cordance with all codes and ordinances. Do NOT modify the plug provided with the equipment. Never remove the grounding prong from
the plug.
• Do not remove, bend or modify any metal prongs or pins of the plug. Modications to power cords and/or plugs may result injury and/or
equipment damage.
• FULLY INSERT plug into outlet.
• Do not use excessive force to make connections.
• Never unplug by pulling the cord from the outlet. Pull plug rather than cord to reduce the risk of damage.
• Regularly examine your extension cord and ensure it is in good electrical condition. Never use a damaged cord—either replace it or have
it repaired by a qualied person.
• Protect your extension cords from sharp objects, excessive heat and damp or wet areas. Keep the cord away from oil, cutting edges and
moving parts.
• Do not drive, drag or place objects over cord.
• Avoid overheating. Uncoil cord and do not cover it with any material.
• Avoid accidental starting. Be sure equipment is turned off before plugging in. Do not use equipment if the power switch does not turn the
equipment on and off.
• Make sure equipment is not running before disconnecting cord.
• Unplug equipment. When not in use and before changing accessories or performing maintenance, unplug the machine.
Recommended Extension Cord Size
Use a 14 AWG, SJOOW cord, 200 ft (61 m) maximum length with this machine. Ensure cord has a 3-prong plug (NEMA 5-15).
WARNING: ELECTRICAL CORDS CAN BE HAZARDOUS. MISUSE CAN RESULT IN FIRE OR DEATH BY ELECTRICAL SHOCK. READ
CAREFULLY AND FOLLOW ALL DIRECTIONS.
CAUTION: ALWAYS FOLLOW APPLICABLE ELECTRICAL CODES, STANDARDS AND/OR REGULATIONS. CONSULT YOUR LOCAL
ELECTRICAL AUTHORITY OR A LICENSED ELECTRICIAN BEFORE ATTEMPTING TO MODIFY AN ELECTRICAL INSTALLATION. ENSURE
THAT CIRCUIT AND GROUND FAULT PROTECTION DEVICES AND ALL OTHER ELECTRICAL SAFETY EQUIPMENT ARE FUNCTIONING
PROPERLY.
7

Main Controls and Components
8
FRONT VIEW
Tension Control
Double Pull Feed Roller
Binding Tape Disc
Wheel
Upper Pivot Pin Screw
Binding Tape Folder
Speed Control Knob
Stitch Selector Lever
Feed Roller Lift Lever
Needle Bar
Needle Bar Drive Collar
Power Switch
END VIEW

Main Controls and Components
9
TOP VIEW
BOTTOM VIEW
Handwheel
Shuttle Body Fuse*
Roller
* Located above cord connector
Belt
Shuttle Body Clamp Screw
Drive Gears

UNPACKAGING
Important!
It is highly recommended you retain the box and packing your binder was sup-
plied in for storage, transporting, or if necessary, shipping the binder for service.
Replacement shipping cartons can be purchased.
For equipment to be returned, please call NFE at 1-800-245-0267.
Each new binder is furnished with the following items:
• Instruction manual
• Top thread (spool)
• Binding tape discs (front and back)
• Binding tape centering plug
• Binding tape (1/2 gross)
• Serging tape sample
• Lubricant
• Accessory kit (see Accessories section for items included in kit)
THREADING THE MACHINE
1. Raise needle to highest point.
2. Thread by following the letters indicated in Figure 1.
A. Upper thread tube and guide
B. Enter tension discs
C. Exit tension discs
D. Take-up spring
E. Take-up arm
F. Lower thread tube
G. Needle block
H. Needle (see Figure 2)
Note: Ensure thread is bottomed in the tension disc (B and C in Figure 1). This is
extremely important! Thread needle from left to right or from the outside to the inside
of the machine.
3. Remove bobbin case.
A. Rotate handwheel toward you until needle reaches its highest point.
B. Tilt machine to rest on handwheel end. If you have binding tape installed, use
a small block to support machine on handwheel to prevent the tape discs from
breaking.
C. Lift and grasp bobbin case latch (Figure 3 on following page).
D. Remove case by pulling towards you.
Operation
10
FIG. 1
WARNING: FOR YOUR SAFETY, DISCONNECT THE POWER SOURCE TO
THE BINDER BEFORE ATTEMPTING TO SERVICE OR ADJUST THE MACHINE.
FIG. 2
EYE
SCARF
Needle as Viewed
from Front
Thread Machine
from Left to Right

THREADING THE MACHINE—CONTINUED
4. Thread bobbin case.
A. With bobbin and bobbin case being held as shown, and with approximately 5-6”
of thread for feeding, insert bobbin into case (Figure 4).
B. Pull thread through slot in the bobbin case (Figure 5). Thread should unwind
counterclockwise towards slot.
C. Continue by pulling thread under tension spring and up through slot in spring
(Figure 6).
D. Put thread through hole in bobbin case arm leaving approximately 5-6” of bob-
bin thread hanging from the arm.
Note: To check for proper thread feed tension, see Thread Tension section.
5. Install bobbin case.
A. Lift and grasp bobbin case latch and with the arm aligned with the notch in the
shuttle race cover, slide the bobbin case fully onto the center post (Figure 3).
You should hear it “click” into place. During this step, it is helpful to hold the
thread with the bobbin case to prevent the bobbin from dropping out of the
case.
B. Trim the bobbin thread to approximately 2”.
6. Replace needle if needed.
Note: Proper needle type for your machine will be indicated by packet of needles in-
cluded in kit. The binders are equipped with a Schmetz #23 heavy-duty needle. As an
option, the Schmetz #22 can be used. The main difference is the #23 needle is slightly
larger in diameter, therefore stiffer and tends to deect less. Needle-to-hook spacing
may change and the adjustment should be checked per the adjustment instruction
sheet. The diameter decrease will result in a smaller penetration hole in the fabric.
A. To remove needle, rotate the handwheel towards you (counterclockwise) until
the needle reaches its highest point. Using a 5/64” Allen wrench (provided),
loosen the set screw above the needle and remove the needle.
B. To replace needle, grasp needle with tweezers and position needle with the
long groove facing left and the notch (scarf) facing right. Feed the point into the
needle bar foot, and then the other end up into the needle bar assembly body.
Ensure needle is completely inserted before tightening set screw. You should
not feel needle below foot of assembly when needle is at its highest point. DO
NOT OVER TIGHTEN!
Operation
11
CAUTION: ENSURE THE BOBBIN CASE LATCH IS FULLY CLOSED AFTER
INSTALLATION.
FIG. 4
FIG. 5
FIG. 6
CAUTION: REPLACEMENT NEEDLES MUST BE OF THE CORRECT TYPE
AND INSTALLED CORRECTLY FOR PROPER MACHINE OPERATION.
FIG. 3

Operation
12
THREAD TENSION
Proper and Improper Thread Tension
Proper thread tensions are important in obtaining optimal stitch appearance, proper knot
location and tensions within the carpet being sewn.
When the upper and lower thread tensions are correct, the threads are knotted in the
center of the carpet (Figure 7).
Excessive tension on the upper thread will result in looping of the bobbin thread on the top
of the carpet (Figure 8).
Excessive tension of the lower thread will result in looping of the top thread on the bottom
of the carpet (Figure 9).
Upper Thread Adjustment
To increase thread tension, turn the tension control clockwise. Conversely, turning coun-
terclockwise will decrease tension.
Note: Make small adjustments (1/4” turns or less) until desired results are achieved.
Whenever you rethread the machine, make sure the thread is properly seated between
the tension discs. Lack of upper tension can result in looping of upper thread on bottom
of carpet.
Lower Thread Adjustment
Remove bobbin case. Check that the bobbin spool is properly threaded in the case. Pull
thread into slot and under spring into notch in case.
Thread must pass through eyelet in bobbin case for proper operation as shown in Figure
10. Tension on the bobbin thread should be light.
To test tension, hold the thread end and allow the bobbin case to hang freely. Give the
thread a slight tug upward. If the tension is correct, the weight of the case will cause ap-
proximately 1” of thread to feed out.
To increase thread tension, turn the small slot screw on the case clockwise. Conversely,
turning counterclockwise will decrease tension.
Note: Rotate the adjusting screw no more than 1/8” to 1/4” turn at a single time, until
desired result is achieved. Recheck spool threading after each test and before reinstalling
case in machine. Over time, thread dust will accumulate between the spring and case
which can cause erratic tensions. To correct, remove screw and spring and clean.
FIG. 7
FIG. 8
FIG. 9
FIG. 10

FIG. 11
THREAD TENSION—CONTINUED
Installation and Threading of Binding Tape
Included with your machine are:
• Binding tape discs (front and back)
• Binding tape centering plug
• Binding tape (1/2 gross)
1. Mount the Tape Reel
A. Place the back disc on spindle.
B. Slide the plug onto spindle.
C. Place tape reel on centering plug so that tape will feed off reel in a CLOCKWISE
direction from the bottom of the roll.
D. Slide remaining disc with locking collar onto spindle. Allow space for free tape
feed.
E. Tighten thumb screw.
Note: Tape reel MUST roll freely between discs.
2. Thread Tape
A. Trim tape end to provide a long sharp point.
B. Start tape end into folder inlet. Do NOT thread through tape guide on folder at
this time.
C. Using a tweezer point in the folder slot, push the tape until you can grasp tape
end at folder exit.
D. Lift feed roller and pull several inches of tape through folder. Pull tape back under
needle and feed roller and drop feed roller.
E. Threading the binding tape through only one of the tape guides (the guide closest
to the opening as shown in Figure 11) is recommended. Using more than one tape
guide will increase tension on the tape and could cause the carpet to curl.
Note: If using serge tape, do not use any guides. Spooling tape off from the top
of the roll (in a counterclockwise direction) instead of the bottom will increase ten-
sion on the tape. Due to the softness of the serge tape, extra tension can greatly
improve results and eliminate missed stitches on the back.
Operation
13

STITCHING
Changing Between Zigzag and Straight Stitch Modes
Examples of zigzag and straight stitching are shown in Figure 12 (as seen from the back
of carpet, 7/8” binding tape shown).
The machine is shipped in Zigzag mode. Change between Zigzag and Straight Stitch
modes as follows:
1. Turn the handwheel toward you until the needle returns to the highest point. Do not
make this adjustment with the needle below the needle plate or in the carpet.
Note: This step must be done rst to avoid breaking the needle.
2. Set the stitch control lever to the desired setting—right lever position is Zigzag, left
position is Straight Stitch.
3. Adjust the folder mounting bracket to the proper position. Zigzag position is shown in
Figure 13. The Straight Stitch position is approximately 1/4” to the left. Loosen the two
button head cap screws to adjust the bracket to the desired position.
When correctly adjusted the folder positions can be marked on the machine around the
mounting bracket using a permanent marker.
Use of the carpet guide is optional. If used, it should be aligned with the inside edge of the
folder mouth so it doesn’t block the opening. See Figure 14.
Preparing to Stitch
1. Change machine to Zigzag mode.
2. Grasp the upper thread and binding tape in your left hand, and pull back under feed
roller. Drop feed roller and run machine in short bursts until stitching occurs in binding
tape. The feed roller should move the tape as it stitches.
Stitching
1. Rotate handwheel towards you until needle is at highest point.
2. Insert carpet edge into folder mouth and up under needle.
3. Begin sewing. (It may be necessary to push material slightly at this point to engage
it under feed roller).
Note: If stitch missed the tape on the bottom, refer to Folder Adjustments section.
Operation
14
CAUTION: WHILE SEWING, NEVER PULL ON CARPET OR MACHINE. THIS
CAN CAUSE NEEDLE DEFLECTION WHICH CAN RESULT IN NEEDLE BREAK-
AGE AND/OR DAMAGE TO THE SHUTTLE PARTS.
FIG. 12
Right stitch at
edge of tape
Approximately
1/8” from edge
of tape
Straight
Zigzag
FIG. 13
FIG. 14
FOLDER
OPENING
TAPE GUIDE
STRAIGHT ZIGZAG
CARPET
GUIDE
1/8”
ADJUSTMENT SLOT
CAUTION: KEEP THE PRESSER FOOT NEEDLE BLOCK ASSEMBLY FROM
HITTING THE FOLDER BY ALLOWING APPROXIMATELY 1/8” SPACE BETWEEN
THEM (FIGURE 14).

STITCHING—CONTINUED
Stitching Around a Corner
1. Stop sewing and if necessary, rotate handwheel towards you until needle is in carpet at corner.
2. Raise feed roller.
3. Alter direction of material (or machine).
4. Lower feed roller and resume sewing.
Note: Be careful not to pull the tape too tight as this will cause the carpet to curl up at the corners.
Removing Carpet
1. Raise feed roller.
2. Rotate handwheel toward you until needle is at highest point.
3. Pull carpet out to your left (or move machine to the right).
4. Cut thread and binding.
Important Points
• Carpet types such as berber or those with a stiff or heavy backing may require application of a sewing softener prior to binding—Windex
Clear works well for this. Do NOT over-apply the softener as this can cause the backing to delaminate.
• Using a #23 needle is recommended for berbers.
• A wide gap folder with a larger mouth is available in 1-1/4”. This folder works better with heavy berbers or thick unbeveled carpet. See Ac-
cessories section.
• A good gauge for carpet height capability is one that will easily pass through the mouth of the folder. Above that, beveling is necessary. Good
rule of thumb: Weights above 40 oz. should be beveled for best results.
Operation
15

Operation
16
BINDING CORNERS
Outside Corners
Outside corners can be done in three ways:
METHOD 1
1. Sew rst side, then trim ush with edge (Figure 15).
2. Sew over trimmed end leaving a 2-3” tail at the start (Figure 16).
3. Repeat Steps 1-2 on each corner.
4. When completed, fold and glue each corner (Figure 17).
FIG. 15
FIG. 16
FIG. 17

Operation
17
FIG. 22
FIG. 18
BINDING CORNERS—CONTINUED
METHOD 2
1. Sew rst side leaving a 2-3” tail (Figure 18).
2. Fold tail under (Figure 19).
3. Place carpet in folder and sew down the next side (Figure 20).
4. Repeat Steps 2 and 3 on each corner.
5. When completed, fold and glue all the strips down (Figure 21).
METHOD 3
Sewing around corners is more difcult. Corners done in this manner are usually not
as sharp as those done by folding over and gluing. Zigzag should be used on corners.
Straight stitching is not recommended.
1. Slow machine down.
2. Stitch up to corner, then stop machine.
3. Raise feed roller.
4. With the needle down part way, turn machine or carpet.
5. Drop feed roller and continue sewing. See Figure 22.
FIG. 19
FIG. 20
FIG. 21

Operation
18
FIG. 23
FIG. 24
FIG. 25
FIG. 26
FIG. 27
BINDING CORNERS—CONTINUED
Inside Corners
Inside corners can be done in two ways:
METHOD 1
1. Cut the carpet back at the corner (Figure 23).
2. Fold back at cut and sew over end (Figure 24).
3. Fold back sewed side. Start at cut. See Figure 25.
4. Use seam tape to close cut and glue back tails on tape. See Figure 26.
5. Figure 27 shows the top of the completed corner.

Operation
19
FIG. 29
FIG. 28
FIG. 30
FIG. 31
BINDING CORNERS—CONTINUED
METHOD 2
1. Sew rst side into corner as far as possible leaving enough binding tape to reach
the corner when hand stitching the rest.
2. Slide carpet in from back of machine (as close to the corner as the machine will
allow) leaving a starting tail and continue sewing. See Figures 28 and 29.
3. Hand stitch or staple bind:
Hand Stitch: Use a needle and the tape tails and thread leftover from machine
sewing (Figure 30).
Staple Bind: Trim tails off and staple the 1-1/4” tape on the top edge of carpet
overlapping sewn portion a bit (Figure 31). When stapling is complete, fold over
tape to the back of the carpet and glue.

FOLDER OPTIONS
The machine comes complete with a folder mounting bracket. Customers must choose
one of the following folders with their purchase:
• 7/8” Folder (P/N 126-154)
• 1-1/4” Folder (P/N 126-D-F)
• 1-1/4” Wide-Mouth Folder (P/N 126-D3-F)
The following are available folder types. See Accessories section for sizes and part
numbers.
Raw Edge Type (Figure 32):
• Standard
• Wide Mouth
Single Tuck Type (Figure 33):
• Tucks top edge under
Operation
20
FIG. 32
FIG. 33
Raw Edge Type
Single Tuck Type
Carpet
Carpet
Table of contents