3
4
5
6
7
8
9
10
12
13
14
17
22
24
26
27
28
31
34
37
40
43
44
47
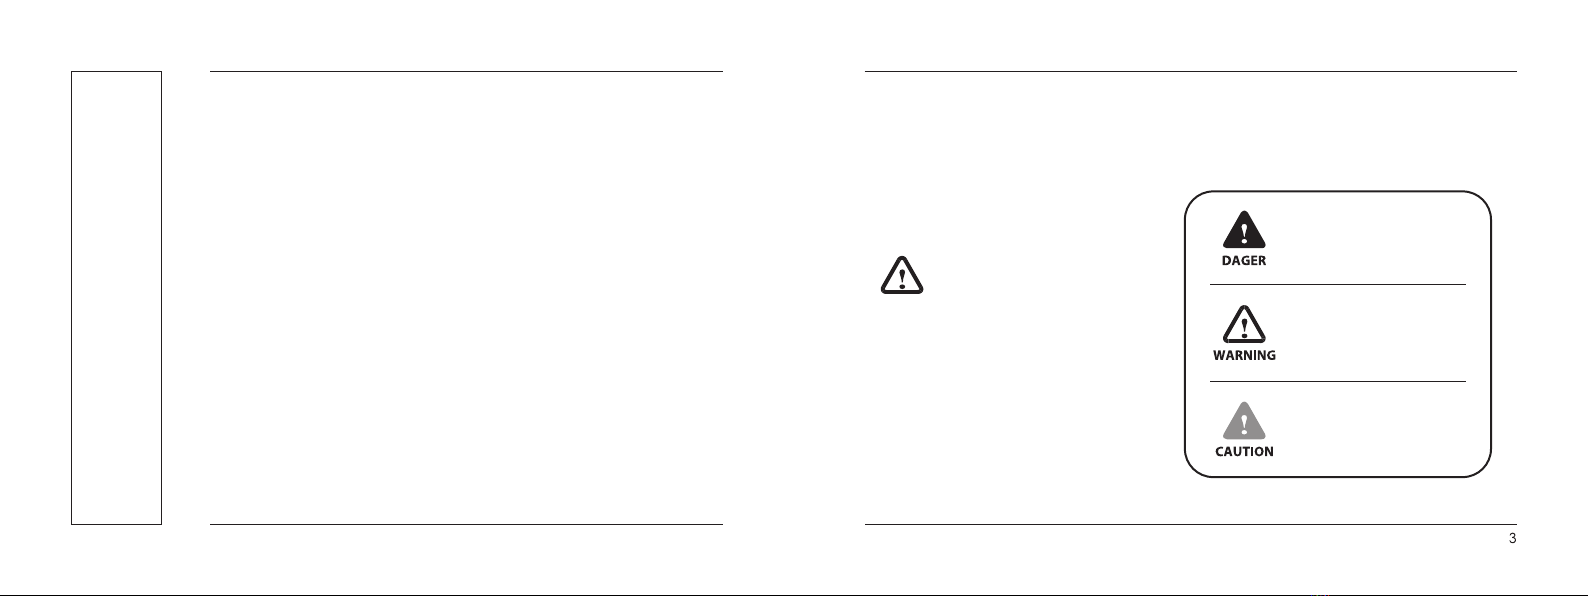
Safety Instructions
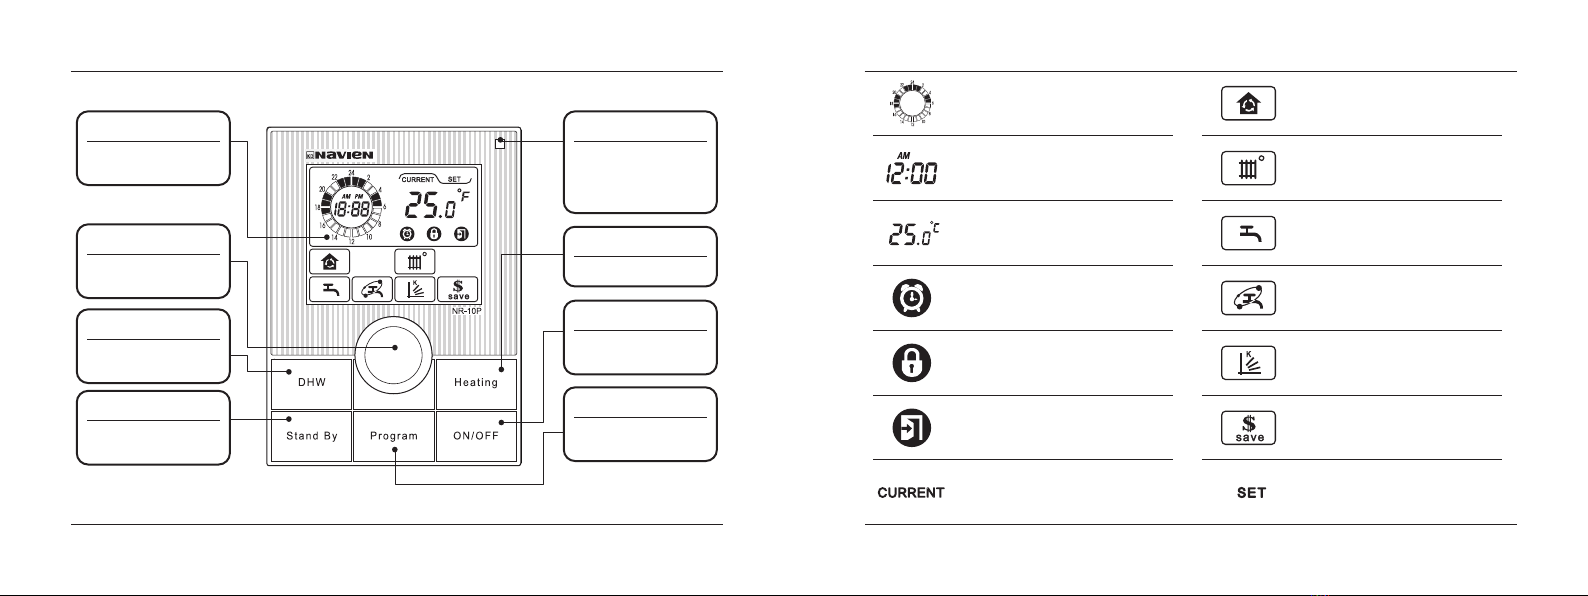
Remote Controller
LCD Display Icon
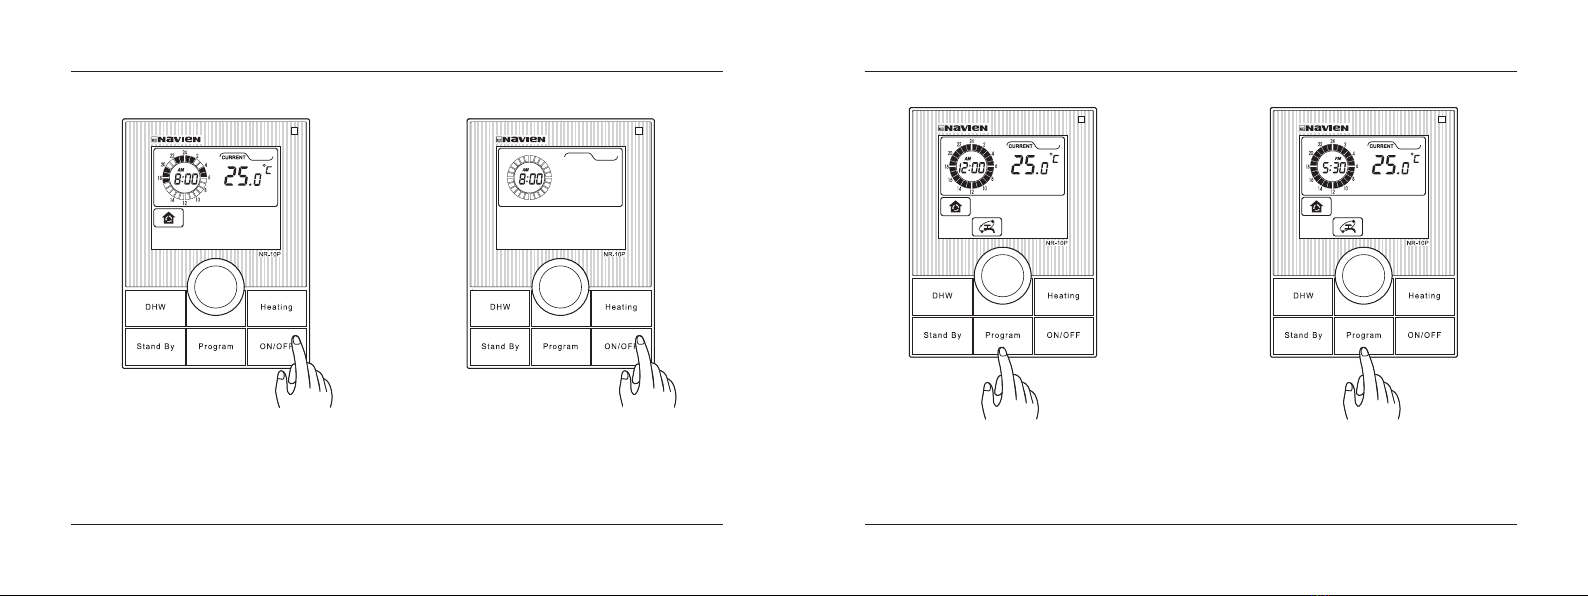
Remote controller ON / OFF
Setting the Clock
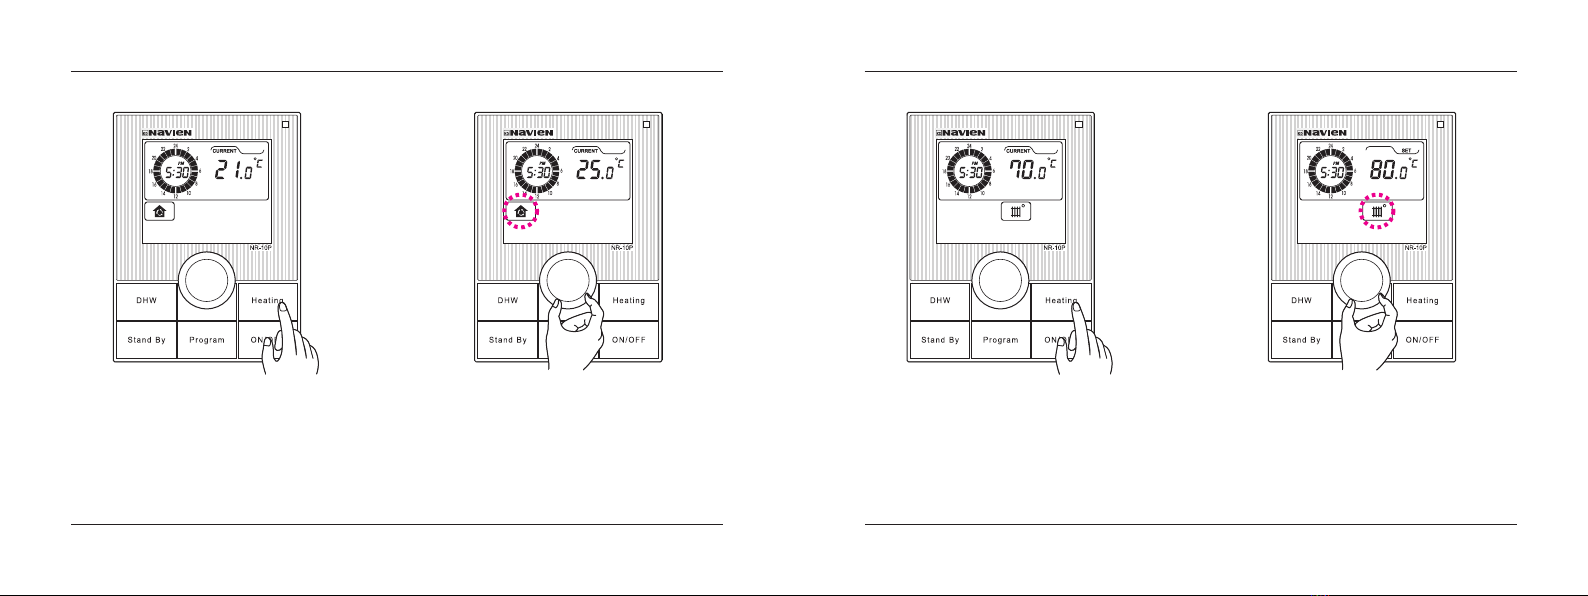
Room Temp. Setting
Supply Temp. Control
Program (24th Timer)
K-Factor (Options)
Stand By
Remote Operation by Telephone – Setting the number of ringing
Remote Operation by Telephone– Setting Password
Remote Operation by Telephone – turn on boiler by phone
Remote Operation by Telephone – turn o boiler by phone
Hot Water Temperature Setting
DHW Pre-heating Setting
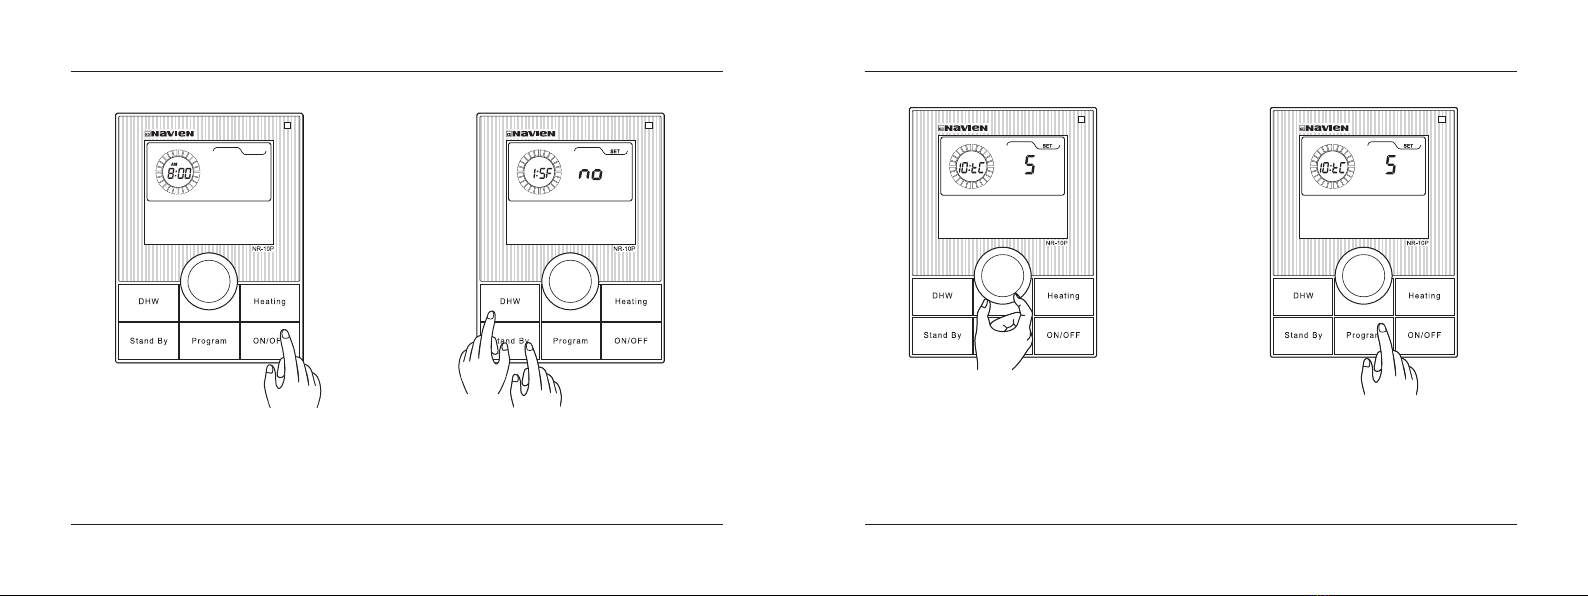
Heat Capacity Control
Supply water pressure setting
Setting of pump overrun time
Setting of DHW post delay time
Setting of Anti-cycling time
Lock
Basic Troubleshooting and Frequently Asked Questions
Error Code Guide
Contents
All safety messages will refer to potential hazards.
Follow the instructions exactly to avoid the risk of injury.
This is safety alert symbol. It is used to
alert you to potential personal injury hazards.
Obey all safety messages that follow this
symbol to avoid possible injury or death.
Indicates an imminent hazardous
situation which, if not avoided,
could result in injury or death
Indicates a potential hazardous
ituation which, if not avoided,
could result in injury or death.
Indicates an imminent hazardous
situation which, if not avoided,
may result in minor or moderate
injury.
All safety information will refer to a potential
hazard. Follow the instructions in this manual
exactly to avoid the risk of injury.
Safety Instructions