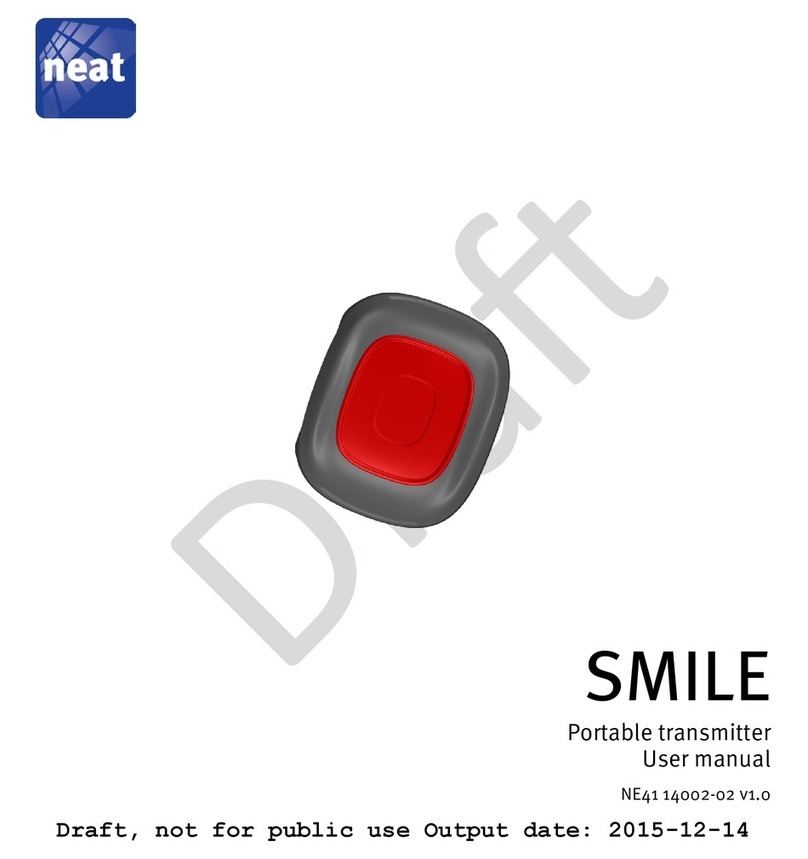
Neat SMILE User manual

neat
SMILE
User manual
NE41 14002-02 v2.0

2SMILE User manual NE41 14002-02 v2.0
SMILE kit contents
The list below shows the included parts in the package. If any part is
missing or is defect, please kontakt your reseller or distributor.
# Denomination
1 SMILE unit
2 Necklace with PIN
3 Wristband
Declaration of Conformity
Hereby NEAT Electronics AB declares that the
radio equipment type SMILE is in compliance
with Directive 2014/53/EU. The full text of the
EU declaration of conformity is available at
the following internet address:
http://www.neat-group.com/downloads/
documentation
© 2014 NEAT Group
All rights reserved.
Document number: NE41 14002-02 v2.0
Revision date: 2019-01-29
NEAT Electronics AB
Varuvägen 2
SE-246 42 Löddeköpinge
Sweden
Phone: +46 (046) 707065
Fax: +46 (046) 707087
www.neat-group.com/se
infosweden@neat-group.com
123

3
1 About SMILE 5
1.1 SMILE 5
1.2 SMILE ID 5
1.3 Intended use 5
1.4 General Use 5
2 SMILE 6
3 SMILE parts 6
4 LED indications 7
5 SMILE Accessories 7
5.1 EPA (Easy Press Adapter) 7
5.2 BERLOCK 7
6 Mounting 8
6.1 PIN/necklace 8
6.2 Wristband 8
6.3 CLIP 8
6.3.1 Mounting the EPA 8
6.4 BERLOCK 9
6.5 Changing the top shell 9
7 SMILE Programmer 9
7.1 The drop down menus 10
7.1.1 File 10
7.1.2 Communication 11
7.1.3 Help 12
7.2 Button and Alarm types 12
7.2.1 Button functions 13
7.2.2 Alarm Types 13
7.3 Radio 14
7.3.1 Radio ID Code, Alarm Delay 14
7.3.2 Radio transmission 15
Contents
SMILE User manual NE41 14002-02 v2.0

4
7.4 Info 16
7.5 Activity 16
7.6 RFID 17
7.7 RFID zones/codes 18
7.7.1 Codes and zones with continous retransmission 18
8 Battery holder 20
9 Use and maintenance 21
9.1 Safety notes 21
9.2 Use Use only original parts. 21
9.3 Do not expose to direct sunlight. 21
9.4 Cleaning 21
9.5 Recycling 21
10 Technical data 22
SMILE User manual NE41 14002-02 v2.0

5
SMILE User manual NE41 14002-02 v2.0
1 About SMILE
The SMILE Family is a range of products meant for the care sector,
either in a home care living or in a warden facility. The SMILE Family
consist of two portable triggers, SMILE and SMILE ID.
The term SMILE or SMILE unit will be used for the trigger in general
and if not stated otherwise it refers to the standard SMILE.
1.1 SMILE
SMILE is a portable alarm trigger which must be con-
nected to a receiver (e.g. NOVO Homecare Phone, TREX
2G Portable Transceiver, D-TECT and D-SERVER System)
to be able to send alarms.
1.2 SMILE ID
SMILE ID is based on the standard SMILE but with a grey
appearance and is also equipped with an RFID circuit
which is trigged by the magnetic elds created by a
D-POS Antenna or a LOOP Antenna.
SMILE ID also has a built in accelerometer which enbles
the possibility to monitor unit inactivity.
1.3 Intended use
The SMILE is intended for use in homes and wardens to provide
a feeling of security with the possibility to dispatch alarms in the
event of an accident.
SMILE ID is intended to be used in the care sector for monitoring
persons who demands extra attention or nursing by enabling posi-
tioning in a D-POS, DPOS-II or D-SERVER system.
1.4 General Use
SMILE is to be carried by the user, either in a necklace or on a wrist-
band. An alarm button enables the possibility to trigger an alarm
manually. The alarm is trigged by a light touch on the red alarm
button and the alarm is acknowledged by blinking green.
More detailed information about the functions and use of a SMILE-ID
can be found in D-POS II Technical handbook NE41 17030-02.

6SMILE User manual NE41 14002-02 v2.0
2 SMILE
# Denomination
1 LED
2 Alarm button
3 SMILE parts
# Denomination
1 SMILE Unit (with red alarm button)
2 SMILE PIN (with latch and necklace)
3 SMILE CLIP (Optional)
4 Necklace with PIN
5 Wristband
1
2
145

7
SMILE User manual NE41 14002-02 v2.0
4 LED indications
The LED indicates status when the alarm button is pressed.
When pressing the alarm button, the LED lights red during the trans-
mission until it receives an ACK. When an ACK is received the LED
lights green for 2 s.
If the LED rapidly blinks during transmission (red) and ACK conr-
mation (green), this indicates the battery is low (and a Battery Low
alarm is also sent) and the unit should be replaced.
Blink Action
1 red flash/blink The alarm button sends an alarm
1 green blink The alarm is acknowledged
Flashing red or green Low battery, replace the unit
5 SMILE Accessories
5.1 EPA (Easy Press Adapter)
In some cases the user cannot use his or hers nger to press the
alarm button on the trigger. EPA can help since it enables the user
to use the palm of a hand or the elbow to trigger an alarm with the
SMILE or SMILE-ID.
5.2 BERLOCK
The berlock trim is an accessory and is used to reduce the user
feelings stigmatizing.

8SMILE User manual NE41 14002-02 v2.0
6 Mounting
6.1 PIN/necklace
Thread the pin into the holes and press until the latch clicks into
place.
Release the pin by pressing the latch (1) and then pulling it
upwards (2).
6.2 Wristband
Thread the wristband through the holes and attach on arm.
6.3 CLIP
Fix CLIP on the back of the SMILE, thread the PIN trough the holes on
the SMILE until the latch clicks in place.
To detach the CLIP, press the PIN latch and remove the PIN.
6.3.1 Mounting the EPA
Gently press the EPA to the front of the SMILE/SMILE ID.
To detach, use a thin blade (e.g. a table knife or similar) insert under
the EPA and gently bend the hooks from SMILE.
Do not use excessive force or the hooks may break.
②
①

9
SMILE User manual NE41 14002-02 v2.0
6.4 BERLOCK
The BERLOCK is mounted in the same way as the CLIP.
To remove the BERLOCK, stick a paperclip in the wristband hole
closest to the necklace and detach the PIN.
6.5 Changing the top shell
The SMILE design allows for replacement of the top shell. Remove
the top shell by gently pulling the wristband holes outwards.
Attach the new top shell and press until a distinct “click” is heard.
A removed top shell is expended and must be discarded!
7 SMILE Programmer
SMILE Programmer is a simple tool to change/customize the cong-
uration and the user interface is simple and straightforward. Using
SMILE Programmer requires a NPU (NEAT Programming Unit) which
is available as an accessory from your distributor.
The soware is built up around six tabs:
• Buttons and Alarm types
• Radio
• Info
• Activity
• RFID
• RFID zones/codes

10 SMILE User manual NE41 14002-02 v2.0
7.1 The drop down menus
7.1.1 File
New
Press New to select a new standard conguration for a SMILE or
SMILE ID.
Open..., Save, Save As...
The options Open..., Save, Save As... and Change default cong should
be quite self-explanatory and is for handling conguration les.
Language
Change language of the programmer interface.

11
SMILE User manual NE41 14002-02 v2.0
7.1.2 Communication
Read from and write to device
When a unit is read from, the rmware is automatically recognized
by the programmer.
The general procedure for obtaining the conguration is:
• Start the reading process in SMILE-ID Programmer.
• Press the alarm button to connect the SMILE-ID with the programmer.
• Pressing the alarm button a second time to read actual congura-
tion.
Read from unit
Click Communication -> Read conguration from device (or press the
keyboard shortcut combination CRTL+R) in SMILE Programmer.
A pop up window appears where the alarm button on the requested
unit should be pressed.
Aer this, press the alarm button again time to read the congura-
tion. The pop up windows closes and the read is conrmed with a
status message in the lower le corner.
The conguration data is now displayed in the programmer window
and changes can now be made.
Writing to the unit is done in a corresponding way.

12 SMILE User manual NE41 14002-02 v2.0
7.1.3 Help
This drop down item displays the soware version and rmware ver-
sion of the connected NPU. The information displayed is read-only.
7.2 Button and Alarm types
The Button and Alarm types tab is divided into two sections:
• Button functions
• Alarm Types

13
SMILE User manual NE41 14002-02 v2.0
7.2.1 Button functions
SMILE supports a number of dierent press types, i.e. how the alarm
button is pressed. By default Normal press is always enabled.
Normal press enabled
A normal press is when the alarm button is pressed and kept
pressed for max. 0.3 ms.
Double press enabled
Enable if Double press should be available. Double press is when
the alarm button is pressed two times within the specied press
time congured in the box Max time between double press (s).
Long press enabled
Enable if Long press should be available. A long press is when the
alarm button is pressed and kept pressed for a specied time con-
gured in the box Long press duration (s).
Together with the standard short one press on the alarm button the
following is congurable in SMILE:
• Double press - sends a double press alarm by default
• Triple Press - sends a reset alarm by default
• Long Press - sends a long press alarm by default
The time for the above mentioned alarm is set in the Long/Double
press time boxes and is applied to all the enabled press options.
7.2.2 Alarm Types
The unit allows the posibility to change the alarm type for every
action that the unit can perform.
To send alarms with position info it is convenient not to change the
alarm type in the boxes for:
• Alarm type Normal press = No alarm type.
• Alarm type Double press = Double press.
• Alarm type Long press = Long press.
The unit also sends automatic alarms to manage technical issues:
• Alarm type Battery.
• Alarm type Radio test.

14 SMILE User manual NE41 14002-02 v2.0
And other alarm types can be sent by the unit described in
the manual:
• Alarm type Passive.
• Alarm type Door.
• Alarm type Inactivity.
7.3 Radio
The Radio tab is divided into two sections:
• Radio ID Code, Alarm Delay
• Radio transmission.
7.3.1 Radio ID Code, Alarm Delay
Radio ID-code
When a unit is read, the Radio ID code is displayed in the Current
box. To change ID code, enter the new Radio ID code in the New box,
eg. 1A3D.
Values 0000 (four zeroes) and FFFF are forbidden.
Alarm blocking time
For users who frequently presses the alarm button, hence trigging
many alarms within a short time, the option to block user alarms is
very convenient. A value 0 (zero) blocks the transmission during 4
seconds.

15
SMILE User manual NE41 14002-02 v2.0
Radio test interval (h)
Set a value for the periodical test alarm, e.g. 23 sends a test alarm
every 23 hours.
Number of missed ACK before sleep
In order to preserve battery the unit can be put into Sleep Mode
aer a certain number of Radio Test Alarms have been sent without
receiving an ACK.
In sleep mode it is actually only the Radio Test Alarm that is paused.
All other functions works as usual and the unit will resume from
Sleep Mode as soon as any other alarm receives (e.g. a user alarm)
an ACK and the Radio Test Alarm transmits will start again.
Battery test interval (h)
The battery status is checked internally and the check interval is set
here. If the battery status is below a certain threshold value when
checked, a battery alarm is sent.
7.3.2 Radio transmission
Max number of short/long transmissions (0-15)
Number of short and long transmissions are for possible preserva-
tion of battery.
Default is 3 short and 3 long transmissions.
Max number of burst
Number of times to repeat the short/long transmissions.
Delay between NRTP burst (s)
The time the unit waits to repeat the NRTP burst.
Send all burst always
Even if the device receives the ACK the unit will send all the bursts
congured.
Radio frequency band
To select the region frequency.
Equipment type
To identify the equipment that connects with NPU.
Do not change this parameter.

16 SMILE User manual NE41 14002-02 v2.0
7.4 Info
This is a read-only window displaying technical data from the read
unit.
7.5 Activity
The SMILE-ID unit has been built with an accelerometer intended to
detect either inactivity or activity and automatically send an alarm if
this occurs.
Activity enable
Check box to activate activity sense, i.e. enable activity alarms.
Activity Alarm interval (h)
Set max time for activity before an activity alarm is sent, in hours,
e.g. 7 hours.
Inactivity enable
Check box to activate inactivity sense, i.e. enable inactivity alarms.
Inactivity time limit
Set max time for inactivity before an inactivity alarm is sent, in min-
utes or hours, e.g. 24 hours.
Sample interval (minutes)
This is the time the unit will take to review the position and compare
with the previous one.

17
SMILE User manual NE41 14002-02 v2.0
7.6 RFID
Max number of RFID elds (1-4)
Number of Position ID codes included in the NRTP message.
RFID inactivity period aer receive (s)
When an RFID message has been received the RFID receiver is
inactive for a certain period in order to save battery power and this
period is set here (in seconds).
Radio inactivity period aer transmit (s)
When the SMILE-ID has transmitted a message the unit will not send
any messages from the same position for a period of time in order to
save battery power and this period is set here (in seconds).
If the SMILE-ID however receives another position, it immediately
sends the message.
Transmit door instead of position
If the system is used as a wandering alarm together with care phone
NOVO the SMILE-ID can be congured to send a DOOR Alarm to
NOVO when the SMILE-ID enters the eld.
No position information is included in the DOOR Alarm message.
Transmit user alarm with position
To include on the NRTP message the Radio Id code and the Position
Id code.

18 SMILE User manual NE41 14002-02 v2.0
Personnel Device
Check this box whether the unit is a personnel device or not.
Transmit extended message
If the receiver needs more information than normal the SMILE-ID can
be congured to send extended messages.
The information included in an extended messages is:
• Previous positions
• SMILE-ID type (personell or caretaker device)
7.7 RFID zones/codes
The RFID tab is divided into two sections:
• Codes and zones with continuous retransmission.
• Codes and zones with none or restricted retransmission.
7.7.1 Codes and zones with continous retransmission
A word about continous and restricted transmissions
These settings allows the system to manage how oen transmis-
sions should occur in an installation. By default, when a SMILE-ID
enters a D-POS II eld and stays in that eld a transmission occurs
every 25 seconds (default value, dened by parameter name “Radio
inactivity period aer transmit”). In some applications this might
drain the battery, eg. when the user spends his/her aernoon in a
public area (which is dened as a zone) in a nursing home.

19
SMILE User manual NE41 14002-02 v2.0
Codes and zones with none or restricted retransmission
Restricted retransmission: Retransmit when re-entering same eld.
When enabled (checked) the unit retransmits if the user exits from
a eld and then (without entering a new eld) re-enters the same
eld. Together with the next option (see below) it is possible to
further specify how long time the unit must be out of the eld before
a re-transmission occurs.
Restricted retransmission: Time out of eld to allow retransmission
(s)
When enabled (checked) AND the option above is checked the unit
retransmits only when the unit has been out of the eld for the
specied
The position codes entered in this section are connected to the
checkbox in the Restricted retransmission: Retransmit when re-en-
tering same eld, see above.
An example:
• Enter a position code.
• Uncheck Restricted retransmission: Retransmit when re-entering
same eld
• Set Restricted retransmission: Time out of eld to allow retrans-
mission (s) to 10
This will result in:
A SMILE-ID entering a zone (e.g. Zone 1) will transmit when entering
the zone and will never re-transmit unless leaving the zone AND
entering another zone (other than Zone 1) before returning to this
zone (Zone 1).
However, if Restricted retransmission: Retransmit when re-entering
same eld is checked then the unit can leave the zone and re-enter
and re-transmission will occurs, but only if the unit has been outside
the zone for 10 seconds or more.
A position code can only work in one zone type and a particular
zone can only be selected in either zone type. If this is done in the
programmer an error message will display when trying to write to
the unit in the programmer. However, no warning is displayed when
saving the conguration to disk.

20 SMILE User manual NE41 14002-02 v2.0
8 Use and maintenance
8.1 Safety notes
• Read instructions prior to use
• Always test the system per instructions prior to use.
• The product may not be suitable for all persons.
• Check device regularly and replace when necessary.
• Always check the function of the product aer making adjust-
ments.
• Our units are NOT intended for any life support device, thus
intending a device whose malfunction may result in damage to a
life.
8.2 Use Use only original parts.
8.3 Do not expose to direct sunlight.
• Keep away from dust, moist and dirt.
• Do not drop, knock, twist or shake the device.
• Do not warm up the device or use it near re.
• For repairs, contact a NEAT dealer.
8.4 Cleaning
• Clean the device with a so cloth, dampened slightly with mild
soapy water.
• Do not clean the device with harsh chemicals, solvents or other
corrosive substances.
8.5 Recycling
Dispose of properly. The worn out product must be returned to a
recycling facility for proper disposal or returned to NEAT.
Other manuals for SMILE
1
Table of contents
Other Neat Transmitter manuals
Popular Transmitter manuals by other brands

ASO Safety Solutions
ASO Safety Solutions INDUS rail 71-242 operating manual

Siemens
Siemens SITRANS P250 operating instructions

Endress+Hauser
Endress+Hauser Heat Brief operating instructions

Risco
Risco WL T4RCP quick start guide

Dini Argeo
Dini Argeo DGT1S quick start guide

Marine Rescue Technologies
Marine Rescue Technologies sMRT V100 user manual

WIKA
WIKA ls-10 operating instructions

Honeywell
Honeywell ADEMCO 5878 Installation and setup guide

Huba Control
Huba Control 699 Mounting instructions

Online Electronics
Online Electronics 3007 Series operating manual

Endress+Hauser
Endress+Hauser Liquisys M CUM223 operating instructions

Emerson
Emerson PT5N Series Operating instruction