manuals.online logo
Brands
  1. Home
  2. •
  3. Brands
  4. •
  5. NEC
  6. •
  7. Projector
  8. •
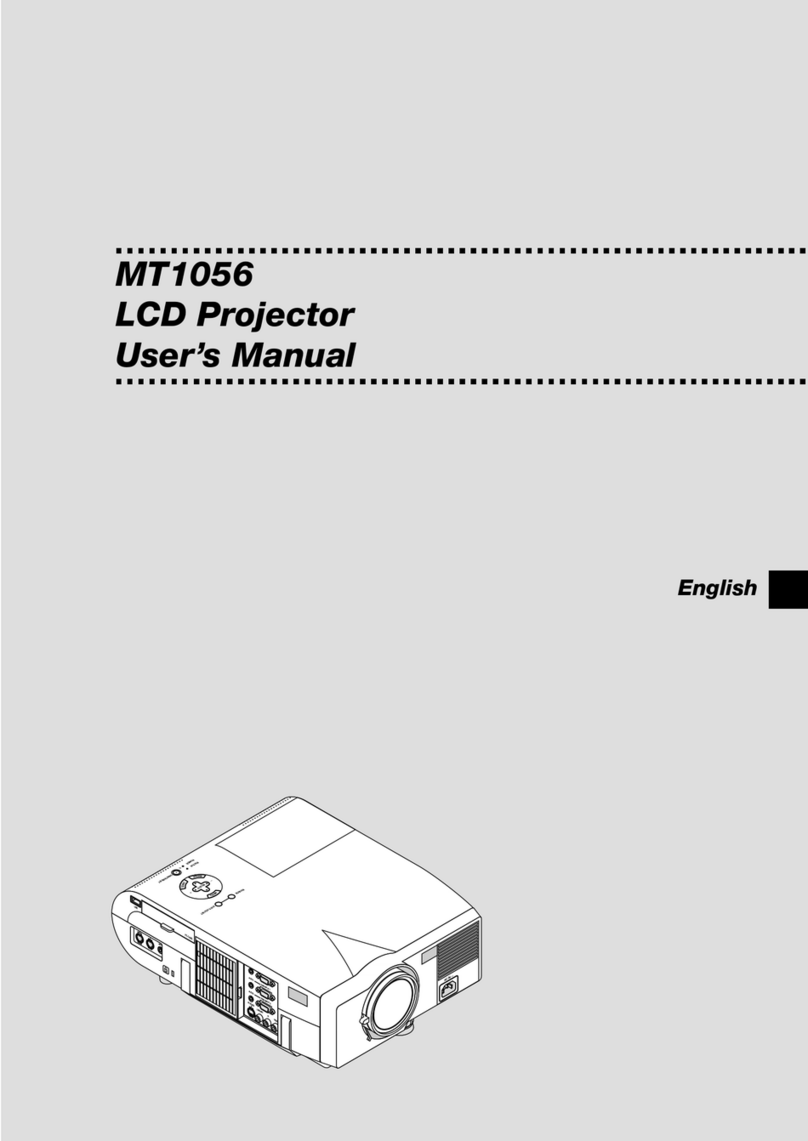
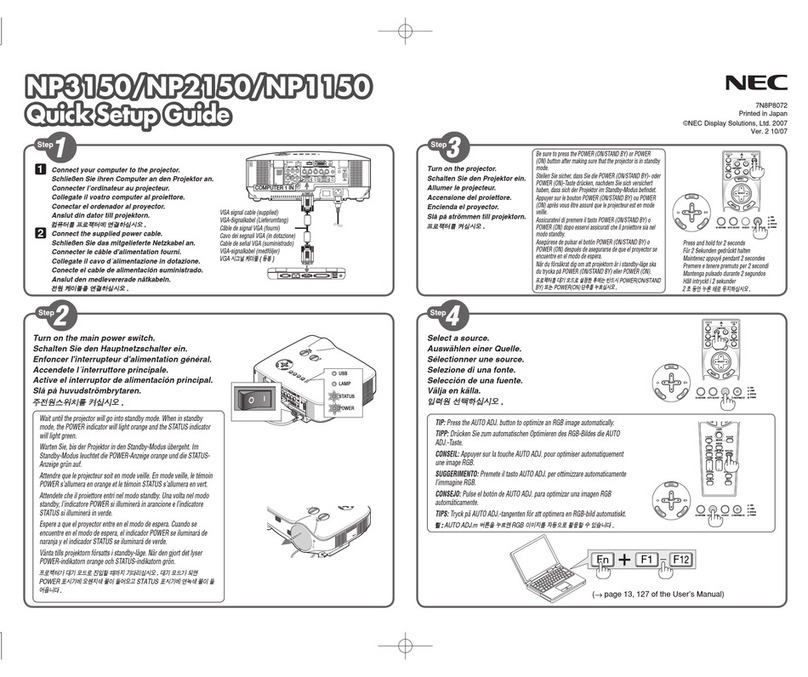
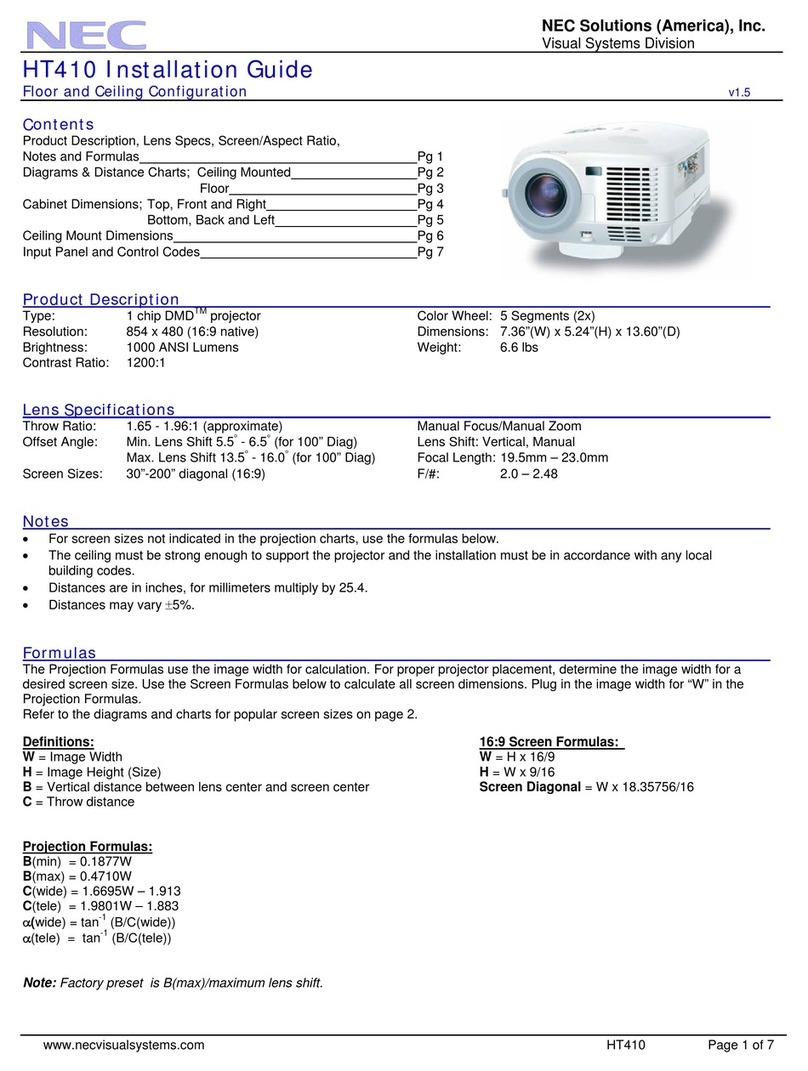
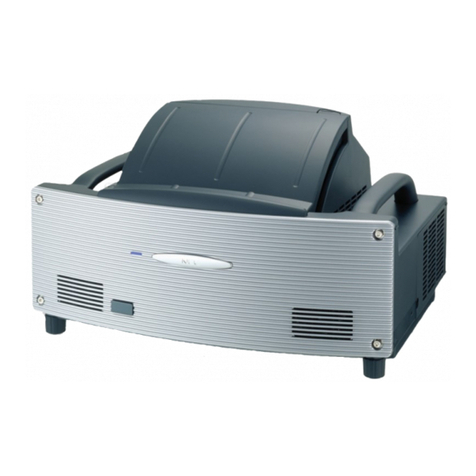
  9. NEC MT50 Assembly instructions

NEC MT50 Assembly instructions

This manual suits for next models

1

Other NEC Projector manuals

NEC LT265 - INSTALLTION GUIDE User manual

NEC

NEC LT265 - INSTALLTION GUIDE User manual

NEC MultiSync MT810 User manual

NEC

NEC MultiSync MT810 User manual

NEC GT950 - MultiSync XGA LCD Projector Assembly instructions

NEC

NEC GT950 - MultiSync XGA LCD Projector Assembly instructions

NEC Nighthawk XT4100 User manual

NEC

NEC Nighthawk XT4100 User manual

NEC NP-M271X User manual

NEC

NEC NP-M271X User manual

NEC PE401H User manual

NEC

NEC PE401H User manual

NEC P502HL User manual

NEC

NEC P502HL User manual

NEC ME403U User manual

NEC

NEC ME403U User manual

NEC NP2200 Series User manual

NEC

NEC NP2200 Series User manual

NEC NP-M260X User manual

NEC

NEC NP-M260X User manual

NEC VT59 User manual

NEC

NEC VT59 User manual

NEC M402W User manual

NEC

NEC M402W User manual

NEC PA803UL User manual

NEC

NEC PA803UL User manual

NEC NP3200 User manual

NEC

NEC NP3200 User manual

NEC NP1150 XGA User manual

NEC

NEC NP1150 XGA User manual

NEC P350W Series User manual

NEC

NEC P350W Series User manual

NEC MultiSync MT1040 User manual

NEC

NEC MultiSync MT1040 User manual

NEC MultiSync MT830+ User manual

NEC

NEC MultiSync MT830+ User manual

NEC NP1000 User manual

NEC

NEC NP1000 User manual

NEC VT490 User manual

NEC

NEC VT490 User manual

NEC NP-PA703UL User manual

NEC

NEC NP-PA703UL User manual

NEC V300X Series User manual

NEC

NEC V300X Series User manual

NEC PH1202HL User manual

NEC

NEC PH1202HL User manual

NEC LT240K, LT260K User manual

NEC

NEC LT240K, LT260K User manual

Popular Projector manuals by other brands

Eiki LC-X985 Specification sheet

Eiki

Eiki LC-X985 Specification sheet

InFocus LitePro 610 quick start

InFocus

InFocus LitePro 610 quick start

Epson EH-TW5900 datasheet

Epson

Epson EH-TW5900 datasheet

FOREVER MLP-100 manual

FOREVER

FOREVER MLP-100 manual

Toshiba TDP-MT8U Specifications

Toshiba

Toshiba TDP-MT8U Specifications

Mitsubishi XD500U specification

Mitsubishi

Mitsubishi XD500U specification

Kodak Ektapro 3020 Illustrated parts list

Kodak

Kodak Ektapro 3020 Illustrated parts list

Toshiba TDP-EW25U Specifications

Toshiba

Toshiba TDP-EW25U Specifications

Barco iQ PRO G500 supplementary guide

Barco

Barco iQ PRO G500 supplementary guide

Philips LC1341 user guide

Philips

Philips LC1341 user guide

Epson PowerLite 1266 user guide

Epson

Epson PowerLite 1266 user guide

MAGINON DLP 1400S user manual

MAGINON

MAGINON DLP 1400S user manual

Toshiba TLP-380 owner's manual

Toshiba

Toshiba TLP-380 owner's manual

Philips PicoPix PPX2480/EU user manual

Philips

Philips PicoPix PPX2480/EU user manual

Hitachi CP-X605 Series Specifications

Hitachi

Hitachi CP-X605 Series Specifications

Optoma TW1692 user manual

Optoma

Optoma TW1692 user manual

Kodak EKTAPRO instruction manual

Kodak

Kodak EKTAPRO instruction manual

Optoma Optoma PRO150S datasheet

Optoma

Optoma Optoma PRO150S datasheet

manuals.online logo
manuals.online logoBrands
  • About & Mission
  • Contact us
  • Privacy Policy
  • Terms and Conditions

Copyright 2025 Manuals.Online. All Rights Reserved.

Quick Connect Guide
MultiSync MT Series LCD Projectors
Step1
M
E
N
U
C
A
N
C
E
L
SELECT
ST
ANDBY
SOURCEAUTOADJUST
S-VIDEOVIDEO
AUDIORGBINPUT2
AUDIO RGBINPUT 1
L
/
MONOR
AUDIO RGBMONITOR
OUTPUT
USBPC-CARD
C CONTROL MOUSE
OUT REMO
CONTR
INPU
ACIN
Connect the supplied power cable.
Connect the supplied 15pin-15pin signal cable.
Always power down before
you make any connections.
S-VIDEO VIDEO
AUDIO RGB INPUT 2
AUDIO RGB INPUT 1
L/MONO R
AUDIO
RGB MONITOR
OUTPUT
Step2
Step3 Turn on the projector.
M
E
N
U
E
N
T
E
R
C
A
N
C
E
L
SELECT
POWER
STATUSON
/
STANDBY
SOURCEAUTOADJUST
M
E
N
U
E
N
T
E
R
C
A
N
C
E
L
SELECT
POWER
STATUSON
/
STANDBY
SOURCEAUTOADJUST
NOTE:Toturnoff theprojector,pressand
hold the POWER button for a minimum
of two seconds.
Power button
Step4 Set up the Projector
AC IN
Zoom ring
Focus ring
To adjust the projector' s focus or to zoom in and out, use
the Focus/Zoom ring on the lens.
If necessary, adjust the front foot to properly
position the projected image on the screen.
If the projected image does not appear
squareto the screen then usekeystonecor-
rection for proper adjustment.
M
E
N
U
E
N
T
E
R
C
A
N
C
E
L
SELECT
POWER
STATUSON
/
OFF
SOURCEAUTOADJUST
ACIN
M
E
N
U
E
N
T
E
R
C
A
N
C
E
L
SELECT
POWER
STATUSON
/
OFF
SOURCEAUTOADJUST
ACIN
Printed in Japan
7N8P0182
Remote Control Features
1. Laser Pointer
Beamsalaserlightwhen"Laser" but-
ton is pressed.
2. LED
Flashes when any button is pressed.
3. Power On Button
If the main power is applied, you can
use this button to turn your projector
on.
4. Power Off Button
If the main power is applied, you can
use this button to turn your projector
off.
NOTE: To turn off the projector,
press and hold the POWER OFF
button for a minimum of two sec-
onds.
Remote Control
M
E
N
U
E
N
T
E
R
C
A
N
C
E
L
SELECT
POWER
STATUSON
/
STANDBY
SOURCEAUTOADJUST
S-VIDEOVIDEO
AUDIORGBINPUT2
AUDIO RGBINPUT1
L
/
MONOR
AUDIO RGBMONITOR
OUTPUT
USBPC-CARD
CCONTROLMOUSE
OUTREMO
CONTR
INPU
ACIN
PC CONTROL REMOTE
CONTROL
INPUT
MOUSE
OUTPUT
Connect the Remote Mouse
The MOUSE OUT port allows you to
remotely operate your PC's mouse.
It makes clicking through your com-
puter-generated presentations easy.
Serial cable
(supplied) Mouse adapter for IBM PS/2,
Macintosh or USB (supplied)
1. Make sure that both the computer and
projector are turned off.
2. Connect the cables as shown in the illustration.
3.Turn on the projector.
4.Turn on the computer.
NOTE: To reactivate your computer's on-board mouse control, power the computer
down and unplug the serial cable.
KEYSTONE
FREEZE
PIC-MUTE
HELP
POINTER
PC CARD
VIDEO S-VIDEO
AUTO ADJ.
RGB1
MENU LASER
R-CLICK/CANCEL
RGB 2 P
J
ONOFF
MAGNIFY
VOL.
SLIDE
FOLDER
SLIDE
LIST
21
43
6
7
8
5
9
10
13
14
15
16
17
18
19
12
11
20
21
22
23
24
(Underneath)
5. Source Buttons
Selects video source from VCR,
laserdisc, computer, DVD player.
6. Auto Adjust Button (RGB only)
Adjusts the current image for optimal
H/V position, Pixel settings and reso-
lutions.
7. PJ Button
Press this button if you want to use the
Mouse (▲▼
䊴
䊳
), Cancel/Right Click, and
Enter/Left Click buttons as your PC’s.
8. Laser Button
Press and hold this button to activate
the laser pointer.
9. Menu Button
Displaysthe menu forvarioussettings
and adjustments.
10. Mouse (▲▼䊴䊳) / (+) (–) Button
Whenyou are in the Computer mode,
these buttons work as a computer
mouse.
11. Enter / Left Click Button
Whenyou are in the Computer mode,
this button works as the mouse left
button.
12. Cancel/ Right Click Button
Whenyou are in the Computer mode,
this button works as the mouse right
button.
13. Pointer Button
Points to an area on screen to be
magnified.
14. Help Button
Displays information for the current
menu or how to use the menu.
15. Keystone (+) (–) Button
Corrects for keystone (trapezoidal) distortion to make the
image square.
16. Magnify (+) (–) Button
Magnifies image size up to 400%.
17. Freeze Button
Freezes a picture.Press again to resume motion.
18. Picture Mute Button
Turns off the image and sound for a short period of time.
Press again to restore the image and sound.
19.Volume (+) (–) Button
Adjusts volume.
20. PC Card Button
Displays slides from PC card in projector’s PC card slot.
21. Slide (+) (–) Button
Selects the next folder or slide and the previous folder or
slide.
22. Folder List Button
Selects PC CardViewer source to display a list of folders
included in the PC card.
23. Slide List Button
Selects PC Card Viewer source to display a list of slides
included in the PC card.
24. Remote Jack
Connect your remote control cable here for wired opera-
tion.
See pages 10 to 12 of your User's Manual for more
information on features and operation.