If your mobile phone is A2DP (Advanced Audio Distribution Profile)
compatible, then your phone music will be transmitted in stereo to
the Neckmike M4 headset and the Phone/Play button may be used
to play and pause the music (depending on your phone model).
Note that phone calls have the highest priority and will automatically
interrupt intercom sessions or music. Once a call is complete, the
music or intercom session will resume. GPS voice prompts over
Bluetooth are the second highest priority and will also interrupt
intercom sessions and music.
If the connection is ever lost between the M3 unit and mobile phone
or you do not hear the phone audio in the headset, tap the
Phone/Play button to reestablish the connection.
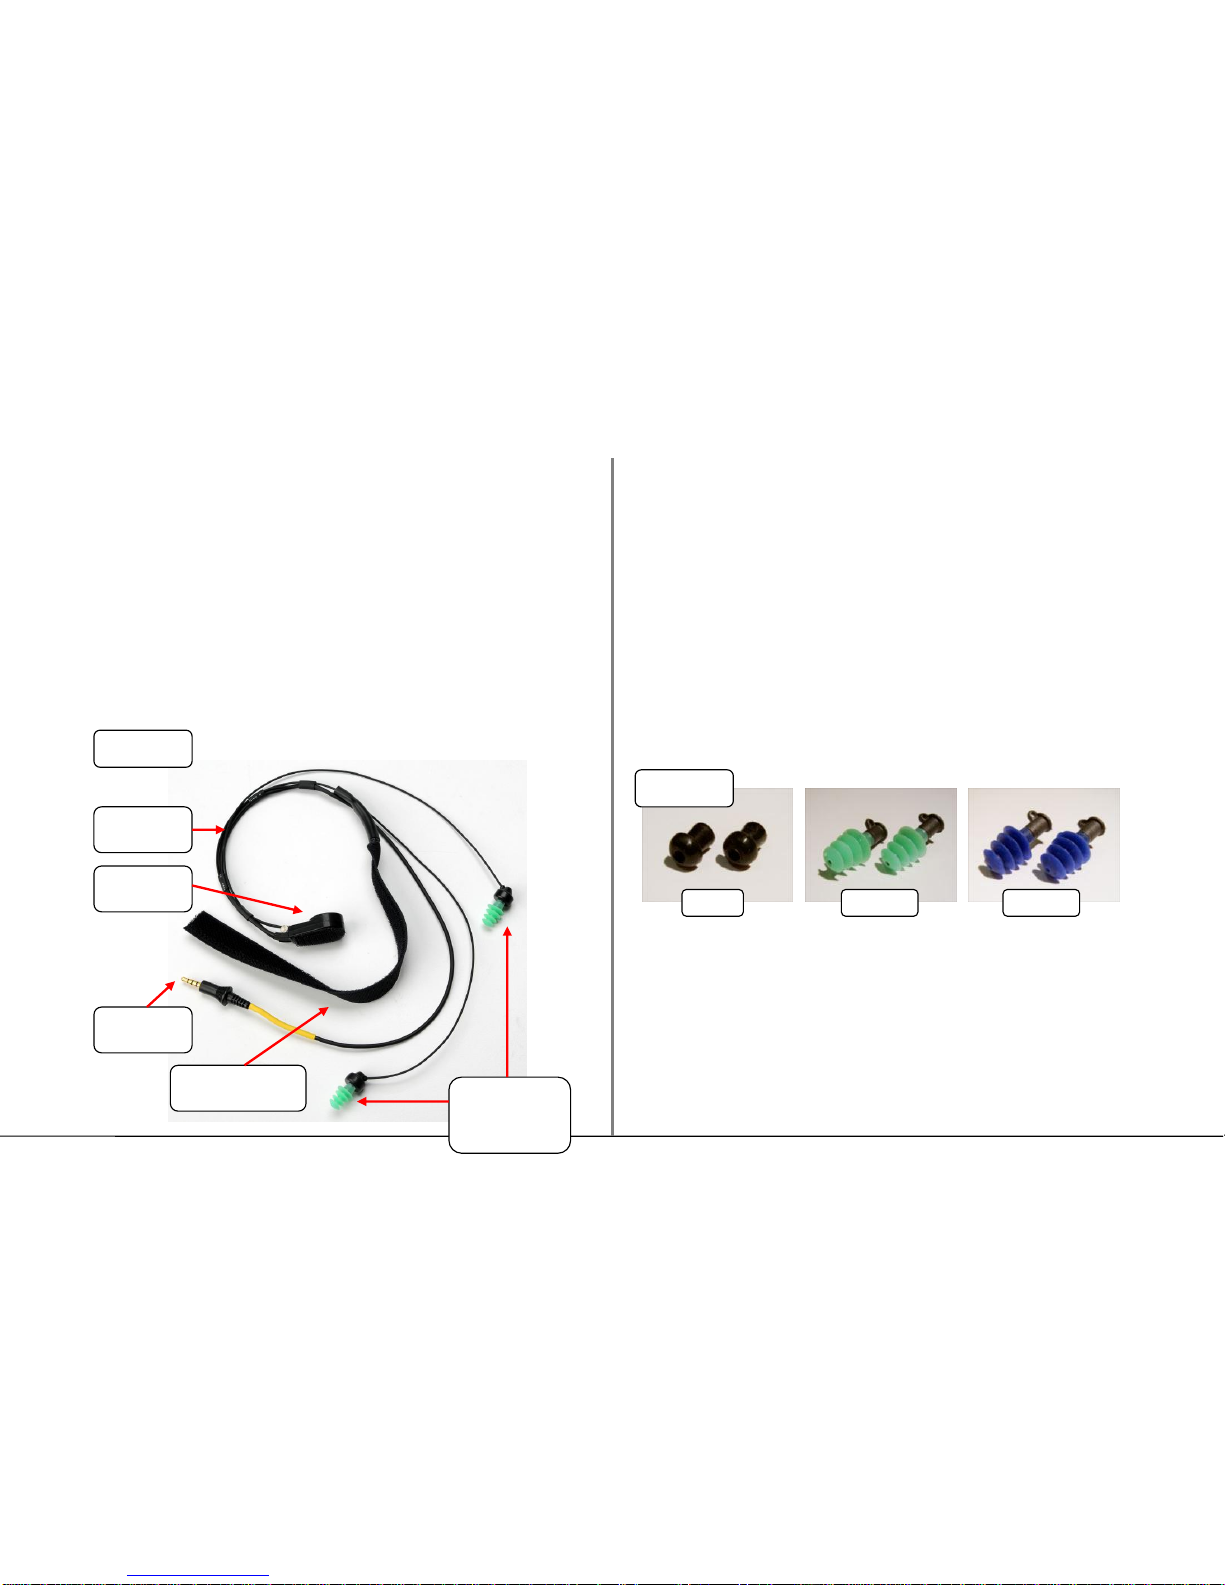
Remember to always use the coiled extension cable between the M4
unit and the Neckmike headset and check your cable connections if
you notice a change in sound quality or microphone performance.
Pairing Two M4 Bluetooth Units
The Neckmike M4 Bluetooth unit may be paired up to three other M4
units for the full duplex Bluetooth intercom feature. Note that even
with three other M4 units paired, intercom sessions are always made
between two units at a time.
Note: If you purchased a Neckmike M4 Twin Pack, the two units are
already paired from the factory and with the units powered on, the
intercom may be activated by pressing button “B” on unit A or button
“A” on unit B. Either unit can open or close the intercom session.
The initial pairing is a one-time process. Once the units have been
paired, they will automatically recognize each other whenever they
are powered on and are within range.
First label each M4 unit A, B, C or D (as applicable). To pair the first
two units (A, B), make sure the other M4 units are powered off and
no buttons are pressed on the handlebar remotes during the pairing
process.
1. Press the reset button on each unit (< 1 second).
2. Turn on unit A and unit B by pressing and holding the On/Off
button (marked with a motorcycle icon) for 5-7 seconds until
the blue LED illuminates, then release. The blue LED will
flash every 2-3 seconds to indicate that each unit is powered
on.
3. Press and hold the button labeled “B”on unit A, and the
button labeled “A”on unit B until the LED flashes red and
blue, then release. The units are now in pairing mode.
4. Next, short press button “B” on unit A. After several seconds,
both units will resume flashing the blue LED every 2-3
seconds once the pairing is complete.
You have now completed the one-time pairing process between units
A and B, and the intercom function is ready for use.
Note that the intercom session is normally active following the pairing
process. You should press the “B” button on unit A or the “B” button
on unit A to disconnect the active intercom session if you are not
using it.
These units will now automatically pair whenever they are within
range of each another.