en Operating the appliance
6
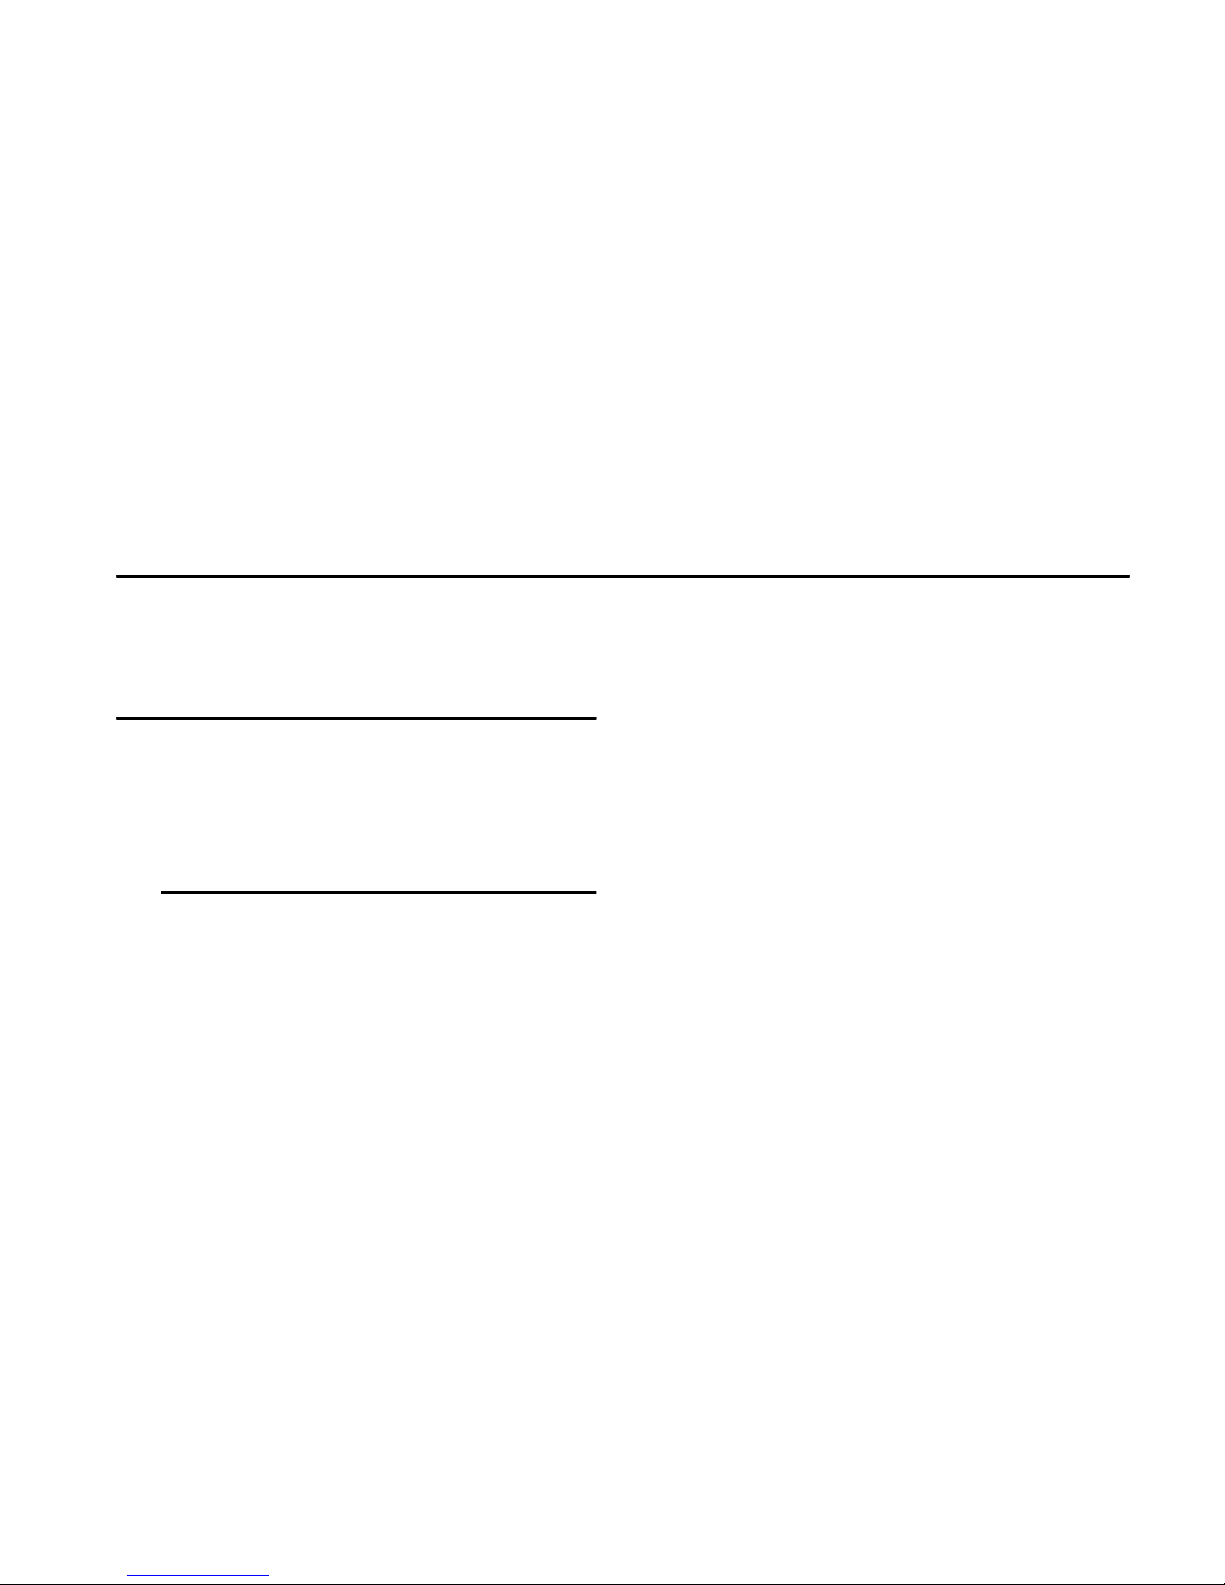
Automatic mode
Switching on the appliance
■Press the #button.
The fan starts at ƒsetting.
■Press the ‘button.
The optimum fan setting ‚, ƒor „is automatically
set via a sensor.
Switching off the appliance
Press the ‘or #button to switch off automatic mode.
The fan switches off automatically if the sensor no
longer detects a change in the air quality of the room.
The automatic mode lasts 4 hours at most.
Sensor control
In automatic mode, an automatic air sensor in the
extractor hood detects the intensity of the cooking and
roasting odours. Depending on the setting of the
automatic air sensor, the fan automatically switches
itself to another fan setting.
Possible sensor settings:
Default sensitivity setting: †
Lowest sensitivity setting: ‹
Highest sensitivity setting: Š
If the sensor controller responds too strongly or not
enough, it can be changed accordingly:
1. Touch and hold the ‘symbol for 1 second when the
fan is switched on. The setting will be displayed.
2. The sensor controller setting can be changed by
touching the @or Asymbol.
3. Take your finger off the ‘symbol.
Lighting
The lighting can be switched on and off independently
of the fan.
Touch the 6symbol.
Setting the brightness
Press and hold the 6symbol until the required
brightness is reached.
Saturation display
If the metal grease filters or activated charcoal filter are/
is saturated, the corresponding symbols will flash once
the appliance has been switched off:
■Metal grease filter: ”ª
■Activated charcoal filter: ’ª
■Metal grease filter and activated charcoal filter: ”ª
and ’ª
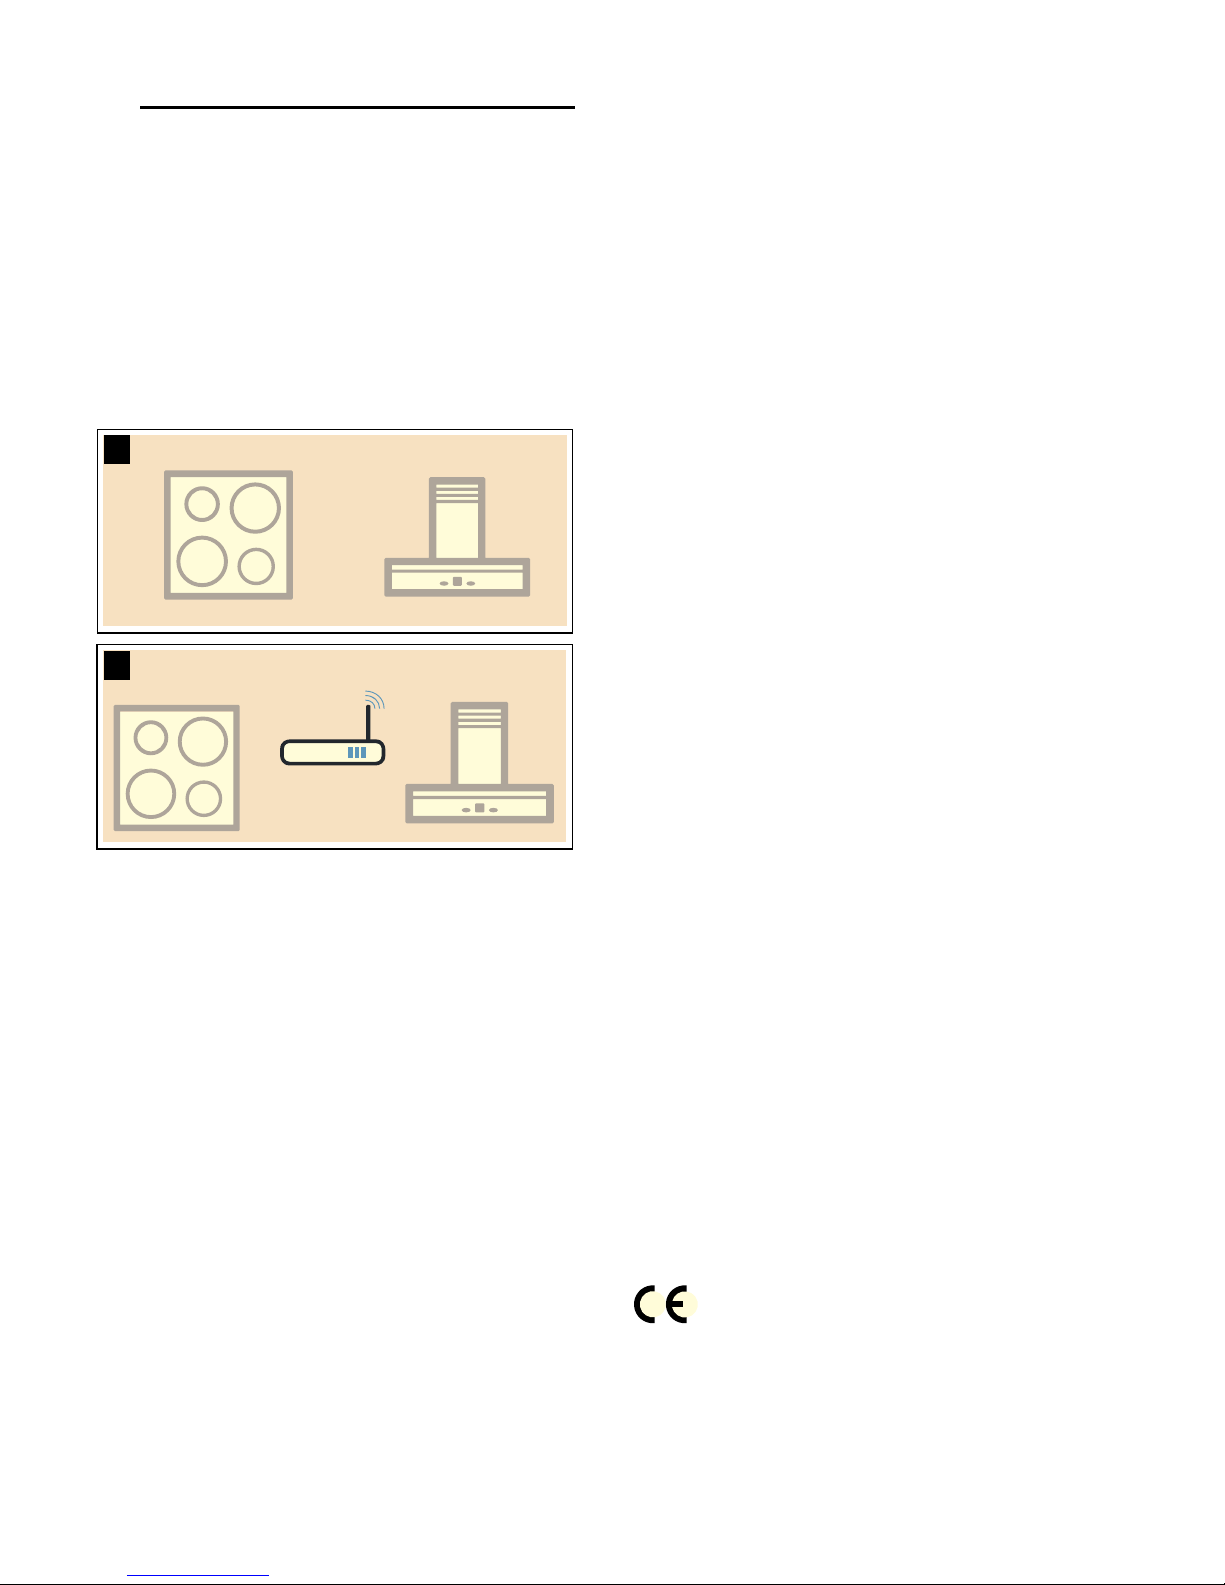
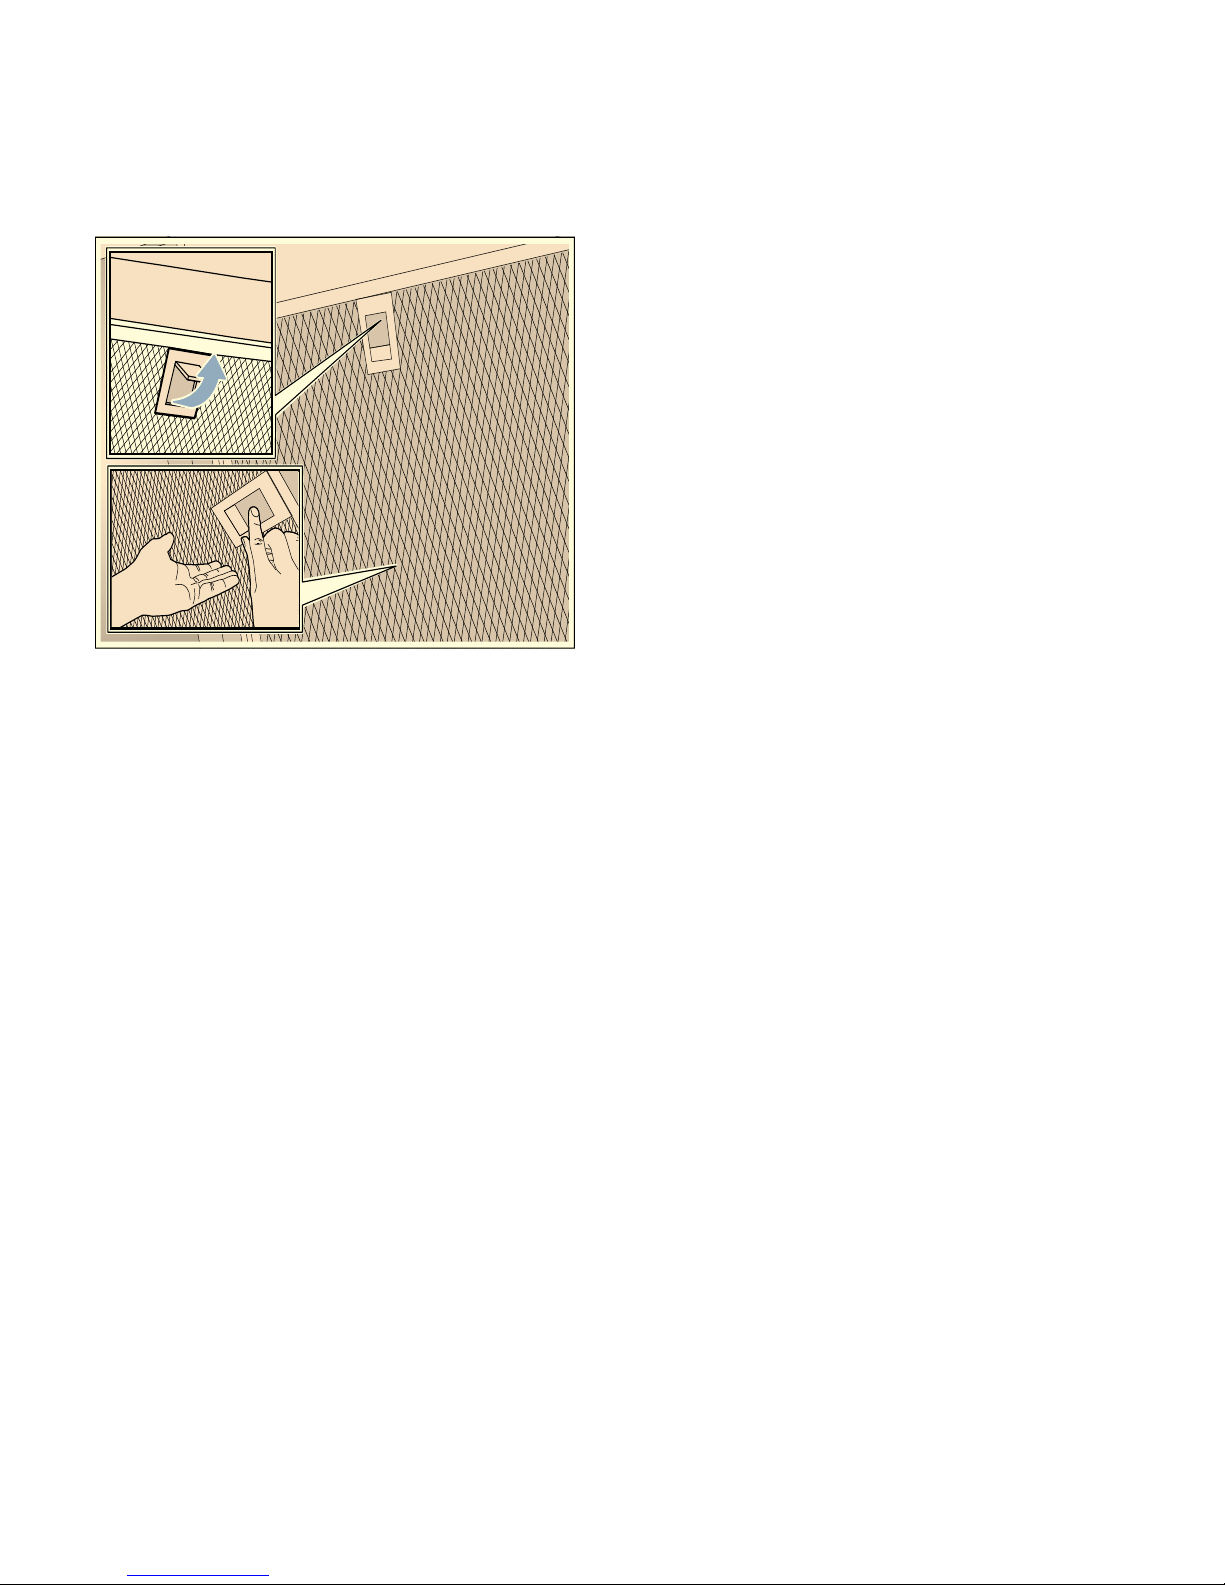
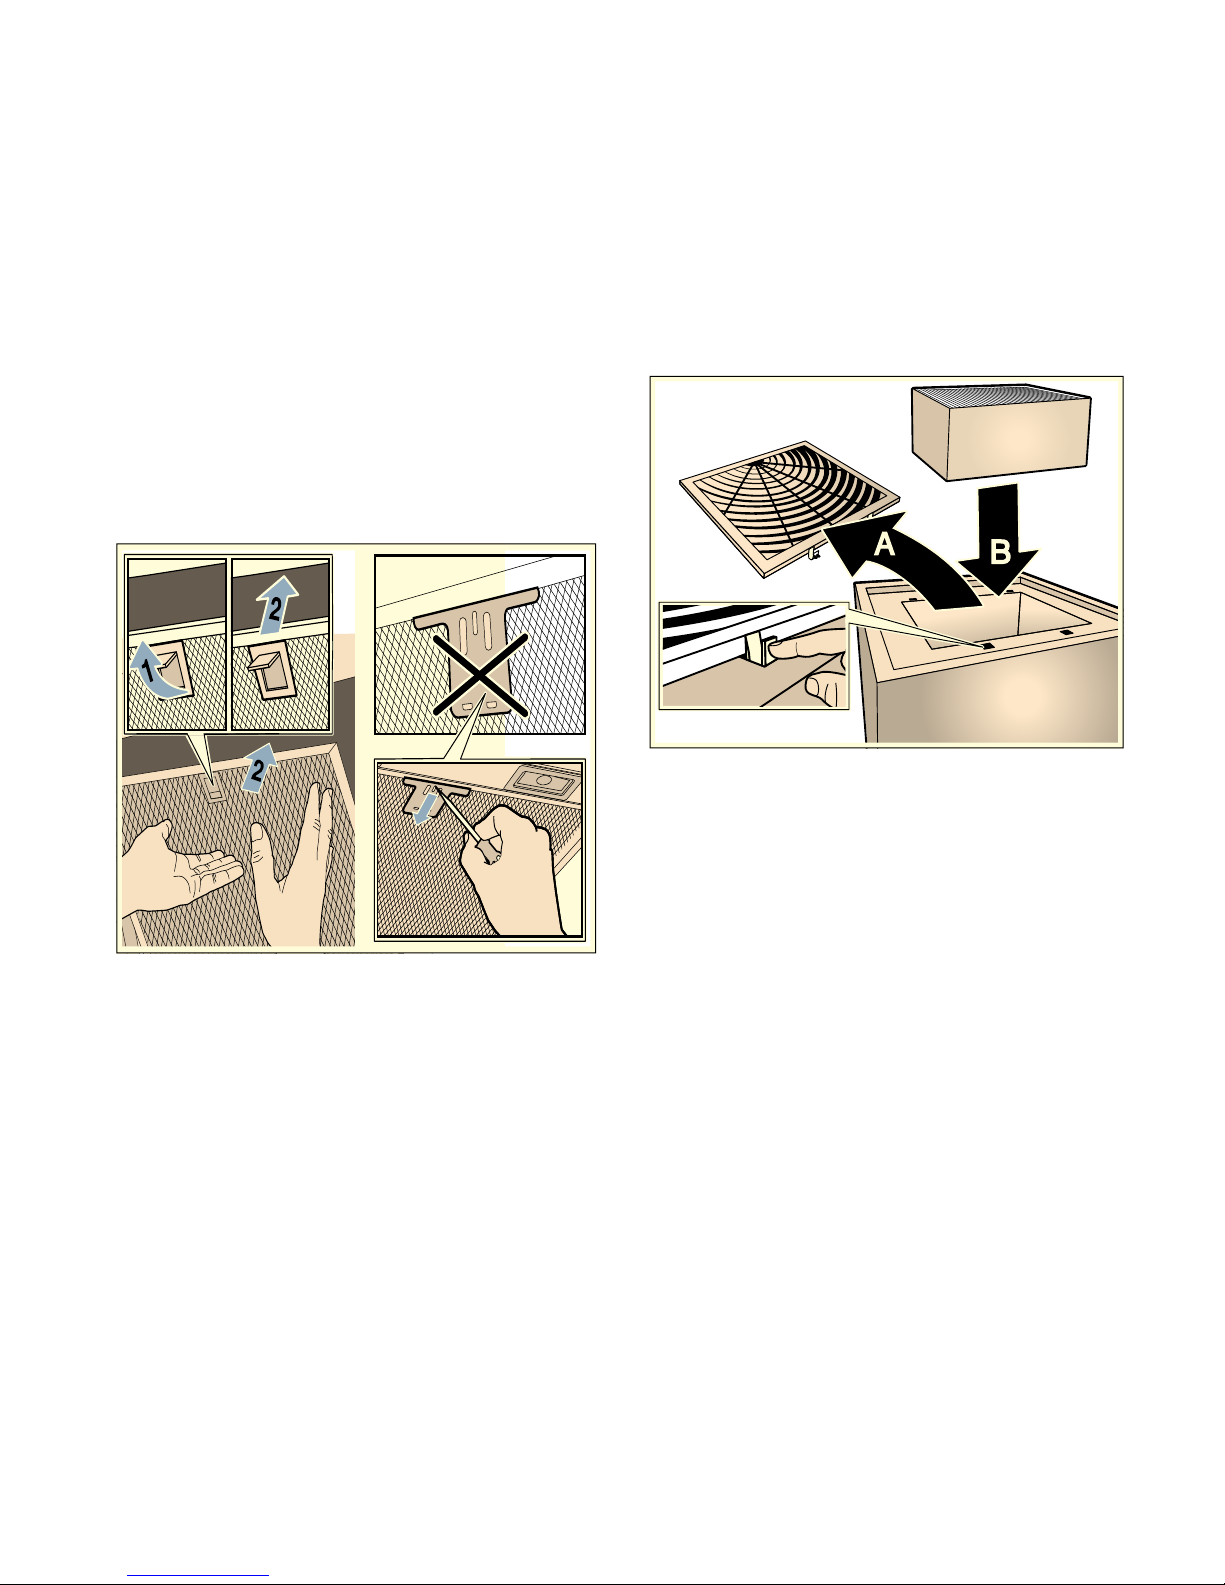
If you have not yet done so, the metal grease filters
should now be cleaned or the activated charcoal filter
replaced. ~"Cleaning and maintenance" on page 8
The saturation indicators can be reset while they are
flashing. To do this, touch the Asymbol.
Switching over the display for air recirculation mode
For air recirculation mode, the electronic controller must
be switched over accordingly:
■The extractor hood must be connected and switched
off.
■Touch and hold the Qsymbol and touch the @or
Asymbol until "2" lights up for air recirculation mode
(filters that cannot be regenerated). Take your finger
off the Qsymbol. This will switch the electronic
controller over to air recirculation mode (filters that
cannot be regenerated).
■Touch and hold the Qsymbol and touch the @or
Asymbol until "3" lights up for air recirculation mode
(filters that can be regenerated). Take your finger off
the Qsymbol. This will switch the electronic
controller over to air recirculation mode (filters that
can be regenerated).
■Repeatedly touching and holding the Qsymbol and
touching the @or Asymbol until "1" lights up
switches the electronic controller back over to air
extraction mode.
Audible signal
Switching on
Touch and hold the #and Qsymbols at the same
time for approximately 3 seconds when the fan is
switched on. An audible signal will sound as an
acknowledgement.
When the signal tone is activated, ‚will be lit.
Switching off
Touch and hold the #and Qsymbols at the same
time for approximately 3 seconds when the fan is
switched on. An audible signal will sound as an
acknowledgement.
When the signal tone is deactivated, ‹will be lit.