Demtech Australia Pty Ltd
02
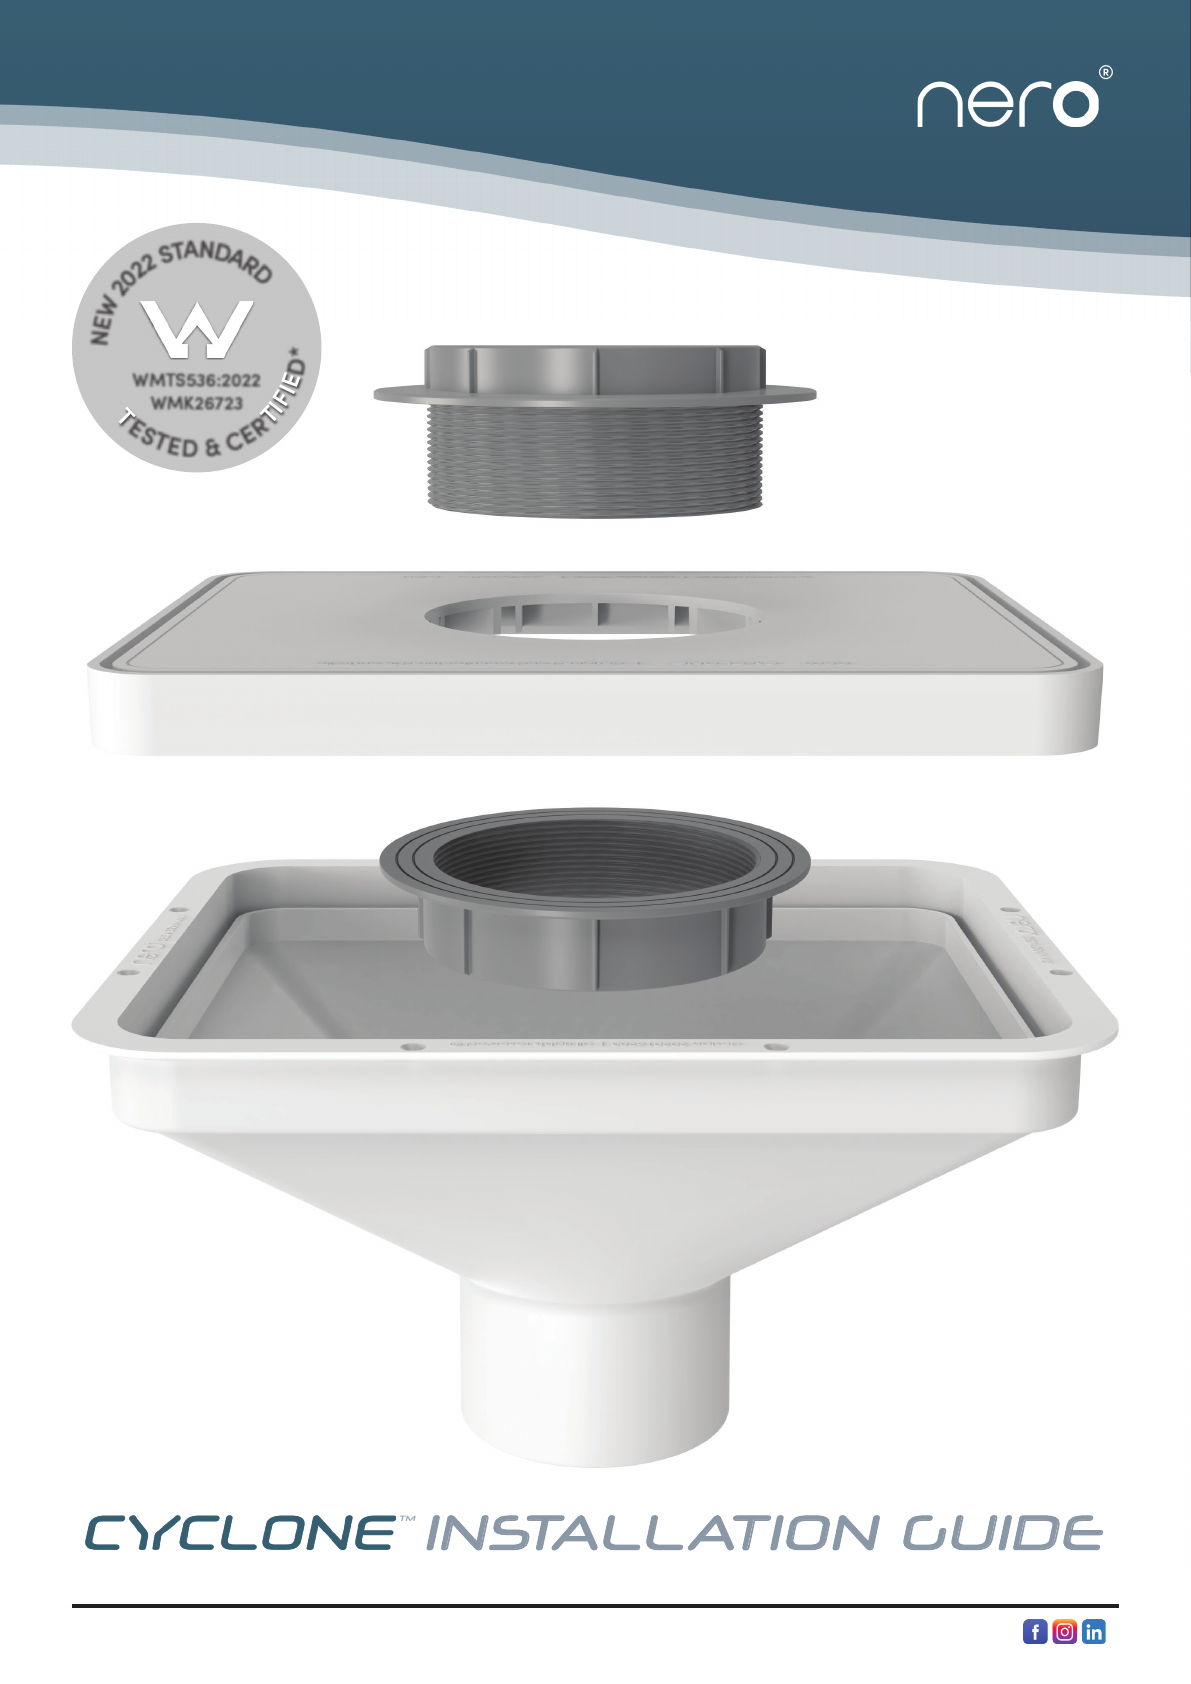
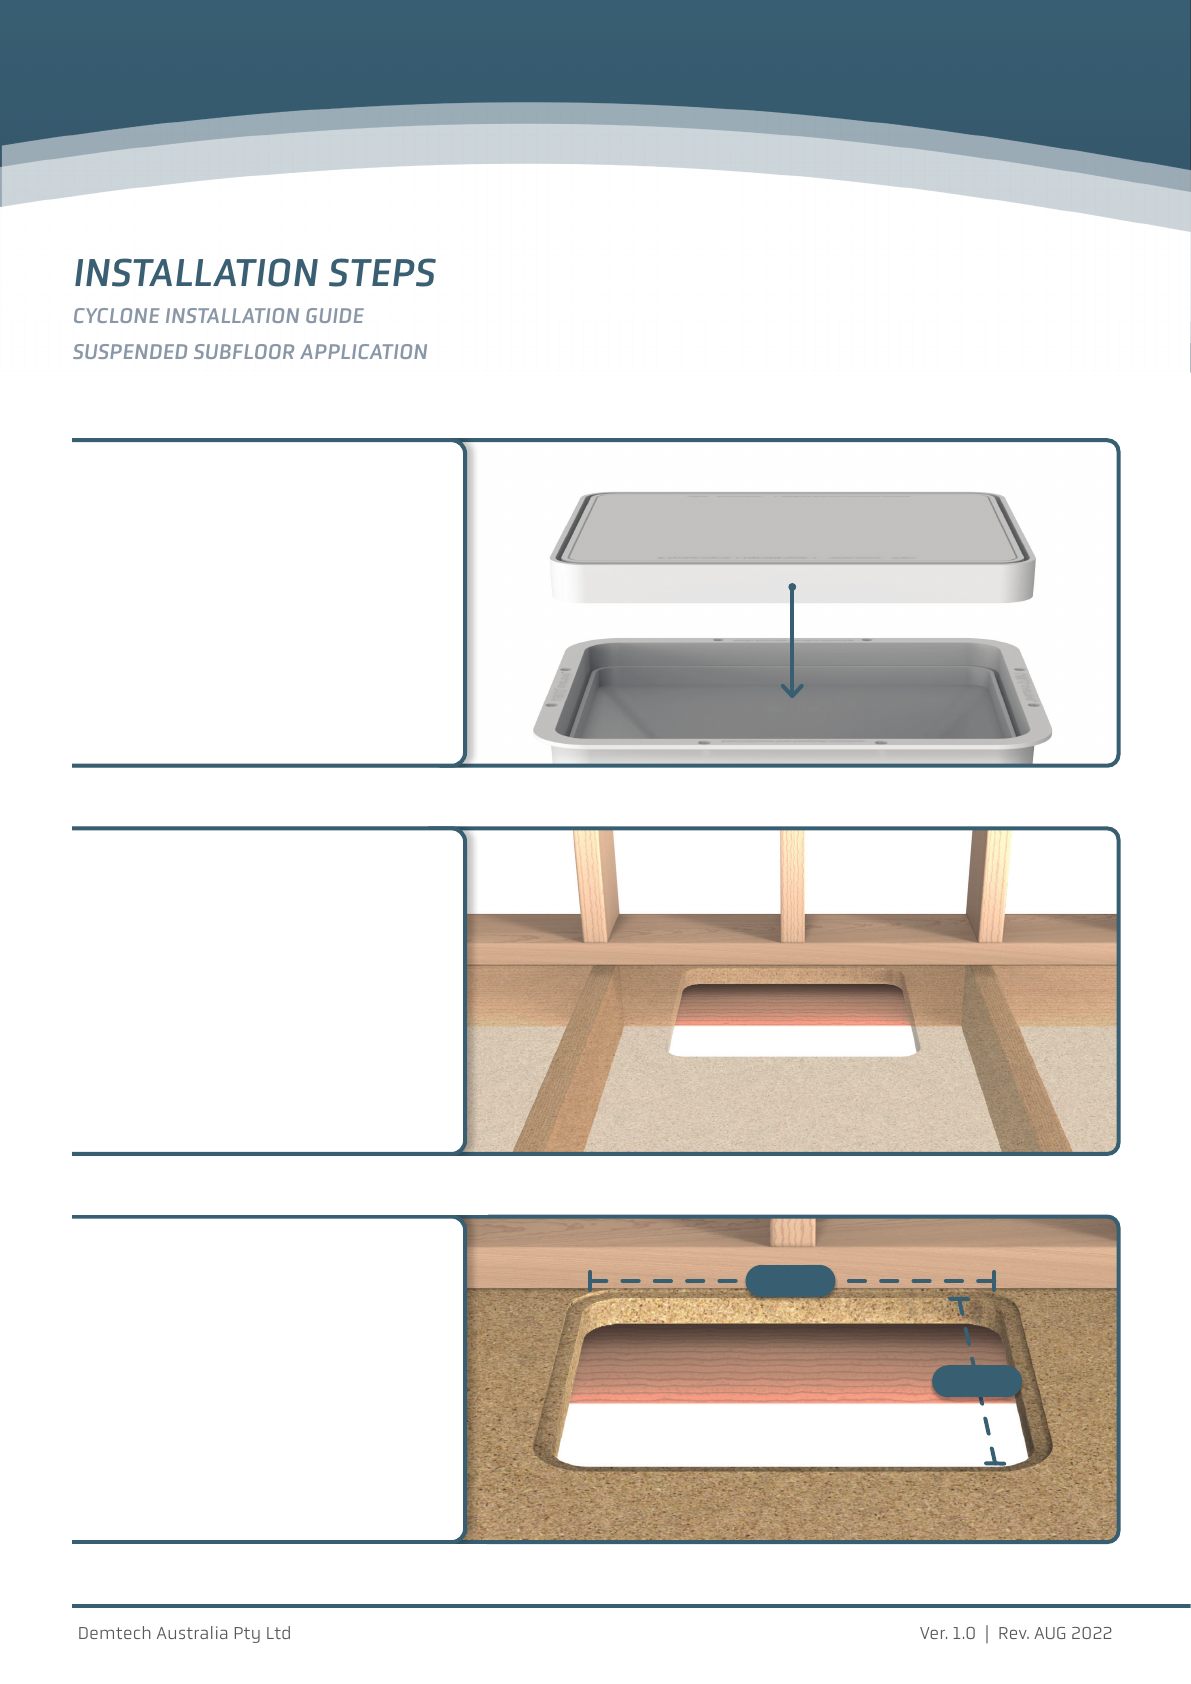
CYCLONE INSTALLATION GUIDE
PLEASE READ CAREFULLY
THIS GUIDE
This document is a guide only and does not
cover all unforeseen on-site circumstances.
The information within this guide is designed
to assist with the installation of the system.
A tradesman, builder or DIY’er must draw on
trade skills/knowledge to overcome on-
site challenges that are not covered within
this document as not all variants of site
preparation can be predicted/covered.
The installation of the system must comply
with the requirements of the Australian
plumbing code and must be completed by an
individual with the relevant qualifications.
RECOMMENDATIONS
It is the responsibility of the builder,
tradesman or user to ensure that all
substrates and structures constructed/
installed prior to installation of the NERO®
Cyclone are compliant with the Australian
Standards requirement, building codes and
are constructed/installed in accordance to all
manufacturers’ recommendations.
SPECIFICATIONS
Product code: NRCYCLONE
Material code: DWV ABS
Outlet size: DN100
Waterway area: 9,500mm2
Max. internal pressure (air): 120kPa
Max. water temperature: 80°C
CERTIFICATIONS
NERO® Cyclone design registered
with IP Australia (no. 202016283).
NERO® Cyclone Sleeve design registered
with IP Australia (no. 202016283).
Demtech Australia's quality management
system is certified to ISO 9001 by SAI Global.
**Cyclone tested (in conjunction with
**Cyclone Sleeve) and certified to:
**Cyclone Sleeve tested (as a stand-alone
**product/accessory) and certified to:
**Cyclone Sleeve available separately for use
**with other compatible fixture connector
**adaptors.
WARRANTY
The products and materials supplied by
Demtech Australia Pty Ltd are covered
under a factory product warranty. That is
that the products themselves are supplied
without manufacturing fault from factory.
Workmanship including installation and
modification of any Demtech systems is not
covered by Demtech as a manufacturer of the
products. This warranty responsibility and
obligation is held by the party completing
the installation and or modification of
the systems supplied. Demtech take no
responsibility for workmanship or installation
of these systems completed by third party
persons.
For further information on our products,
systems and services visit our website.
For full warranty information and to register
your product please scan the QR code.
WMTS536:2022WMTS536:2022
WMK26723WMK26723
AS2887:1993AS2887:1993
WMK26672WMK26672