NES Light LED Sign User manual

Led Sign Manual
LED Sign

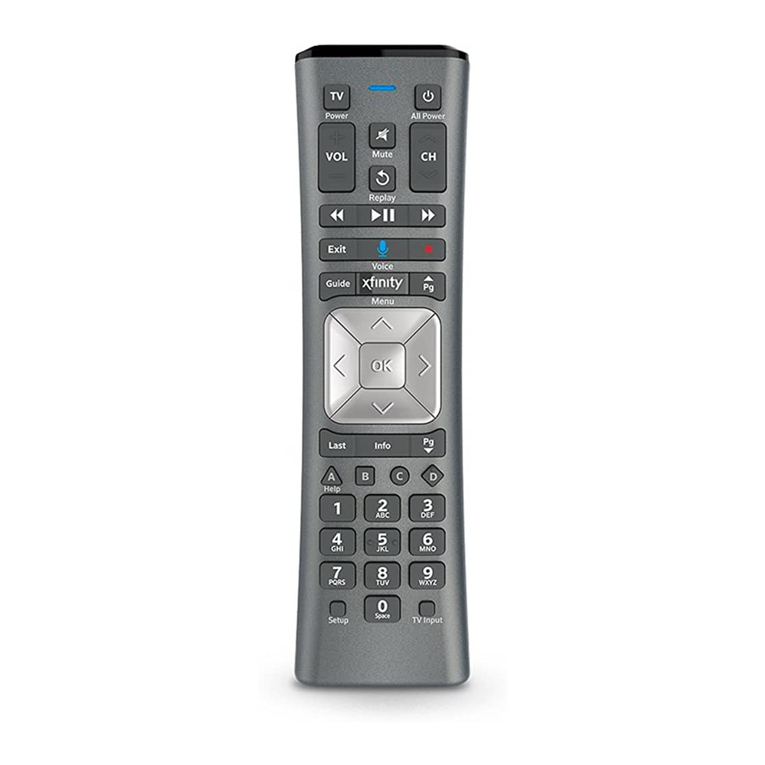
■Remote set
◆Power Menu
Turn on and off
▶
Color
Effect
When chaning color
▶ Width Font
Change font width
▶ Korean english
Korean letter
▶ENGLISH Number
English Capital
▶Delete Space
▶Speed Effect selection
changing speed
▶Light effect OK/Enter
Can use light effect
▶Copy ESC/Cancel
copying letter and effect
▶Neon
Demo
input neon effect
▶Brightness can be adjusted Show demo Fix
Special Adjusting letter
Use special effect Symbol
Move
Input flash picture & letter Icon
Japanse-Hiragana
Input Japanse Langage
ETC Other language
Chinese
User friendly designed remote set
English, Spanish, Japanese, Chinese
Various entering, waiting & leaving effects
Various pre-loaded animations.
Convenient Play/list function
Stop watch function
Features
Outdoor available
Slicone coating
Automatic On/Off
Can set auto on ann off
Light aluminum case
Make installation easy
User's manual User's manual
- 1 - - 2 -

User's manual User's manual
- 3 - - 4 -
◆Menu Tree
1. How to input.
①How to input letter.
1: Add Contents
▶ Push Menu button
①Add 1 line ②Add 2 line ③Add title ④Add Picture ⑤Add image
▶ "1:Add Contents" appears. Push OK button.
⑥Display time ⑦Add D-day(count down) ⑧Add D-time ⑨Add event ▶ Select "①Add 1 line" or "②Add 2 line". Push OK button.
▶ "Insert sentence" message appears and disappear.
2: Modify Contents Input letter using various button as like alphabet, digit, color, width, Korean,
English, Delete, copy, special, font, space, neon, fix,
3: Insert Contents symbol, icon, language & chinese.
▶ After input letters, push OK button. It's time to select entering effect.
4: Index Contents ▶ After selecting entering effect using up & down button,
push OK button.
5: Delete Contents Speed button/left & right button can be used for changing effect speed.
①Delete option(one by one) ②Delete all ▶ It's time to select waiting effect.
After selecting waiting effect using up & down button,
6: Stop watch push OK button.
Speed button/left & right button can be used for changing effect speed.
7: Password
▶ "Hold time 05" message appears. Set hold(waiting) seconds and push OK button.
8: Set time
① Set tiem & date ② Set timer on(auto on) ③Set timer off(auto off)▶ It's time to select leaving effect.
After selecting leaving effect using up & down button,
9: Setting up
push OK button.
① Reservation(auto on & off) X ②Sound X ③Password ④ Brightness
Speed button/left & right button can be used for changing effect speed.
10:Manager
It's for engineers.

User's manual User's manual
- 5 - - 6 -
4) How to input picture
2. How to modify
▶ Push Menu button
▶ "1:Add Contents" appears. Push OK button. ▶ Push Menu button
▶ Push up & down button till "4)Add piture" message appears. Push OK button. ▶ "1:Add contents" message appears.
▶ After selecting picuture using up & down button, push OK button. Select "2:Modify contents" using up&down button.
▶ Pre-input contents are listed.
5) How to input image
▶ Push Menu button ▶ Selecting what you want to modify using up&down button, push OK buttton.
▶ "1:Add Contents" appears. Push OK button.
▶ Push up & down button till "5)Add image" message appears. Push OK button. ▶ After modification, push OK button.
▶ After selecting picuture using up & down button, push OK button. ▶ Select entering, waiting & leaving effect while following steps of "how to input letter".
6) How to display date & time 3. How to Insert
▶ Push Menu button
▶ "1:Add Contents" appears. Push OK button. ▶ Push Menu button
▶ Push up & down button till "6)Display time" message appears. Push OK button. ▶ "1:Add contents" message appears.
▶ Select entering, waiting & leaving effect. ▶ Select "3:Insert Contents" using up&down button.
▶ Pre-input contents are listed.
7) How to input D-day(count down)
▶ Before set countdown, Time and date should be set first. ▶ Select the position where you want to insert new contents, and then push OK button.
▶ Push Menu button If you want to between #1 and #2, you need to select #2.
▶ "1:Add Contents" appears. Push OK button.
▶ Push up & down button till "7)Add Dday" message appears. Push OK button. ▶ After then, make contents refering to "How to input letter".
▶ Set the day and input sentence about the day.
8) How to input D-time
▶ Before set countdown, Time and date should be set first.
▶ Push Menu button
▶ "1:Add Contents" appears. Push OK button.
▶ Push up & down button till "8)Add DTime" message appears. Push OK button.
Set the D time and input sentence about the time.

User's manual User's manual
- 7 - - 8 -
4. 내용목록
Index contents(play) 6. Stop Watch
▶ Push Menu button
▶ "1:Add contents" message appears.
▶ Push Menu button ▶ Select 6."Stop watch" using up&down button.
▶ "1:Add contents" message appears. ▶ Select 1)increment mode or 2)decrement mode.
▶ Select 4."Index contents" using up&down button.
OK button becomes start/stop button.
If you don't want the sentence you chose to be activated,
select "X" using OK button and push ESC button. 7. Password
5. How to Delete ▶ Push Menu button
▶ "1:Add contents" message appears.
▶ Select 7."Password" using up&down button.
▶ Push Menu button ▶
Input your password(4 number)
▶ "1:Add contents" message appears. ▶ Rewrite your password for confirmation
▶ Select 5."Delete Contents" using up&down button.
▶ Select 1)Delete option 8. How to set time
After selecting what you want to delete, push OK button. 1) How to set time and date
▶ Push Menu button
2)How to delete all contents ▶ "1:Add contents" message appears.
▶ Push Menu button ▶ Select 8."Set time" using up&down button.
▶ "1:Add contents" message appears. ▶ Select 1) "Set time".
▶ Select 5."Delete Contents" using up&down button. Time & date can be adjusted using up&down button and left&right button.
▶ Select 2)Delete all ▶ Push OK button.
"Delete?"message appears. Push OK button.
You can check pre-input contents and make them acitivated or deactivated.
1)How to delete one by one.

User's manual User's manual
- 9 - - 10 -
2) How to set auto-on time ◆Symbol
▶ Push Menu button ! " # $ % & ' ( ) * + , - . / : ; < = > ? @ [ \ ] ^ _ ` { l } °
▶ "1:Add contents" message appears.
▶ Select 8."Set time" using up&down button.
▶ Select 2) "Set timer on".
Auto-on time can be set here.
◆Special(SPE)
▶ Push OK button. 1 2 3 4 5 6 7 8 9 0 A B C D E F G H I J K L M N O P Q R S T U V
W X Y Z a b c d e f g h I j k l m n o p q r s t u v w x y z
3) How to set auto-off time
※ ☆ ★ ○ ● ◎ ◇ ◆ □ ■ △ ▲ ▽ ▼ ◁ ◀ ▷ ▶ ♤ ♠ ♡
▶ Push Menu button ♥ ♧ ♣ ⊙ ◈ ▣ ♨ ☏ ☎ ☜ ☞ ♬ ㉿ ㈜ № ㏂ ㏘ ℡ ℃
▶ "1:Add contents" message appears.
▶ Select 8."Set time" using up&down button.
▶ Select 3) "Set timer off".
Auto-off time can be set here.
▶ Push OK button.
9. How to set configuration
▶ Push Menu button
▶ "1:Add contents" message appears.
▶ Select 9."Setting up" using up&down button.
▶ Using up&down button, you can select
1)Resevation(activate/deactivate "auto on & off"),
2)Sound,
3)Passward(activate/deactivate password) and
4)Brightness
Popular Remote Control manuals by other brands

Somogyi
Somogyi home HS 75 instruction manual
Universal Remote Control
Universal Remote Control Complete Control KP-900 owner's manual
Philips
Philips SRU5110/87 quick start guide
Giant Alarm System
Giant Alarm System A-500R2 user manual
Bandini Industrie
Bandini Industrie GI.BI.DI DOMINO DTC4334 quick start guide

XBOX
XBOX 360 manual
