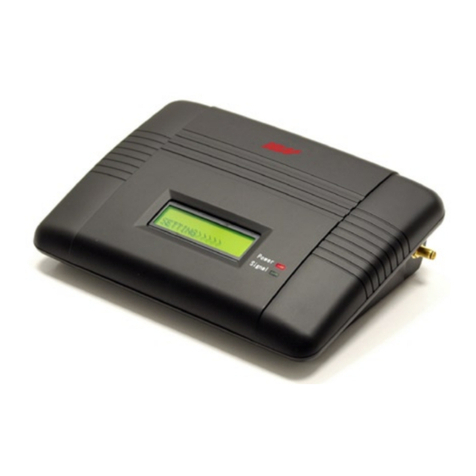
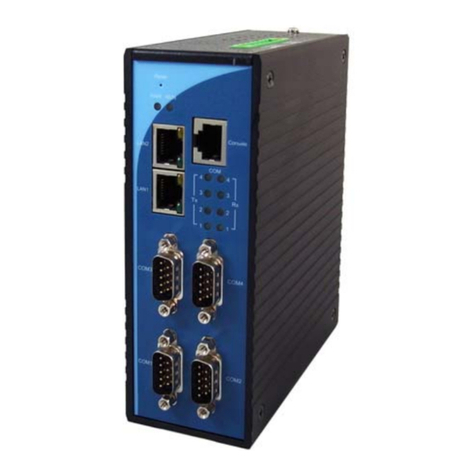
Ness M1 Navigator User manual

NessM1Z‐WaveGatewaySetupGuide Page1
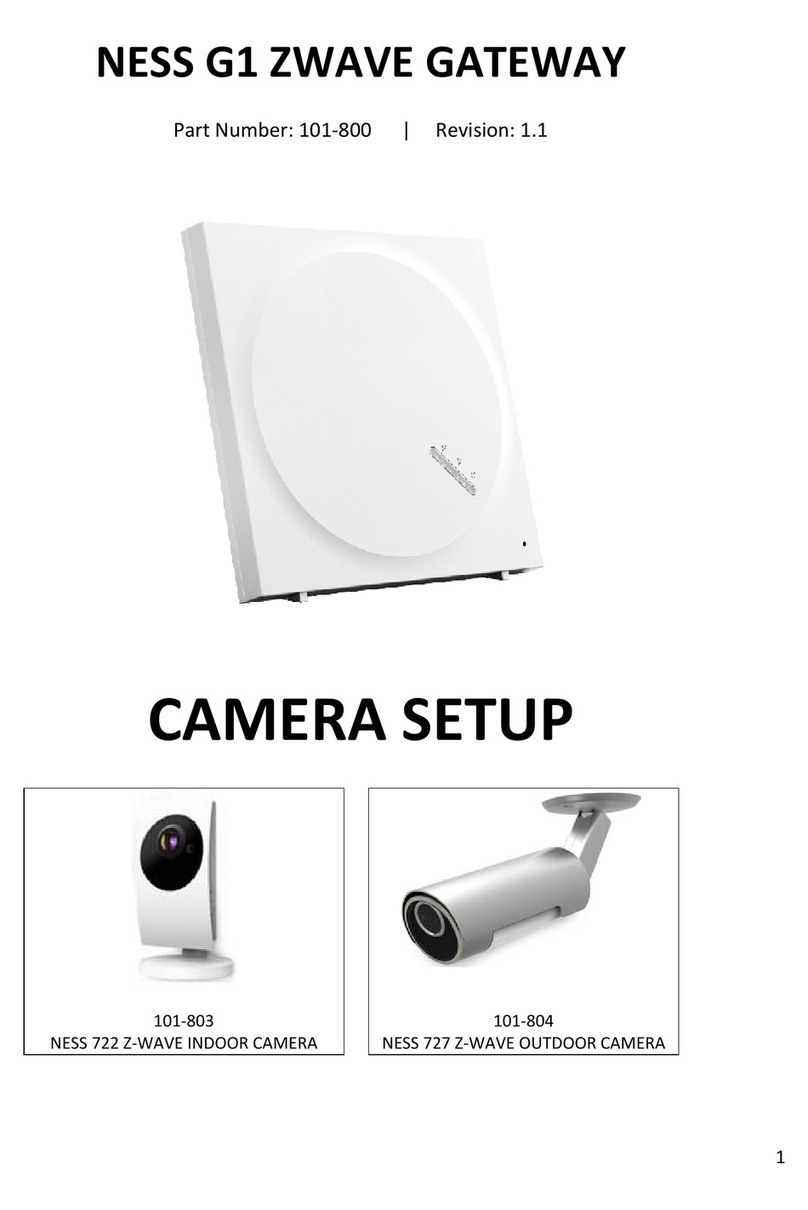
M1Z‐WaveGatewaySetupGuide
Revision 1.1
Introduction
ThissetupguidewillguideyouthroughthestepsonsettinguptheNessM1Z‐Wave
Gateway.
HardwareRequired
M1XEP(EthernetModule)withM1XEPfirmware2.0.42orabove.(101‐215)
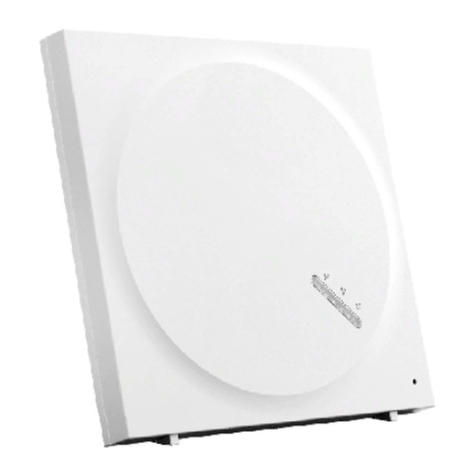
M1Z‐WaveGateway(101‐296)
Computer
ActiveInternetconnection
Notes
EnsureyouarenotconnectedwithElkRPafteryouhavesetupandprogrammedthe
M1.BybeingconnectedwillstopallM1protocolsandtheM1Z‐Wavegatewaywillnot
communicatetotheM1.Waitapprox1‐2minutesafterdisconnectingfromElkRP
beforetestingandusingtheM1Z‐WaveGateway.

Page2 NessM1Z‐WaveGatewaySetupGuide
1.1 SettingUptheM1XEP
BeforeanythingcanbesetupintheM1Z‐WaveGateway,thereisafewstepsyou
needtocheckandsetupintheM1XEP(EthernetModule).
1. OpenyourM1AccountinElkRP,andconnecttoyourpanelviatheM1XEP.
2. Onceconnected,fromthe‘accountsdetails’page,clickontheM1XEPSetup
button.
3. Selectthe‘TCP/IPSettings’tabandensureyouhavetheIPaddresssetasastatic
IPaddress.Alsoensureyouhaveenabledthenon‐securePort.Keepnoteof
bothsettingsasyouwillneedthisforlateron.Ifyoumakeanychanges,press
the‘send’buttonatthebottomofthepagetosendthesettingstotheM1XEP.

NessM1Z‐WaveGatewaySetupGuide Page3
4. OncetheM1XEPsettingshavebeenconfirmedandsenttoyourpanel,closethe
M1XEPsetupscreen.(Don’tdisconnectfromthepanelyet).
5. EnsureyourM1XEPisrunningfirmwareversion2.0.42orabove.
1.2 SettinguptheM1
BeforetheM1Z‐WavegatewaywilldetectanydevicesfromtheM1,theM1panel
needsafewsettingssetfirst.
Zones
Selectthe+iconnextto‘Zones’fromthesidemenuinElkRP,andchoosetheexpander
fromthelisttoseethezonesonit.

Page4 NessM1Z‐WaveGatewaySetupGuide
Selectthezonefromthelistandensureithasaname.Ifthezonehasnoname(or
startswithaspace)thenitwillnotdisplayandwon’tworkwiththeM1Z‐Wave
Gateway.
Ensurethezonedefinitionisnotsettodisabled.
Tasks
Select‘Tasks’fromthe‘Automation’menutoviewtheTasksinElkRP.
AtaskislikeamacroandisusedintheM1Rules.
Onlythetasksthathaveanameandhavethe‘Show’boxtickedwilldisplayandcan
beusedinM1Z‐WaveGateway.

NessM1Z‐WaveGatewaySetupGuide Page5
Lighting
Name
AllthelightsyouwanttouseintheM1Z‐WaveGatewayneedstohaveaname.Ensure
thatthelightdoesn’tstartwithaspaceotherwiseitwon’tdisplayorworkwiththeM1
Z‐WaveGateway.
Format
Setthelightformatto‘Standard’.
Type
SettheLighttypeto‘On/Offswitch’
Opt/ShowBoxes
TickbothoftheseboxesforthelightsthatyouwanttouseintheM1Z‐WaveGateway.
(VoiceDescriptioncanbeleftblank)
Outputs
GiveanoutputanamethatyouwanttouseintheM1Z‐WaveGateway.Ensureitdoes
notstartwithaspaceelseitwon’tworkandwon’tdisplay.
Ensureyoutickthe‘show’boxfortheoutputsyouwanttouse.

Page6 NessM1Z‐WaveGatewaySetupGuide
Globals
Makesureall‘Serialport0transmitoptions’istickedundertheGlobals‘G29‐G42
Specialtab’.
DisconnectfromElkRP,oncetheaboveiscomplete.

NessM1Z‐WaveGatewaySetupGuide Page7
1.3 SettinguptheM1Z‐WaveGateway
Makesureyouonlyhave1networkadaptorenabledandconnected.
Ensurethisnetworkconnectionhasanactivateinternetconnection.Withoutan
internetconnectionyouwon’tbeabletosetuptheM1Z‐WaveGateway.
PlugintheM1Z‐WaveGatewayintothenetwork.
Openawebbrowserandenterinhome.getvera.com.
Signintoyouraccount.Ifyoudon’tyethaveanaccountclickontheblueboxtosignup.

Page8 NessM1Z‐WaveGatewaySetupGuide
Clickonthe‘Addanothercontroller’button.
Select‘VeraEdge’fromthelist.
IfnotdonealreadyensuretheLANcableispluggedintoM1Z‐WaveGatewayand
poweritup.

NessM1Z‐WaveGatewaySetupGuide Page9
Onceyourdeviceispoweredup,itshouldthenautomaticallydisplayinthelistinthe
webbrowser.
Clickonyourdevicetosetitup.
Donotdisconnectyourgatewaywhileit’sbeingsetup.
Clickonthe‘NextStep’atthebottomofthepage.

Page10 NessM1Z‐WaveGatewaySetupGuide
OncetheM1Z‐Wavegatewayisready,clickonthe‘Gotodashboard’buttonupthetop
right.
Clickonthe‘Connect’buttonnexttoyourcontroller.Thiswillconnecttoyour
controllers(M1Z‐WaveGateway)localIPaddress.
Followthewizardtosetupyourcontroller.

NessM1Z‐WaveGatewaySetupGuide Page11
1.4 SettinguptheM1Plug‐in
Select‘Apps’>‘InstallApps’fromthesidemenu.
SearchfortheappNessM1thenclickonthe‘details’button.
Clickonthe‘Install’buttontoinstalltheplug‐in.

Page12 NessM1Z‐WaveGatewaySetupGuide
Thiswilldownloadandinstalltheplug‐in.Itcantakeapprox2minutestocomplete.Ifit
sitsonthe‘Config:Startconfiguration’messageforlongerthan5minutes,thenrefresh
thewebpage.
Aftertheplug‐inisinstalled,clickonselect‘Apps’>‘MyApps’.
NowthattheNessM1Plug‐inisinstalled,Clickonthe‘CreateDevice’button.

NessM1Z‐WaveGatewaySetupGuide Page13
Select‘Devices’fromthesidemenu.Youwillnownoticeanewdevicefromthe‘No
Room’subsectioncalledNessM1.Clickontherightarrownexttothistoconfigureit.
Clickon‘Advanced’fromthelist.
Withoutmodifyingorchanginganyothersettings,enterinyourM1XEPIPaddress,
followedbyacolon(:)andthentheM1XEPnon‐secureport,intothe‘IP’fieldintheweb
browser.

Page14 NessM1Z‐WaveGatewaySetupGuide
Thenpressthe‘back’buttonupthetopofthepage.
Clickonthe‘SaveChanges’
Clickon‘Settings’>‘Net&WiFi’fromthesidemenu.
Clickon‘Rebootfromalongthetop.

NessM1Z‐WaveGatewaySetupGuide Page15
Youneedtowaitapprox2‐5minutesforthegatewaytofullyrebootandpowerup.All
theLEDsontheunitshouldbelituponceit’sreadytobeusedagain.
OnceM1Z‐WaveGatewayhasrebooted,clickon‘devices’fromtheleftsidemenu.The
devicesthathavebeendiscoveredfromyourM1,itwillautomaticallydisplayonthe
screen.

Page16 NessM1Z‐WaveGatewaySetupGuide
1.5 CreatinganScene
AsceneissimilartotheM1rulesengine.
YoucanwriteascenewhenaM1lightturnson,thenturntheZ‐Wavelighton:
Or,anotherexample..
WhentheM1’sPIRtriggersthenturnaZ‐Wavelighton.
ThesceneiswrittenintheM1Z‐WavegatewayandnotintheM1.
Tocreateascene,clickontheScenefromthelistontheleft.

NessM1Z‐WaveGatewaySetupGuide Page17
Next,clickonthe‘AddScene’buttonlikeshownbelow.
Clickon‘Selectadevice’,andthenselectthedeviceyouwanttouseasatrigger.
Forexample,ifyouwantaZ‐WavelighttoturnonwhenaM1lightturnson,thenyou
wouldneedtoselecttheM1Lightfromthislist.(Thisactsasa‘Whenever’trigger)
Clickon‘Adeviceisturnedonoroff’.
Youthenhavetheoptiontoselectwhenthedeviceturnsonorturnsofffromthedrop
downbox.Choosetheoneyourequireandthenclickonthe‘Validate’buttondownthe
bottomofthepage.

Page18 NessM1Z‐WaveGatewaySetupGuide
Clickonthe‘NextStep’optionatthebottom.
Selectthe‘SelectDevice’option.
Thiswillgiveyoualistofallyourdevices,includingtheM1andZ‐Wavedevices.
Choosethedeviceyouwanttocontrol.
ForExample,ifyouwanttheZ‐WavelighttoturnonwhentheM1lightturnsonthen
youwouldselecttheZ‐Wavedevicefromthelist.(Thisactsasa‘Then’trigger)
InmyexampleIwanttoturnaZ‐Wavelighton,soIwouldselecttheZ‐WaveLightfrom
thelist.ThenclickontheNextbuttonfromthebottomofthepage.

NessM1Z‐WaveGatewaySetupGuide Page19
SinceIamcontrollingalight,thisallowsmetochoosewhatstateIwantthelighttobeas
wellasthecolorandthedimlevel.Onceyouhaveselectedtheoptionsforthedeviceyou
haveselectedthenclickonValidate.
Thenclickonthe‘NextStep’button.
Thelaststephassomeadvancefeatures.
SincewearecontrollingtheM1Z‐WavegatewaydevicewiththeM1,youcanleavethe
fieldsasis,andjustgivethedeviceanameatthebottomofthescreen.
Oncedoneclickon‘Finish’.

Page20 NessM1Z‐WaveGatewaySetupGuide
Youcannowtestthisnewscenebyclickingonthe iconnexttothesceneyoujust
created,orsimplytriggeringtheM1functionwhichtriggerstheZ‐wavedevice.
Note,youmayneedtowaitapprox10secondsafterpressingthefinishbuttonfrom
above,whileitsavesthescenetoyourM1Z‐Wavegateway.
Ifyoucreatedascenetoturnthedeviceonthenyouwouldalsoneedtowriteanother
scenetoturnitoff.
ForExample,ifyoujustcreatedascenetoturnonaZ‐WavelightwhentheM1light
turnsonlike:
Scene1:
ThenyouwouldneedtocreateanothersceneintheM1Z‐WavegatewaytoturntheZ‐
WavelightoffwhentheM1lightturnsoff.
Scene2:
Other manuals for M1 Navigator
2
Other Ness Gateway manuals
Popular Gateway manuals by other brands
Moeller
Moeller SmartWire SWIRE-GW-DP Hardware, Engineering and Function Description
Kasda
Kasda KW5862 user manual
Patton electronics
Patton electronics SMARTNODE 4120 quick start guide
Dinstar
Dinstar MTG200 Quick installation guide

Gamewell
Gamewell FPT-DACR-GW Installation & operation manual
RTA
RTA 460ESBM-NNA1 Product user guide
