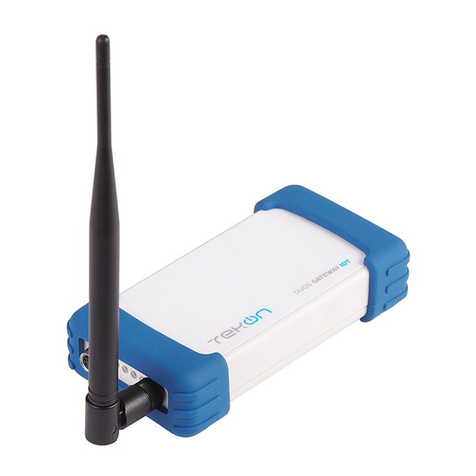
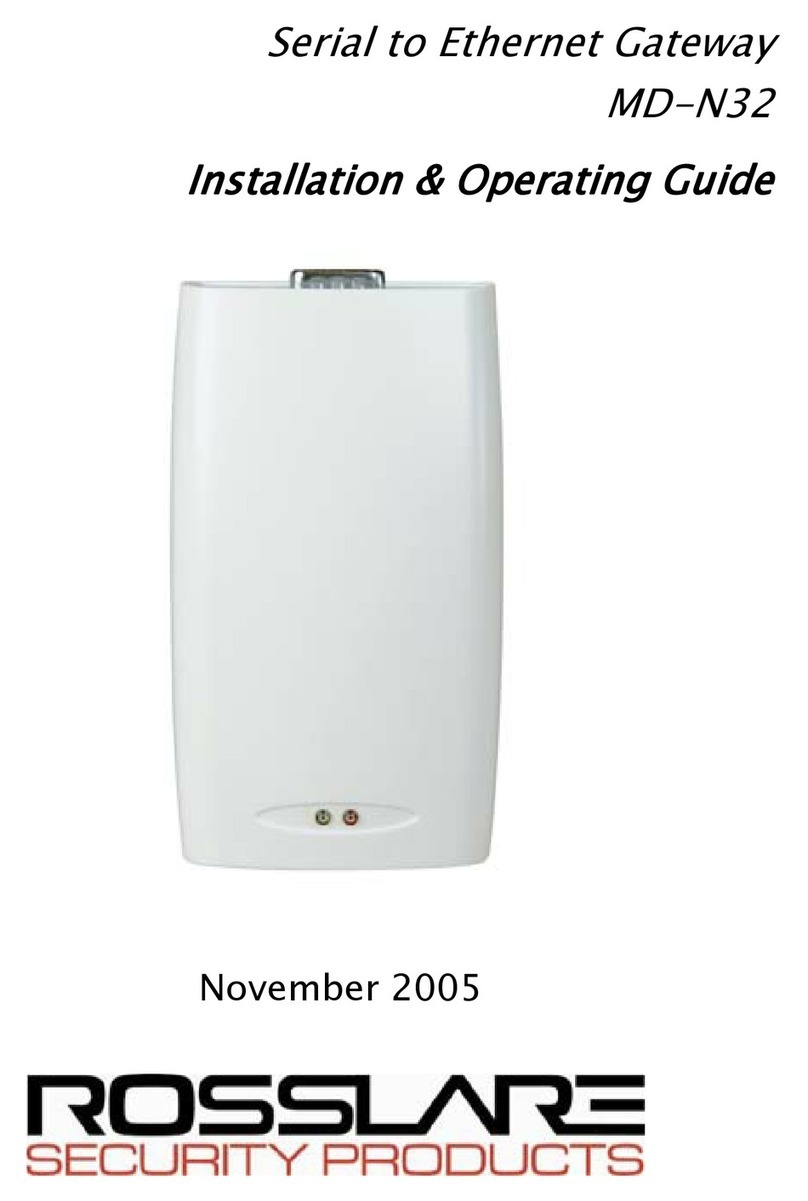
Ness G1 User manual

1
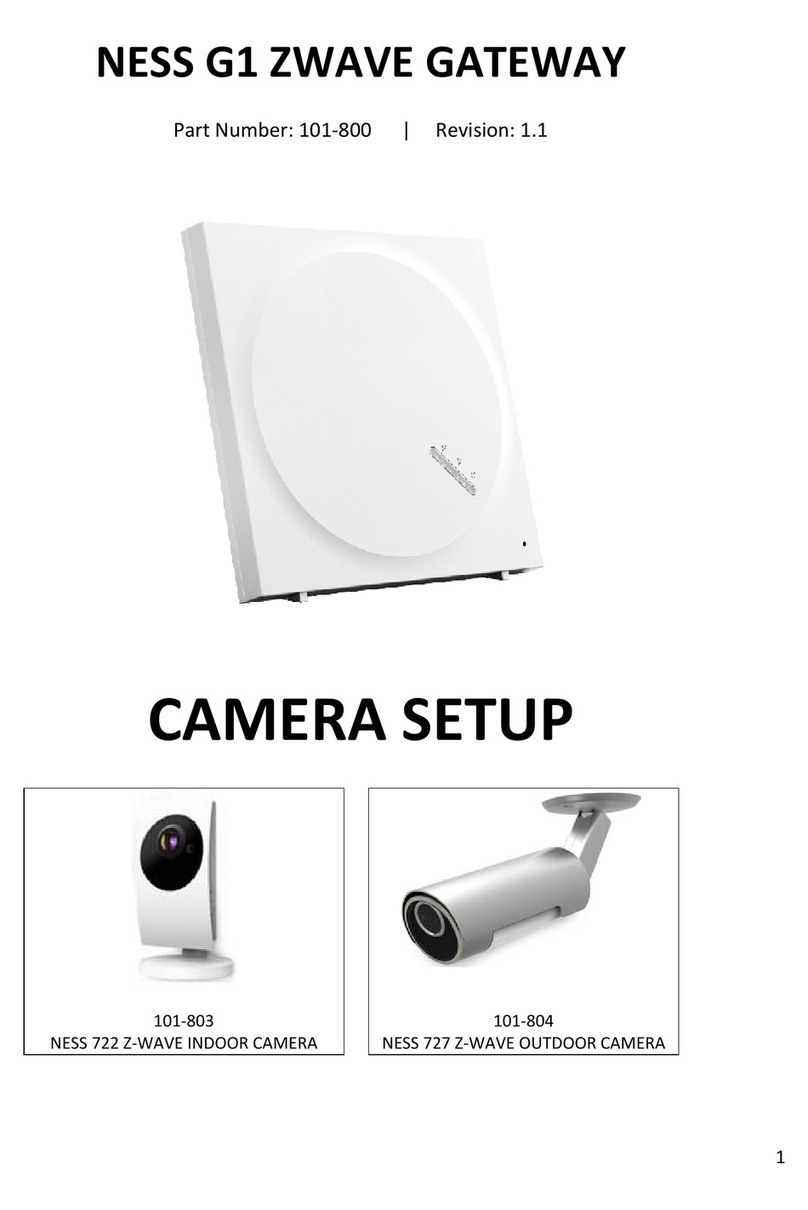
NESSG1ZWAVEGATEWAY
SupportsD8/D16Panels
PartNumber:101‐800|Revision:1.1
INSTALLATIONGUIDE

2
Contents
GENERALPRECAUTIONS................................................................................................................................................3
WIRING..........................................................................................................................................................................4
APPS...............................................................................................................................................................................4
SPECS.............................................................................................................................................................................4
SUPPORT........................................................................................................................................................................4
TYPICALCONFIGURATION.............................................................................................................................................5
SETTINGUPGATEWAYFORFIRSTTIME........................................................................................................................6
CAMERA.........................................................................................................................................................................9
SmartWiFiSetup.......................................................................................................................................................9
Manualinput...........................................................................................................................................................11
LocalSearch.............................................................................................................................................................12
ScanQRCode..........................................................................................................................................................13
LIVEVIEWIPCAMERA&LIVEVIEWCONTROLS..........................................................................................................14
PAIRINGZ‐WAVEDEVICES...........................................................................................................................................15
EXCLUDINGZ‐WAVEDEVICES......................................................................................................................................18
HOUSEMODE/ARMINGMODES................................................................................................................................21
HOTKEYCONTROL.......................................................................................................................................................21
AddingHotkey.........................................................................................................................................................22
DeletingHotkey.......................................................................................................................................................25
EditingHotkey.........................................................................................................................................................26
SCENESENGINE...........................................................................................................................................................27
Addascene.............................................................................................................................................................28
ROOM..........................................................................................................................................................................32
CreateaRoom.........................................................................................................................................................32
AdddevicetoaRoom.............................................................................................................................................33
RemovedevicefromaRoom..................................................................................................................................35
EVENTHISTORY...........................................................................................................................................................36
AccessingEventLog................................................................................................................................................36
QRCODEEXPORT/COPYSETTINGSTOANOTHERDEVICE.........................................................................................37
D8/D16AlarmNotifications........................................................................................................................................39
USERMANAGMENT.....................................................................................................................................................41
Z‐WAVEBACKUP/RESTORE........................................................................................................................................42
ADDINGNESSD8/D16SECURITYSYSTEM...................................................................................................................43
MINUMUMREQURMENTS......................................................................................................................................43
CONFIGURINGIP232MODULE................................................................................................................................43
CONFIGURINGD8/D16SETTINGS................................................................................................................................44
SETTINGUPANDADDINGAND8/D16TOTHEGATEWAY..........................................................................................46
DEFAULTUNIT.............................................................................................................................................................48
FIRMWARE...................................................................................................................................................................49
CheckingwhatfirmwareisinG1Gateway..............................................................................................................49
FirmwareUpdate....................................................................................................................................................49
RELEASENOTES...........................................................................................................................................................50

3
GENERAL PRECAUTIONS
Keep the unit more than 1 m away from radio or TV.
Keep the unit wires more than 30cm away from AC100-240V wiring. AC induced noise and/or unit
malfunction could result.
Install the unit in an area that will be accessible for future inspections, repairs, and maintenance.
The unit can be damaged if dropped. Handle with care.
The unit turns inoperative during power failure.
In areas where broadcasting station antennas are close by, the system may be affected by radio
frequency interference.
All the units are designed for indoor use only. Do not use outdoor.
Do not use product as a security system and use it for automation purposes.
For wiring, specify CAT5e / CAT6 straight cable.
Do not locate the units in a location with restricted access. It impedes maintenance inspection or
repairs. Also, unit trouble could result.
If the wrong power supply is used it could damage the product(s) and will void your warranty on
the product.
Do not install in a metal housing, or next to any radio antennas.
Do not mount gateway in final location until it’s paired into smart phone as you may need to
access the details on the back of the unit.
NOTICE
We will under no conditions be liable for:
◦ Damage that occurs due to failures in network equipment; failures due to internet
providers and cell phone companies; failures such as disconnected lines and other
losses in communication, which render it impossible to provide this service or in any way
delay this service due to causes outside of our responsibility; or if an error or missing
data occurs during transmission.
◦ Damage that occurs due to the inability to communicate due to malfunctions, problems,
or operational errors in this product.
◦ Damage caused if a customer's password or transmitted information are leaked through
bugging or unlawful computer access over Internet communication.
◦ Any damages or losses resulting from this product's contents or specifications.
◦ Damage caused by the installer or customer powering up the unit with the wrong power
supply. It’s the installers responsibly to double check to ensure the correct power supply
is being used.
Please note that:
◦ Images depicted in this manual may differ from the actual images.
◦ This manual may be revised or changed without prior notice.
◦ Product specifications may be changed for the sake of improvement without prior notice.
◦ It is the customer's responsibility to ensure that their computer, phones and network is
secure. We will under no conditions be liable for security failures.
This system is not intended for life support or crime prevention.
It is just a supplementary means of conveying information. We will under no conditions be liable
for loss of life or property which occurs while the system is being operated.

4
WIRING
APPS
Apps are available for both Android and iOS.
Apps may be removed or replaced with or without notice.
Search Google Play and Apple App Store for Ness zComms.
SPECS
PowerSupply:5vDC1.5amp
Z‐WaveFrequency:921.42MHz
LAN:10/100/1000
MaximumofZ‐Wavedevices:120(intotal).
NumberofextendedGateways:20
SUPPORT
TechnicalsupportisavailablefromMondaytoFriday(8:30amto5PM)
Phone:1300551991
Email:[email protected]

5
TYPICAL CONFIGURATION

6
SETTING UP GATEWAY FOR FIRST TIME
1.PlugintheLANcableintothebackoftheZ‐Wavegateway,andplugtheotherendintoyourcomputernetwork,
whichhasaDHCPserverrunning.(Suchasyounetworkrouter).
2.Poweruptheunitandwaitapprox1‐2minutesforittofullybootup.
3.DownloadandopentheNesszCommsapponyourAndroidoriOSdevice.
4.Ifyouareprompted,acceptthenotificationspermission.Thisallowspush
notificationsonyourdevicewhenaneventoccursonthegateway.
5.Tapontheplus(+)iconinthemiddleofthescreentoaddyourgateway.
6.Tapon‘Setupanewgateway’fromthelist.

7
7.Select‘Gateway’fromthelist.
8.ConfirmthegatewayispoweredupwithasolidRedLED,andclick‘Continue’.
9.Enterinyourdevicesdetails.
Name
Enteranynameyouliketoidentifythisunitas.
ID
ScantheQRCodeonthebackofthegatewayorscantheQRcodethatcome
withthisgateway.
Useraccount
Enteradminastheuseraccount
UserPassword
Leavethisblank.
TaponOKtobeginsettingupthisgateway.
10.IfsuccessfulitshoulddisplayaHomeiconwithyourgatewaynameunderit.
11.Taponyourgatewayintheapp,anditwillconnecttoit.

8
12.Whenyouconnectforthefirsttime,itwillaskyoutosetanewadmin
usernameandpassword.
Enterinanewadminusernameandpassword,butmakesureyouremember
whatitisforfuturereference.
13.Thegatewayisnowsetupandreadytobeused.
IfaddingaD8/D16paneltothegateway,thenpleaserefertotheD8/D16setup
sectioninthisusermanual.

9
CAMERA
Youcanpairunlimitednumberofcamerastoyourgateway.ThesecamerasneedtobeeithertheIndooror
outdoorNessIPZ‐WaveCameras.(101‐803or101‐804)OtherIPCamerasarenotsupported.
101‐803 101‐804
NESS722Z‐WAVEINDOORCAMERA NESS727Z‐WAVEOUTDOORCAMERA
SmartWiFiSetup
ThisfeatureallowstheIPcameratoscantheQRCodefromtheapptoaddittothesystem.
IfyouareconnectingtheIPcameratoyourWiFithenselectthisoption.
Thisfeatureisonlysupportedonthe101‐803Cameraonly.(Notsupportedonthe101‐804).
1.PowerupyourcamerawithoutpluggingintheLANCable,andwaitapprox1‐2
minutesforittofullypowerup.
2.Removetheprotectiveplasticcoverfromthecameralens.
3.Selecttheoption‘SmartWiFiSetup’.ThenpresstheNextbuttoniconupthe
topright.
Note:
YourphoneneedstobeconnectedtotheWiFinetworkyouareplanningto
connecttheIPCamerato.
4.Whenprompted,enterintheWiFiPasswordtoyourWiFiAccessPointand
pressOK.

10
4.PresstheWPSButtononthesideofthecamera.
TheLEDsonthesideofthecamerashouldbeflashing.
5.Younowneedtohavepatiencewiththisnextstep.
HoldyourphonescreenwhichhastheQRCodefacingtheIPCamerasothe
cameracanviewtheQRCode.
Youneedtohavethephoneapprox10‐30cmfromthecamera.Youmayneedto
moveitbackandforwardforittoreadthecamera.
WhenthecamerasuccessfullyreadstheQRCode,thenthecamerawillbeep.
6.Oncesuccessfulitwillpromptyoutogivethecameraaname.
7.Thecameraisnowpairedintothegateway.

11
Manualinput
RatherthanscanningtheQRCode,youcanmanuallyenterintheIDandPasswordoftheIPCamera.
1.PowerupyourcamerawiththeLANCablepluggedin,andwaitapprox1‐2
minutesforittofullypowerup.
2.MakesuretheIPCameraisconnectedtothesamenetworkasyourphone.
3.Selectthe‘ManualInput’optionintheapp.
4.GivetheCameraaname.
5.EnterintheIDnumberoftheCamerafromtheID/Passwordcard.CamIDcan
alsobefoundonthestickeronthecamera.
6.EnterinthepasswordofyourcamerafromtheID/Passwordcard.
7.Click‘Done’andnowtheIPCamerawillbeadded.

12
LocalSearch
ThisfeaturewillscanyourlocalnetworklookingforanyofthesupportedIPcameras.RequirestheIPcameratobe
connectedbyaLANcabletobefound.
1.PowerupyourcamerawiththeLANCablepluggedin,andwaitapprox1‐2
minutesforittofullypowerup.
2.MakesuretheIPCameraisconnectedtothesamenetworkasyourphone.
3.Selectthe‘LocalSearch’optionintheapp.Thegatewaywillbeginscanning
yournetworkfortheIPCameras.
4.SelecttheIPCamerafromthelistyouwanttoadd.
Note:Aftertappingthecameraitmaytakeamomenttomoveontothenext
screen.
5.Givethecameraaname.
6.EnterintheVideoPassword.Thisisthesamepasswordasonthe
ID/Passwordcardthatcomeswiththecamera.
7.Cameraisnowadded.

13
ScanQRCode
ThisscanstheQRCodethatcomewiththeIPcamera.RequirestheIPcameratobeconnectedbyaLANcablefor
theapptoconnecttoit.
1.PowerupyourcamerawiththeLANCablepluggedin,andwaitapprox1‐2
minutesforittofullypowerup.
2.MakesuretheIPCameraisconnectedtothesamenetworkasyourphone.
3.Selectthe‘ScanQRCode’optionintheapp.
4.ScantheQRCodeCardthatcomewiththeIPCamera.
5.Thefieldsshouldbeautomaticallyfilledin.Ifso,taponthe‘Done’button, and
theIPCameraisnowadded.

14
LIVE VIEW IP CAMERA & LIVE VIEW CONTROLS
1.OncetheIPCamerahasbeenadded,tapontheCameraicon.
2.Selectthecameraimage(logo)tobeginthelivestreamofthecamera.
3.
Note:Torecordthevideo,anSDcard(soldseparately)mustbeinsertedintothecamera.
ReturntoCameraList.
LiveCameraVideo.
RecordLiveVideoStream.
TakeaSnapshotofLiveStream
Playsasirensoundoutofthecameraspeaker. MicrophonevolumeofPhonewhentalkingto
thepersonattheIPCamera.
NetworksignalofIPCamera.

15
PAIRING Z-WAVE DEVICES
Youcanpairupto120Z‐Wavedevicespersystem.
1.Selectdevicefromthemainscreen,thentapontheplusicon.
ThissectionintheinstallationmanualisaboutparingZ‐Wavedevices.
IfaddingaD8/D16paneltothegateway,thenpleaserefertotheD8/D16setup
sectioninthisinstallationmanual.
2.SelectthemanufactureoftheZ‐Wavedevice.
Inourexample,wearegoingtopairaAeotecSmartSwitch6(ModelZW096‐B09)
Basedonourexample,weselectAeotecasthemanufacture.

16
3.SelecttheZ‐Wavemoduleyouarepairing.
InourexamplewelearningintheAeotecSmartSwitch6(ModelZW096‐B09),so
weselectZW096asthemodel.
Note:
BeforeyoutapontheZ‐Wavedeviceintheapp,makesureyouareneartheZ‐
Wavegateway,asitwillplayabeepsoundandyouneedtoconfirmitinthenext
step.
4.TheZ‐Wavegatewaywillthenplayabeepsound.
Ifyouheardthebeepsound,clickon‘Yes’.

17
5.PresstheZ‐Wavelearnbuttononthedeviceyouarepairingin.
DependingontheZ‐Wavedevicewilldependwherethelearnbuttonis.Check
theinstallationmanualfortheZ‐Wavedeviceyouarelearningintofindwhere
thelearnbuttonis.
6.WhenyoupressthelearnbuttonontheZ‐Wavedevice,itwillplayasmall
beepingsoundonthegateway.Ifyouheardthisbeepingsound,thenclickon
‘yes’toconfirmtheparingprocess.
7.Thegatewaywillthenbegintheparingprocess.
8.GivetheZ‐Wavedeviceauniquename.Thisisthenameofthedeviceyouwill
seeintheapp.

18
9.Thenewdevicewillthendisplayintheapp,andpairingiscomplete.
EXCLUDING Z-WAVE DEVICES
ThissectionwillexplainhowtoremoveaZ‐Wavedevicethatwaspairedalreadyinthegateway.
1.Tapon‘Device’fromthemainscreenandtapontheminusbutton.

19
2.Selectthemanufactureofthedeviceyouareremoving.
Inourexample,wearegoingtounpairaAeotecSmartSwitch6(ModelZW096‐
B09)
Basedonourexample,weselectAeotecasthemanufacture.
3.SelecttheZ‐Wavemodelyouareremoving.
InourexampleweunpairingintheAeotecSmartSwitch6(ModelZW096‐B09),so
weselectZW096asthemodel.

20
4.TheZ‐Wavegatewaywillthenplayabeepsound.
Ifyouheardthebeepsound,clickon‘Yes’.
5.PressthepairingbuttonontheZ‐Wavedevice. Thiswillsendthesignalto
removeitfromyourZ‐WaveGateway.
Alldeviceshavedifferentpair/unpairlocations,pleaserefertotheinstallation
manualoftheZ‐Wavedeviceyouareunpairing.
6.YouwillthenhearasoundontheZ‐Wavegateway.
YourZ‐WavedevicewillthenberemovedfromyourZ‐WaveGateway,andready
tobelearntintoanotherZ‐WaveGateway.
Other manuals for G1
1
Table of contents
Other Ness Gateway manuals
