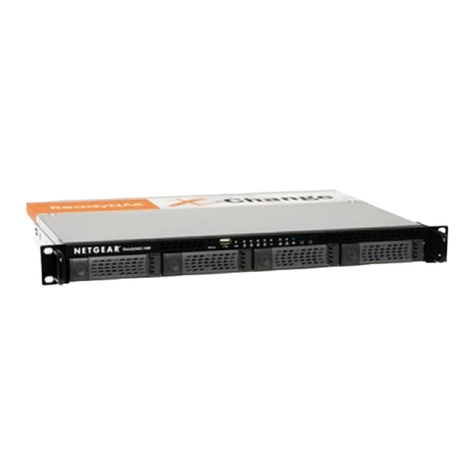
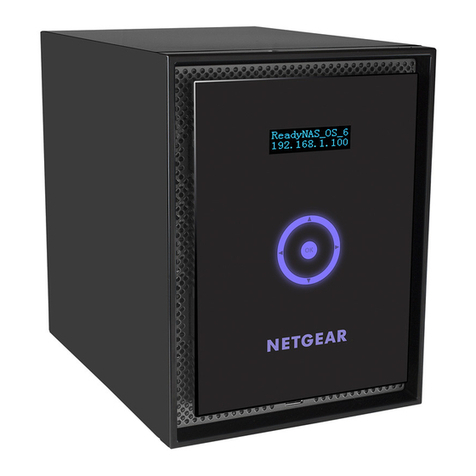
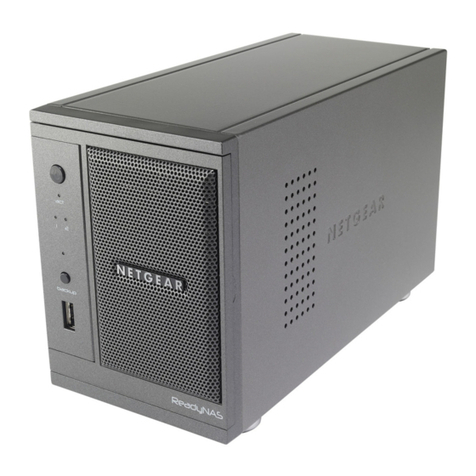
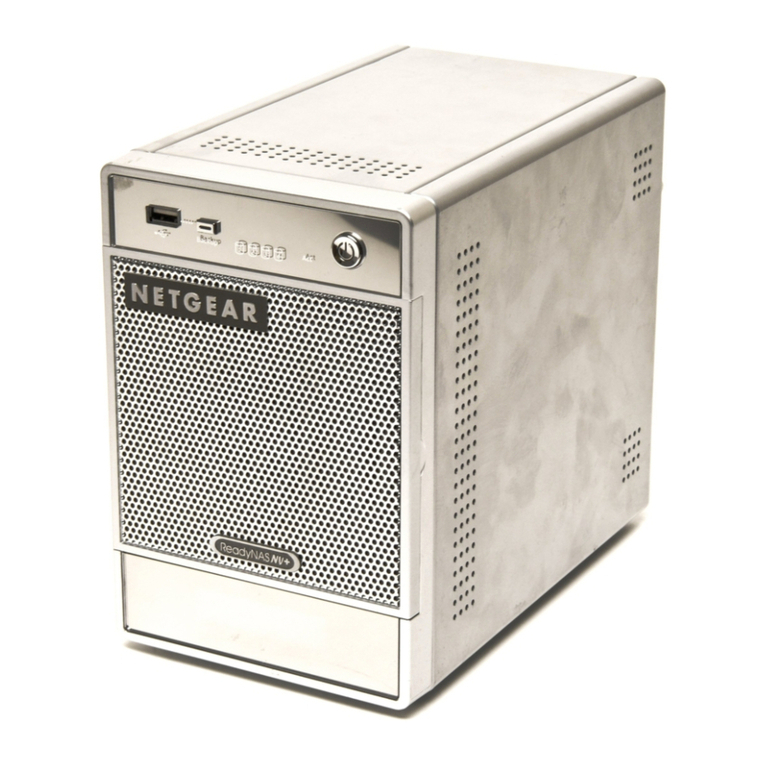
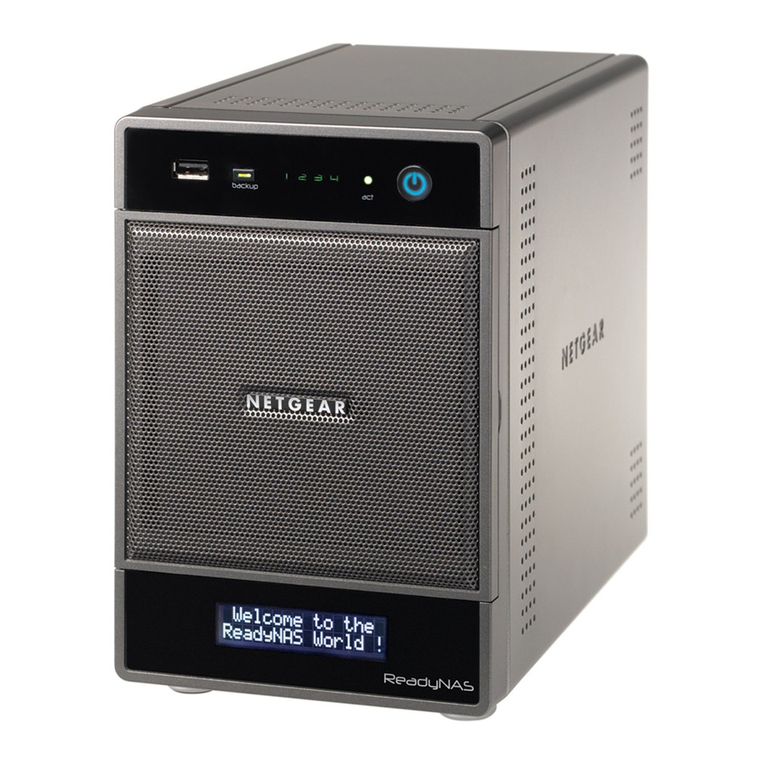
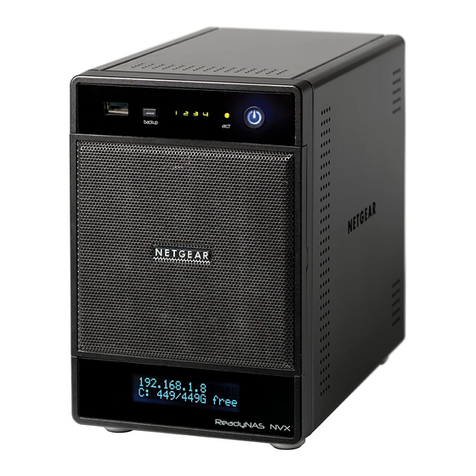
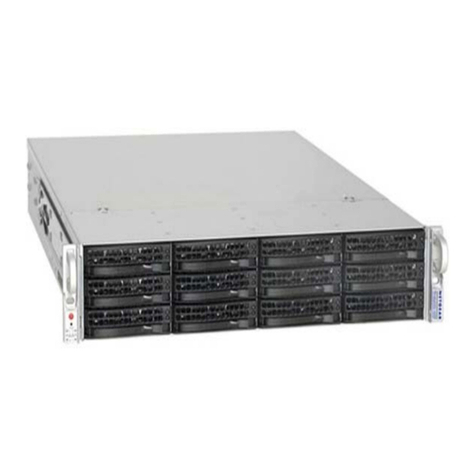
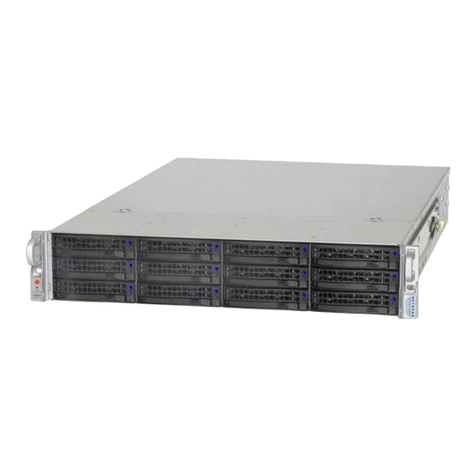
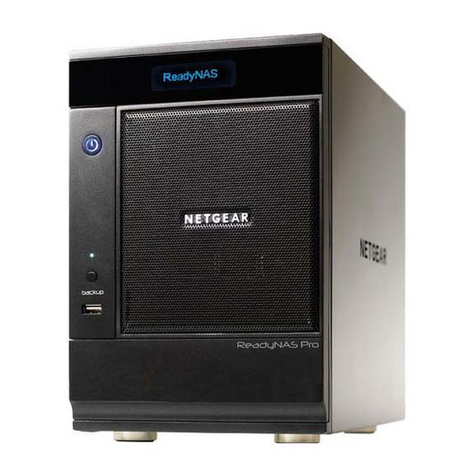
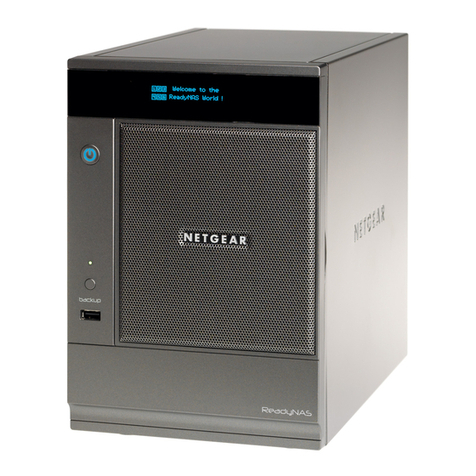
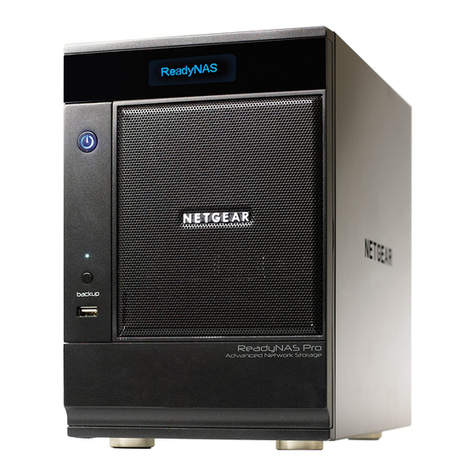
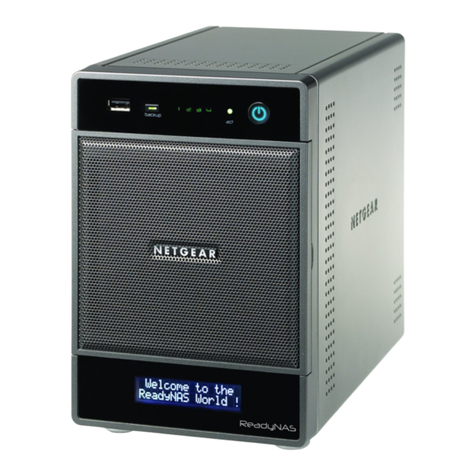
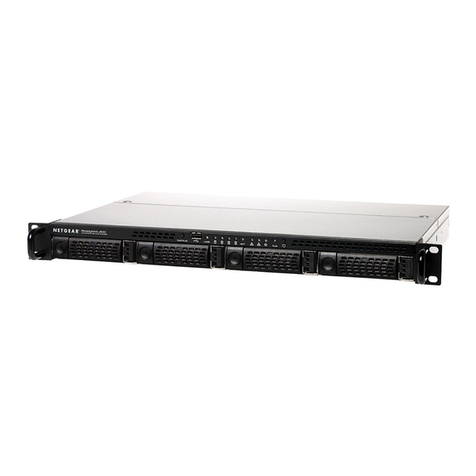
NETGEAR ReadyNAS NV+
Start Here
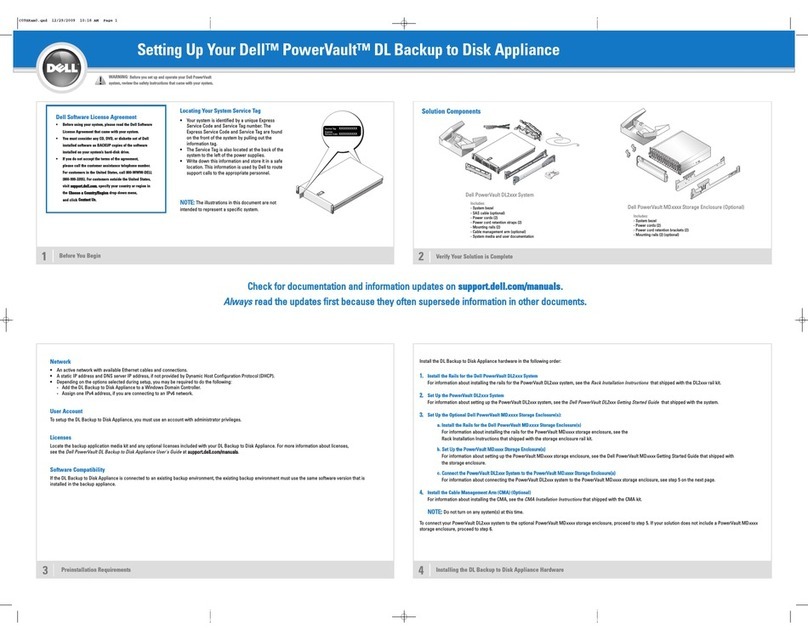
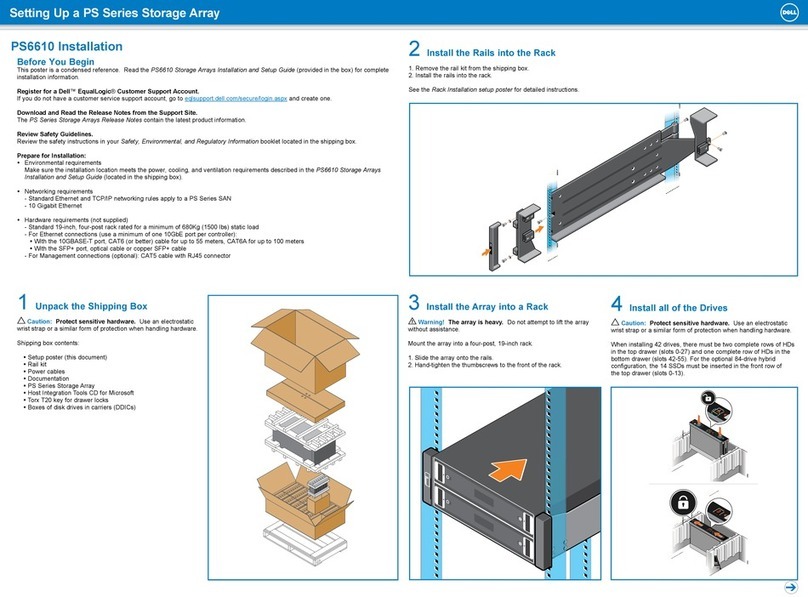
Follow these instructions to install your NETGEAR® ReadyNAS™ NV+. Then, consult
the ReadyNAS Setup Manual on your Installation CD for instructions on installing the
RAIDar utility and using the FrontView Setup Wizard to configure ReadyNAS. Access
the ReadyNAS User Guide on the Installation CD to configure any advanced features. The
ReadyNAS User Guide is also on the NETGEAR support site at
http://kbserver.netgear.com.
Warning: If you purchased a diskless unit, please read the optional disk installation
section before installing the RAIDar™ utility or connecting ReadyNAS to the network.
First, check your package contents
Before starting installation, check your package contents:
• ReadyNAS NV+
• Four hard disk trays
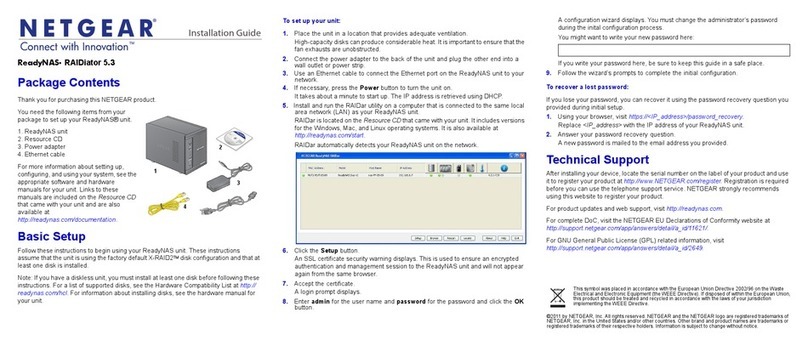
• Installation Guide
• Warranty Card
• Power cable
• Ethernet cable
• ReadyNAS Installation CD
• 16 screws for hard disk installation (included only with diskless units)
Then, take a moment to identify the features of your
ReadyNAS NV+
A. USB port (1)
B. Programmable backup button
C. Disk LEDs. Green for disk online.
D. Activity LED. Blinks for disk access.
E. Power button with indication LED
F. Disk tray door.
G. LCD display panel
H. Disk tray door access
I. Unit handle
J. System reset switch pin
K. USB port (2) and (3)
L. Ethernet port (RJ45)
M. Cooling fan
N. Power connector (100-
240VAC, 50/60HZ)
O. Label (includes serial
number and MAC address)
P. Kensington security lock
Install the hard disks (optional)
This is an optional step, required only if you purchased a diskless unit.
1. Remove the disk tray from the unit:
a. Open the door.
b. Press to release the latch.
c. Pull out the tray.
2. Insert a hard drive into the tray. Position
the drive with the bottom facing out from
the tray, and the connectors facing away.
Use the four screws provided with the
unit to secure the drive to the tray.
3. With the latch in the open position (1), slide the disk tray into the unit completely,
securing the latch and closing the door (2).
Note: If you want to prevent easy removal of the disk from the drive bay, set the lock
(3): to the right is unlocked; to the left is locked.
Finally, install the RAIDar utility
Your Installation CD contains the RAIDar utility for Windows, MAC and Linux. See the
ReadyNAS Setup Manual for installation instructions. When you complete installation of
the RAIDar utility, you are ready to power on ReadyNAS.
Initialize hard disks (if disks installed separately)
If you purchased a diskless ReadyNAS, after you install the hard disks and perform the
RAID Configuration, you must wait until the volume creation has completed before
accessing the FrontView™ Setup Wizard (see theReadyNAS Setup Manual and ReadyNAS
User Guide for complete instructions). It will take up to 2 hours, depending on disk
capacity.
An additional 2 to 10 hours are required before the RAID synchronization has completed
and the system is fully redundant. During the background RAID synchronization, access
to the NAS will be slower than normal. The RAIDar column, shown in the following
table, will indicate progress.
