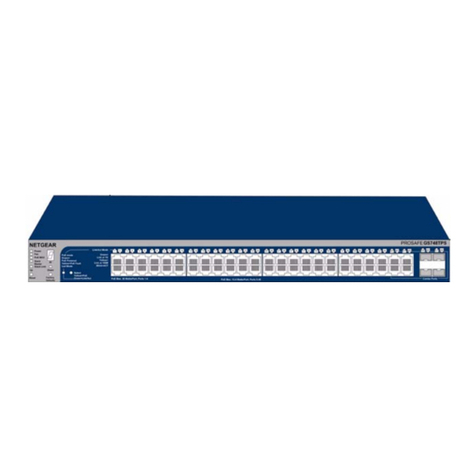
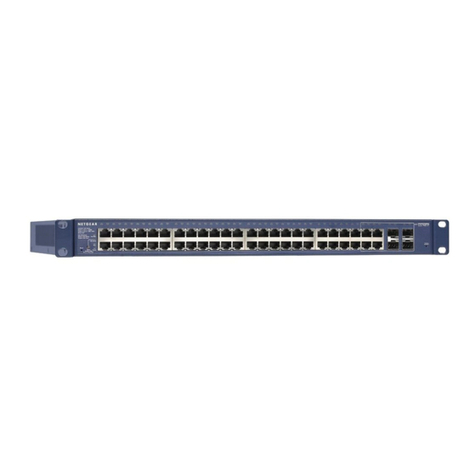
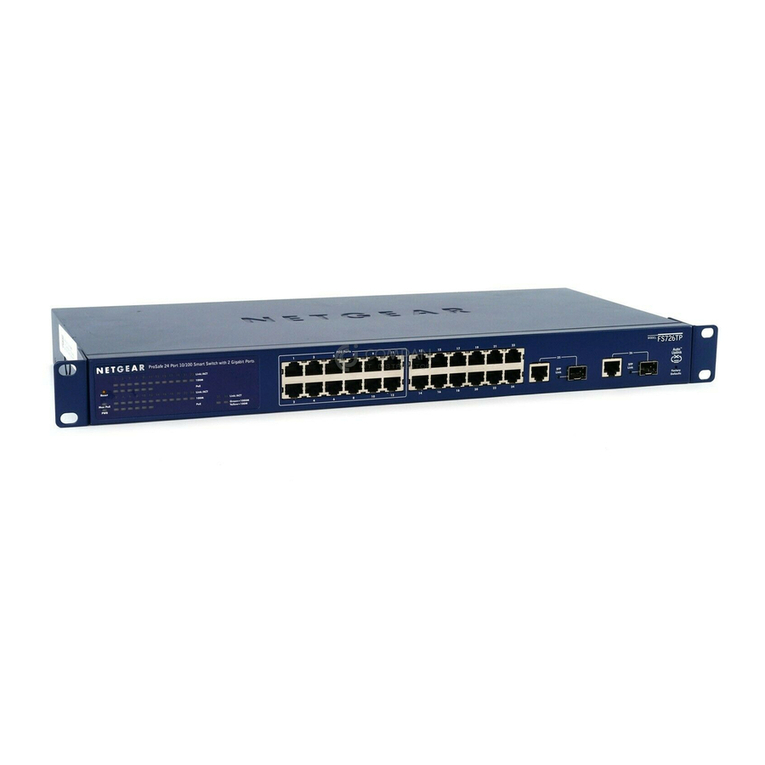
©NETGEAR,Inc.,NETGEARandthe
NETGEARLogoaretrademarksof
NETGEAR,Inc.Anynon-NETGEAR
trademarksareusedforreference
purposesonly.
NETGEAR, Inc.
350EastPlumeriaDrive
SanJose,CA95134,USA
NETGEAR INTERNATIONAL LTD
Floor6,PenroseTwo,
PenroseDock,Cork,
T23YY09,Ireland
Specication Description
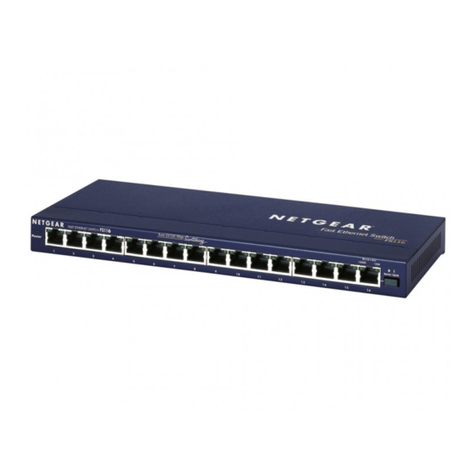
Networkinterfaces RJ-45connectorfor1000BASE-T,100BASE-TX,and
10BASE-T
Ports 24
Networkcable WerecommendthatyouuseCategory5e(Cat5e)
cablesorhigherratedcablesforGigabitEthernet
connections.
ACpowerinput 100-240VAC50/60Hz,0.7A
Powerconsumption 12.1Wmax.
Weight 2.67lb.(1.21kg)
Dimensions(WxDxH) 9.92x7.09x1.73in(252x180x44mm)
Operatingtemperature 32–104°F(0–40°C)
Operatinghumidity 10%–90%relativehumidity,noncondensing
Storagetemperature –4to158°F(–20to70°C)
Storagehumidity 5to95%relativehumidity,noncondensing
Maximumoperatingand
storagealtitude
10,000ft.(3,000m)
Electromagneticcertications
andcompliance
CE,FCCPart15ClassA,ISEDClassA,RCM,VCCI,
BSMI,KC
Safetycertications CB,CELVD,RCM,BSMI,CSA
SpecicationsAttach the switch to a wall
Toattachtheswitchtoawall,youneedthewall-mountscrewsthataresuppliedwiththe
switch.Thesescrewsare6.3mmindiameter,27mminlength.
Theswitchmustbemountedhorizontally,withtheportseitheratthebottomorthetopof
theswitch.Donotmountitvertically.
To attach the switch to a wall:
1. Locatethefourmountholesonthebottompaneloftheswitch.
2. Markanddrillfourholesinthewallwhereyouwanttomounttheswitch.
Youmustmounttheswitchhorizontally.Thefourholesmustbeataprecisedistance
of3.94in.(100mm)fromeachothersothattheyformasquarewhereeachsideis
3.94in.(100mm).
3. InsertthesuppliedanchorsintothewallandtightenthesuppliedscrewswithaNo.2
Phillipsscrewdriver.
Leaveabout0.15in.(4mm)ofeachscrewprotrudingfromthewallsothatyoucan
insertthescrewsintotheholesonthebottompanel.
4. Positiontheswitchsothatthemountholesaredirectlyoverthescrews,andslidethe
switchdownuntilthetopofeachmountholesitsdirectlyonthescrew,lockingthe
switchsecurely.
Install the switch in a rack
Toinstalltheswitchinarack,youneedtherack-mountbracketsandscrewsthatare
suppliedwiththeswitch.
To install the switch in a rack:
1. Attachthesuppliedmountingbracketstothesideoftheswitch.
Insertthescrewsprovidedintheproductpackagethrougheachbracketandintothe
bracketmountingholesintheswitch.
2. TightenthescrewswithaNo.2Phillipsscrewdrivertosecureeachbracket.
3. Alignthemountingholesinthebracketswiththeholesintherack,andinserttwopan-
headscrewswithnylonwashersthrougheachbracketandintotherack.
4. TightenthescrewswithaNo.2Phillipsscrewdrivertosecuremountingbracketstothe
rack.
Support and Community
Visitnetgear.com/supporttogetyourquestionsansweredandaccessthelatest
downloads.
YoucanalsocheckoutourNETGEARCommunityforhelpfuladviceat
community.netgear.com.
Regulatory and Legal
SiceproduitestvenduauCanada,vouspouvezaccéderàcedocumentenfrançais
canadienàhttps://www.netgear.com/support/download/.
(IfthisproductissoldinCanada,youcanaccessthisdocumentinCanadianFrenchat
https://www.netgear.com/support/download/.)
ForregulatorycomplianceinformationincludingtheEUDeclarationofConformity,visit
https://www.netgear.com/about/regulatory/.
Seetheregulatorycompliancedocumentbeforeconnectingthepowersupply.
ForNETGEAR’sPrivacyPolicy,visithttps://www.netgear.com/about/privacy-policy.
Byusingthisdevice,youareagreeingtoNETGEAR’sTermsandConditionsat
https://www.netgear.com/about/terms-and-conditions.Ifyoudonotagree,returnthe
devicetoyourplaceofpurchasewithinyourreturnperiod.
Donotusethisdeviceoutdoors.
Applicableto6GHzdevicesonly:Onlyusethedeviceindoors.Theoperationof6GHz
devicesisprohibitedonoilplatforms,cars,trains,boats,andaircraft,exceptthatoperation
ofthisdeviceispermittedinlargeaircraftwhileyingabove10,000feet.Operationof
transmittersinthe5.925-7.125GHzbandisprohibitedforcontroloforcommunications
withunmannedaircraftsystems.
