manuals.online logo
Brands
  1. Home
  2. •
  3. Brands
  4. •
  5. NETGEAR
  6. •
  7. Switch
  8. •
  9. NETGEAR ProSafe Plus GS116E User manual

NETGEAR ProSafe Plus GS116E User manual

Other manuals for ProSafe Plus GS116E

1

Other NETGEAR Switch manuals

NETGEAR M4350 Series Manual

NETGEAR

NETGEAR M4350 Series Manual

NETGEAR GS305v3 User manual

NETGEAR

NETGEAR GS305v3 User manual

NETGEAR GS728TPv2 Manual

NETGEAR

NETGEAR GS728TPv2 Manual

NETGEAR ProSafe FS750T User manual

NETGEAR

NETGEAR ProSafe FS750T User manual

NETGEAR GSM712F - Managed Fiber Gigabit Switch User manual

NETGEAR

NETGEAR GSM712F - Managed Fiber Gigabit Switch User manual

NETGEAR GS418TPP User manual

NETGEAR

NETGEAR GS418TPP User manual

NETGEAR GS728TS Smart Switch Manual

NETGEAR

NETGEAR GS728TS Smart Switch Manual

NETGEAR GS516TNA User manual

NETGEAR

NETGEAR GS516TNA User manual

NETGEAR GSM7228PS-100NAS Manual

NETGEAR

NETGEAR GSM7228PS-100NAS Manual

NETGEAR FE116 User manual

NETGEAR

NETGEAR FE116 User manual

NETGEAR GS728TPv2 User manual

NETGEAR

NETGEAR GS728TPv2 User manual

NETGEAR M4200 Series Instruction Manual

NETGEAR

NETGEAR M4200 Series Instruction Manual

NETGEAR GSM4248PX Manual

NETGEAR

NETGEAR GSM4248PX Manual

NETGEAR GSM7248R - ProSafe Switch Owner's manual

NETGEAR

NETGEAR GSM7248R - ProSafe Switch Owner's manual

NETGEAR M5300 Series User manual

NETGEAR

NETGEAR M5300 Series User manual

NETGEAR ProSAFE FS526Tv2 User manual

NETGEAR

NETGEAR ProSAFE FS526Tv2 User manual

NETGEAR FS728TP - ProSafe 24 Port 10/100 Smart... User manual

NETGEAR

NETGEAR FS728TP - ProSafe 24 Port 10/100 Smart... User manual

NETGEAR FSM7226RS - ProSafe Switch - Stackable Manual

NETGEAR

NETGEAR FSM7226RS - ProSafe Switch - Stackable Manual

NETGEAR ProSafe JGS524 v2 User manual

NETGEAR

NETGEAR ProSafe JGS524 v2 User manual

NETGEAR FSM726E - ProSafe Switch User manual

NETGEAR

NETGEAR FSM726E - ProSafe Switch User manual

NETGEAR FS605 v3 User manual

NETGEAR

NETGEAR FS605 v3 User manual

NETGEAR GSM7224v2 - Layer 2 Managed Gigabit Switch Manual

NETGEAR

NETGEAR GSM7224v2 - Layer 2 Managed Gigabit Switch Manual

NETGEAR GSM7328FS - ProSafe Switch - Stackable Manual

NETGEAR

NETGEAR GSM7328FS - ProSafe Switch - Stackable Manual

NETGEAR GS728TPv2 User manual

NETGEAR

NETGEAR GS728TPv2 User manual

Popular Switch manuals by other brands

SMC Networks SMC6224M Technical specifications

SMC Networks

SMC Networks SMC6224M Technical specifications

Aeotec ZWA003-S operating manual

Aeotec

Aeotec ZWA003-S operating manual

TRENDnet TK-209i Quick installation guide

TRENDnet

TRENDnet TK-209i Quick installation guide

Planet FGSW-2022VHP user manual

Planet

Planet FGSW-2022VHP user manual

Avocent AutoView 2000  AV2000BC AV2000BC Installer/user guide

Avocent

Avocent AutoView 2000 AV2000BC AV2000BC Installer/user guide

Moxa Technologies PT-7728 Series user manual

Moxa Technologies

Moxa Technologies PT-7728 Series user manual

Intos Electronic inLine 35392I operating instructions

Intos Electronic

Intos Electronic inLine 35392I operating instructions

Cisco Catalyst 3560-X-24T Technical specifications

Cisco

Cisco Catalyst 3560-X-24T Technical specifications

Asante IntraCore IC3648 Specifications

Asante

Asante IntraCore IC3648 Specifications

Siemens SIRIUS 3SE7310-1AE Series Original operating instructions

Siemens

Siemens SIRIUS 3SE7310-1AE Series Original operating instructions

Edge-Core DCS520 quick start guide

Edge-Core

Edge-Core DCS520 quick start guide

RGBLE S00203 user manual

RGBLE

RGBLE S00203 user manual

Thrustmaster FLIGHT SIMULATOR X quick guide

Thrustmaster

Thrustmaster FLIGHT SIMULATOR X quick guide

Southwire SURGE GUARD 41390 RVC troubleshooting guide

Southwire

Southwire SURGE GUARD 41390 RVC troubleshooting guide

Buhler Nivotemp NT 61 Brief instructions

Buhler

Buhler Nivotemp NT 61 Brief instructions

Kramer VS-41HDCP user manual

Kramer

Kramer VS-41HDCP user manual

Techly IDATA AU-270 user manual

Techly

Techly IDATA AU-270 user manual

Belkin F1U109 user manual

Belkin

Belkin F1U109 user manual

manuals.online logo
manuals.online logoBrands
  • About & Mission
  • Contact us
  • Privacy Policy
  • Terms and Conditions

Copyright 2025 Manuals.Online. All Rights Reserved.

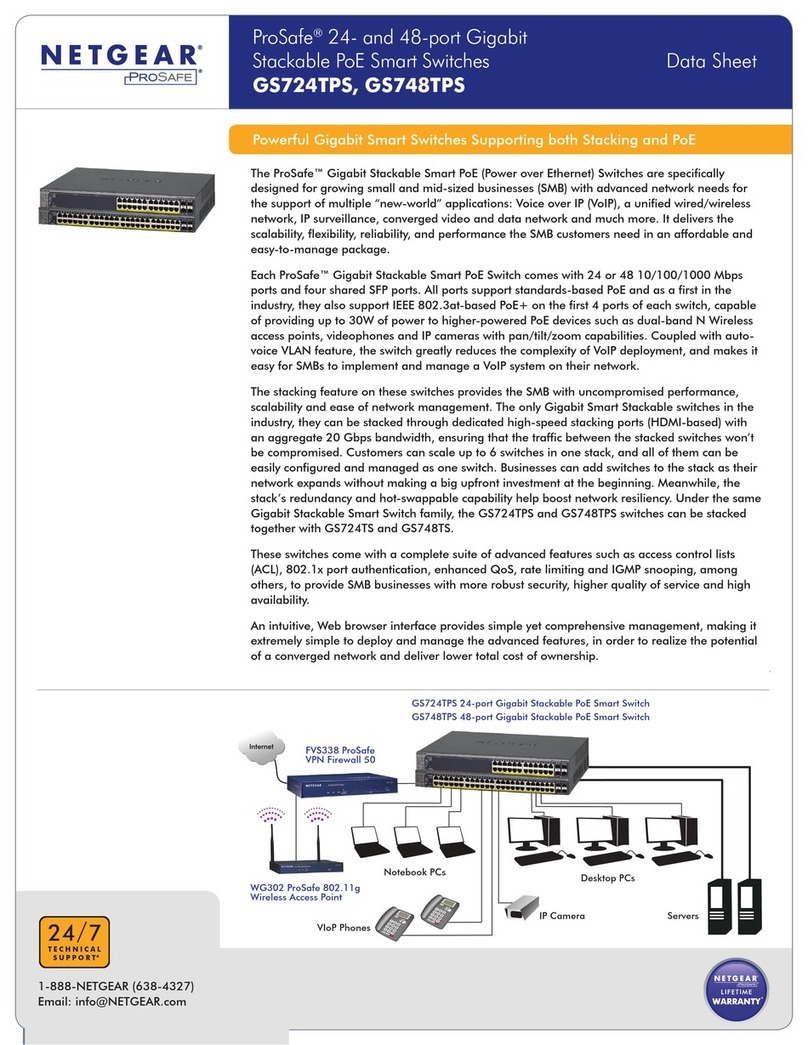
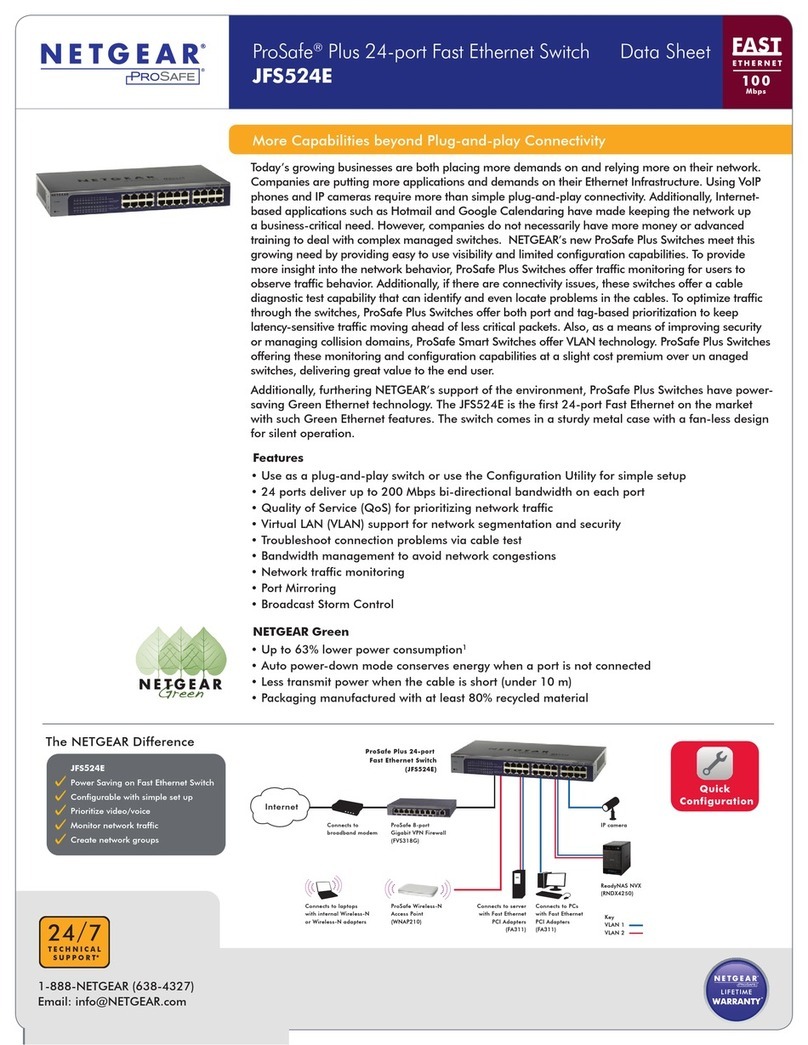
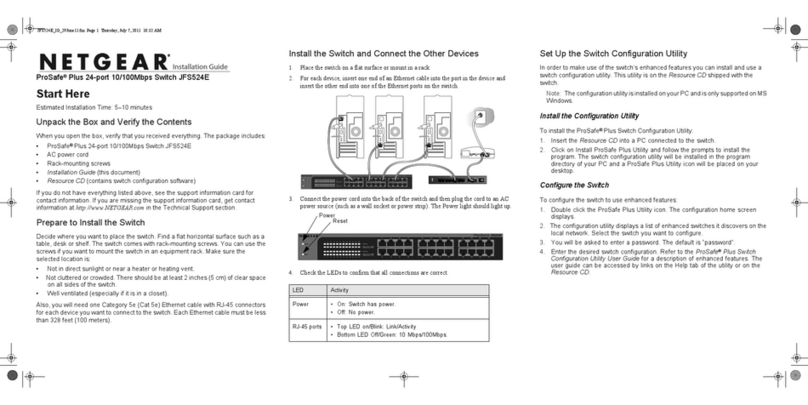
Installation Guide
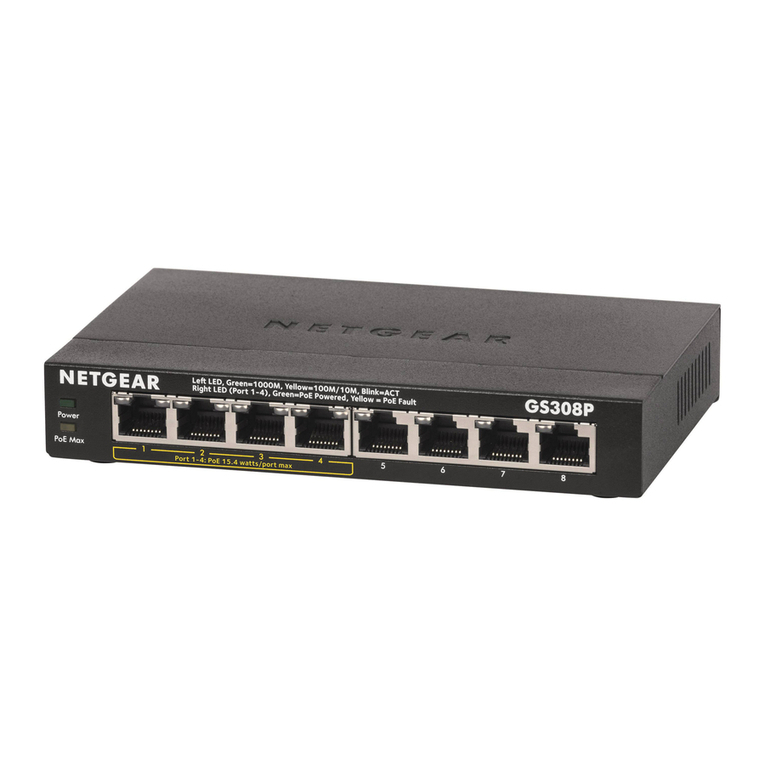
ProSafe®Plus 16-port Gigabit Switch GS116E
Start Here
Estimated Installation Time: 5–10 minutes
Unpack the Box and Verify the Contents
When you open the box, verify that you received everything. The package includes:
• ProSafe®Plus 16-port Gigabit Switch GS116E
• AC power adapter
• Wall-mounting kit
• Installation Guide (this document)
• Resource CD (contains switch configuration software)
If you don't have everything listed above, get contact information at
www.NETGEAR.com in the Support area.
Prepare to Install the Switch
Decide where you want to place the switch. Find a flat horizontal surface such as a
table, desk or shelf. The switch comes with wall-mounting screws. You can use the
screws if you want to hang the switch in an open space on a wall. Make sure the
selected location is:
• Not in direct sunlight or near a heater or heating vent.
• Not cluttered or crowded. There should be at least 2 inches (5 cm) of clear space
on all sides of the switch.
• Well ventilated (especially if it is in a closet).
Also, you will need one Category 5e (Cat 5e) Ethernet cable with RJ-45 connectors
for each device you want to connect to the switch. Each Ethernet cable must be less
than 328 feet (100 meters).
Install the Switch and Connect the Other Devices
1. Place the switch on a flat surface or hook onto the screws.
2. For each device, insert one end of an Ethernet cable into the port in the device
and insert the other end into one of the Ethernet ports on the switch.
3. Connect the power adapter cord into the back of the switch and then plug the
adapter into a power source (such as a wall socket or power strip).
4. The Power light should light up
.
5. Check the LEDs to confirm that all connections are correct.
Set Up the Switch Configuration Utility
In order to make use of the switch’s enhanced features you can install and use a
switch configuration utility. This utility is on the Resource CD shipped with the
switch.
Note: The configuration utility is installed on your PC and is only supported on
MS Windows.
Install the Configuration Utility
To install the ProSafe®Plus Switch Configuration Utility:
1. Insert the Resource CD into a PC connected to the switch.
2. Click on Install ProSafe Plus Utility and follow the prompts to install the
program. The switch configuration utility will be installed in the program
directory of your PC and a ProSafe Plus Utility icon will be placed on your
desktop.
Configure the Switch
To configure the switch to use enhanced features:
1. Double click the ProSafe Plus Utility icon. The configuration home screen
displays.
2. The configuration utility displays a list of enhanced switches it discovers on the
local network. Select the switch you want to configure.
3. You will be asked to enter the password for the switch. The default is
“password”.
4. Enter the desired switch configuration. Refer to the ProSafe®Plus Switch
Configuration Utility User Guide for a description of enhanced features. The
user guide can be accessed by links on the Help tab of the utility or on the
Resource CD.
LED Activity
Power • On: Switch has power.
• Off: No power.
Modem
Firewall
GS116E
ProSafe® Plus Switch
Power
100 Mbps
LED
Both LEDs light for
1000 Mbps connection
a
Reset
10 Mbps
LED
RJ-45 ports • Right LED on:10 Mbps connection to a powered device.
• Left LED on:100 Mbps connection to a powered device.
• Both LEDs on: 1000 Mbps connection to a powered
device.
• Blink: Activity on this port.
LED Activity (continued)
GS116E_IG_24Sept10.fm Page 1 Thursday, September 23, 2010 10:04 AM
September 2010
© 2010 by NETGEAR, Inc. All rights reserved. NETGEAR and the NETGEAR logo are registered trademarks of
NETGEAR, Inc. in the United States and/or other countries. Other brand and product names are trademarks or
registered trademarks of their respective holders. Information is subject to change without notice
.
Specifications
Technical Specifications
Standards
compatibility
IEEE 802.3i 10BASE-T Ethernet, IEEE 802.3u 100BASE-TX
Fast Ethernet, IEEE 802.3ab 1000 BASE-T, IEEE 802.3x Flow
Control, IEEE 802.1p and TOS priority, WRR queuing
Network interface RJ-45 connector for 10BASE-T, 100BASE-TX, or 1000BASE-T
Power Adapter 12V @ 1.5A DC input
Power Consumption 11.24W max
Weight 0.904 Kg (2 lbs)
Dimensions
(W x D x H)
287 mm x 103 mm x 27 mm
11.3 in x 4.1 in x 1.1 in
Operating
temperature
0 to 50° C (32 to 122° F)
Operating humidity 10% to 90% relative humidity, non-condensing
Electromagnetic
compliance
CE Class A, included EN55022 (CISPR 22) and EN55024,
FCC part 15 Class A, VCCI Class A, C-Tick Class A, CCC
Power adapter safety
agency approvals
CE mark, Commercial UL listed (UL 60950-1), C-Tick, CCC,
CB
Performance Specifications
Frame filter rate 14800 frames/sec max for 10M port; 148,800 frames/sec max
for 100M; 1,488,000 frames/sec max for 1000M port
Frame forward rate 14,800 frames/sec max for 10M port; 148,800 frames/sec max
for 100M port; 1,488,000 frames/sec max for 1000M port
Troubleshooting Tips
Network latency
(using 64-byte
packets)
1000 Mbps to 1000 Mbps: 6 μs max.
Address database
size
up to 8K MAC addresses
MAC Address
Learning
Automatically updated
Queue buffer 512 KB
NETGEAR Green
features
Auto power-down mode saves energy when ports are unused
Problem Action
Power light is not lit The switch has no power. Make sure that:
• The power cord is properly connected to the switch.
• The power adapter is properly connected to a functioning power
outlet. If it is in a power strip, make sure the power strip is turned
on. If the socket is controlled by a light switch, make sure the
switch is in the on position.
• You are using the NETGEAR power adapter supplied with your
switch.
Port number light is
not lit for a connected
device, or stays on
continuously
There is a hardware connection problem.
• Make sure the cable connectors are securely plugged in at the
switch and the device.
• Make sure the connected device is turned on.
• If the Ethernet cable is connected to a NIC or other Ethernet
adapter, make sure the card or adapter is installed correctly and
is working.
• Make sure the cable is less than 328 feet (100 meters).
Performance Specifications (continued) Technical Support
Thank you for selecting NETGEAR products.
After installing your device, locate the serial number on the label of your product and
use it to register your product at http://www.NETGEAR.com/register. Registration is
required before you can use the telephone support service. Registration via our
website is strongly recommended.
Go to http://kbserver.netgear.com for product updates and Web support.
For additional information about setting up, configuring, and using your 5-port
Enhanced Switch, see the User Manual.
For complete DoC please visit the NETGEAR EU Declarations of Conformity
website at: http://kb.netgear.com/app/answers/detail/a_id/11621/
GS116E_IG_24Sept10.fm Page 2 Thursday, September 23, 2010 10:04 AM