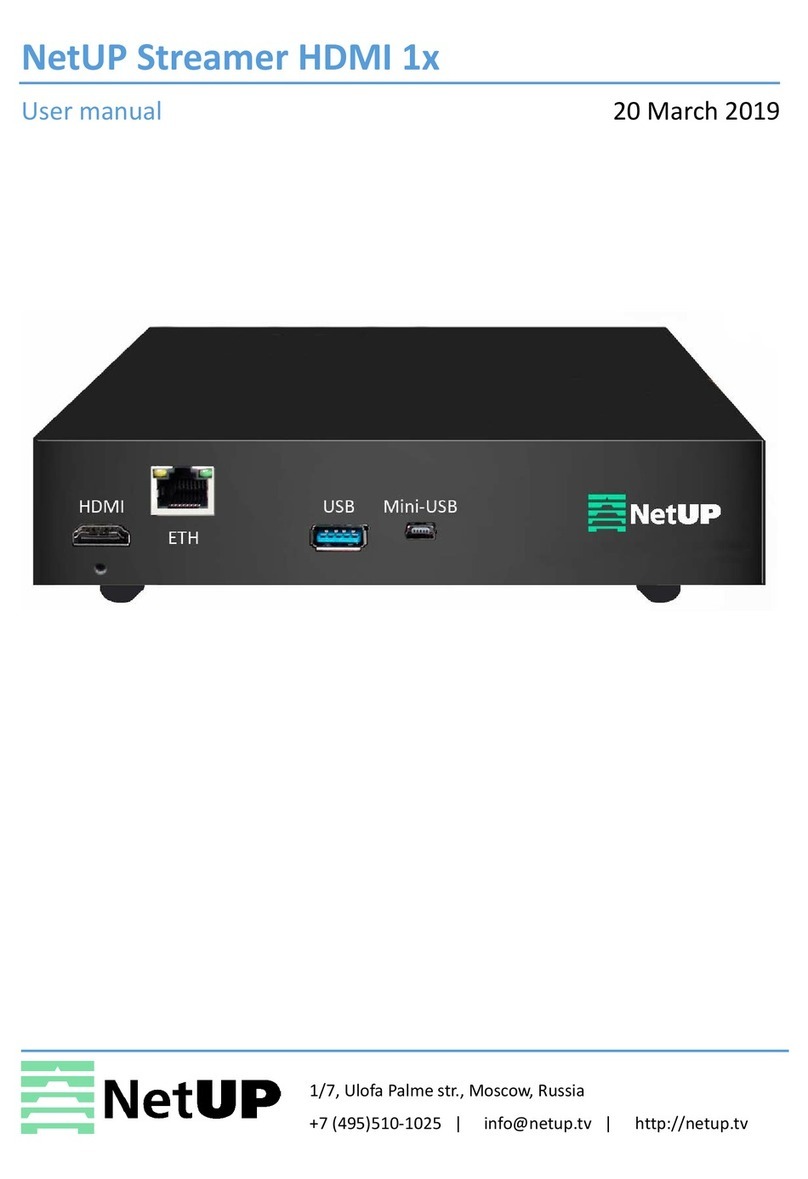
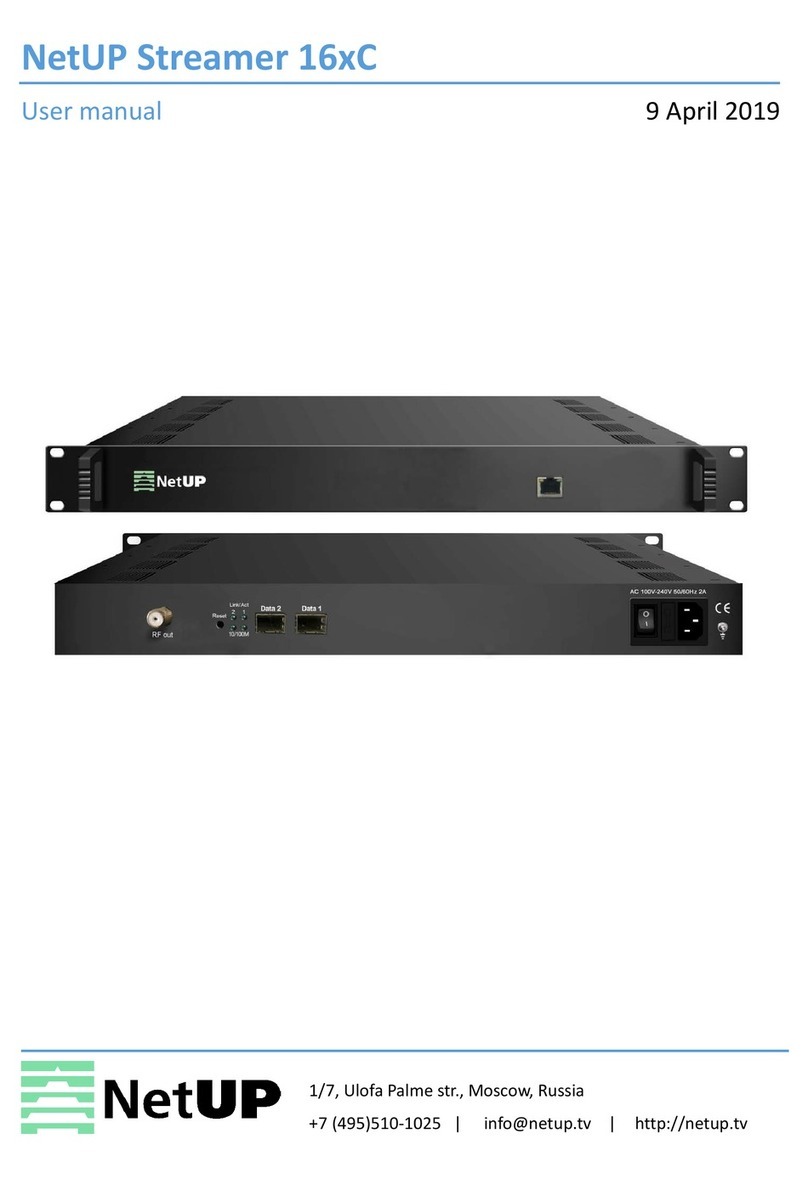
NetUP Streamer HDMI 1x v2 User manual

1/7, Ulofa Palme str., Moscow, Russia
+7 (495)510-1025 |
info@netup.tv |
http://netup.tv
NetUP Streamer HEVC
User manual
26.10.2020

NetUP Streamer HDMI 1x v2. User manual
2
Directory
CHAPTER 1 Product Introductions.............................................................................. 3
General Description ................................................................................................... 3
System Connection Chart........................................................................................... 3
Technical Specifications ............................................................................................. 4
CHAPTER 2 Safety Instruction and Installations.......................................................... 6
Safety Instructions ..................................................................................................... 6
Installations ............................................................................................................... 7
Cascade Installation................................................................................................... 7
CHAPTER 3 Devices Operations and Management ..................................................... 8
Chapter 4 Operations of Record TS and Play TS through USB Disk............................ 12
Chapter 5 Operations of Web-server........................................................................ 13

NetUP Streamer HDMI 1x v2. User manual
3
CHAPTER 1 Product Introductions
General Description
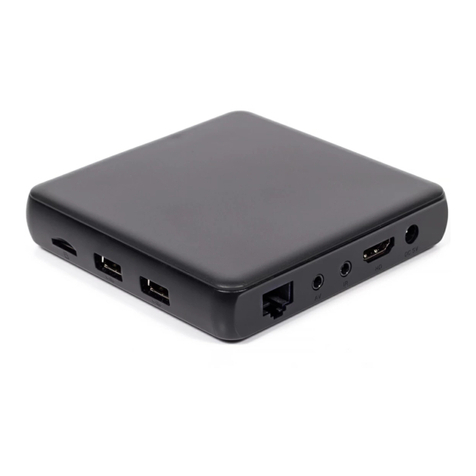
Grounding: to connect the earth cable
DC 12V: power input
USB: USB Port for Video Record, Save and Playback
HDMI: HDMI stream input supporting FHD signals
RF in: RF Loop-through input (10 dB attenuation)
RF out: RF output to distribute modulated signal (30-960 MHz, 71~91 dbµV)
System Connection Chart
DVD
Monitor
Camera
STB/IRD
TS file
RF for mix
RF out
TV+AV to the
distribution network
Attenuation: 10dB
HDMI Input
IP out
UDP, RTMP, RTP/RTSP,
USB Disk

NetUP Streamer HDMI 1x v2. User manual
4
Technical Specifications
Encoding Section
HDMI
Video
Encoding
HEVC/ H.265 , MPEG 4 AVC/H.264
Interface
HDMI*1
Resolution
1920*1080_60P, 1920*1080_50P;
1920*1080_59.94P,
1920*1080_59.94i; 1920*1080_60i,
1920*1080_50i;
1280*720_60p, 1280*720_59.94 1280*720_50P
Bit rate
1Mbps~15Mbps
Audio
Encoding
MPEG-1 Layer 2, LC-AAC, HE-AAC, HE-AAC V2; AC3
Pass-through
Sample
rate
48KHz
Bit rate
48~384Kbps (MPEG-1 Layer 2& LC-AAC)
24~128 Kbps (HE-AAC)
18~56 Kbps (HE-AAC V2)
IP output
IP out over UDP (Unicast/multicast), RTMP, RTP/RTSP, (RJ45, 100/1000M self-
adaption)
Modulator Section
DVB-C
Standard
J.83A (DVB-C), J.83B
MER
≥43dB
RF frequency
30~960MHz, 1KHz step
RF output level
-16~ -36 dBm (71~91dbµV), 0.1db step
Symbol rate
5000-9000 Ksps
J.83A
J.83B
Constellation
16/32/64/128/256QAM
64/ 256 QAM
Bandwidth
8M
6M
DVB-T (optional)
Standard
DVB-T COFDM
Bandwidth
6M, 7M, 8M
Constellation
QPSK, 16QAM, 64QAM,
Code rate
1/2, 2/3, 3/4, 5/6, 7/8.
Guard Interval
1/32, 1/16, 1/8, 1/4
Transmission Mode:
2K
MER
≥35dB
RF frequency
100-900MHz, 1KHz step
RF output level
-63~ -16dBm, 1dB step
ISDB-T Modulator (optional)
Standard:
ARIB STD-B31
Constellation:
QPSK, 16QAM, 64QAM
Guard Interval:
1/32, 1/16, 1/8, 1/4
Transmission Mode:
2K, 4K, 8K

NetUP Streamer HDMI 1x v2. User manual
5
Code rate:
1/2, 2/3, 3/4, 5/6, 7/8
RF frequency:
100~900MHz, 1KHz step
RF output level:
-63~ -16dBm, 1dB step
ATSC (optional)
Standard
ATSC A/53
MER
≥35dB
RF frequency
100~900MHz, 1KHz step
RF output level
63~ -16dBm, 1dB step
Constellation
8VSB
System
Management
Web-GUI, LED+Keyboard
Language
English
LCN Insertion
yes
Upgrade
Web update
General
Power supply
DC 12V
Dimensions
160*120*52mm
Weight
< 1kg
Operation
temperature
0~45℃

NetUP Streamer HDMI 1x v2. User manual
6
CHAPTER 2 Safety Instruction and Installations
Safety Instructions
WARNING: Hot plug is not allowed since it may cause system halted.
To prevent fire or electrical shock, do not expose the device to rain or moisture.
The encoder modulator is powered with a voltage of 12V DC. The power supply voltage must not exceed the
recommended voltage, which otherwise may cause irreparable damage to the device and the invalidation of the warranty.
Therefore:
⚫Do not replace power supply with a voltage greater than 12V DC.
⚫Do not connect the device to the power if the power cord is damaged.
⚫Do not plug the device into mains supply until all cables have been connected correctly.
⚫Do not cut the cord.
Avoid placing the device next to central heating components and in areas of high humidity.
Do not cover the device with elements that obstruct the ventilation slots.
If the encoder modulator has been kept in cold conditions for a long time, keep it in a warm room minimum 2 hours
before plugging into the mains.
Mount the device in vertical position with the connectors located on the top side.
When replacement parts are required, be sure the service technician has used replacement parts specified by the
manufacturer or have the same characteristics as the original part. Unauthorized substitutes may result in fire, electric
shock or other hazards.
Safety check- Upon completion of any service or repairs to this device, ask the service technician to perform safety checks
to determine that the device is in proper condition.

NetUP Streamer HDMI 1x v2. User manual
7
Installations
RISK OF damage to the unit
Mechanically handling the unit may result in damage. Do not connect the unit to the power supply before or during
assembly. Connect the unit as below instructed.
NO HOT PLUG!
1. Mount and tighten the screws and plugs to secure the unit to the wall. Left
10 cm of free space around from each unit.
2. Connect the signal input in the respective connectors. The signal source can
be from a surveillance monitor, DVD, set-top box, CCTV and etc.
3. Optionally, connect the loop-through RF input coaxial cable.
4. Connect cable to RF output to STB/TV.
5. Power supply connection: a) Connect the earth cable; b) Connect the power
plug to the unit mains connector; c) Connect the power plug to the mains
socket.
Cascade Installation
Device unit has 1 TV signal to RF output encoded as Digital TV signal.
Several device units can be cascaded in order to increase the capacity.
The maximum capacity of a series of N units is 1xN incorporated TV
signals. To cascade 2 or more units, connect the RF output of the
preceding unit to the TV input (loop-through) of the next unit (see right
illustration)
2
3
4
5

NetUP Streamer HDMI 1x v2. User manual
8
CHAPTER 3 Devices Operations and Management
Device is controlled and managed through the key board and LCD display.
LCD Display – It presents the selected menu and the parameter settings. The backlight in the display is on when the power
is applied.
LED – These lights indicate the working status
⚫Power: It lights on when the power supply is connected.
⚫Alarm: It lights on when the there is error, such as the signal source loss.
⚫Lock: It lights on when the signal source connected and goes off when the signal lose.
⚫Left/Right/Up/Down buttons – Use these buttons to turn the screen pages, shift the target items by moving the
triangle, or change the parameter settings in the program mode.
⚫Enter – Use this button to enter a submenu or save a new setting after adjustment; press it to start adjusting the value
of certain items when the corresponding underline flash with Up and Down buttons;
⚫
RF Level
-16.0dBm RF Level
-16.0dBm RF Level
-16.0dBm RF Level
-17.0dBm
Enter ►
►
►
►
⚫Press it to activate the hidden selections and change the setting with Up and Down (or Left and Right) buttons.
⚫
Audio Bit rate
128
Audio Bit rate
*128
Audio Bit rate
►128
Audio Bit rate
►192
Enter
►
►
Enter
⚫Menu – Press this button to step back
⚫Lock – Locking the screen / cancelling the lock state, and entering the main menu after the initialization of the device.
After pressing lock key, the system will question the users to save present setting or not. If not, the LCD will display the
current configuration state.
⚫When the power is connected, the LCD will start to initialize the program. The LCD menu goes as below chart.

NetUP Streamer HDMI 1x v2. User manual
9
Main Menu
Modulator
Initializing
Encoder modulator
192.168.0.xxx
Lock
Enter Menu
1
Up Down
Main Menu
Status Alarm
Update time 2
5
Main Menu
Encoder Encoder
Video
Encoder
Audio
Encoder
Program Info
3
Audio
Audio format
Audio Bitrate
Audio Delay
Video
Video format
Video bitrate
Rate Mode
Profile
Gop structure
Gop size
Color space
CC enable
Program Info
Program name
Service Name
.
.
.
Video PID
Audit PID
4
Standard
Modulator
Channel 1 level
Modulator
Channel 1 Enable
J.83A(DVB-C)
J.83B
Channel 1 level
-10.0 dBm
Channel 1 Enable
Off *On
6
7
8
10
12
13
Modulator
RF frequency RF frequency
650.000Mhz
Modulator
Constellation Constellation
64QAM
128QAM
256QAM
Modulator
Symbol rate Symbol rate
6875Ksps
Modulator
Bitrate Bitrate(Act/Max)
0.072M/38.015M
9
11

NetUP Streamer HDMI 1x v2. User manual
10
Main Menu
System System
Save Config
System
Restore
System
Lock Keyboard
System
Product ID
System
Version
Save Config?
Yes ►No
Restore
Yes ►No
Lock Keyboard
Yes ►No
Product ID
003556000012
Encoder Modulator
SW:x.xx HW:x.xx
Main Menu
IP Stream IP Stream
Enable
IP Stream
IP address
IP Stream
Port
IP Stream
Protocol
Enable
ON OFF
System
Factory Reset
System
LCD Time-out
Reset all sets?
Yes ►No
LCD Time-out
►5s
►10s
►30
►45
►90s
System
Key Password Set Password
000000
Main Menu
USB Device USB Device
USB Stature
USB Device
Play
USB Device
Record Record
Record enable
Record mode
Record name
Reocord siz
USB Device
Remove USB
USB Stature
0/0Mb
Play
File enable
Play mode
Play list
Remove USB
Yes ►No
14
15
16
18
21
23
24
25
27
17
35
IP address
224.2.2.2
Port
3333
Protocol
UDP RTP/RTSP
IP Stream
Pkt length
IP Stream
Null Pkt Filter Null Plct Filter
ON OFF
IP Stream
RTMP enable
Pkt length
7
RTMP enable
ON OFF
19
20
22
Network
IP Address
Network
Subnet Mask
Network
Reset Password
IP Address
1092.168.0.113
Subnet Mask
255.255.255.0
Reset Password
Yes ►No
Network
Gateway
Network
Mac address
Gateway
192.168.0.1
Mac address
202004101722
Network
Web Nms Port Web Nms Port
80
28
29
30
31
32
33
26
34
36
37
38
Main Menu
Network
1) IP address: 192.168.0.XX: the current IP address
2) Alarm Status: For example, if the signal cable disconnected, it will display Video 1 Not Lock under this menu.
Uptime: It displays the working time duration of the device. It times upon power on.
3) Video Parameters: User can enter the items respectively to check video status and input signal resolution. User can also
choose H.265/H.264 and set Video Bitrate, Low delay time, Rate Mode, H.264 Profile, and H.264 Level.
4) Audio Bit rate: Select audio bit rate among 48, 56, 64, 80, 96,112, 128, 160, 192, 224, 256, 320, 384kbps.
Audio Format: Select audio format among MPEG2, MPEG2-AAC and MPEG4-AAC.
5) Program Information: User can enable or disable the program output under menu Program Output. User can also enter
the other items to edit the Service Name, Program Name, Program Number, and PIDs of PMT, PCR, Video and Audio, and
edit LCN (Logical channel number).
6) Standard: J.83A or J.83B for choosing.

NetUP Streamer HDMI 1x v2. User manual
11
7) RF Frequency: Adjust it at range of 100 to 900 MHz. Set it according your regional situation or inquire your local
services.
8) Channel 1 Level: Adjust it at range of -20~ -5dBm.
9) Channel 1 enable: Yes/No for choosing
10-11) Constellation: Select constellation among 16, 32, 64, 128, 256QAM
12) Symbol rate: Modify symbol rate by pressing right/left and up/down key and to confirm by pressing Lock key. (5000-
7000Ksps)
13) Bit Rate: User can read the current modulating bit rate and the maximum bit rate
14) IP stream Enable. Yes/No for choosing
15) IP Address: The current equipment address
16) IP Port: The current equipment IP Port
17) IP Protocol: UDP RTP/RTSP for choosing
18) Pkt Length: User can select from 1 to 7
19) Null Pkt enable :On/Off for choosing
20) RTMP enable: On/Off for choosing
21) – 24) Please refer to Chapter 4 for more details.
25) – 30) Network setting, Pls referent to Chapter 5 for more details.
31) Save Config: Yes/No-to save/give up the adjustment of setting.
32) Restore: Yes/No-to load/ not to load the saved configuration.
33) Factory set: Yes/No-choose/not choose the factory’s default configuration.
34) LCD Time out: A time limit that LCD will light off. Choose among 5s, 10s, 45s, 60s, 90s and 120s (seconds).
35) Key Password: User can set a 6-digital password used to unlock the keyboard.
36) Lock Keyboard: Choose Yes to lock the keyboard, then the keyboard cannot be applicable. It is required to input the
password to unlock the key board. This operation is one-off. (If forgetting your password, please use the universal code
“005599”.)
37) Product ID: User can view the serial number of this device. It is read-only and unique
38) Version: It displays the version information of this device. Encoder Modulator: the name of the device; SW: software
version number; HW: hardware version number. User can also press ENTER again to view the published time of this
device.

NetUP Streamer HDMI 1x v2. User manual
12
Chapter 4 Operations of Record TS and Play TS through USB
Disk
Encoder modulator has the functions of:
1. USB Stature
Main Menu
USB Device USB Device
Status Inserted
xxxMb/xxMb
xxxMb is the total capacity of USB pen driver, xxMb is available capacity of this USB pen driver
2. TS Record and Save
Main Menu
USB Device USB Device
Record TS Record TS
Record Enable
Record mode
File name
File size
1) Connect the signal source, enter “Record Enable” and choose “Yes” to start recording the encoded TS.
2) Recode mode: there are 3 modes provided: “single file” (For example, when the file size is set as 1000M and the *.ts is
recorded up to 1000M, it automatically stops recording TS.). “Segmented file” (For example, when the file size is set as
1000M and the *.ts is recorded up to 1000M, it automatically saves the files and continues to record TS and save it to
next file until the USB memory is full.) . “Loop record”: (it automatically saves the files and continues to record TS and
save it to next file. When the USB memory is full, it replaces the previous files.)
Pls note: Before the record, it is better that user can set the record mode firstly.
3) File name: Users can enter this menu to edit name for the *.ts files to be recorded. For example, if users name it
“Record-”, it will give name to the saved *.ts files “Record-001.ts”, “Record-002.ts”… “Record-00N.ts”.
4) File size: users can set the file size for the *.ts to be recorded. A single file can be maximum 2000M in size.
3. TS Playback
USB Device
Play
Main Menu
USB Device Play
Play Enable
Play
Play Mode
►Record-001.ts
Record-002.ts
Play mode
Play all
Loop all
Single file
Single loop
Play
Play List
1) Play Enable: There is a video list under this menu, choose one file and press “Enter” button to start play.
2) Play mode: User can select a play mode for the saved *.ts files as needed before playing the *.ts file.
3) Play List: User can see all the programs in the USB pen driver
4. Remove USB
Main Menu
USB Device USB Device
Remove device Remove device?
Yes ►No
Choose “Yes” to safely remove the USB disk. Device will then automatically resume encoding and playing the program
input from the encoder module.

NetUP Streamer HDMI 1x v2. User manual
13
Chapter 5 Operations of Web-server
In addition to using front buttons to control the encoder modulator and USB device, users can also perform the same
operation in an easier way with the web Brower in the PC (Personal Computer).
Login
The default IP address of this device is 192.168.0.136. (We can modify the IP through the front panel.)
Connect the PC and the encoder modulator with a net cable, and use ping command to confirm they are on the same
network segment.
I.G. the PC IP address is 192.168.99.252, we then change the device IP to 192.168.99.xxx (xxx can be 1 to 254 except 252
to avoid IP conflict).
Use web browser to connect the device with PC by inputting the device’s IP address in the browser’s address bar and
press Enter.
It will display the Login Web-interface. Input the Username and Password (Both the default Username and Password are
“admin”.) and then click “LOGIN” to start the device setting.
Operation
Summary:
When we confirm the login, it displays the WELCOME interface as Figure-2 where users can have an overview of the
device’s system information and working status.
Figure-2
Parameters → Input 1:
From the menu on left side of the webpage, clicking “Encoder”, it displays the interface where users can configure the
encoding parameters for the input video/audio. (Figure-3)
User can click any item here to enter
the corresponding interface to check
information or set the parameters.
System information

NetUP Streamer HDMI 1x v2. User manual
14
Figure-3
Parameters → TS Config:
From the menu on left side of the webpage, clicking “TS Config”, it displays the interface where users can configure the
parameters for the transport stream as prompt. (Figure-4)
Figure-4
Parameters → Modulator:
From the menu on left side of the webpage, clicking “Modulator”, it displays the interface where users can configure
current the modulating parameters for the RF output (Figure-5).
Figure-5
Select the Video
format, bitrate, Profile
and other details
For configuring the
Audio and program
feature

NetUP Streamer HDMI 1x v2. User manual
15
Parameters → IP stream:
From the menu on left side of the webpage, clicking “IP stream”, it displays the interface where users can configure
current the IP stream parameters (Figure-6).
Pls note: RTMP protocol only can be configuration in the webpage management
Figure-6
Parameters → OSD:
From the menu on left side of the webpage, clicking “OSD”, it displays the interface where users can configure OSD
parameters for the RF output.
Parameters → USB:
From the menu on left side of the webpage, clicking “USB”, it displays the interface where users can operate USB device.
(Figure-8)
NOTE: It is necessary to connect USB device and signal source and activate encoding to operate TS recording.
NOTE: It is necessary to connect USB device when operate TS playing.
Figure-8
Detailed Explanation:
There are 3 File save modes provided:
⚫“Single file”: For example, when the file size is set as 1000M and the *.ts is recorded up to 1000M, it automatically stops
recording TS.
⚫“Segment file”: For example, when the file size is set as 1000M and the *.ts is recorded up to 1000M, it automatically
saves the files and continues to record TS and save it to next file until the USB memory is full.
⚫“Loop record”: It automatically saves the files and continues to record TS and save it to next file. When the USB memory
is full, it replaces the previous file.
File Size: users can set the file size for the *.ts to be recorded. A single file can be maximum 2000M in size.
Support RTMP
protocol
Configure TS file
parameters and click
‘Start record’ to start
recording.
Configure TS playing
parameters and click
‘Start play’ to start
playing TS files.

NetUP Streamer HDMI 1x v2. User manual
16
File Name: Users can enter this menu to edit name for the *.ts files to be recorded. For example, if users name it “Record-
”, it will give name to the saved *.ts files “Record-001.ts”, “Record-002.ts” “Record-00N.ts”.
File Select: To browse TS files in the USB device.
Play Mode: User can select a play mode for the *.ts files as needed before playing the *.ts file and specify a video under
‘Single file’ / ‘Single loop’ mode and press “Enter” button to start play. While under ‘Play all’ / ‘Loop all’ mode, it
automatically plays files from first to end.
Auto Record/Play: When the auto mode is enabled, the device will automatically record/play after USB connected.
Otherwise user needs to click “Start record/Play” button to start.
System → NMS:
From the menu on left side of the webpage, clicking “Network”, it displays the interface where users set the network
configuration for the device. (Figure-9)
Figure-9
System → Password:
From the menu on left side of the webpage, clicking “Password”, it will display the screen as Figure-9 where to set the
login account and password for the web NMS. (Figure-10)
Figure-10
System → Configuration:
From the menu on left side of the webpage, clicking “Configuration”, it displays the interface where users can set the
configuration that save/Restors/factory set/backup and load. (Figure-11)
Input this address in
the browser to connect
the device and PC.

NetUP Streamer HDMI 1x v2. User manual
17
Figure-11
System → Firmware:
Click “Firmware” from the menu it will display the screen. Here user can update the device by using the update file.
Click “Browse” to find the path of the device update file for this device then click “Update” to update the device.
After updating the device, user needs to restart the device.
System → Date/time
Clicking “Date/Time”, it displays the screen where to set date and time for the device:
System → Log
Clicking “Log”, it displays the log interface as Figure-14 where to check or export the Kernel/System log.
Table of contents
Other NetUP Media Player manuals
