6LabelManager® 210D+
User Guide
Connecting the Optional Power Adapter
An optional 9 Volt, 2 Amp power adapter can also be used to power the label
maker. Connecting the AC adapter to the label maker disconnects the batteries as
a power source.
Use only power the adapter listed in this user guide:
Adapter model DSA-18PFM-09 Fc 090200 (note: “c” can be EU, UP, UK, US, UJ,
JP, CH, IN, AU, KA, KR, AN, AR, BZ, SA, AF or CA) from Dee Van Enterprise Co., Ltd.
To connect the power adapter
1Plug the power adapter into the power connector on the top, left side of the
label maker.
2Plug the other end of the power adapter into a power outlet.
Make sure the label maker power is turned off before you disconnect the power
adapter from the main power source. Otherwise, your most recent memory
settings will be lost.
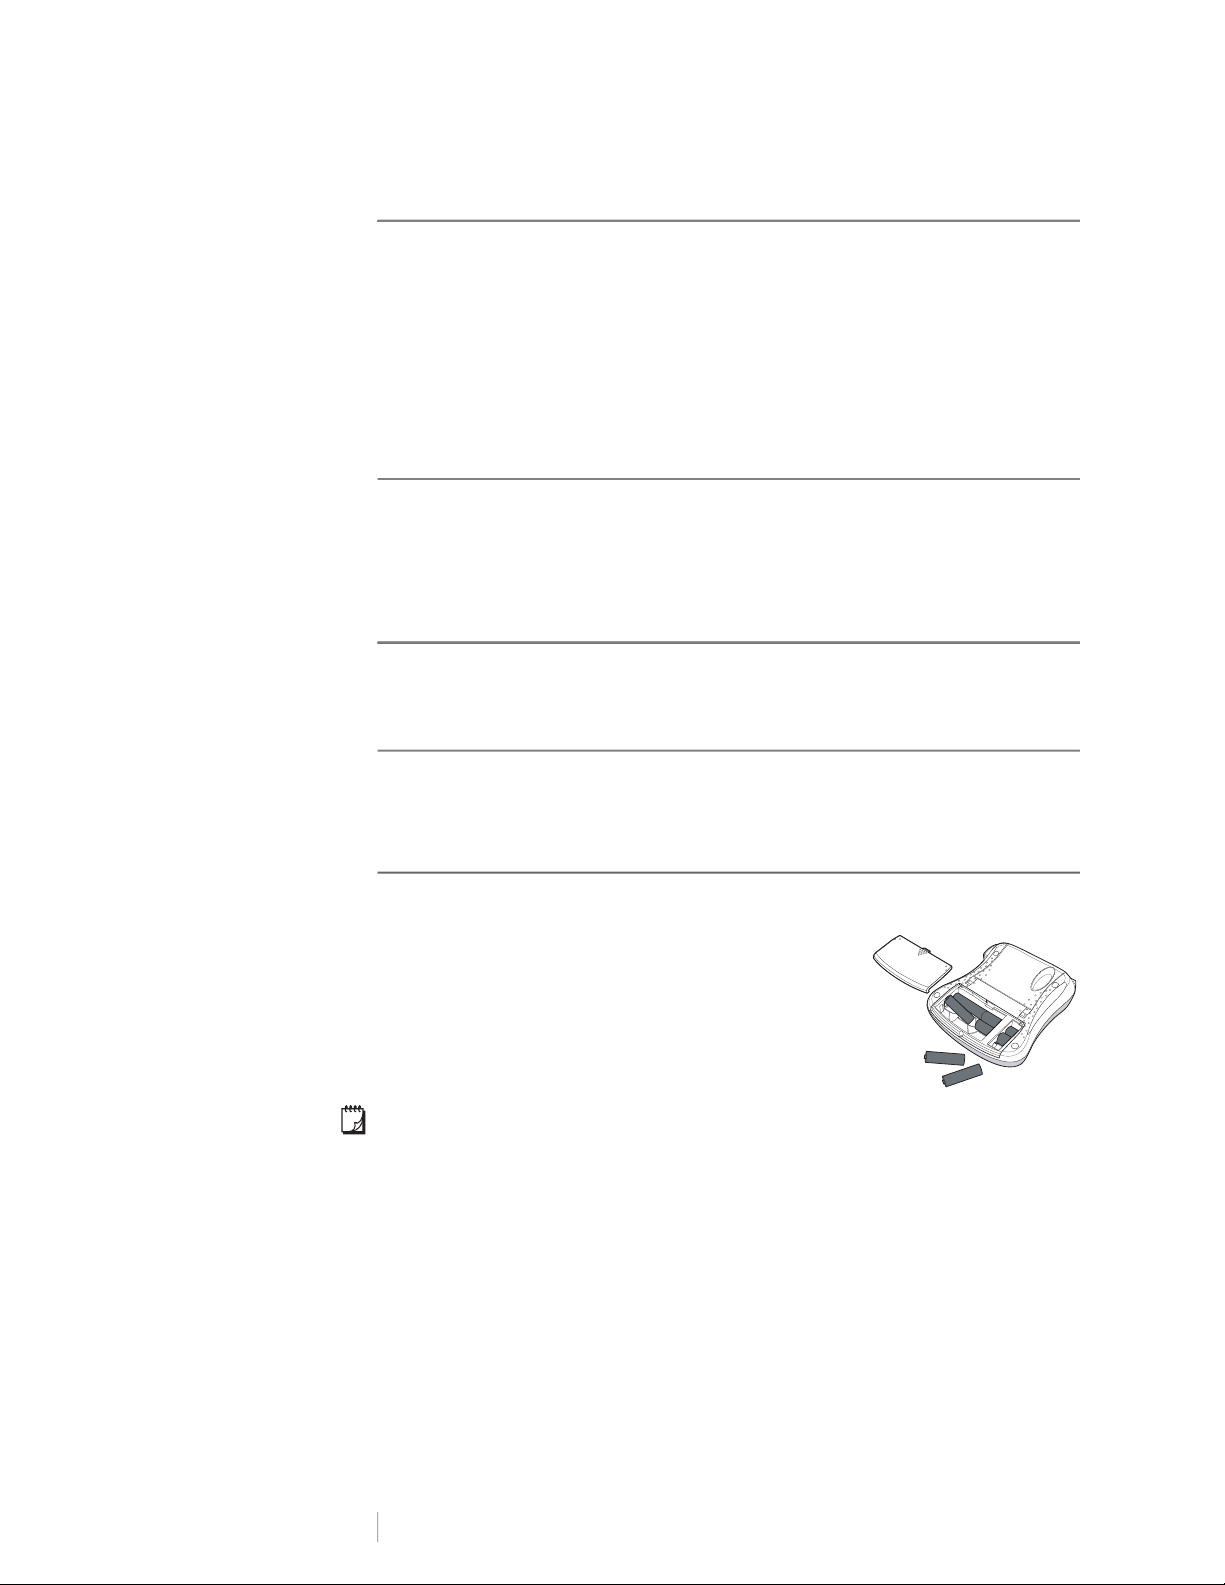
Inserting the Label Cassette
Your label maker comes with one label cassette. Visit www.dymo.com for
information about purchasing additional label cassettes.
The cutter blade is extremely sharp. While replacing the
label cassette, keep fingers and other body parts away
from cutter blade and do not press the cutter button.
To insert the label cassette
1Lift the label cassette cover to open the tape
compartment.
2Insert the cassette with the label facing up and
positioned between the guideposts. See Figure 3.
3Press firmly until cassette clicks into place. See Figure 4.
4Close the label cassette cover.
Each time you change the label cassette, you are prompted to
enter the label width.
Using the Label Maker for the First Time
The first time you turn on the power, you are asked to select the language. This
selection will remain set until you change it, or until the label maker is reset. You
can change this selection in Settings.
To set up the label maker
1Press to turn on the power.
2Select the language and press .
By default, the language is set to English.
3Select inches or mm and press .
4Select the width of the tape cassette currently in the label maker and press
.
Figure 3
Guideposts
Figure 4
Click!
Click!