manuals.online logo
Brands
  1. Home
  2. •
  3. Brands
  4. •
  5. newell
  6. •
  7. Label Maker
  8. •
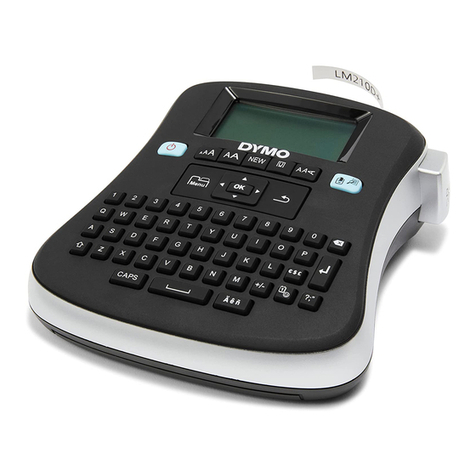
  9. newell DYMO LabelManager 210D+ User manual

newell DYMO LabelManager 210D+ User manual

Other manuals for DYMO LabelManager 210D+

1

Other newell Label Maker manuals

newell DYMO LabelManager 210D+ User manual

newell

newell DYMO LabelManager 210D+ User manual

newell Dymo LabelManager 210D User manual

newell

newell Dymo LabelManager 210D User manual

newell DYMO LabelManager 160E User manual

newell

newell DYMO LabelManager 160E User manual

newell Dymo LabelManager 420P User manual

newell

newell Dymo LabelManager 420P User manual

newell DYMO LetraTag 200B User manual

newell

newell DYMO LetraTag 200B User manual

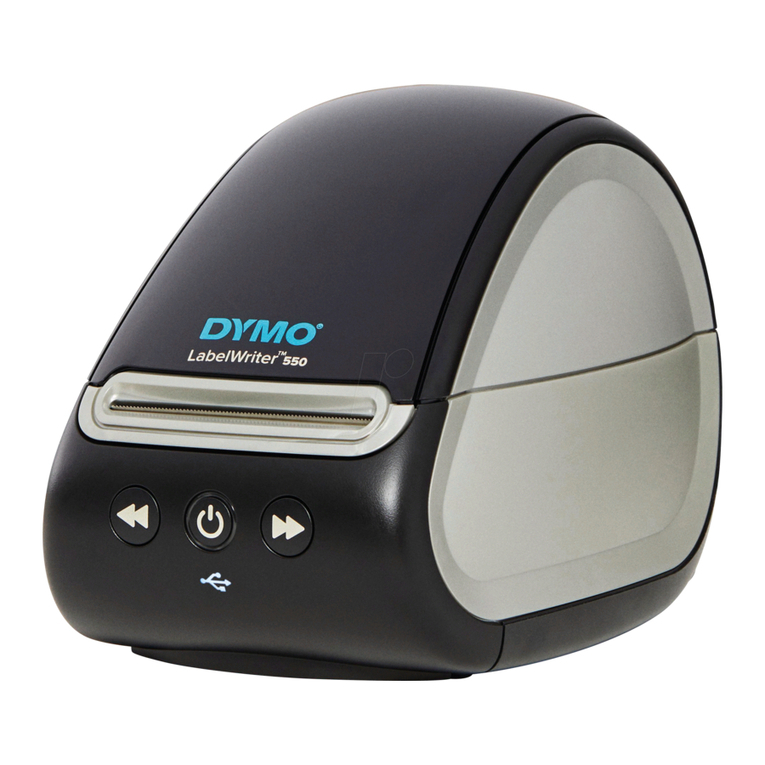
newell Dymo LabelWriter 550 User manual

newell

newell Dymo LabelWriter 550 User manual

newell DYMO RHINO 6000+ User manual

newell

newell DYMO RHINO 6000+ User manual

newell DYMO LabelManager 160 User manual

newell

newell DYMO LabelManager 160 User manual

newell Dymo LabelWriter 550 User manual

newell

newell Dymo LabelWriter 550 User manual

Popular Label Maker manuals by other brands

Brother P-Touch 3600 user guide

Brother

Brother P-Touch 3600 user guide

Dymo Rhino 6500 user guide

Dymo

Dymo Rhino 6500 user guide

LabelMill LM3510 Operation manual

LabelMill

LabelMill LM3510 Operation manual

Brother P-Touch 2420PC Quick reference guide

Brother

Brother P-Touch 2420PC Quick reference guide

Brother TD-4000 Gu

Brother

Brother TD-4000 Gu

U-Line BROTHER H-8754 manual

U-Line

U-Line BROTHER H-8754 manual

Tharo Systems H-435+ user manual

Tharo Systems

Tharo Systems H-435+ user manual

Brother E300 user guide

Brother

Brother E300 user guide

Godex RT700 SERIES Service manual

Godex

Godex RT700 SERIES Service manual

ID Technology 252 Operator / technical  manual

ID Technology

ID Technology 252 Operator / technical manual

Labelmate MC-11 user manual

Labelmate

Labelmate MC-11 user manual

CAB XD4M/300 Service manual

CAB

CAB XD4M/300 Service manual

Avery Dennison Pathfinder 6057 System administrator guide

Avery Dennison

Avery Dennison Pathfinder 6057 System administrator guide

Brother P-touch PT-9700PC user guide

Brother

Brother P-touch PT-9700PC user guide

TSC PEX1000 Series user manual

TSC

TSC PEX1000 Series user manual

Adkins Label Master user guide

Adkins

Adkins Label Master user guide

Epson LabelWorks LW-400 Specifications

Epson

Epson LabelWorks LW-400 Specifications

Primera 510212 user manual

Primera

Primera 510212 user manual

manuals.online logo
manuals.online logoBrands
  • About & Mission
  • Contact us
  • Privacy Policy
  • Terms and Conditions

Copyright 2025 Manuals.Online. All Rights Reserved.

הכר את המכשיר החדש שלך להפקת תוויות
המכשיר להפקת תוויות +DYMO LabelManager 210D משתמש
בקלטות
DYMO D1 להפקת תוויות ברוחב 6 מ"מ, 9מ"מ, או
12מ"מ . התוויות זמינות במגוון רב של צבעים.
למידע מלא על השימוש במכשיר, הורד את המדריך למשתמש
ב-
+LabelManager 210D מהאתר support.dymo.com .
הכנסת סוללות
המכשיר מופעל באמצעות 6 סוללות אלקליין AA .
הכנסת הסוללה
1הסר בהחלקה את המכסה של תא
הסוללות.
2הכנס את הסוללות בהתאם
לסימון הקוטביות (+/–).
3החזר למקום את המכסה של תא
הסוללות.
אמצעי בטיחות
אין לערבב בין סוללות ישנות
וחדשות.
אין לערבב בין סוללות אלקליניות, רגילות (פחמן-אבץ), או נטענות
(ניקל-קדמיום, וכדומה).
יש להסיר את הסוללות אם המכשיר לא יהיה בשימוש במשך תקופה ארוכה.
התקנה והסרה של קלטות התוויות
המכשיר להפקת תוויות DYMO משתמש בקלטות DYMO D1 .
להב החיתוך הוא חד ביותר. הרחק את אצבעותיך וחלקים אחרים של
הגוף מלהב החיתוך ואל תלחץ על לחצן החיתוך.
התקנת קלטת התוויות
1הרם את המכסה של קלטת התוויות כדי
לפתוח את תא התוויות.
2וודא שסרטי התוויות והדיו מתוחים
לרוחב פתח הקלטת ועוברות בין מוליכי
התוויות.
במקרה הצורך, סובב את גליל מתיחת
הסרט בכיוון השעון כדי למתוח את
הסרט.
3הכנס את הקלטת כאשר התווית פונה
החוצה והיא ממוקמת בין מובילי התוויות.
4לחץ בחוזקה עד שהקלטת תינעל במקומה בנקישה.
השימוש הראשון במכשיר להפקת תוויות
בפעם הראשונה כשתפעיל את המכשיר, תתבקש לבחור את השפה, את רוחב
התווית, ואת ההגדרות של יחידות המדידה.

כדי לשנות את מצב הקלט מעברית לאנגלית, לחץ .
הדפסת תווית
1הזן טקסט כדי ליצור תווית פשוטה.
2לחץ על .
3לחץ על לחצן החיתוך כדי לחתוך את התווית.
4הסר את שכבת המגן מהתווית כדי לחשוף את הצד
הדביק ואז הדבק את התווית.
מדריך התחלה מהירה
+LabelManager
® 210D
NWL0001232606_B
הורדת המדריך
למשתמש
קליק!
קליק!
Aa
גבא
הפרדת שכבת המגן
About Your New Label Maker
The DYMO LabelManager 210D+ label maker uses DYMO
D1 label cassettes in widths of 6 mm, 9 mm, or 12 mm.
Labels are available in a wide range of colors.
For complete information on using your label maker,
download the LabelManager 210D+ User Guide from
support.dymo.com.
Inserting the Batteries
The label maker is powered by six AA alkaline batteries.
To insert the battery
1Slide the battery
compartment cover away
from the label maker.
2
Insert the batteries following
the polarity markings (+ and –).
3
Replace the battery
compartment cover.
Safety Precautions
Do not mix old and new
batteries.
Do not mix alkaline, standard (carbon-zinc), or rechargeable (ni-
cad, ni-mh, etc.) batteries.
Remove the batteries if the printer will not be used for a long
period of time.
Inserting and Removing the Label Cassette
Your label maker uses DYMO D1 label cassettes.
The cutter blade is extremely sharp. Keep fingers and other body
parts away from cutter blade and do not press the cutter button.
To insert the label cassette
1Lift the label cassette cover to
open the label compartment.
2
Make sure the tape and ribbon are
taut across the mouth of the cassette
and that the tape passes between
the label guides.
If necessary, turn the ribbon rewind
spool clockwise to tighten the rib-
bon.
3
Insert the cassette with the label
facing out and positioned between
the label guides.
4
Press firmly until cassette clicks into place.
Using the Label Maker for the First Time
The first time you turn on the power, you are asked to select the
language, label width, and units of measure settings.

To change the input mode from Hebrew to English, press .
To print a label
1Enter text to create a simple label.
2
Press .
3
Press the cutter button to cut the label.
4
Remove the backing from the label to expose
the adhesive, and then attach the label.
Quick Start Guide
LabelManager ® 210D+
NWL0001232606_B
Download
User Guide Click!
Click!
Aa
גבא
Split backing
©2022 Sanford, L.P.