manuals.online logo
Brands
  1. Home
  2. •
  3. Brands
  4. •
  5. newform
  6. •
  7. Bathroom Fixture
  8. •
  9. newform X-SENSE 62530 User manual

newform X-SENSE 62530 User manual

62537 - 62538
62530
62531
istruzioni
instructions
instructions de montage
Bedienungsanleitung
instrucciones
X-SENSE
62530
62531
2
RICAMBI_ SPARE PARTS_ PIECES DETACHEES_ ERSATZTEILE_ PIEZAS DE REPUESTO
1
2
3
4
5
6
7
8
9
10
11
21971
21913
10960
21914
14720
21923
10986
21921
21917
12601
98
X-SENSE
62537
62538
3
RICAMBI_ SPARE PARTS_ PIECES DETACHEES_ ERSATZTEILE_ PIEZAS DE REPUESTO
1
2
3
4
98
10986
21921
12601
4
Collegare correttamente il corpo alla rete di alimentazione
con l’acqua fredda a destra e la calda a sinistra.
Correctly connect the body to the water mains with cold
water on the right and hot on the left.
Connecter correctement la robinetterie au réseau de
l’alimentation d’eau: l’eau froide doit être positionnée à
droite et l’eau chaude à gauche.
Conectar correctamente el cuerpo a la red hìdrica, el
agua frìa a la derecha y el agua caliente a la izquierda.
Den Körper korrekt – kaltes Wasser rechts und warmes
Wasser links – an das Versorgungsnetz anschließen.
PROCEDURE DI INSTALLAZIONE_ INSTALLATION PROCEDURE_ PROCÉDURES D’INTALLATION_
INSTALLATIONSANWEISUNGEN_ INSTRUCCIONES DE MONTAJE
X-SENSE
Murare la scatola da incasso e togliere il cappuccio di
protezione della boccola.
Embed the concealed box and remove the protection
cover of the sleeve.
Sceller le boîte à encastrer et eniever le capuchon de
protection de la bague.
Die Hülle einmauern und die Schutzkappe von der Buchse
entfernen.
Amurar la carcaza y remover el capuchòn, que protege
el buje.
Montare in sequenza il decoro sulla boccola, avvitare il
raccordo canna nella sede e fissare la canna sul raccordo
tramite i grani di fix. in dotazione, in fine grani di fissaggio
in dotazione. Infine, montare la maniglia la maniglia sulla
cartuccia fissandola con il grano e mettere il tappino di
copertura.
Assemble the backplate on the bush, screw the spout
connection in the seat and fix the spout to the connection
by using the fixing screws included in the equipment.
Finally mount the handle on the cartridge fixing it with the
screw and put the cover cap on.
Monter en séquence le décorum sur la bague, visser le
raccord du bec dans le siège et fixer le bec sur le raccord
en utilisant les vis de fixation en dotation. Enfin monter la
poignée sur la cartouche en la fixant avec la vis et mettre
le bouchon de couverture.
In genannter Reihenfolge das Dekor auf der Buchse
montieren,den Rohranschluss mit Hilfe der im Lieferumfang
enthaltenen Befestigungsstifte in seinem Sitz festschrauben
und zuletzt den Griff auf der Kartusche anbringen.
Letzteren hierzu mit dem Stift befestigen und schließlich
die Abdeckkappe anbrigen.
Montar, en secuencia, el embellecedor sobre el cuerpo,
enroscar el racor del caño en su sede y fijar en caño al
racor con los prisioneros en dotación.Para finalizar,montar
la maneta sobre el cartucho fijándola con el prisionero y
colocar la tapita para cubrirlo.
* Raccomandiamo l’installazione delle valvole riduttrici di pressione per pressioni superiori.
* We recommend the installation of the pressure valves where the high pressure is present.
* Nous recommandons l’installation de valves réductrices de pression pour des pressions supérieures.
* Bei einem höheren Druck empfehlen wir die Installation von Druckreduzierventilen.
* recomendamos instalar válvulas reductoras de presión para presiones superiores.
5
CARATTERISTICHE TECNICHE_ TECHNICAL DATA_ CARTÉRISTIQUES TECHNIQUES
TECHNISCHE MERKMALE_ CARACTERÍSTICAS TÉCNICAS
Rango de trabajo
Presión óptima
Presión máxima
Temperatura máxima
Sistema de trabajo
Material
0,5 ÷ 5 bar
3 bar*
5 bar
90° C
cartucho con discos cerámicos
latón
Arbeiten druck
Optimal druck
Maximum druck
Maximum temperatur
Vermischen system
Materiell
0,5 ÷ 5 bar
3 bar*
5 bar
90° C
kartusche mit keramischer scheiben
messing
Rang de pression
Pression optimale
Pression maximale
Température maximale
Systéme de
Matériel
0,5 ÷ 5 bar
3 bar*
5 bar
90° C
cartouche á disques céramiques
laiton
Working pressure
Optimal pressure
Maximum pressure
Maximum temperature
Mixing system
Material
0,5 ÷ 5 bar
3 bar*
5 bar
90° C
cartridge with ceramic disk
brass
Pressione di esercizio
Pressione ottimale
Pressione massima
Temperatura massima
Sistema di miscelazione
Materiale
0,5 ÷ 5 bar
3 bar*
5 bar
90° C
cartuccia con dischi ceramici
ottone
X-SENSE
Sostituzione della cartuccia: Togliere il tappino (quando
presente) e svitare la vite di fissaggio della maniglia,
svitare la ghiera di fissaggio della cartuccia e togliere
quest’ultima.
Replace the cartridge: Remove the plug (when present)
and unscrew the handle’s fastening screw and unscrew
and remove the cartridge’s fastening ring.
Remplacer la cartouche: Enlever le petit bouchon, s’il y
en a un, dévisser la vis de fixation de la poignée, dévisser
l’embout de fixation de la cartouche et enlever cette
dernière.
Kartuschenwechsel: Den Stopfen entfernen (sofern
vorhanden) und die Stellschraube des Griffs losschrauben.
Anschließend die Befestigungsnutmutter auf der Kartusche
lösen und diese entfernen.
Reemplazo del cartucho: Sacar el tapòn (cuando
se encuentre) y desatornillar el tornillo de fijaciòn de la
manija, desatornillar el anillo roscado de la fijaciòn del
cartucho y quitar el mismo.
PROCEDURE DI INSTALLAZIONE_ INSTALLATION PROCEDURE_ PROCÉDURES D’INTALLATION_
INSTALLATIONSANWEISUNGEN_ INSTRUCCIONES DE MONTAJE
X-SENSE
62530
X-SENSE
62531
6
0
9,66
13,71
16,85
19,5
21,62
pressione
pressure
pression
Druck
presión
(bar)
portata
hold
portée
Durchfluss
caudal
(l/min)
0
9,66
13,71
16,85
19,5
21,62
pressione
pressure
pression
Druck
presión
(bar)
portata
hold
portée
Durchfluss
caudal
(l/min)
PORTATE_ FLOW RATES_ DÉBITS_ WASSERSTRÖMUNGEN_ CAUDALES_
7
INTERVENTI DI MANUTENZIONE_ MAINTENANCE_ INTERVENTIONS D’ENTRETIEN
INSTANDHALTUNG_ MANTENIMIENTO
X-SENSE
I
Affinché Lei possa usufruire a lungo, con la massima
soddisfazione del Suo nuovo prodotto, Le forniamo
alcuni semplici consigli per una maggiore durata.
PULIZIA
NON UTILIZZARE DETERSIVI, SOLVENTI, AGENTI
CHIMICI, SPUGNE RUVIDE, PAGLIE METALLICHE ecc.
che graffierebbero irreparabilmente le superfici
compromettendone l’estetica, la lucentezza, la
satinatura. Pulire esclusivamente con ACQUA
INSAPONATA asciugando con un panno morbido.
MANUTENZIONE
Per un perfetto funzionamento della rubinetteria pulire
periodicamente il “filtro dell’aeratore”.
RICAMBI
In caso di guasti usufruire esclusivamente dei Ricambi
Originali Newform, in vendita presso i nostri migliori
Rivenditori.
Si certifica che tutte le parti e componenti di origine
nazionale ed estera, contenute in questo prodotto
(L.135/2009) sono state accuratamente controllate e
collaudate nei nostri stabilimenti.
To take care and prolong the life of your product, we
would advise the following cleaning and maintenance
procedures.
CLEANING
Clean brass, chrome plated or painted surfaces with a
soft (non abrasive) sponge and soapy water, wipe dry
with a soft cloth.DO NOT USE DETERGENTS OR ABRASIVE
CLEANERS - should these products be used the surfaces
of the fittings could become scoured and dull and the
guarantee will be void.
MAINTENANCE
For perfect operation of the taps the aerator should be
cleaned periodically.
SPARE PARTS
In case of failure only Newform spare parts should be
used, available by your Retailer.
F
Afin que Vous puissiez profiter longtemps et en toute
satisfaction de Votre nouveau produit nous Vous
conseillons ces quelqes mesures simples.
NETTOYAGE
NE PAS UTILISER DE DÉTERGENTS, SOLVANTS, PRODUITS
CHIMIQUES, ÉPONGES RUGUEUSES, PAILLES DE FER
etc. qui rayeraient irrémediablement les surfaces en
compromettant la beauté, la brillance et le satinage.
Nettoyer exclusivement avec de l’eau savonneuse
puis essuyer avec un chiffon doux.
ENTRETIEN
Pour un fonctionnement parfait de la robinetterie,
nettoyer régulièrement le “filtre de l’aérateur”.
RECHANGE
En cas de dommages,utiliser exclusivement des pièces
de rechange d’origine Newform, en vente auprès de
nos revendeurs.
E
Para que Ud. pueda utilizar mejor y por mucho
tiempo su nuevo producto, le damos alcunos simples
consejos.
LIMPIEZA
NO UTILICE DETERGENTES, SOLVENTES, PRODUCTOS
QUIMICOS, ESPONJAS METÁLICAS, que pueden rayar
sin remedio la superficie deteriorando la belleza, el
brillo y el satinado. Limpiar solamente con agua y
jabón, secando con un tejido mórbido
MANUTENCION
Para que su grifo funcione bien, limpie a menudo el
“filtro aireador”.
RECAMBIOS
Si necesita cambiar alguna pieza utilice solamente los
recambios originales Newform, que son vendidos por
nuestros exclusivistas.
D
Damit Sie unser neues Produkt so lange wie möglich
und zu Ihrer größten Genugtuung benützen können,
erteilen wir Ihnen ein paar einfache Rastchläge für
eine längere Lebensdauer.
REINIGUNG
VERWENDEN SIE KEINE WASHMITTEL, LÖSUNGSMITTEL,
CHEMIKALIEN, RAUHEN SCHWÄMME, METALLWOLLE,
usw., die die Oberfläche unvermeidlich zerkratzen
und auf diese Weise deren Ästhetik Glanz und Glätte
beeinträchtigen würden. Verwenden Sie zur Reinigung
ausschließlich Seifenwasser und zum Trocknen ein
weiches Tuch.
PFLEGE
Für einen einwandfreien Betrieb reinigen Sie regelmäßig
den “Lüfterfilter”.
ERSATZTEILE
Im Falle von Schäden verwenden Sie ausschließlich
die Originalersatzteile Newform, die bei unseren
Detailhändlern im Verkauf sind.
GB
Ed. Apr. 2010 - L 380
NEWFORM S.p.A.
via Marconi, 25/A – Frazione Vintebbio – 13037 Serravalle Sesia – (VC) Italy
Tel. +39/0163452011 (r.a.) Fax Amministrativo +39/0163458983 – Fax Commerciale +39/0163459745
www.newform.it newform@newform.it

This manual suits for next models

3

Other newform Bathroom Fixture manuals
newform LINFA II 69484E User manual

newform

newform LINFA II 69484E User manual

newform DAYTIME STYLE 69140C User manual

newform

newform DAYTIME STYLE 69140C User manual

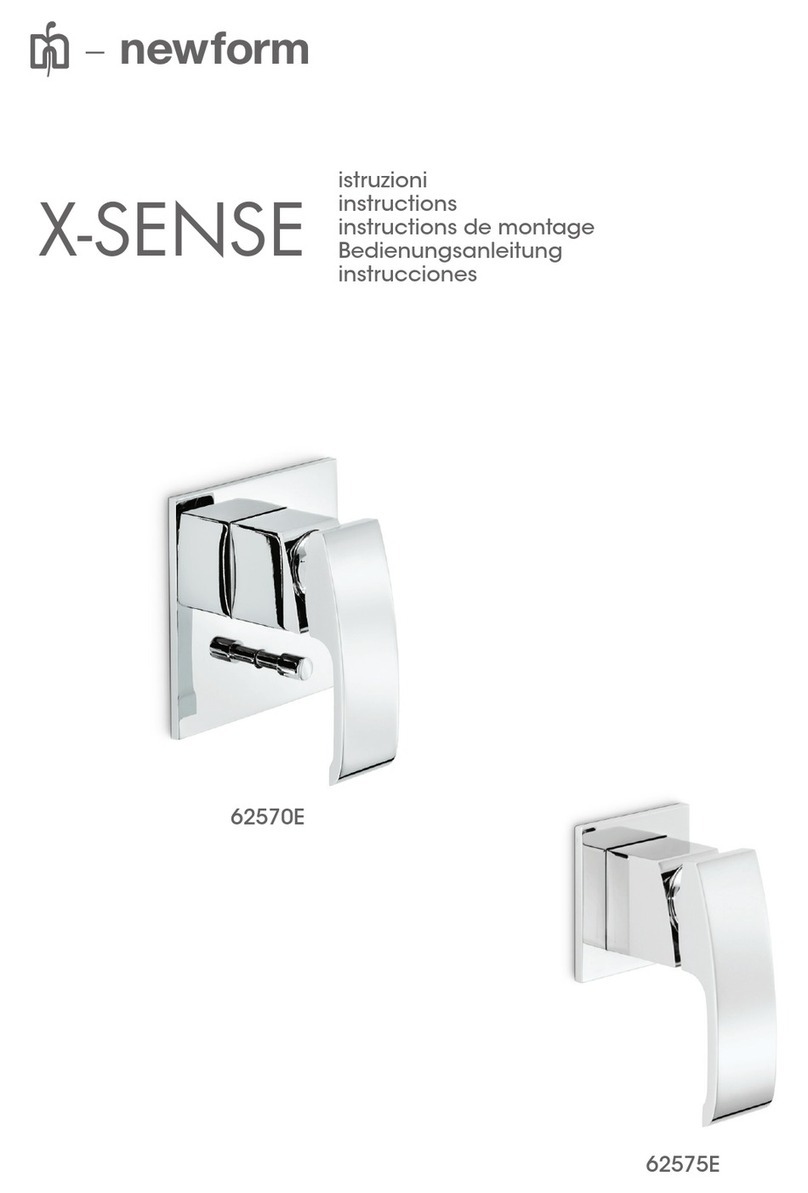
newform X-SENSE 62570E User manual

newform

newform X-SENSE 62570E User manual

newform AQUALITE 69230E User manual

newform

newform AQUALITE 69230E User manual

newform BLINK CHIC 71057E User manual

newform

newform BLINK CHIC 71057E User manual

newform BLINK CHIC 71069E User manual

newform

newform BLINK CHIC 71069E User manual

newform THERMO EASY 70400E User manual

newform

newform THERMO EASY 70400E User manual

newform 67616E User manual

newform

newform 67616E User manual
newform AQUALITE 69236E User manual

newform

newform AQUALITE 69236E User manual

newform X-STEEL 316 69639X User manual

newform

newform X-STEEL 316 69639X User manual

newform BLINK 70870E User manual

newform

newform BLINK 70870E User manual

newform SENSITIVE 66710 User manual

newform

newform SENSITIVE 66710 User manual

newform X-STEEL 316 29499 Series User manual

newform

newform X-STEEL 316 29499 Series User manual

newform X-TREND Series User manual

newform

newform X-TREND Series User manual

newform NIO 68918E User manual

newform

newform NIO 68918E User manual

newform PARK 69728E User manual

newform

newform PARK 69728E User manual

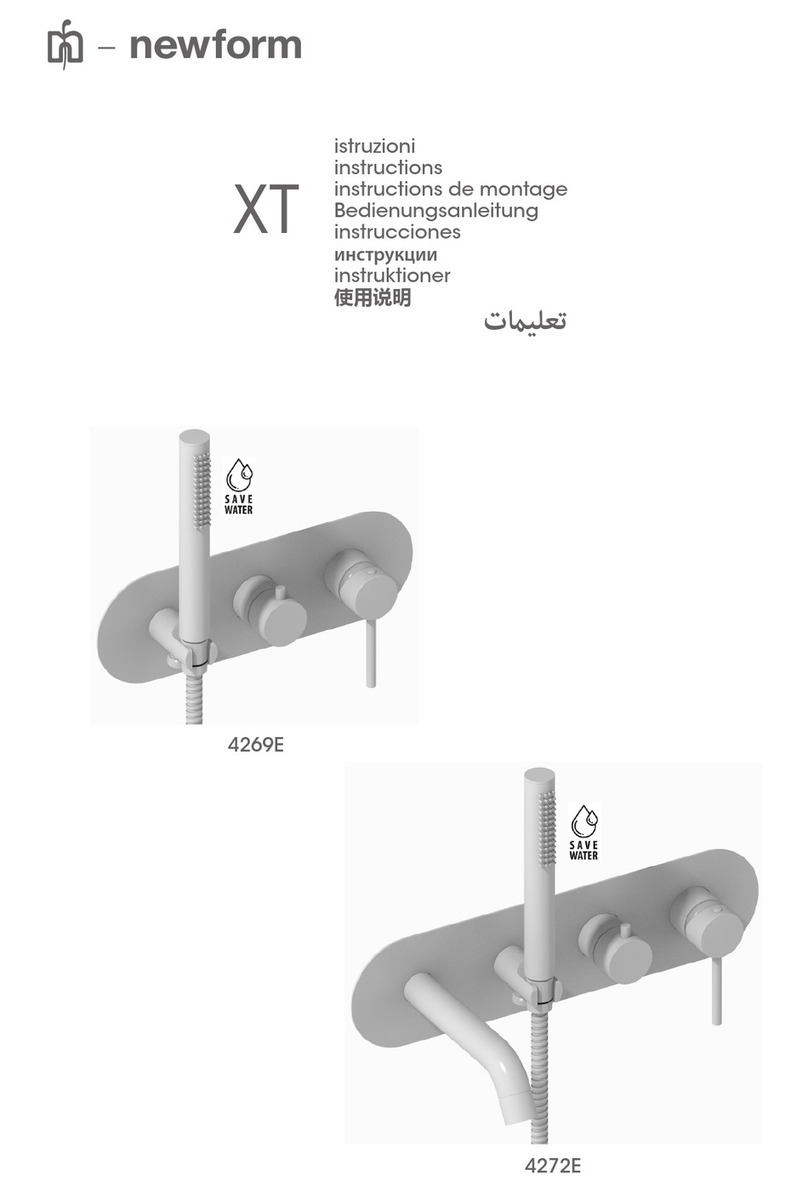
newform XT 4269E User manual

newform

newform XT 4269E User manual

newform LINFA II 69472E User manual

newform

newform LINFA II 69472E User manual

newform 29391X User manual

newform

newform 29391X User manual

newform X-T 4224E User manual

newform

newform X-T 4224E User manual

newform X-STEEL 316 69671EX User manual

newform

newform X-STEEL 316 69671EX User manual

newform 67620E User manual

newform

newform 67620E User manual

newform Nio 68910 User manual

newform

newform Nio 68910 User manual

newform DBS Series User manual

newform

newform DBS Series User manual

Popular Bathroom Fixture manuals by other brands

KAWAJUN PA-69 L900 INSTALLATION MANUALS AND SAFETY INFORMATION

KAWAJUN

KAWAJUN PA-69 L900 INSTALLATION MANUALS AND SAFETY INFORMATION

Toto YH 200 Installation and owner's manual

Toto

Toto YH 200 Installation and owner's manual

Levaqua 100 Series instruction manual

Levaqua

Levaqua 100 Series instruction manual

Tassili Supra VALENTINA 33001267 installation guide

Tassili Supra

Tassili Supra VALENTINA 33001267 installation guide

Brizo Baliza 65005LF quick start guide

Brizo

Brizo Baliza 65005LF quick start guide

SCHÜTTE 60044 installation instructions

SCHÜTTE

SCHÜTTE 60044 installation instructions

Uberhaus 14925004 Operator's manual

Uberhaus

Uberhaus 14925004 Operator's manual

Tramontina senseday instruction manual

Tramontina

Tramontina senseday instruction manual

Spectrum Brands Pfister Kenzo 016-DF0 Quick installation guide

Spectrum Brands

Spectrum Brands Pfister Kenzo 016-DF0 Quick installation guide

clage EKE Operating and installation instructions

clage

clage EKE Operating and installation instructions

Ropox 40-44016 user manual

Ropox

Ropox 40-44016 user manual

All Safety Products Fleet Shower SH1 Series manual

All Safety Products

All Safety Products Fleet Shower SH1 Series manual

Neue PALLAS CABM18 Fitting instructions

Neue

Neue PALLAS CABM18 Fitting instructions

Hewi System 162 manual

Hewi

Hewi System 162 manual

TUHOME Furniture GLB 6752 Assembly instructions

TUHOME Furniture

TUHOME Furniture GLB 6752 Assembly instructions

Villeroy & Boch ProActive+ operating instructions

Villeroy & Boch

Villeroy & Boch ProActive+ operating instructions

Voda Plumbingware Eclipse VECL61SCH quick start guide

Voda Plumbingware

Voda Plumbingware Eclipse VECL61SCH quick start guide

Kohler Lakewood K-1649 installation guide

Kohler

Kohler Lakewood K-1649 installation guide

manuals.online logo
manuals.online logoBrands
  • About & Mission
  • Contact us
  • Privacy Policy
  • Terms and Conditions

Copyright 2025 Manuals.Online. All Rights Reserved.