manuals.online logo
Brands
  1. Home
  2. •
  3. Brands
  4. •
  5. newform
  6. •
  7. Bathroom Fixture
  8. •
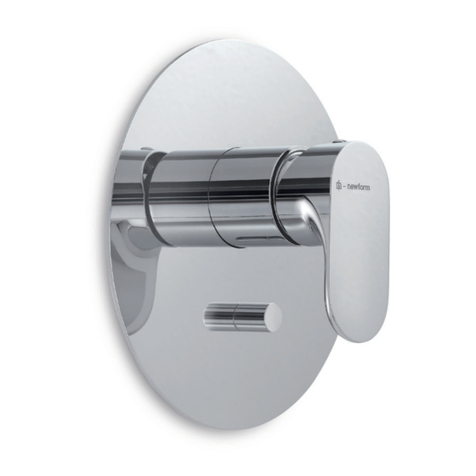
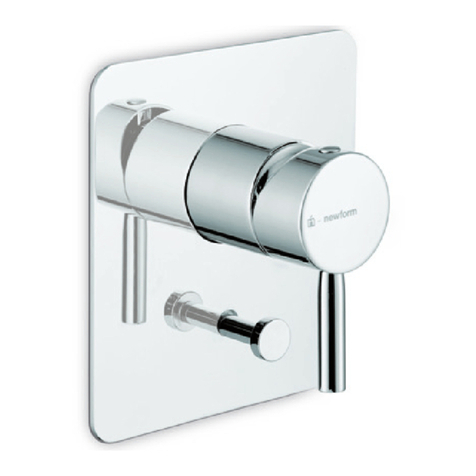
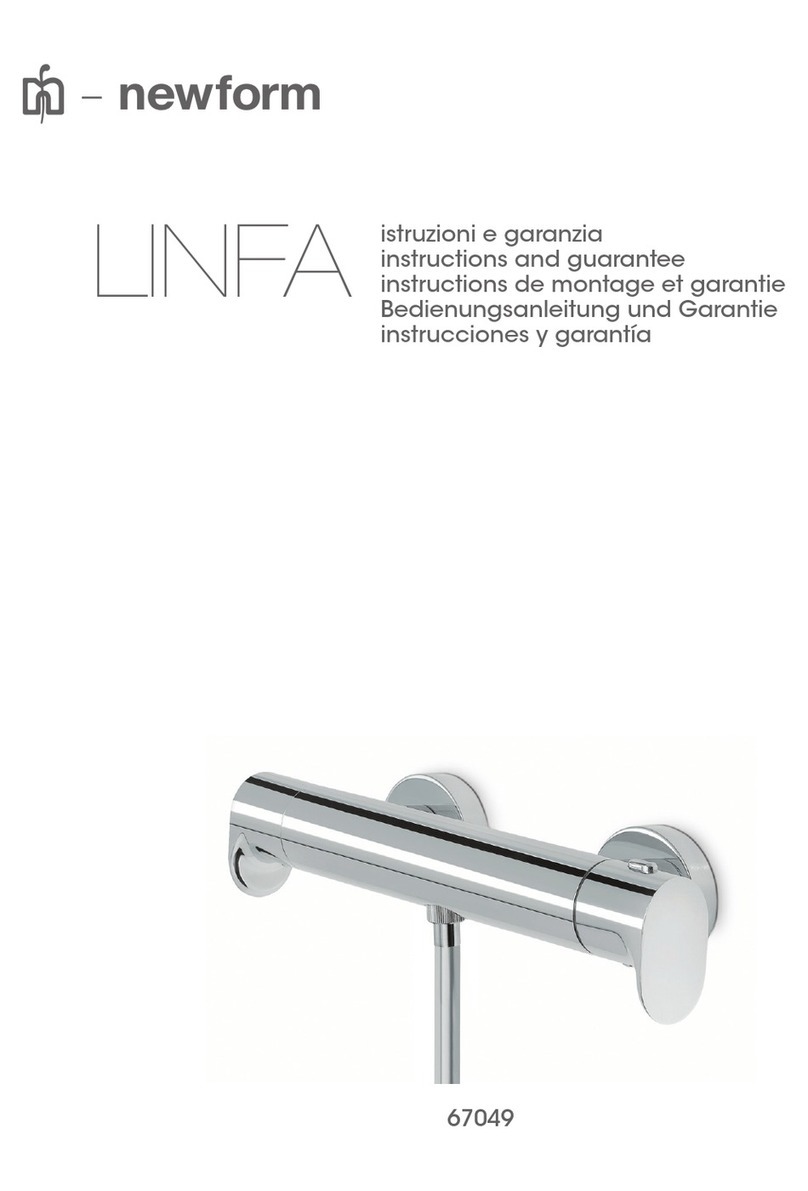
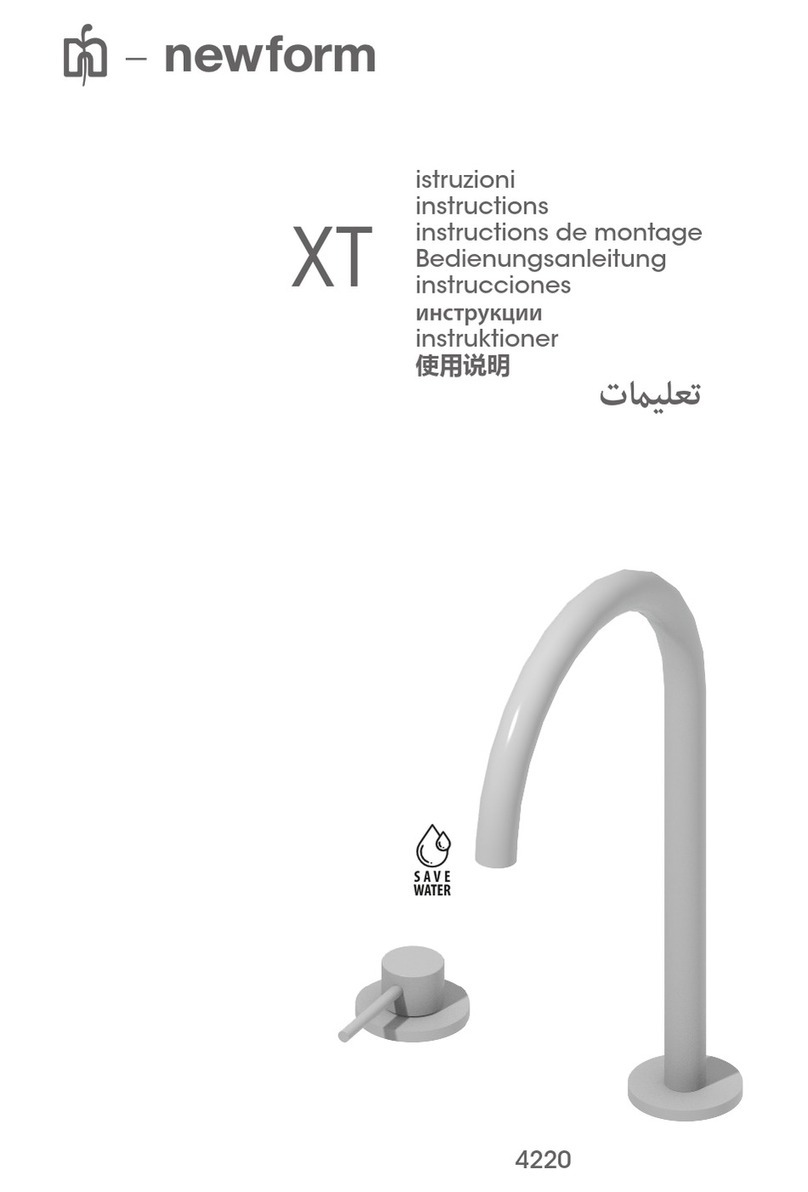
  9. newform 67616E User manual

newform 67616E User manual

istruzioni
instructions
instructions de montage
Bedienungsanleitung
instrucciones
67616E 67617E
67618E
2
•Il presente manuale è parte integrante del prodotto.
•E’ necessario conservarlo in buono stato e per tutto il ciclo di vita del prodotto.
•Vi consigliamo di leggere attentamente il presente manuale e tutte le disposizioni ivi contenute prima di utilizzare e installare il prodotto.
•L’installazione dovrà essere effettuata da personale qualicato, conformemente ai regolamenti in vigore.
•Il costruttore declina ogni responsabilità in caso di utilizzazione del prodotto con nalità diverse da quelle previste.
•Non disperdere resti di imballaggio nell’ambiente.
•Non creare ostacoli al passaggio dell’acqua.
•Evitare, in ogni caso, l’utilizzo di spugne metalliche o abrasive o di detergenti o prodotti abrasivi che potrebbero danneggiare
le superci.
•Soprattutto nel caso di nuove installazioni, onde evitare che impurità o detriti possano giungere all’interno della rubinetteria
dando origine a problemi di funzionamento, spurgare l’impianto prima di mettere in esercizio i prodotti.
•Pulire esclusivamente con acqua e sapone. Risciacquare abbondantemente e asciugare con un panno morbido.
•Si consiglia, per una più lunga durata del miscelatore e della cartuccia, l’installazione di rubinetti ltro a monte del miscelatore.
AVVERTENZE PER L’USO E LA MANUTENZIONE
I
•Das vorliegende Handbuch ist Bestandteil des Produktes.
•Es soll im Handbereich und in perfektem Zustand während des ganzen Lebenszyklus des Produktes aufbewahrt werden.
•Es ist empfehlenswert, das vorliegende Handbuch und alle darin enthaltenen Informationen sorgfältig zu lesen, bevor das
Produkt zu montieren und anzuwenden.
•Die Montage soll von Fachpersonal unter Beachtung der gültigen Vorschriften durchgeführt werden.
•Der Hersteller lehnt jegliche Verantwortung für die unsachgemässe Verwendung des produktes ab.
•Keine Rückstände der Verpackung im haushaltsbereich unbewacht lassen.
•Die Wasserdurchgänge nicht verstopfen.
•Keine Metall- bzw. Abrasive schwammen, Reinigungsmittel und Schleifmittel verwenden, um zu vermeiden, dass die
Oberäche beschädigt wird.
•Vorallem, wenn es sich um neue Installationen handelt sollte man, bevor man die neuen Produkte in Betrieb nimmt, die
Anlage reinigen, um zu verhindern, dass Verunreinigungen und Ablagerungen in die Armaturen gelangen, welche
Funktionsstörungen verursachen könnten.
•Nur mit Wasser und Seife reinigen, sorgfältig ausspülen und mit einem weichen Tuch austrocknen.
•Zu einer längeren Dauer des Mischers und der Kartusche, wird es empfohlen, Untertisch-Filterhähne zu installieren.
HINWEISE FÜR DIE VERWENDUNG UND REINIGUNG
D
•This manual is an integral part of the product.
•Keep it in good conditions and at hand throughout product’s life.
•We recommend reading carefully this manual and all the instructions contained before using and installing the product.
•The installation should be made by qualied staff in compliance with regulations in force.
•The manufacturer is not liable in case of use of the product with purposes other than those provided for.
•Do not leave the residues of the packaging in the home environment.
•Do not hinder the water ow.
•Totally avoid using metallic or abrasive sponges and detergents or abrasive products in order not to damage the surfaces.
•Especially with new installations, in order to prevent impurities or debris penetrating into the tap and causing working
problems, purge the system before activating the mixer.
•Clean only with water and soap. Carefully rinse and dry with a soft cloth.
•In order to maintain the mixer and its cartridge in the best and long-lasting conditions, we suggest to t under-top valves with lter.
WARNINGS FOR THE USE AND MAINTENANCE
GB
•El presente manual es parte integrante del producto.
•Es necesario guardar el manual en buen estado y durante todo el ciclo de vida del producto.
•Les aconsejamos que lean con cuidado el presente manual y todas las disposiciones contenidas antes de utilizar e instalar
el producto.
•La instalación tendrá que ser efectuada por personal calicado conformemente a los reglamentos en vigor.
•El constructor declina todo tipo de responsabilidad en caso de utilización del producto con nalidades diferentes de
aquellas previstas.
•No tiren los restos de los embalajes al medio ambiente. No creen obstáculos de ninguna forma el pasaje de agua.
•Eviten, de todas formas, la utilización de esponjas metálicas o abrasivas o detergentes o productos abrasivos que podrían
perjudicar las supercies.
•Sobre todo en caso de nuevas instalaciones, para evitar que impurezas o residuos puedan alcanzar el interior del grifo
causando problemas de funcionamiento, purgar la instalación antes de poner en funcionamiento el producto.
•Limpien exclusivamente con agua y jabón. Enjuaguen abundantemente y sequen con un trapo limpio.
•Se recomienda, para una mayor duración del mezclador y su cartucho, la instalación de ltros agua arriba del mezclador.
ADVERTENCIAS PARA EL USO Y MANUTENCIÓN
E
•Ce manuel est une partie intégrante du produit.
•Il faut le conserver en bon état et à portée pendant tout le cycle de vie du produit.
•Nous conseillons de lire attentivement ce manuel et toutes les consignes qui s’y trouvent avant d’utiliser et d’installer le
produit.
•L’installation devra être effectuée par du personnel qualié et conformément aux réglementations en vigueur.
•Le constructeur décline toute responsabilité en cas d’utilisation du produit dans des buts différents de ceux prévus.
•Ne pas abandonner les résidus de l’emballage dans l’environnement domestique.
•Ne pas faire obstacle au passage de l’eau.
•Éviter absolument d’utiliser des éponges métalliques ou abrasives et des détergents ou produits abrasifs an de ne pas
abîmer les surfaces.
•Surtout en cas de nouvelles installations, et an d’éviter que des impuretés ou des débris arrivent à l’intérieur du robinet et
causer des problèmes de fonctionnement, purger le système avant d’activer les produits.
•Nettoyer uniquement à l’eau et au savon. Rincer soigneusement et sécher avec un chiffon doux.
•On conseille, pour une plus longue durée du mitigeur et de la cartouche, l’installation de robinets ltre sur les exibles/tuyaux
de raccordement.
AVERTISSEMENTS POUR L’UTILISATION ET ENTRETIEN
F
3
DATI DI RIFERIMENTO_ REFERENCES_ DONNÉES DE RÉFÉRENCE
REFERENZANGABEN_ DATOS DE REFERENCIA
67616E
4
DATI DI RIFERIMENTO_ REFERENCES_ DONNÉES DE RÉFÉRENCE
REFERENZANGABEN_ DATOS DE REFERENCIA
67617E
5
DATI DI RIFERIMENTO_ REFERENCES_ DONNÉES DE RÉFÉRENCE
REFERENZANGABEN_ DATOS DE REFERENCIA
67618E
6
PROCEDURE DI INSTALLAZIONE_ INSTALLATION PROCEDURE_ PROCÉDURES D’INSTALLATION_
INSTALLATIONSANWEISUNGEN_ INSTRUCCIONES DE MONTAJE
67616E
67618E
67617E
7
PROCEDURE DI INSTALLAZIONE_ INSTALLATION PROCEDURE_ PROCÉDURES D’INSTALLATION_
INSTALLATIONSANWEISUNGEN_ INSTRUCCIONES DE MONTAJE
FIG.A FIG.B
Après avoir enlevé la partie frontale des protections en plastique visser les bagues (1), s’assurer que l’extrémité
de la cartouche thermostatique soit en position correcte (normalement vers le bas,avec le signe (X) qu’il corre-
spond avec le plan (Y) comme en Fig.A). Dans le cas où la température de l’eau est supérieure ou inférieure à
38°C,placer un thermomètre sous l’eau courante pour tenir sous contrôle la température et ourner la poignée
(J) jusqu’à atteindre 38°C, faire attention à placer le limiteur de température (2) toujours comme indiqué
à la Fig.B.Placer la plaque mural (3),poser la poignée (4),en la xant avec la vis (5) et mettre le bouchon (6).
Démonter au contraire.
INSTALLATION - RÉGLAGE DE LA CARTOUCHE
F
Nachdem Sie die Vorderseite der Kunststoffabdeckungen entfernt haben, die Buchsen (1) anschrauben po-
sitionieren; vergewissern ie sich, dass der Endteil der thermostatischen Kartusche in der richtigen Stellung ist
(normalerweise nach unten, mit dem Zeichen (X), der dem Planen (Y) gemäß Bild A entspricht). Wenn die
Wassertemperatur höher oder weniger als 38°C beträgt,einThermometer unter laufendem Wasser positionieren
um die Temperatur unter Kontrolle zu halten und den Drehknopf (J) drehen bis die 38°C erreicht werden, mit
Beachtung, das der Temperatur-Begrenzer (2) immer hingelegt wird, wie es im Bild B dargestellt ist. Die
Dekorplatte (3) positionieren, den Griff (4) montieren, diesen mit dem Dübel (5) befestigen (6) die Abdeckun-
gskappe. Demontieren Sie in umgekehrter Weise.
INSTALLATION - EINSTELLUNG DER KARTUSCHE
D
Después de quitar la parte frontal de la protección de plastico, atornillar los casquillos (1), averiguar que la
parte nal del cartucho termostatico esta en la posición correcta (abajo, con el signo (X) en correspondencia
con el plan (Y) como en la Fig.A). Si la temperatura del agua fuese menor o mayor a 38 °C, colocar un ter-
mòmetro en el ujo de agua para controlar la temperatura y girar la manilla (J) hasta lograr los 38°C,luego es
fundamental que se inserte el limitador de temperatura (2) siempre como se muestra en la Fig.B. Poner el
embellecedor (3),instalar la maneta (4),poner el tornillo de jación (5) y poner la tapa (6).Desmontar al reves.
INSTALACIÓN - CALIBRACIÓN DE LOS CARTUCHO
E
Dopo aver rimosso la parte frontale delle protezioni in plastica avvitare le boccole (1),assicurarsi che l’estremità
della cartuccia termostatica sia in posizione corretta (normalmente verso il basso, con il segno (X) che corri-
sponde con il piano (Y) come in Fig.A). Nel caso in cui la temperatura dell’acqua fosse maggiore o minore di
38°C, posizionare un termometro sotto l’acqua corrente per tenere sotto controllo la temperatura e ruotare la
manopola (J) no al raggiungimento dei 38°C, fare attenzione poi ad inserire il limitatore di temperatura
(2) sempre come mostrato in Fig.B. Posizionare il decoro (3), montare la maniglia (4), ssarla con il grano (5)
e mettere il tappino (6). Smontare in senso inverso.
INSTALLAZIONE - TARATURA DELLA CARTUCCIA
I
After removing the front of the protection, screw the bushes (1), make sure that the end of the thermostatic
cartridge in the correct position (usually downward, with the sign (X) that corresponds with the plane (Y) as
in Fig.A). If the water temperature is warmer or cooler than 38°C, place a thermometer under running water in
order to keep an eye on the temperature and rotate the knob (J) until reaching 38°C, make sure to insert the
temperature limit control (2) always as shown in Fig.B on the assembly instructions. Place the decor plate
(3), install the handle (4),secure it with the xing screw (5) and put the cover cap (6).Disassemble in reverse.
INSTALLATION - CALIBRATION OF THE CARTRIDGE
GB
8
PROCEDURE DI INSTALLAZIONE_ INSTALLATION PROCEDURE_ PROCÉDURES D’INSTALLATION_
INSTALLATIONSANWEISUNGEN_ INSTRUCCIONES DE MONTAJE
Quando la maniglia non è allineata al rubinetto (1) smontarla e togliere la ghiera del vitone registrabile con
una chiave da 17 mm (2).
When the handle is not lined up to the faucet (1) get it off and remove the fastening ring-nut of the valve with
a key of 17mm (2).
Quand la poignée n’est pas alignée au robinet (1) démonter et enlever l’embout de xation de la tête
céramique, réglable avec une clé de 17mm (2).
Wenn der Hebel mit der Armatur nicht ausgerichtet ist (1), diesen demontieren und die Nutmutter des
einstellbaren Ventils mittels eines 17 mm Schlüssels entfernen (2)
Cuando la maneta no esta en linea con el grifo (1),desmontarla y llevar el casquillo del cartucho, ajustable
con una llave de 17mm (2).
Calzare nuovamente la maniglia (3) e posizionarla correttamente ruotandola (4),a° max 10÷20.
Put on again the handle (3) and correctly position it turning it (4), a° max 10÷20.
Placer la poignée (3) et la positionner correctement en la tournant (4), a° max 10÷20.
Den Hebel darauf legen (3) und richtig nochmals positionieren, indem man dieselben von a° max 10÷20
dreht (4).
Instalar de nuevo la maneta (3) y rotar hasta a la posicion correcta (4), a° max 10÷20.
1
3
2
4
I -
GB
-
F -
D -
E -
I -
GB
-
F -
D -
E -
ALLINEAMENTO MANIGLIA SU RUBINETTO AD INCASSO_CONCEALED STOP VALVE HANDLE ADJUSTING_
ALIGNEMENT POIGNÉE POUR ROBINET ENCASTRÉ_AUSRICHTUNG DES HEBELS BEI UNTERPUTZ ABSPERRVENTIL_
ALINEACIÓN MANETA PARA GRIFO ENCASTRE
9
PROCEDURE DI INSTALLAZIONE_ INSTALLATION PROCEDURE_ PROCÉDURES D’INSTALLATION_
INSTALLATIONSANWEISUNGEN_ INSTRUCCIONES DE MONTAJE
Slare la maniglia (5) e serrare la ghiera (6).
Take off the handle (5) and x the ring nut (6).
Déler la poignée (5) et serrer I’embout (6).
Den Hebel ausziehen (5) and die Nutmutter festmachen (6).
Llevar la maneta (5) y cerrar el casquillo (6).
Montare denitivamente la maniglia (7).
Denitely assemble the handle (7).
Monter la poignée dénitivement (7).
Den Hebel denitiv montieren (7).
Instalar denitivamente la maneta (7).
5
7
6
8
I -
GB
-
F -
D -
E -
I -
GB
-
F -
D -
E -
10
RICAMBI_ SPARE PARTS_ PIECES DETACHEES_ ERSATZTEILE_ PIEZAS DE REPUESTO
67616E
67617E
67618E
1 13406
2 11902
3 28278
4 28277
5 28234
6 28204
7 28232
8 28297
8.1 10955
9 28279
10 28298
11
Gli imballaggi dei nostri prodotti non contengono materiali inquinanti: tutte le materie utilizzate rispettano
l’ambiente e sono riciclabili.Vi preghiamo di collaborare con noi e di smaltire correttamente l’imballaggio.
Non disperdere gli imballaggi, o parte di essi, nell’ambiente. I sacchetti di plastica, in particolare, possono
essere fonte d’asssia per i bambini. Separare i diversi materiali dell’imballaggio e conferirli al centro di smal-
timento più vicino.
Uno smaltimento corretto permette un riciclo intelligente dei materiali preziosi.
Si certica che tutte le parti e i componenti contenuti in questo prodotto (L.166/2009),sono stati accuratamen-
te controllati e collaudati nei nostri stabilimenti.
SMALTIMENTO DELL’IMBALLAGGIO
I
Die Verpackungen unserer Produkte werden völlig aus umweltfreundlichen und wieder verwertbaren Materia-
len hergestellt.Bitte entsorgen Sie dieVerpackungen ordnungsgemäß.Lassen Sie nicht die Verpackung bzw.ei-
nige Bestandteile davon unbewacht.Das Verlassen eines solchen Hinweises könnte zur Gefahr von bei Kindern
Erstickung führen, insbesondere wegen des Vorhandenseins von Plastiktüten. Die Ausschussmaterialien aus
der Verpackung aussondern und sie ins nahesten Zentrum für Mülltrennung bringen.Eine korrekte Entsorgung
ermöglicht die intelligente Wiederverwertung von wertvollen Materialien.
ENTSORGUNG DER VERPACKUNG
D
The packaging of our products does not contain polluting material,the materials used are environmental-frien-
dly and recyclable. Please be helpful and properly dispose of the packaging.
Do not leave it,or parts of it, in the environment. In fact it could, particularly concerning the plastic bags, con-
stitute a danger of asphyxiation for children.
Sort out the materials of the packaging and deliver them to the nearest waste separate collection centres.
Proper disposal allows the recycling of precious materials.
PACKAGING DISPOSAL
GB
Los embalajes de nuestros productos no contienen materiales contaminantes: todos los materiales utilizados
respetan el medio ambiente y pueden ser reciclados.Les rogamos que colaboren con nosotros para la elimi-
nación correcta del embalaje. No tiren los embalajes o parte de ellos al medio ambiente. Las bolsas de plás-
ticos, particularmente, pueden ser causa de asxia para los niños. Separen los diferentes tipos de materiales
de embalaje y llévenlos al centro de recolección más cercano.Una eliminación correcta permite un reciclado
correcto de los materiales preciosos.
ELIMINACIÓN DEL EMBALAJE
E
Les emballages de nos produits ne contiennent pas de matériaux polluants, les matériaux utilisés respectent
l’environnement et sont recyclables.
Nous vous prions de collaborer et d’éliminer correctement l’emballage. Ne pas abandonner l’emballage ou
des parties de celui-ci dans l’environement.
Celles-ci, notamment les sachets en plastique, peuvent constituer un danger d’asphyxie pour les enfants.
Séparer les différents matériaux de l’emballage et les déposer auprès du centre de tri le plus proche. Une
élimination correcte permet une récupération intelligente de matériaux précieux.
ÉLIMINATION DE L’EMBALLAGE
F
IS0012/2
NEWFORM S.p.A.
via Marconi, 25/A – Frazione Vintebbio – 13037 Serravalle Sesia – (VC) Italy
Tel. +39/0163452011 (r.a.) Fax Amministrativo +39/0163458983 – Fax Commerciale +39/0163459745
www.newform.it newform@newform.it

This manual suits for next models

2

Other newform Bathroom Fixture manuals

newform X-STEEL 316 69614X User manual

newform

newform X-STEEL 316 69614X User manual

newform PARK 69728E User manual

newform

newform PARK 69728E User manual

newform AQUALITE 69236E User manual

newform

newform AQUALITE 69236E User manual

newform 682 User manual

newform

newform 682 User manual

newform PARK Limited Edition 67575E User manual

newform

newform PARK Limited Edition 67575E User manual

newform X-SENSE 62570E User manual

newform

newform X-SENSE 62570E User manual

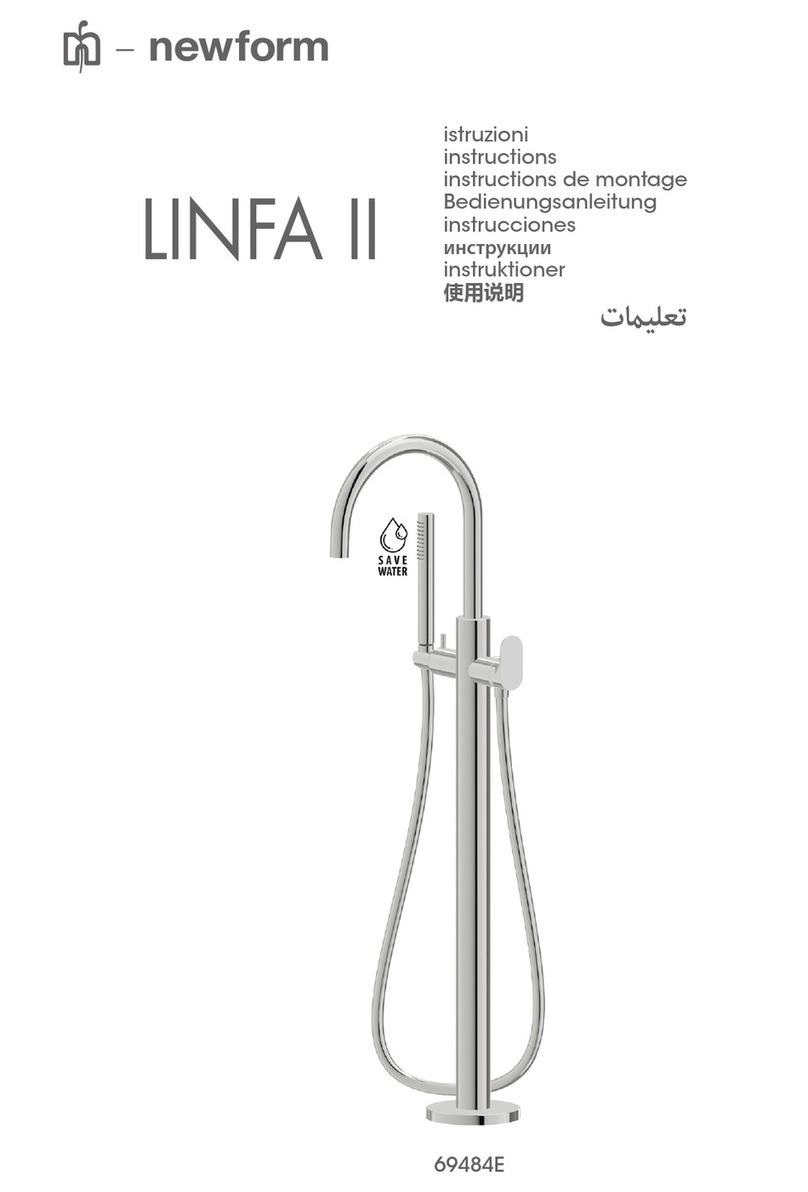
newform LINFA II 69484E User manual

newform

newform LINFA II 69484E User manual

newform X-TREND Series User manual

newform

newform X-TREND Series User manual

newform 27027 User manual

newform

newform 27027 User manual

newform Nio 68910 User manual

newform

newform Nio 68910 User manual

newform X-STEEL 316 29499X User manual

newform

newform X-STEEL 316 29499X User manual

newform BLINK 70820E User manual

newform

newform BLINK 70820E User manual

newform X-T 4230E User manual

newform

newform X-T 4230E User manual

newform MINIMAL 494 User manual

newform

newform MINIMAL 494 User manual

newform THERMO EASY 70400E User manual

newform

newform THERMO EASY 70400E User manual

newform X-STEEL 316 69623X User manual

newform

newform X-STEEL 316 69623X User manual

newform ERGO 65875E User manual

newform

newform ERGO 65875E User manual

newform X-STEEL 316 69655X User manual

newform

newform X-STEEL 316 69655X User manual

newform XT 4278E User manual

newform

newform XT 4278E User manual

newform BLINK CHIC 71057E User manual

newform

newform BLINK CHIC 71057E User manual

newform BLINK CHIC 69836E Operating and maintenance manual

newform

newform BLINK CHIC 69836E Operating and maintenance manual

newform X-STEEL 316 User manual

newform

newform X-STEEL 316 User manual

newform MINIMAL 494 User manual

newform

newform MINIMAL 494 User manual

newform BLINK 70870E User manual

newform

newform BLINK 70870E User manual

Popular Bathroom Fixture manuals by other brands

Triton ASPIRANTE THERMOSTATIC POWER SHOWER Installation and operating instructions

Triton

Triton ASPIRANTE THERMOSTATIC POWER SHOWER Installation and operating instructions

Nadoli DO503442C-CL quick start guide

Nadoli

Nadoli DO503442C-CL quick start guide

Vidalux Hydro Plus Series Installation and operating manual

Vidalux

Vidalux Hydro Plus Series Installation and operating manual

Kallista P21654 installation instructions

Kallista

Kallista P21654 installation instructions

Samo Europa SP B7944 Assembly instruction

Samo

Samo Europa SP B7944 Assembly instruction

Fortis Caffe 8869700 installation instructions

Fortis

Fortis Caffe 8869700 installation instructions

Signature Hardware 949054 manual

Signature Hardware

Signature Hardware 949054 manual

Clou First CL/04.06030 installation instructions

Clou

Clou First CL/04.06030 installation instructions

ProFlo PFWSC5240CP manual

ProFlo

ProFlo PFWSC5240CP manual

Hans Grohe 35807803 Assembly

Hans Grohe

Hans Grohe 35807803 Assembly

Sanela SLU 08LNB Instructions for use

Sanela

Sanela SLU 08LNB Instructions for use

Fantini Rubinetti CUPOLINO HAMMAM 9100W098 instructions

Fantini Rubinetti

Fantini Rubinetti CUPOLINO HAMMAM 9100W098 instructions

Bossini Arch L00865 INSTALLATION AND CARE INSTRUCTIONS

Bossini

Bossini Arch L00865 INSTALLATION AND CARE INSTRUCTIONS

Decolav 1437-CWH Use and care guide

Decolav

Decolav 1437-CWH Use and care guide

Gessi MIMI 36649 manual

Gessi

Gessi MIMI 36649 manual

Inax L-2398V Installation & user manual

Inax

Inax L-2398V Installation & user manual

Duscholux ShowerLux Step-in Sparkling + Music installation instructions

Duscholux

Duscholux ShowerLux Step-in Sparkling + Music installation instructions

Kohler K-705790 Homeowner's guide

Kohler

Kohler K-705790 Homeowner's guide

manuals.online logo
manuals.online logoBrands
  • About & Mission
  • Contact us
  • Privacy Policy
  • Terms and Conditions

Copyright 2025 Manuals.Online. All Rights Reserved.